You have guessed it: I have been engrossed in my photography studies for the last while. Projects handed up, semester over, last exam sat - I am free to dabble in crafty creativity again. But I cannot quite let go of my photography obsession, so the little project I did just now is for photo nerds, again.
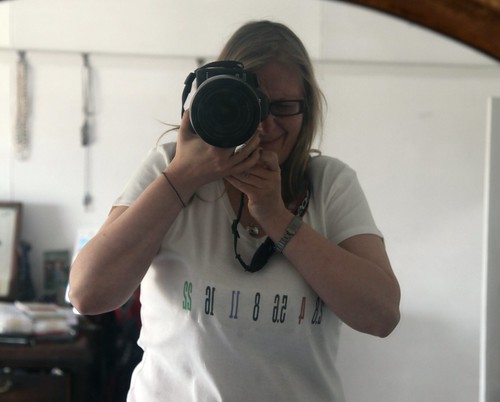
I recently got myself a really cool T-shirt with a Canon eos settings dial on it. It's great, but it got me thinking that you could make one myself and save the € 20,00 I paid for the dial shirt for other things. All you need is some iron on transfer paper, a printer, an iron and an idea. So I went out and bought a cheap white shirt for € 4,00 and set about designing my t-shirt.
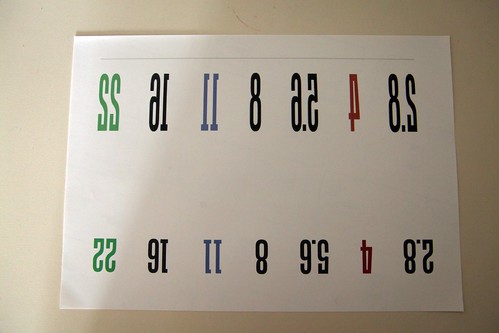
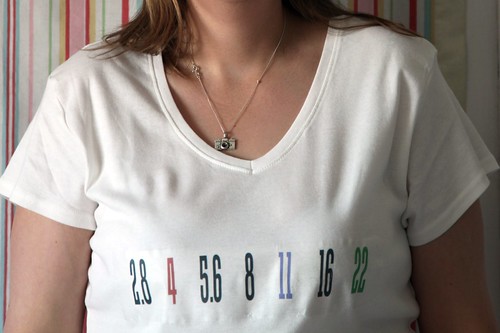
What I came up with is probably gobbledegook for most of you but is instantly recognisable for photographers - I simply typed the standard f-stop numbers in an OpenOffice document, chose a nice font reminiscent of the fonts seen on lens dials and then gave my design a bit of colour by highlighting the three main f-stop numbers.
I bought my iron-on transfer paper a while ago when I was making T-shirts for my kids' play-café. These transfers seem a bit pricy - mine is a pack from HP, containing 12 A4 sheets. They were € 25,85 about three years ago. You can probably find cheaper ones nowadays.
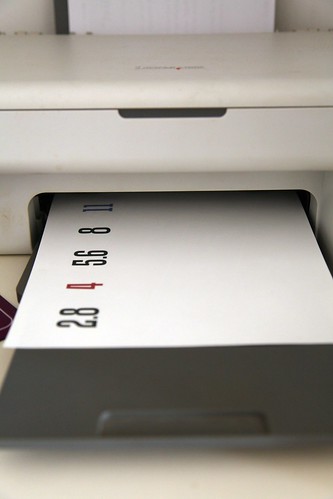
The next step is to print your design onto the transfer paper. Please be cleverer than me and think before you print. You need to flip the design horizontally before you print it in order for it to be the right way round when you have ironed it on.
So what you see here in the image on the right is wrong!!!
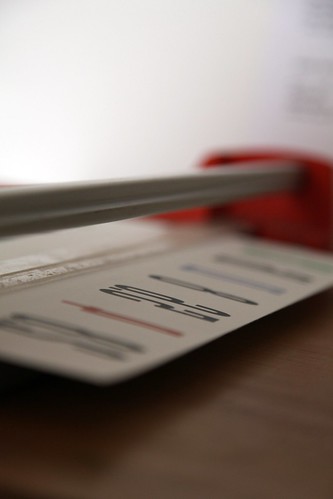
Cut your transfer paper to size - you don't need the whole page and you might want to use the left-over bit of transfer paper for another, smaller project. I used my guillotine for that.
The top row of this illustration on the right is what you need to have on your transfer paper - the image flipped horizontally.
Anyway, once I had rectified that mistake, I was ready to wield the iron. Just follow the instructions according to the transfer paper manufacturer. I first gave my T-shirt a proper iron to make sure there were no creases on it. Then I placed the transfer paper right where I wanted it and ironed away. It took a good 5 minutes, I think. Taking the backing paper off can be tricky. For me it worked best to whack it off in one smooth motion, rather than doing it slowly. That might depend on the manufacturer, though.
Tada, here is my photo-nerd shirt:
The shirt can be worn and washed frequently - my kids wore theirs a lot and the design did not come off for a long time. Eventually the plastic-y transfer stuff might start flaking off, but hey, that is just a sign that you should really think about designing another personal favourite.
Happy designing :-)
Best,