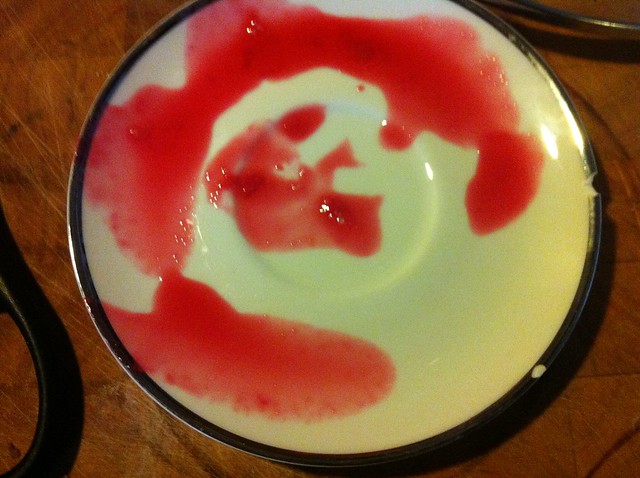
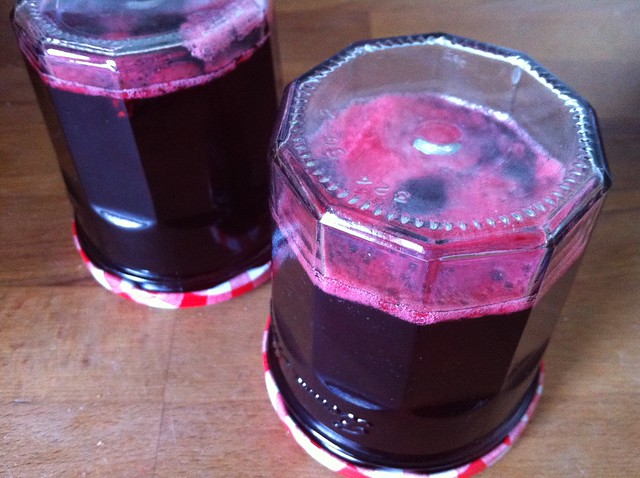
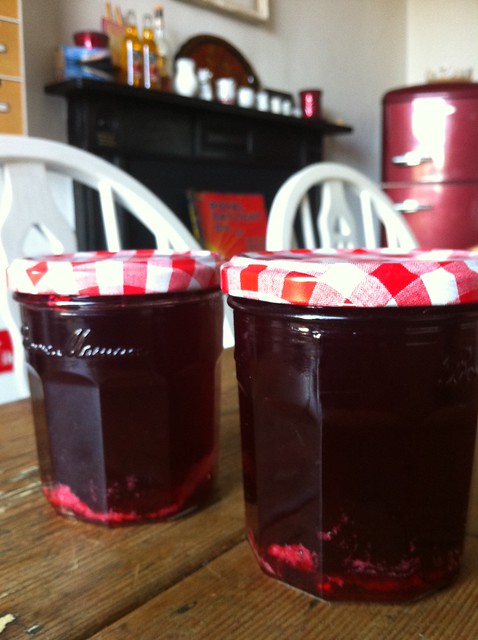
It is upon us, that season of fruitful mellowness. In more than one sense. I am free. I have finished my college degree (admittedly already several months ago - but as is usual, I stepped right from the high of finishing three years of college into a depression over the purpose-less future of my now degree-decorated life). So my life is now mellow again and I can return to my second favourite past-time: crafting.
And with the season that is in it, my first project revolved around the fruitfulness of autumn. Yes, it is foraging time again. And after shamefully missing blackberry season last year and having to resort to shop-bought berries for my raspberry jelly 2011, I was adamant I was going to pick some blackberries this year and make that jelly truly my own.
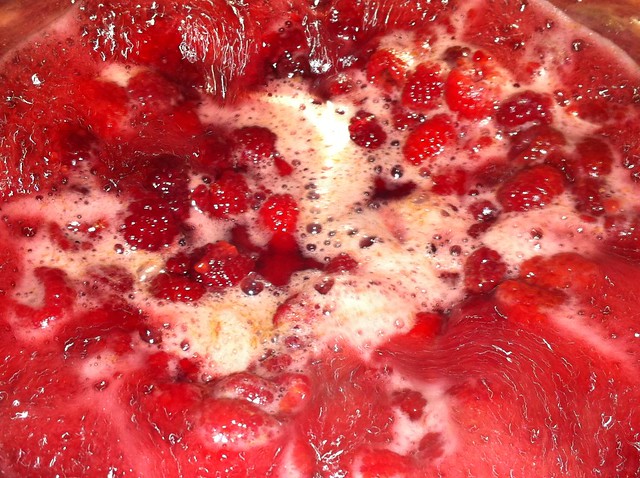
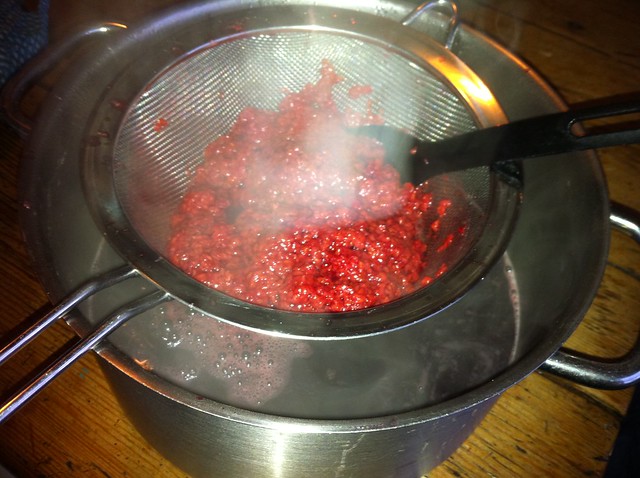
And so I did - I went blackberrying yesterday, up the back of Bray Head on a narrow country lane. The blackberries were not all ripe yet, and you had to look hard to find them. Some even grew in the grass at the bottom of the hedgerow. And the bushes certainly resisted me - in concert with the nettles they seem to team up with. My poor hand bears the reminders of nettlesting and bramblescratch. In the end we came away with what turned into nearly two and a half litres of blackberry juice.
(If you want instructions on how to make jelly, check this post from last year.)
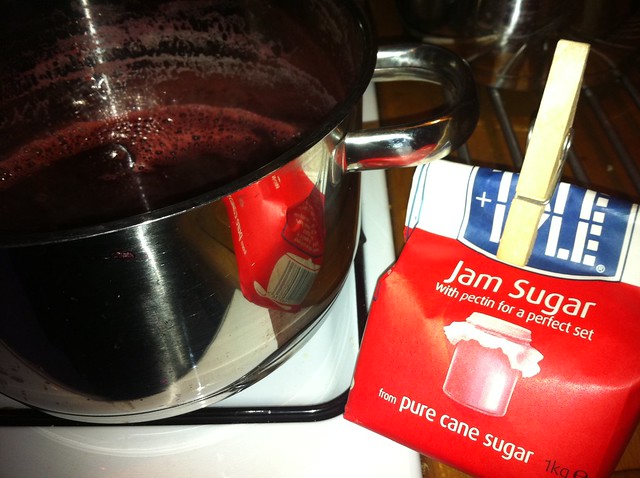
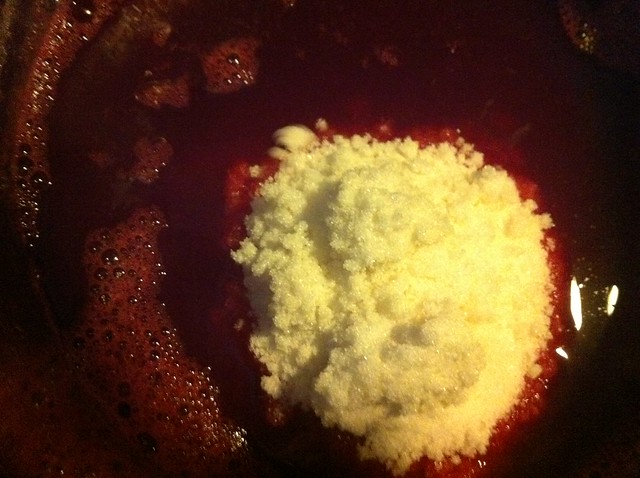
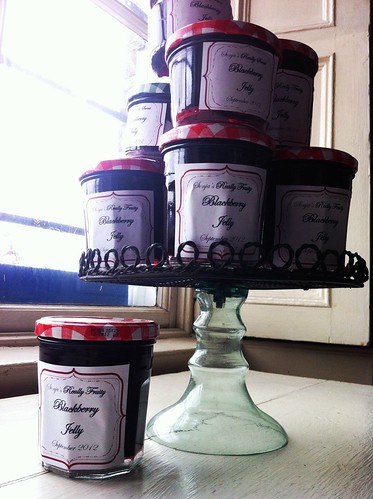
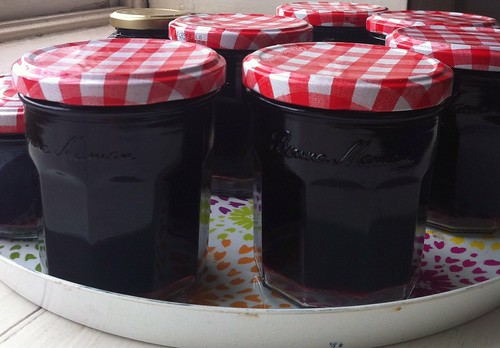 Much to my delight, the jelly set beautifully. I came away with six and a half jars of what I call "really fruity" blackberry jelly. This is jelly that is made with jam sugar that uses twice as much juice for the amount of sugar that is usually recommended. The result is a slightly less overly sweet, but much more intensely fruity jelly. (Unfortunately I yet have to find a jam sugar brand that produces this kind of sugar in Ireland. I actually imported the jam sugar from Germany this summer. Over there it goes by the name of "2:1".) A second batch of jelly had to be made with the remainder of normal jam sugar - i.e. you use as much sugar (in weight) as fruit juice to make it. This is my so-called "really sweet" jelly, a stash of only three jars.
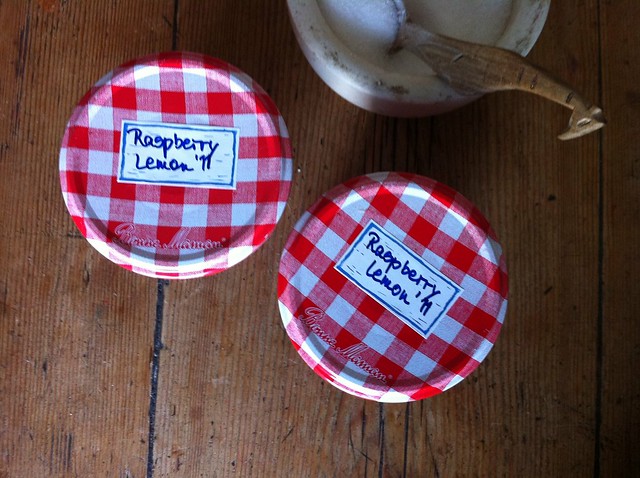
But as usual I cannot get the ultimate satisfaction for a job well done unless even the details are right. In this case the jars needed labels - because they had to be distinguishable for the two types I made. And I couldn't rest until I had designed my own little label to my own specifications. Such fun to play around...

Now, with the labels stuck on, I am really happy with my jelly. Can't wait to taste it. (Feel free to copy the image and edit it for your own use. Just by cutting out my name and the month you could re-use it for your own purpose.)
Best,