Jam making is one of the easiest tasks in the kitchen. Now, I am a self-confessed non-cook. I really do not enjoy cooking at all (I am a baking queen, however!). But this is the one thing involving pots and pans that I *do* like doing. Once you have made your own jelly for the first time, you will never go back to mass produced, shop bought jams, I promise you!
I know, it is a little bit too late for jam making. Raspberry harvest is long over. But I cheated and bought some frozen raspberries in the supermarket. They work just as well as the hand-picked ones from your own garden. So here is what you do:
Making jelly involves one more step than jam making. You need to turn your raspberries (or any other fruit) into juice in order to get a clear, pip-less jelly in the end. So put your berries (or other fruit) into a pan and boil them up until the berries become mushy and disolve.
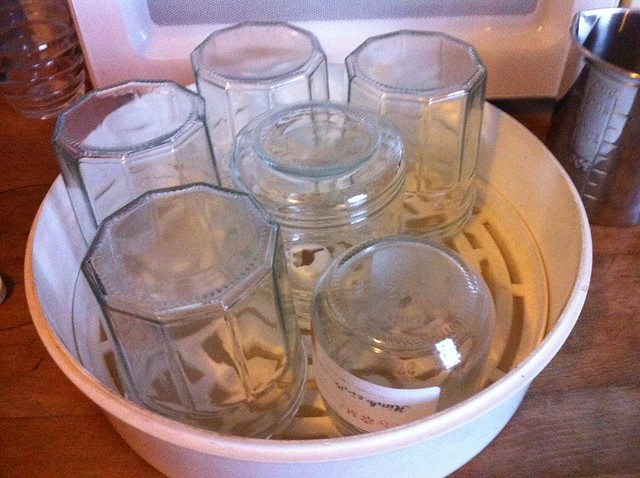
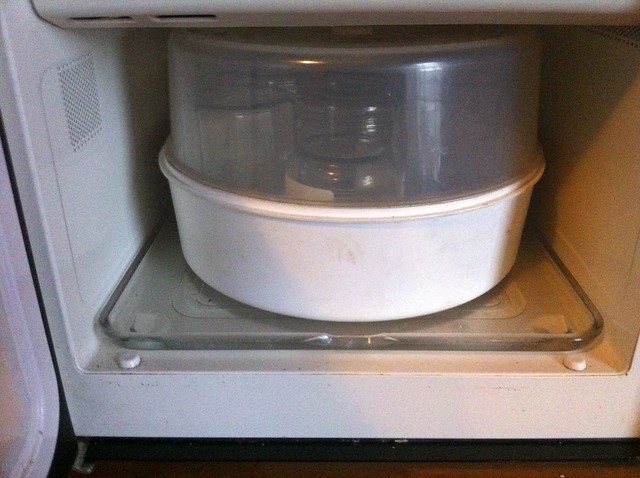
Hygiene is imperative when jam-making. So while your berries are bubbling away to make juice, sterilize your jam jars. I steam sterilize mine with a handy little gizmo that is still around from my kids' baby days: a microwave bottle sterilizer. You simply pour a bit of water into it, put the jars into it and the lid on and pop it for 12 minutes into the microwave.
Handy and easy - but extremely hot when coming out of the microwave, so do take care.
The best way of sterilizing the lids, by the way, is simply by boiling them in a pan. 5 minutes will do the trick nicely!
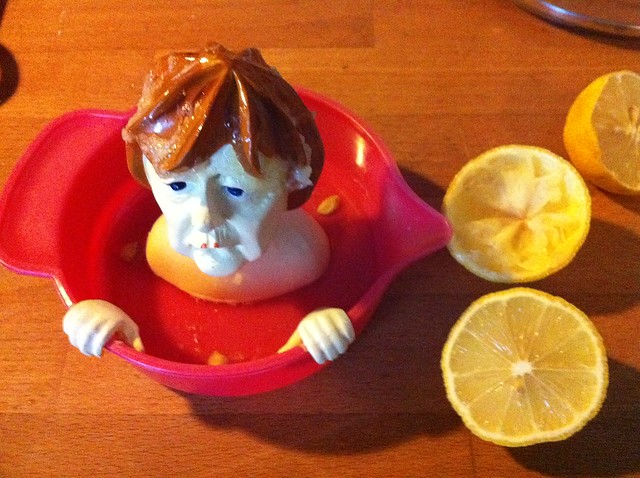
While the berries are boiling and the jars are steaming up, squeeze the juice from 2 lemons or limes. The acid of the lemons will add a nice little edge to the sweetness of the jelly! (Aside: Do you like my juicer? That head is supposed to be German chancellor/head of state Angela Merkel, a woman who is known for her cheerful countenance... ehm... I couldn't resist this wonderful kitchen implement on a trip to Berlin last year where I bought it in a shop right behind the Reichstag, Merkel's place of work... )
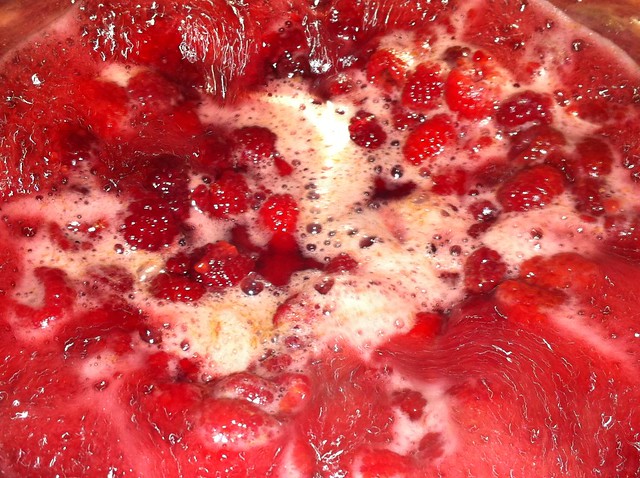
So here are your berries, boiling away:
Sorry, couldn't resist including this photo. Aren't the colours just gorgrous? I wish I could've recorded the smell for you *mhhhhhhh*.
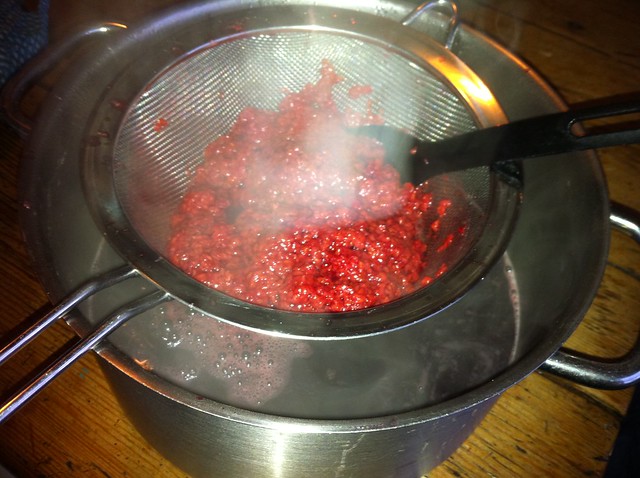
Now it's time to make the juice: Take the pan off the hob and pour the whole lot through a sieve into another pan in order to separate the pips from the juice. (I know that a muslin is recommended for straining the juice, but I find a fine kitchen sieve will suffice!)
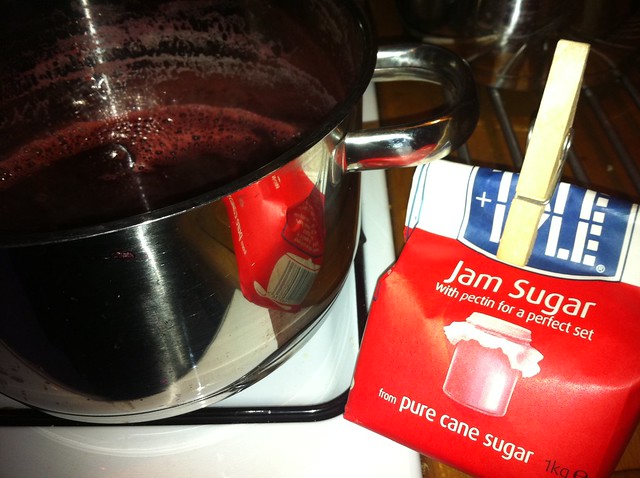
In order to make jelly, you need as much jam sugar in weight as you have juice. I only had half a packet of jam sugar left.
I carefully measured 400ml of raspberry juice and added my 400g of jam sugar to that.
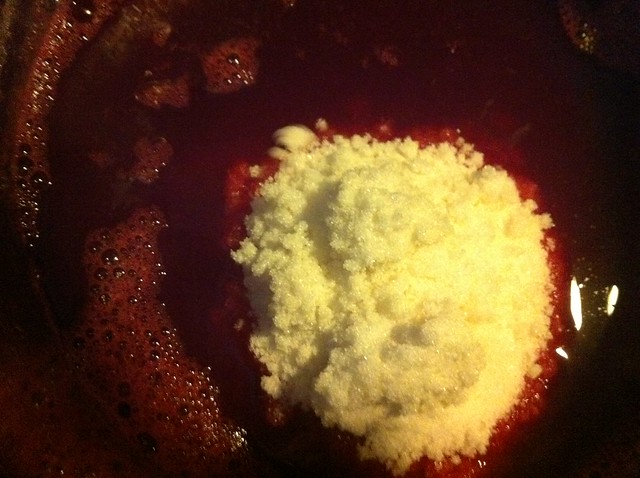
Now bring this to the boil, carefully stirring all the sugar in so that there are no visible lumps of it anywhere. (Note: Deliberately artsy-fartsy blurry illustration - I just loooove how the highlights are leaving burnt out trails...)
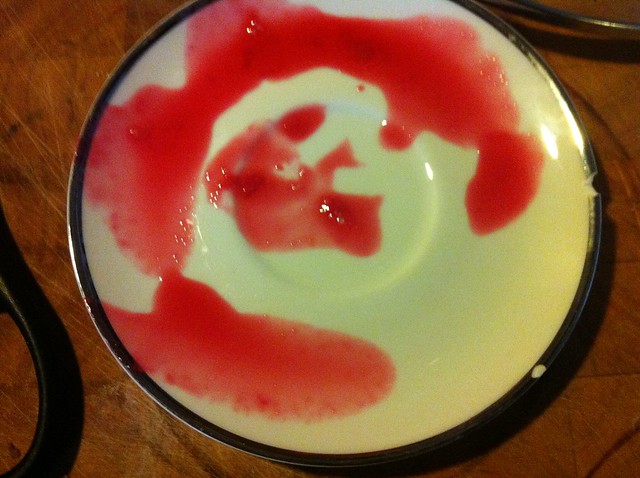
Right, now comes the only tricky part: The juice and sugar have to boil for exactly 6 minutes (at least according to my sugar factory advice). Let it bubble vigourously for whichever amount of time it says on your packet of sugar. Then test whether the jelly is ready to set by putting a few drops of the liquid onto a clean, cold saucer. Let it sit and cool for a few seconds, then push it with your finger. If it "wrinkles", your jelly is ready to take off the hob.
I put the sterile jars on a plastic try for the next step - pouring the jelly into the jars. Do this swiftly and up to the brim. You may have to top up the jar before you put the lid on. The more jelly you get into the jar, the better the chance that it won't get mouldy of the storage time!
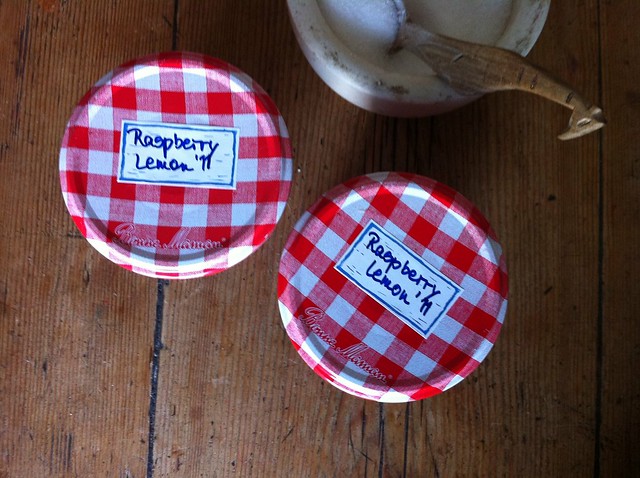
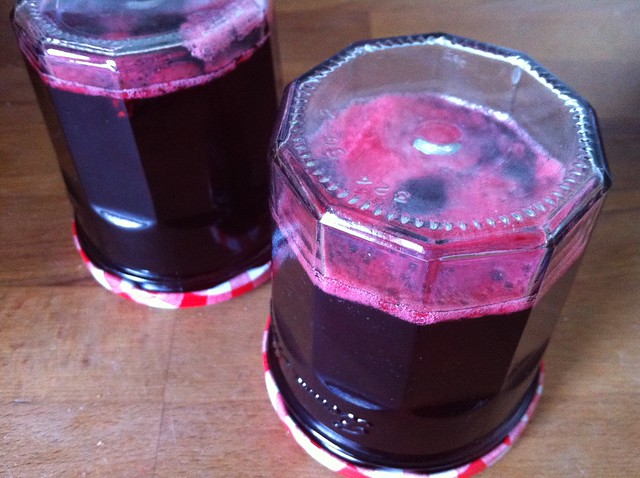
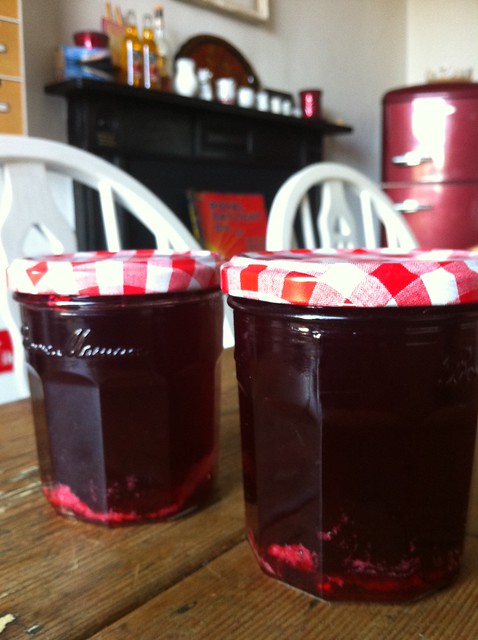
Make sure you get your jar airtight by turning the jar upside down after filling. Leave to set until the jar is cold enough to handle. (As I said, I didn't have much jam sugar, so I didn't produce enough jelly to fill two jars :-( )
But that's it. Your jelly is basically ready for consumption right away. The whole procedure takes less than an hour. Tastes best on freshly baked, white bread. Accompanied by a cup of milky tea. And the Sunday newspapers. In bed :-)
Best,




1 comment:
Hallo liebe Sonja, how cool is that! Ich wohne sogar in Deinem Traumland, in Windhoek. Im Moment ist es nicht ganz so traumhaft weil immer noch soooooo heiss. Hätte gern ein bisschen irisches Wetter.
Das Himbeergelee Rezept ist super, werde ich ganz bald mal ausprobieren (wenn mal mehr als zwei Beeren auf meinem Babystrauch wachsen).
Ganz liebe Grüsse an Dich, werde mich jetzt auch erstmal auf Deinem Blog umschauen (und auf deinen zwei neuen auch :-) ). Am following you back.
Alles Liebe
Jutta
Post a Comment