Yeah, still a bit dullish-February, but that's what happens when this is all that you have at hand:
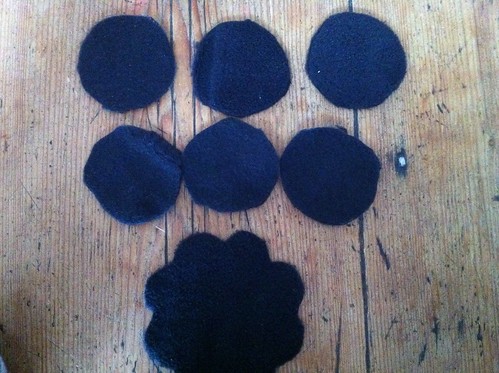
An off-cut from some black fleece and a cookie cutter. I started off by tracing the flower shape of the cookie cutter onto the fabric.
From the remaining fabric I cut six circles. (I used a shot glass to trace the circles.)
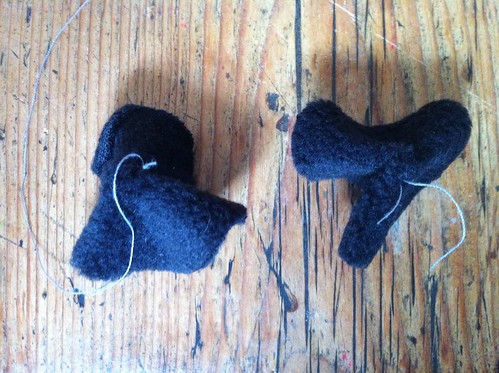
I made the circles into "hats" by gathering the middle of the circle and then sewing through it and tying a tight knot.
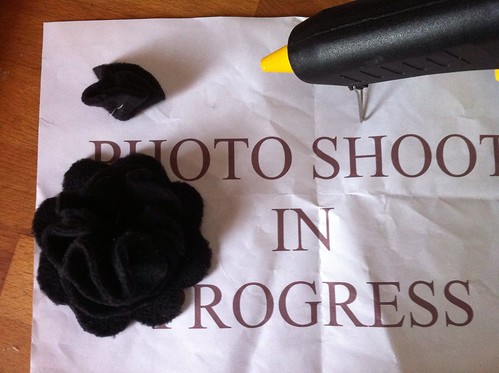
I did a little test run and arranged the "hats" on the large flower shape to fit them into place. The easiest is to arrange four of them in a square and after that fitting the two into the remaining gap. You can sew them into place - which is very fiddly - or you can go the easy way and use hot glue instead. There is your flower done.
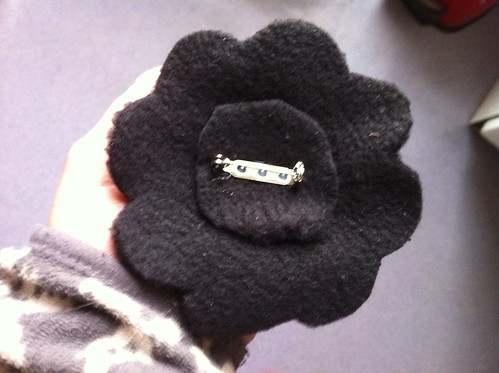
Finally, I used the hot glue to fasten a brooch needle on the back of the flower. If you think your flower needs a bit more stability, then glue the needle onto a circle of fabric first and then glue the fabric to the back of the flower.
You can see the flower is big enough to fit in my hand.
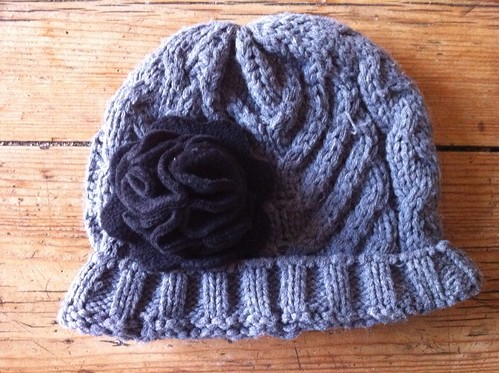
Et voilá - here is my flower brooch on my warm, woolly, winter hat:
I spare you the sight of me modelling the hat. It would plunge you into deep depression, too. Anyway, easypeasy flower brooch - after the success of number 1 I feel like trying it with some other fabric and colours, too.

PS: Posting this to...


3 comments:
Hi Sonja, just stopping by to say how delightful your blog is. Thanks so much for sharing. I have recently found your blog and am now following you, and will visit often. Please stop by my blog and perhaps you would like to follow me also. Have a wonderful day. Hugs, Chris
http://chelencarter-retiredandlovingit.blogspot.com/
Thanks for your nice comment, Chris :-). I have just been over to your blog. Splendid! All too happy to follow you back. (Incidentally I signed up with my Google-ID for my photo-blog 2picsaweek.com and deleted the initial comment - ooops).
Post a Comment