FYI


Showing posts with label cushion. Show all posts

Wednesday, January 16, 2013

Comfy Cat Cushion

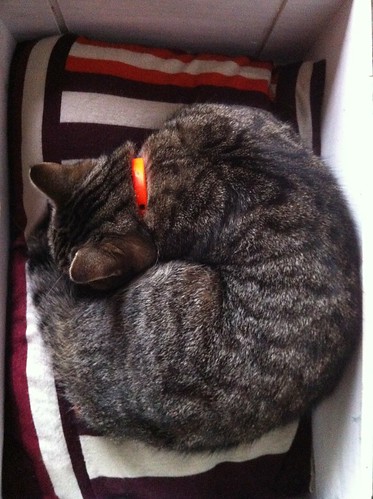
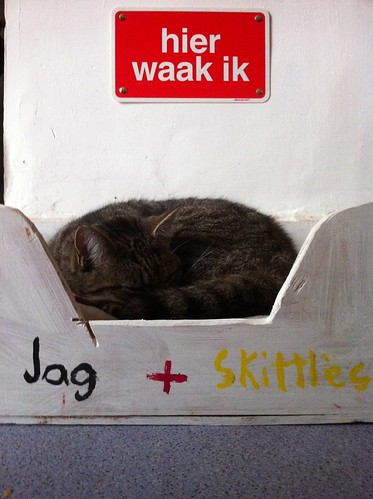
The recent cushion-making spree was actually started by this:


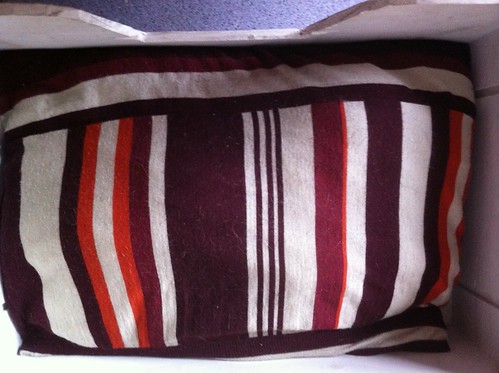
No, my cat Skittles is not that good with her paws. But she took possession of the cushion you see underneath her there in her box - and thus forced me to come up with alternative cushion covers for the sitting room.

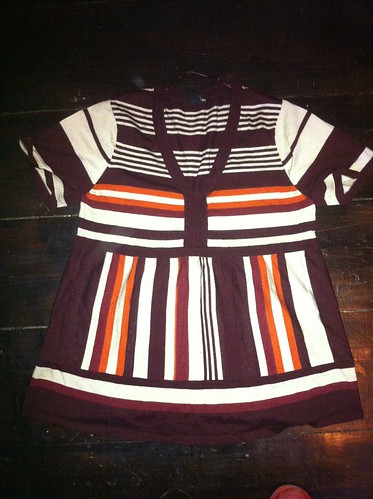
But this is the starting point: For aaaaages I had been hanging on to what used to be one of my favourite summer tops. It's an Empire line knitted top from H&M that I loved to bits - literally, because eventually it had small little holes right across the belly and became unwearable. But I always liked the material and left it sitting at the bottom of my wardrobe for an alternative use.

Then at the weekend I finally set to sewing a cushion cover from it. I simply cut the top of the shirt off and then cut straight up the bottom of the fabric.

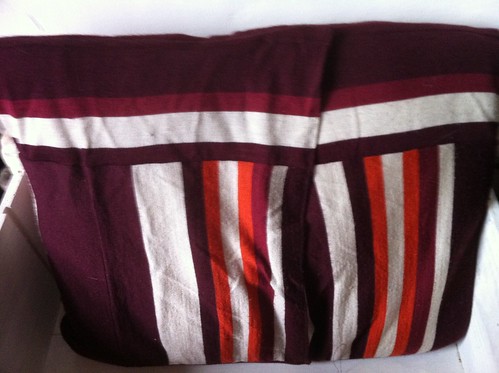
I sewed it with an overlapping back for easy removal. The A-line dimension proved to be difficult to deal with - the resulting cushion was a bit wonky. I put the cushion aside - and Skittles immediately took up residence on the cushion and claimed it to herself.

Ah well, she deserves to be comfy, too. 


Happy end. She got a comfy cushion, and I moved on to sew my six small Oriental cushion covers. 


Monday, January 14, 2013

Oriental Bling

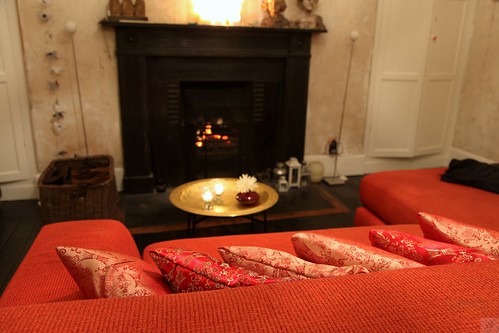
So this is how I spent my Sunday afternoon:


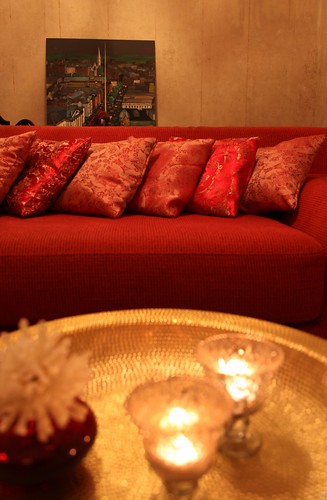
No, not lounging on the sofa in front of a cozy fire. I was a busy bee and sewed the cushions that are just visible there on the couch. This had been made necessary by the fact that my previous cushion project had become not only threadbare but cat-flea infested. Arrrrgh. So out with the old and in with the new.


On my post-Christmas shopping spree last year I snapped up six Ikea cushions at € 0.50 each. They are 35 x 35 cm in size, and since I had six of them, they called for a coordinated effort. Ahem.

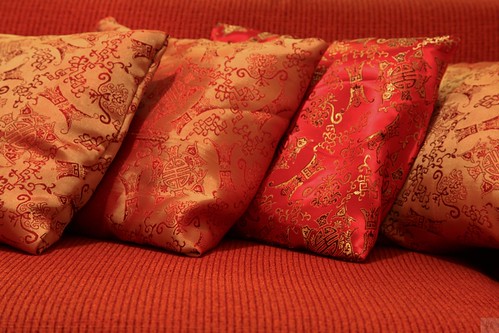
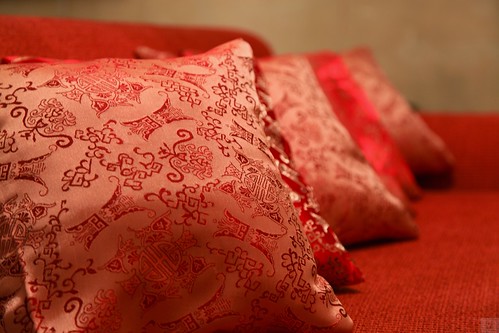
A look in my much ignored fabric stash brought out a large piece of fabric that a friend had brought back from China for me. I cut the fabric to size, ironed it and then set to it with my sewing machine. Incidentally I found the reverse of the fabric nicer and more fitting with the rather orangy red of my sofa, so I made four of them and two of the actual fabric front. The cushion case is removable, so it can be thrown in the wash if the cats get too familiar with them, again.


With my recent Ikea bargain - the golden tray table - it looks as if I have a bit of an Oriental thing going on in my drawing room now:


I think this calls for a pillow fight, actually...

Best,


Linking to: Transformation Thursday @ Shabby Chic Cottage

Monday, October 11, 2010

1 is such a lonely number

I have a tendency to get obsessed. If I get interested in something, I immerse myself in it from tip to toe. Luckily my attention span is short, so it never develops into an unhealthy long obsession. This applies to crafting, too, where this week I wouldn't rest until I had made another cushion.


You can't have just one cushion on a sofa. And textured cushions are a big thing at the mo. I had in fact collected a number of ideas recently from magazines. Do you also have that habit? I cut out little snippets from my mags and then duly forget about them and design my own thing. I may still copy one of them - here are the inspirations:


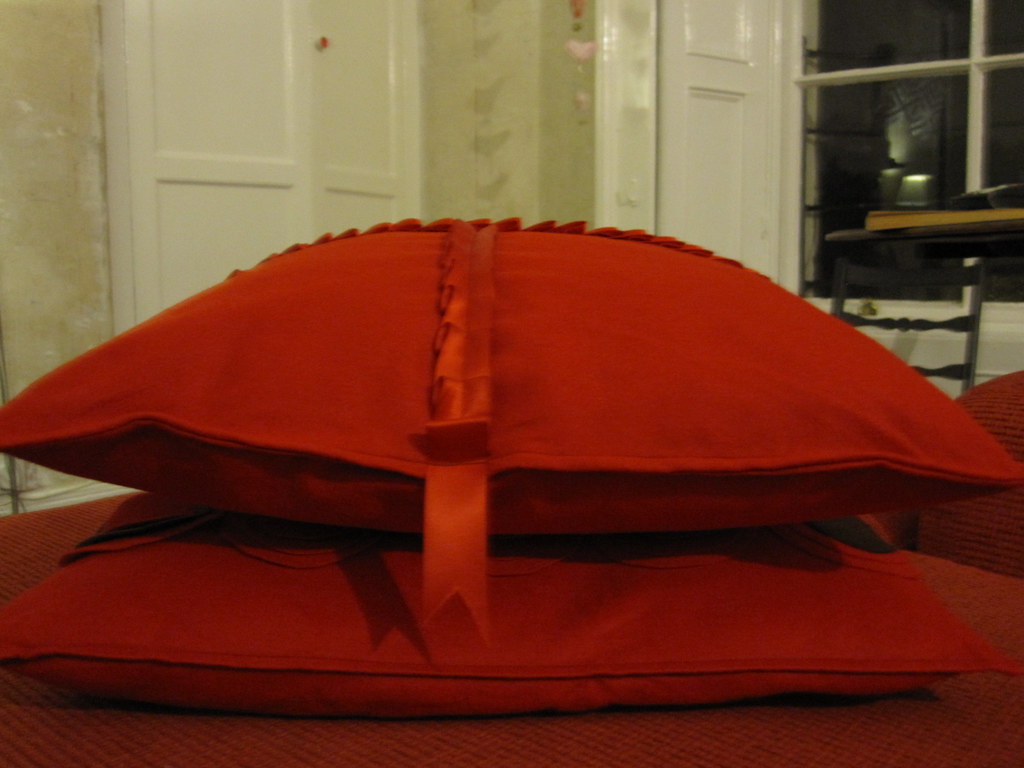
And since another inlet cushion was at hand and I still had some red felt left over, I set about thinking up another cushion design. Does this come across slightly Christmas-sy? Looks like a pressie, doesn't it? Well, that is intentional, because I used some red satin ribbon for decoration. Like the Retro-Style Cushion from a few days ago, this is a really quick and easy sewing projects for beginners. Didn't take more than an hour to complete.


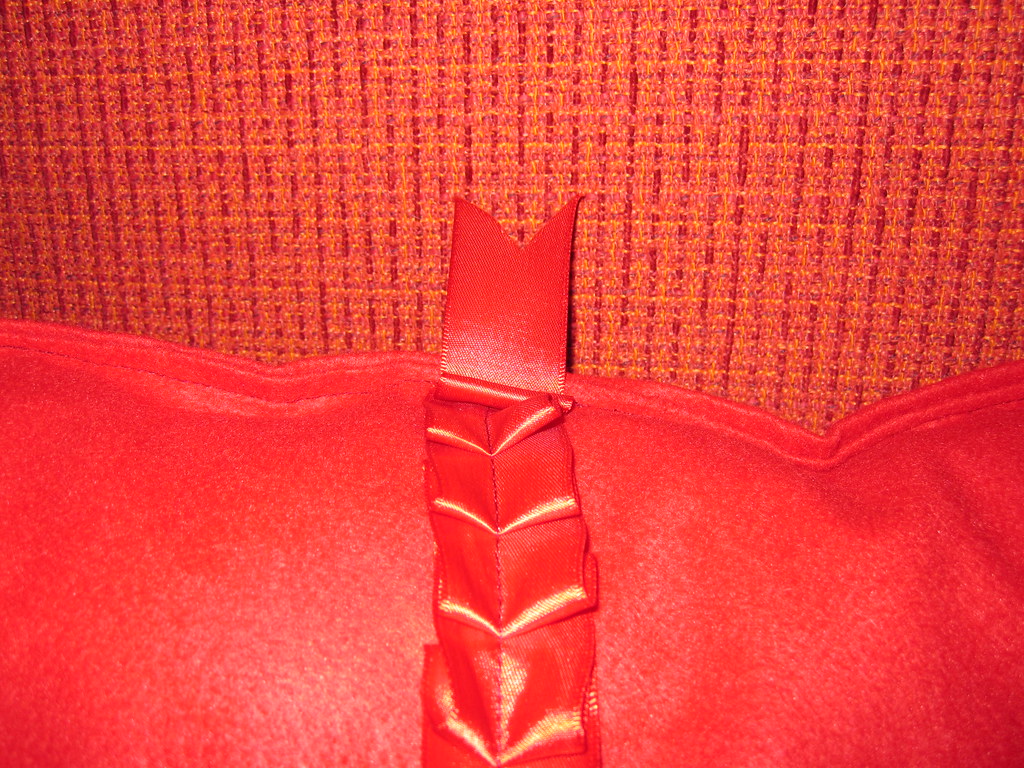
First of all I cut my material to size again. Then I sewed the ribbon onto the felt. I didn't even bother pinning it onto the fabric - it was much easier bunching it up as I went along. You can see in the picture on the right how I did it.

I sewed on two lengths of ribbon in a cross-shape across the fabric. Make sure you sew the ribbon no closer than 1cm to the edge.

Just for the fun of it I let the ends of the ribbon hang over the sides a bit. Hm, do they look like snake tongues?

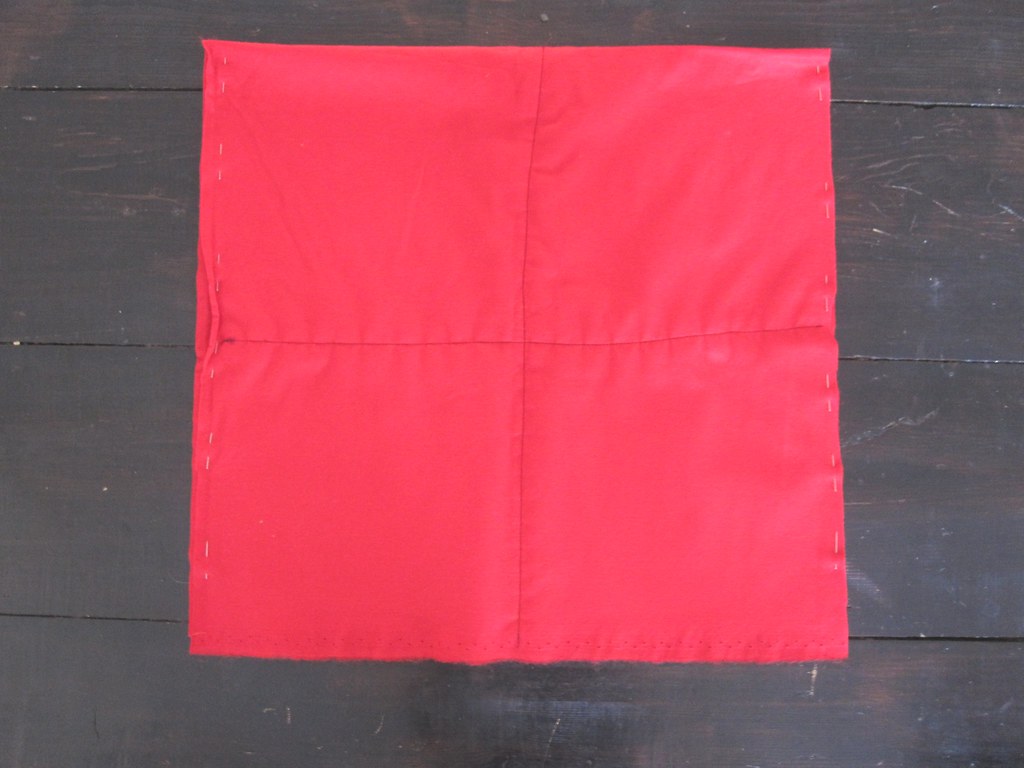
Then it was time to make the actual cushion. Folding the material right-on-right, I pinned the two opposite open sides together. I also had to pin the snake tongues back onto the ribbon loops, just to make sure I didn't sew them into the cushion.

I sewed round three sides, leaving one side open to slide the inlet in.

Just like the retro cushion, I closed the cushion by folding in the remaining open side and then sewing across it and around the cushion edge to create a piping effect.


So there we are - another red cushion for the red sofa. Another one for cuddling up in front of the fire with.


I still have some red felt left over. Another red cushion? Or should I break the cycle and use some chocolate brown felt instead? In any case, I am hooked...

Best,


Linking to:     Metamorphosis Monday @ Between Naps on the Porch   Make it 4 Monday @ Cottage Instincts
Craft Link Party @ Polly Want a Crafter
The Girl Creative
The DIY Show Off

Wednesday, October 6, 2010

Well Cushioned

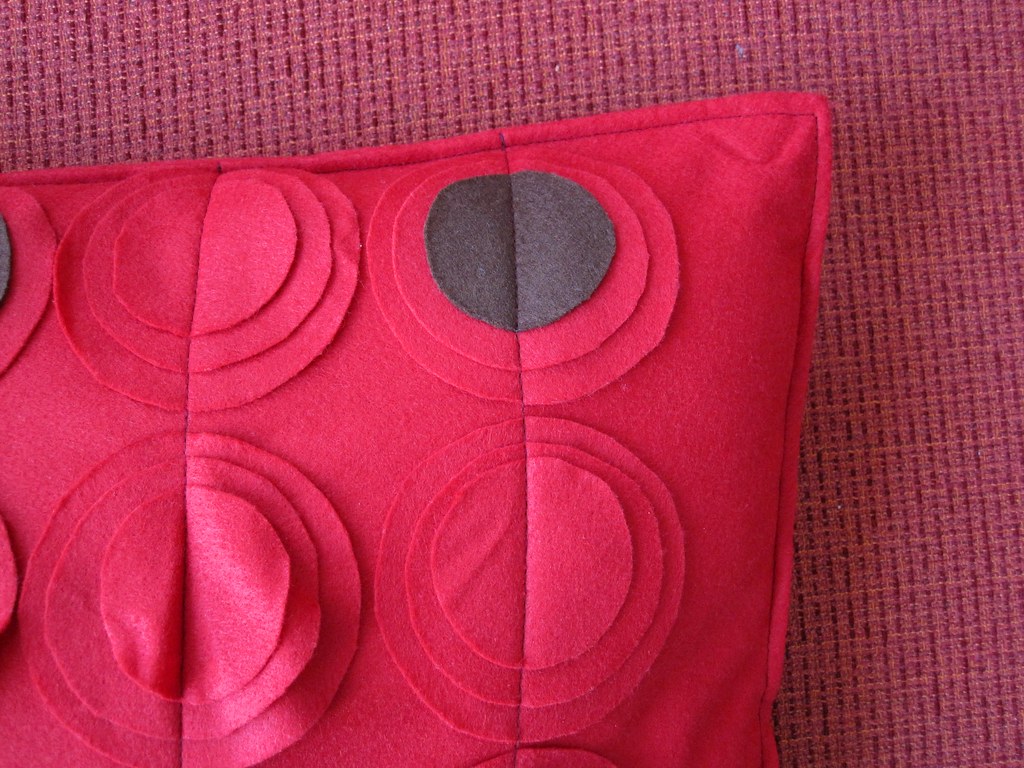
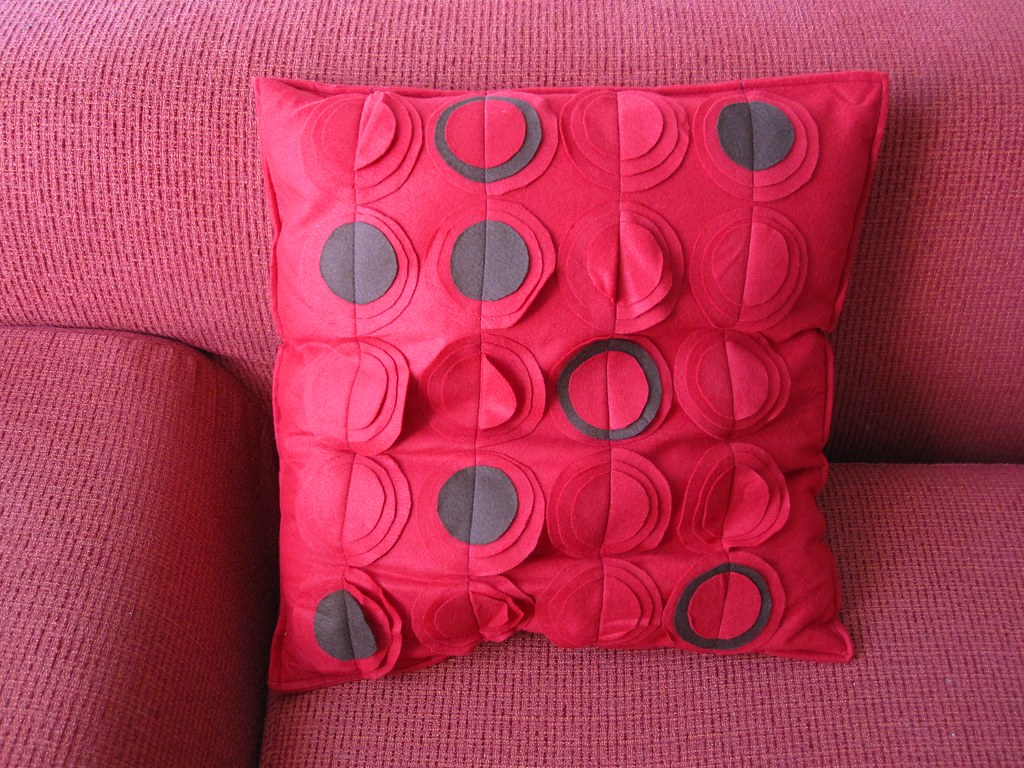
I am well-cushioned. Always have been, always will be. I have made my peace with that. And now I have a beautiful new cushion. No, I didn't gain another stone (6,35 kilograms for those of us who do not live in the British Empire anymore...), but I just completed a little home decor project: a bright, red retro cushion.


This is one of the easiest sewing projects ever. Just the right kind of project for messy, lazy impatient crafters like yours truly. Honestly, this is so mind-blowingly simple, you'll get this finished quicker than the time it takes to choose and buy a fancy cushion in the shops. Here's what I did:

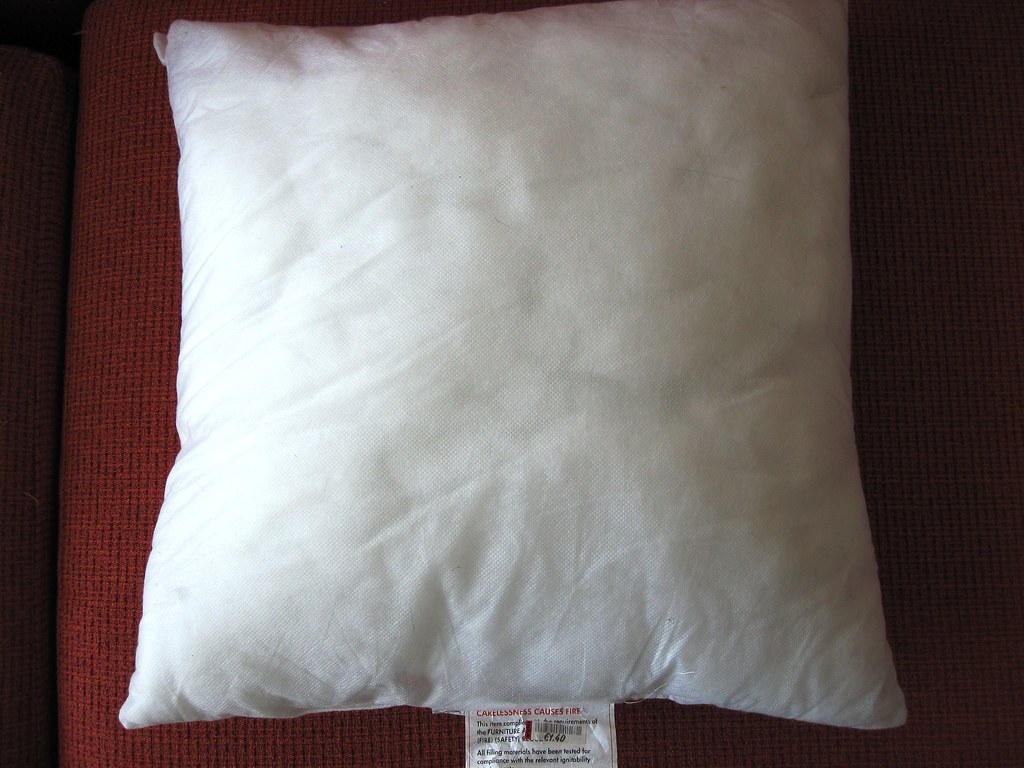
I started out measuring my inlet cushion which I had picked up in the Ikea bargain corner for a mere € 1.40 (price tag still visible in shot... um).
Lazy craftress that I am, I chose some red felt as the material for my cushion. The reason: Felt does not fray, therefore you can create all those little circles without having to hem them (unless you like the frayed look and therefore deliberately choose proper fabric...)

Next I cut my red felt to size. Again making it easiest for myself, I cut it in rectangular shape so that the material could be folded in half and I would only have to sew along three sides... (Maybe I should have ironed the material, but hey... will get creases anyway...)

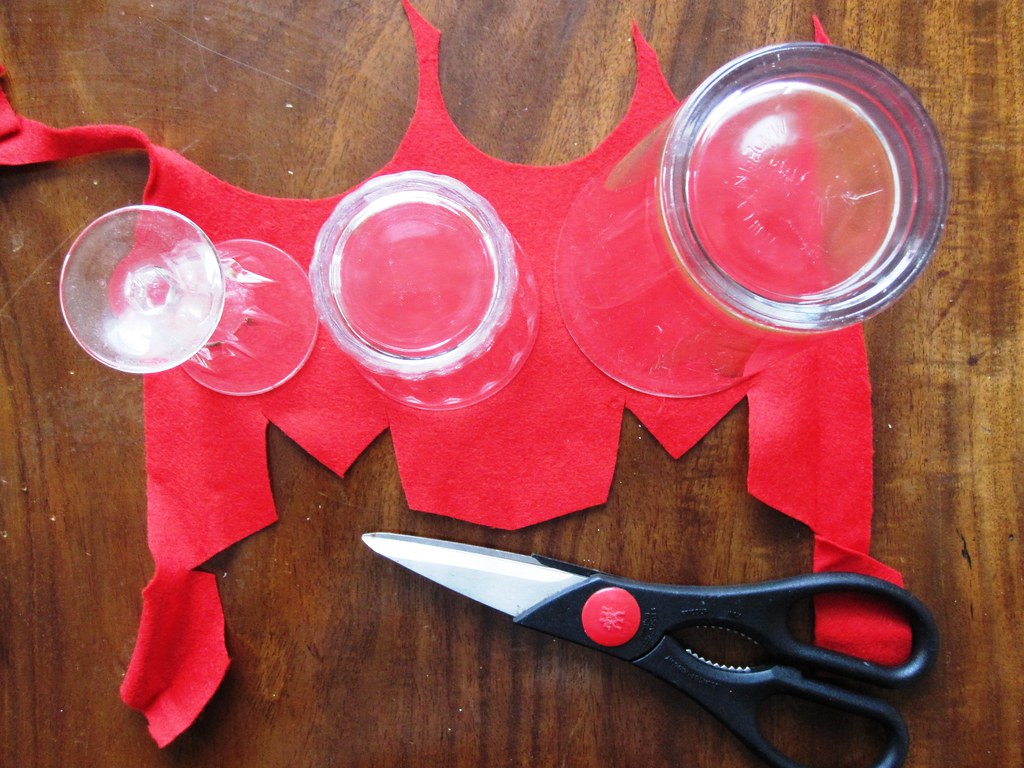
Then came the most time-consuming part: Cutting out the shapes that will give texture and interest to the cushion. I decided on felt circles in three sizes. I simply used three different size glasses to trace the shapes from. Liqueur glass, whiskey glass, pint glass (- please note: no alcohol was consumed during the making of this cushion...)
In total I cut out 60 circles for my cushion - and in the process permanently damaged my right index finger. It is still completely devoid of feeling... *eek*


Some of the circles I cut from brown felt, just to add some extra interest to the design and create a retro feel. Then I played around with the arrangement on the fabric.

I didn't bother to pin the circles onto the felt. Ok, my excuse was that I didn't want holes from the pins in the felt, but really, I was just a lazy bum seamstress. And since laziness is a recurring theme in this blog post, I also didn't take pictures of the sewing of the cushion. It is pretty obvious anyway: I sewed straight lines across the centre of the circles.

Then I folded the material over, right on right and sewed down the two opposite, open sides. After turning the bag-shaped cover over, I pushed the cushion inside. Then I sewed along the remaining open side to close the cushion.

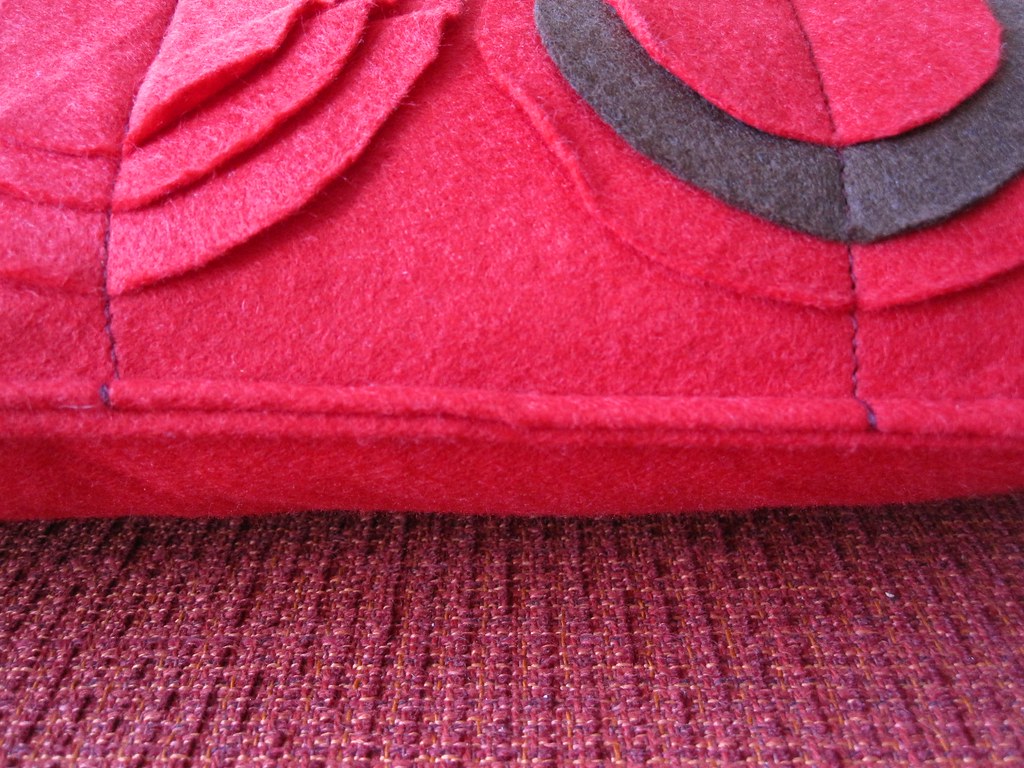
That, of course, left a visible seam, so I continued to sew along the edge of the other three sides, just to give it the illusion of piping. Et voilá, that's it.


Added cost of this cushion: about € 5.00 including inlet. It has already got a new fan who likes cuddling up next to it... And I'll probably make a couple more to "dress" my couch.

Best,


Linking to: 
DIY Club


giveaways

Show and Tell Green


Make it Yours @ My Backyard Eden