 I was looking through my box of buttons, wondering should I throw them out as I would never really use them again. But then I remembered a little heart-shaped decoration I had seen somewhere and thought that that was the ideal way of using the buttons in a decorative way.
So I chose all the white, clear and red buttons I could find in my box. Then I cut a piece of florists' wire. (Silver wire would have been ideal but I could not find any in my stock of crafts material, so the green stuff had to do.) Make sure you cut it long enough and don't run out of wire half way through the project.
Push the wire through the buttons. To stop the buttons from moving, you should put the wire in through one hole and down out through another.
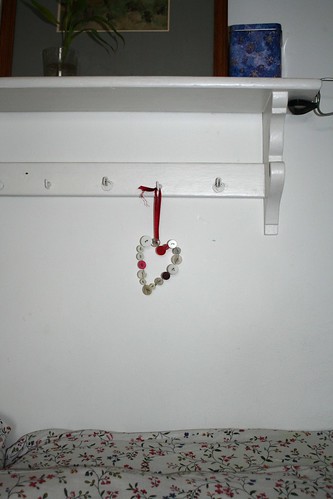 Mix the colours irregularly and keep threading until you have at least 15 cm length. Tie the wire ends together and bend into shape. Fasten a satin ribbon at the top and hang up.
13th January 2010: I am linking this to

2 comments:
so simple and cute!
Very cute and simple! I could see doing this for any number of embellishments. Thanks for sharing! I've posted a link on childmade.com.
Post a Comment