Hello guys - I was out of the country for a few days and then busy settling back in, so didn't get anything crafty done. But this evening I finally managed to do what I had been meaning to do for quite a while. I was sick and tired of my jugs - and have at the same time updated my kitchen mantlepiece according to season.
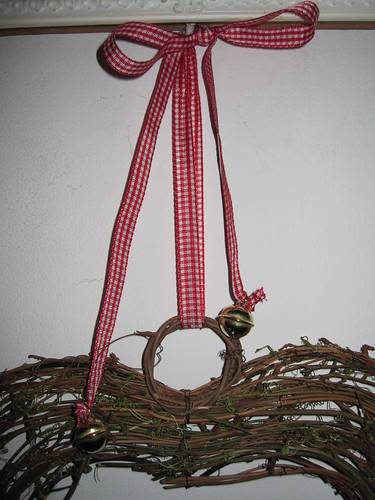
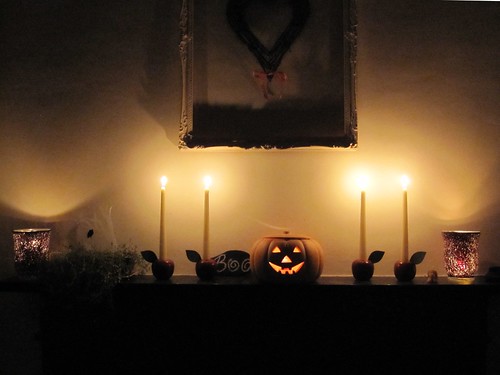
Right, Halloween time it is! I dug out my nice ceramic pumpkin and set it up on my kitchen mantlepiece, flanked by those autumnal red apples. And I took down the darling jugs of January (check them in all their glory here ) and replaced them with a wreath heart.
All I did was really put a nice ribbon onto the heart, tie it and add some bells.
Now that the days are getting dark again, I have put lots of candles on all mantles, whether it is in the kitchen or the drawing room. I love the warm light they give. And yet, the candle light draws some fittingly eery shadows from the frame. Almost gothic...
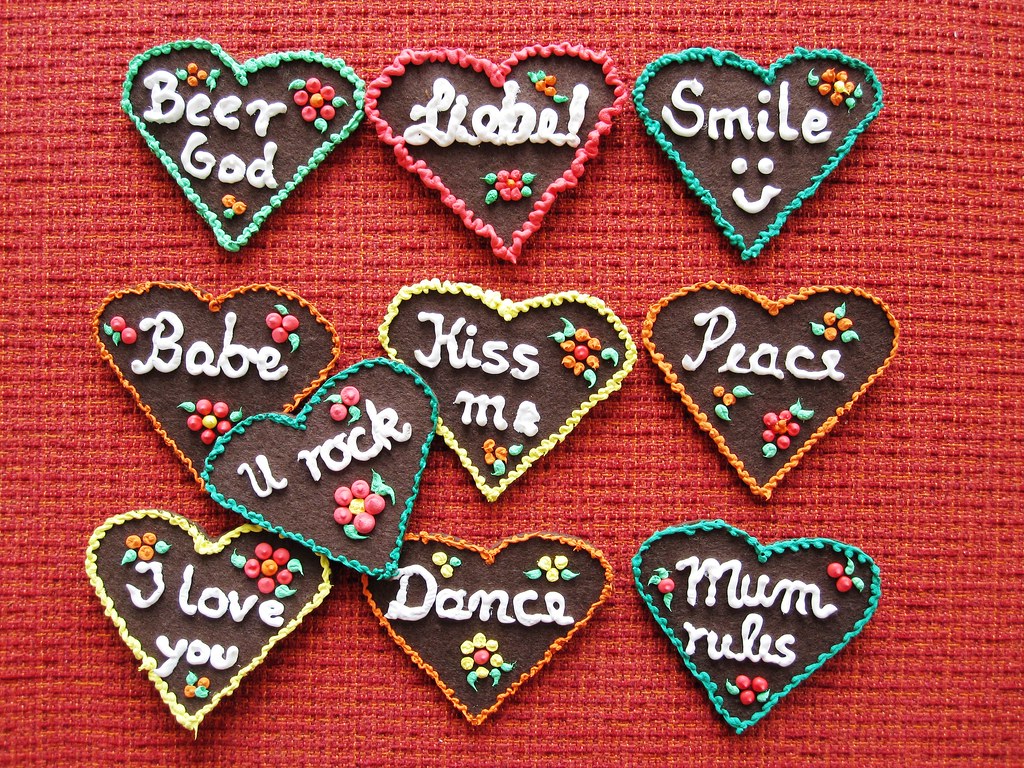
While I am practicing a bit of absenteeism from my blog, I have nonetheless been quite industrious. Making those gingerbread hearts has become a bit of an obsession, and over the last week I have made about 50 of them.
To see how they are made, click HERE. The more you make, the better you get at writing with that awkward bottle of puffy paint.
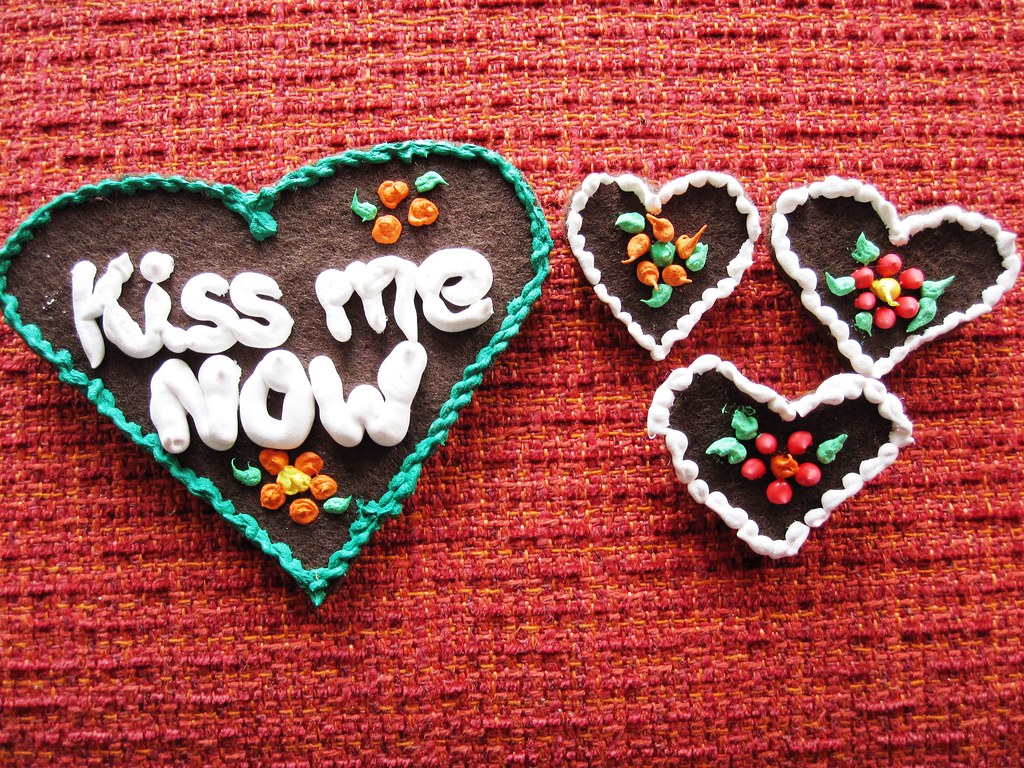
And finally I have also got my hands on a real gingerbread heart. I received a parcel today from my colleagues who are based in Munich, home of the Oktoberfest. As I am missing the mess fun that is the beerfest, they put a gingerbread heart and some yummy chocolates in a box to lighten up my beerfest-free autumn in Ireland. So you can see, my little brooches are a fair enough-copy of the real thing. (Disregard what it says on the heart - this one is actually an advertising gimmick, handed out by a company. It says "Dialogue connects" - *umm*, well...)
I will hopefully sell some of these through a friend who has a stall on the Dublin Oktoberfest. As my gingerbread hearts are quite large, I made a few small ones as well - too small to write a witty slogan on it, but big enough for a cute flower. Sorry, bad picture quality - here I am sporting one of my hearts.
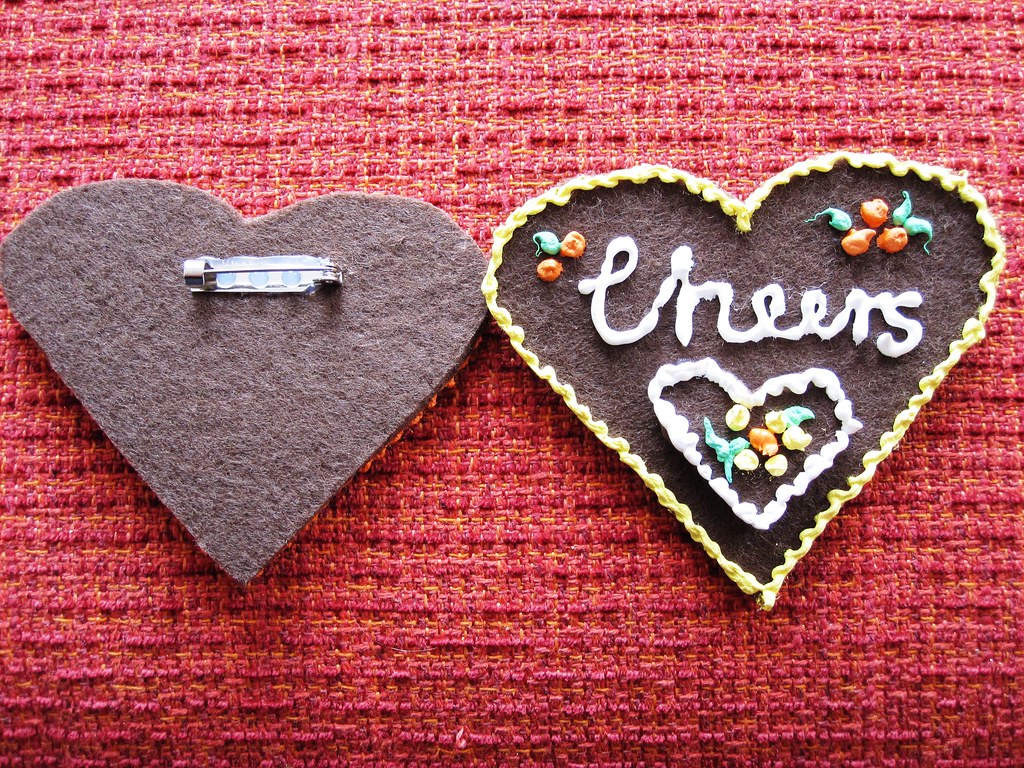
As a post-scriptum I have taken a picture of the back of the brooches - I simply hot-glued the needles onto the felt and they are attached firmly.
Anyway - I had a couple of comments on my brooch yesterday and continue wearing it. If nothing sells, my daughter and her friends will be very happy :-).
I leave you with the thought of the day:
Best,
Linking to "Get your Craft on" at TODAY'S CREATIVE BLOG and...
I know, it is still September, but right now the well-known annual beerfest in Munich is on again. In German it is called "Oktoberfest" - despite always happening in the month of September. Very unlike the usually pedantically correct Germans to misnome their festivals... (There is an explanation for that, of course - the first Oktoberfest occurred on the 12th October 1810 on the occasion of the wedding of King Ludwig I. of Bavaria to his wife Theresia. It became an annual event - which was eventually moved into September because the weather is nicer then. If you want more info on it, check this site: Oktoberfest.de/)
Anyhow, no German fun fair without the traditional gingerbread hearts. They come in all sizes - depending on how much you love the person you intend to buy it for. And they usually have corny slogans written on them, such as "Darling" or "Kiss me" or "Beer God". You can eat them, too, but they are mass-produced, cheap gingerbread decorated with sickly sweet icing - I usually let them collect dust for a while put them on display, and then discreetly dispose of them uneaten.
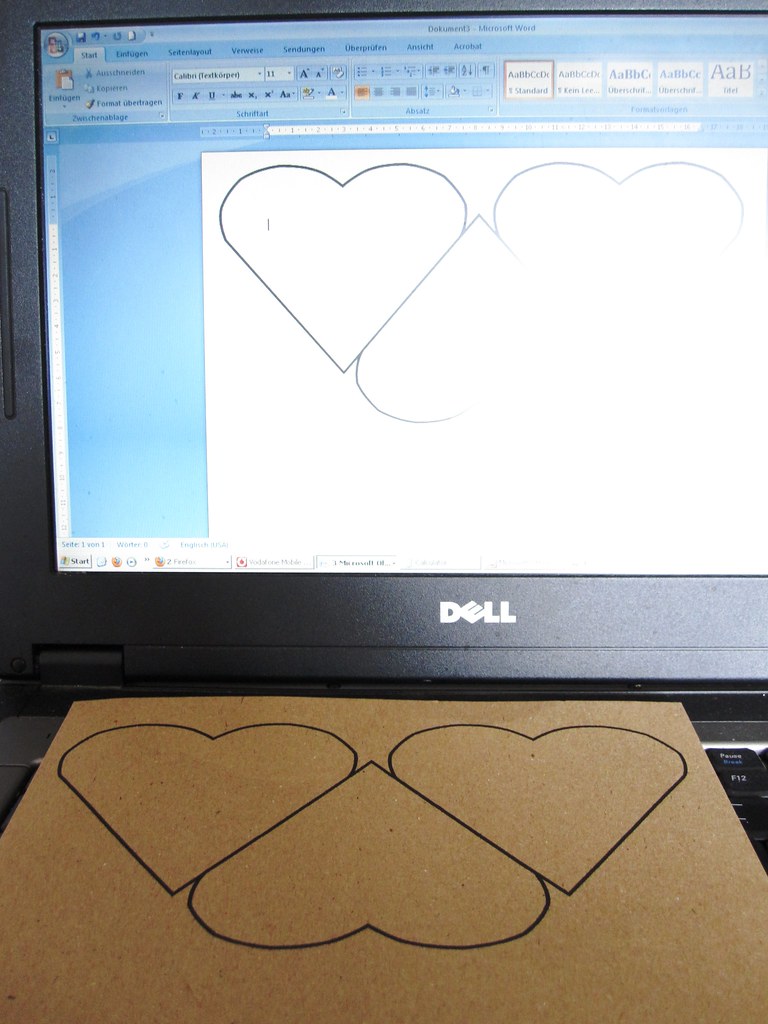
They are kind of sweet, though, and to make them last longer, here is a little crafty idea: With a little bit of felt and some puff paint, you can make them yourself. Nice decoration - and no calories *grins*. I started out by creating a heart template in Word. You can download it here in Scribd, if you want it. Hearts Template
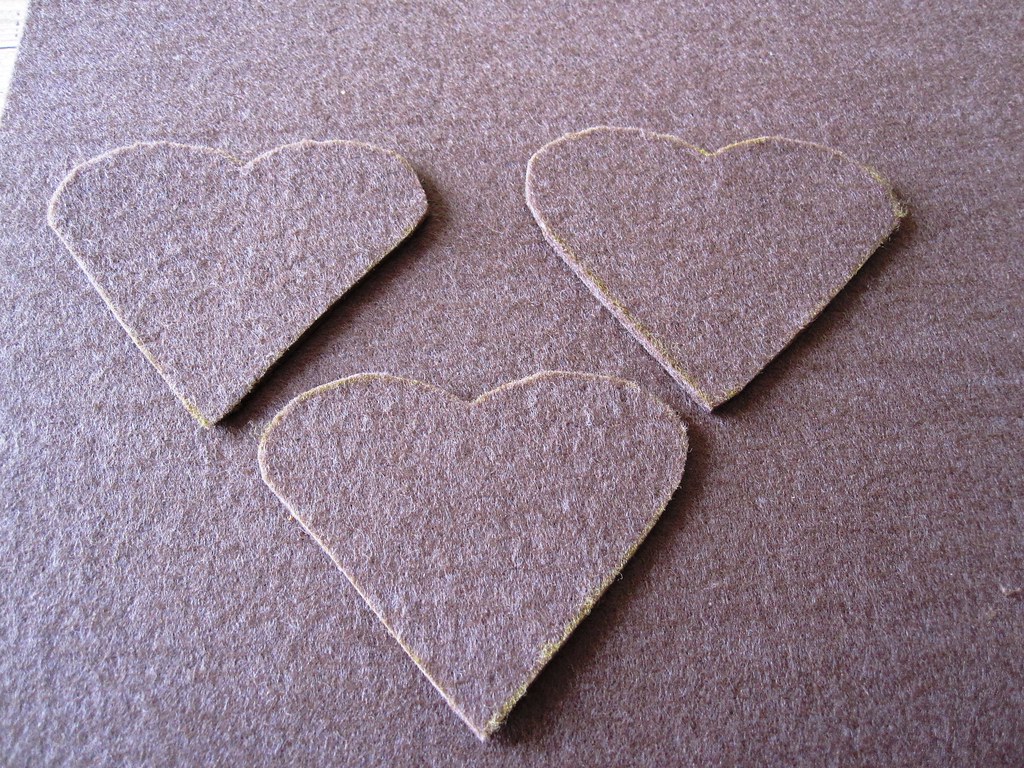
Having printed my template on a piece of card and then cut it out, I traced around it on my background material. The material is 3mm thick felt - nice and sturdy, just the right colour for gingerbread. I used a golden gel pen to trace onto the felt - it came out very faint, which makes it hard to cut around it later. White pencil works better, I found out later. You need a good, sturdy pair of scissors to cut through the thick material! (My index finger still feels numb after cutting out 20 hearts last night... *ouch*)
Now for the fun bit. I had ordered some puffy paint for this project. This is the first time I have used the paint - and it is not quite as easy as eating a gingerbread heart. Ok, the paints come in a nozzled bottle with which you directly paint or write on the surface. But the difficulty is that you have to squeeze the bottle while writing - resulting in rather squiggly lines. Ah well, first try.
Once you are happy with your design, you let the paint dry for at least six hours. After that you puff up the paint by placing the hearts in the oven at 150°C. The instructions say that the paint only needs 10 to 60 seconds to puff up, however, I found with my gas-oven, that it needed much longer than that. But well, that could be my temperamental oven... You can also use a hairdryer and fluff the paint with that.
I didn't take any pictures of the last step - hot glue a brooch needle onto the back of the heart, and off you go, celebrating Oktoberfest.
I'll be making many more of these in the next few days as I have been asked to supply some crafts for a stall at the local Oktoberfest. Hopefully I will master the art of squeezing the bottle and create a few sleeker hearts.
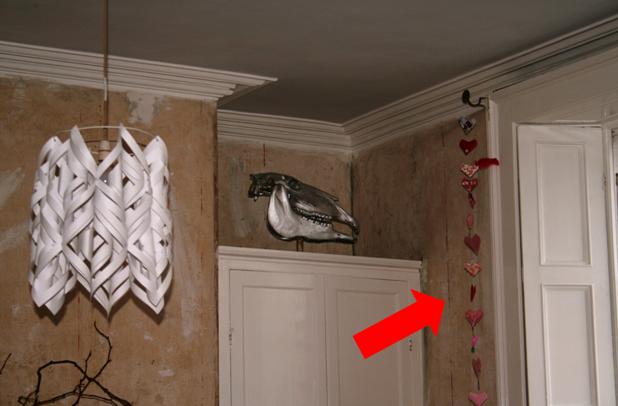
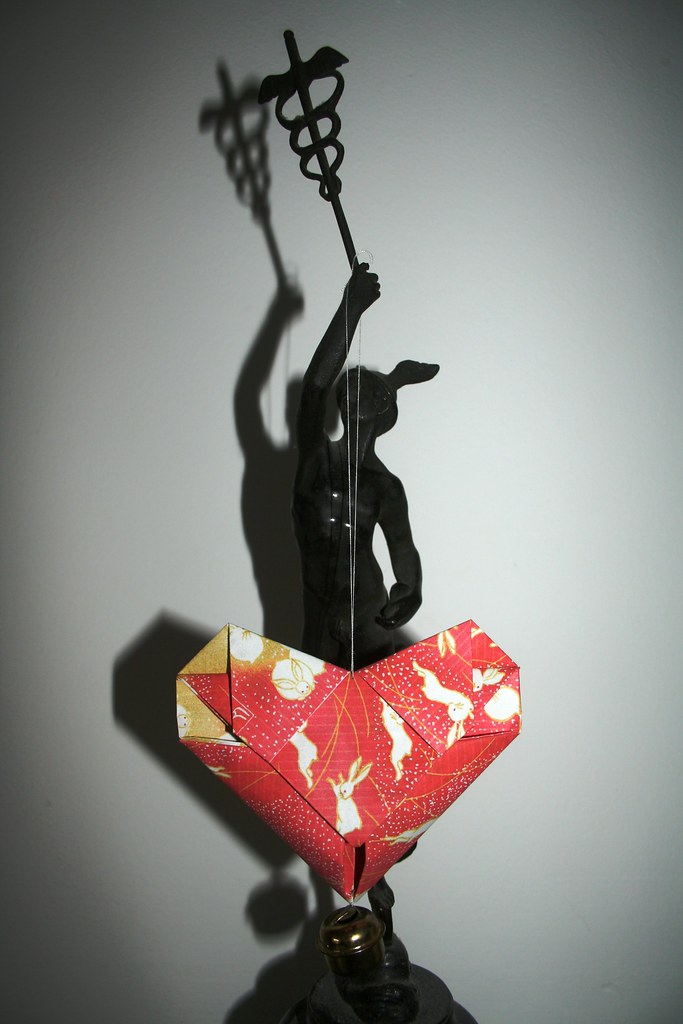
After several weeks of displaying my lovey-doveyorigami heartson my mantlepiece in the sitting room, I have finally decided to take them down and make space for the Easter decoration that will soon go up. I really love those hearts, though I did not want to display them so prominently anymore. So I found a new place for them. Did you spot them in yesterday's pictures and post about the sculptural horse skull?
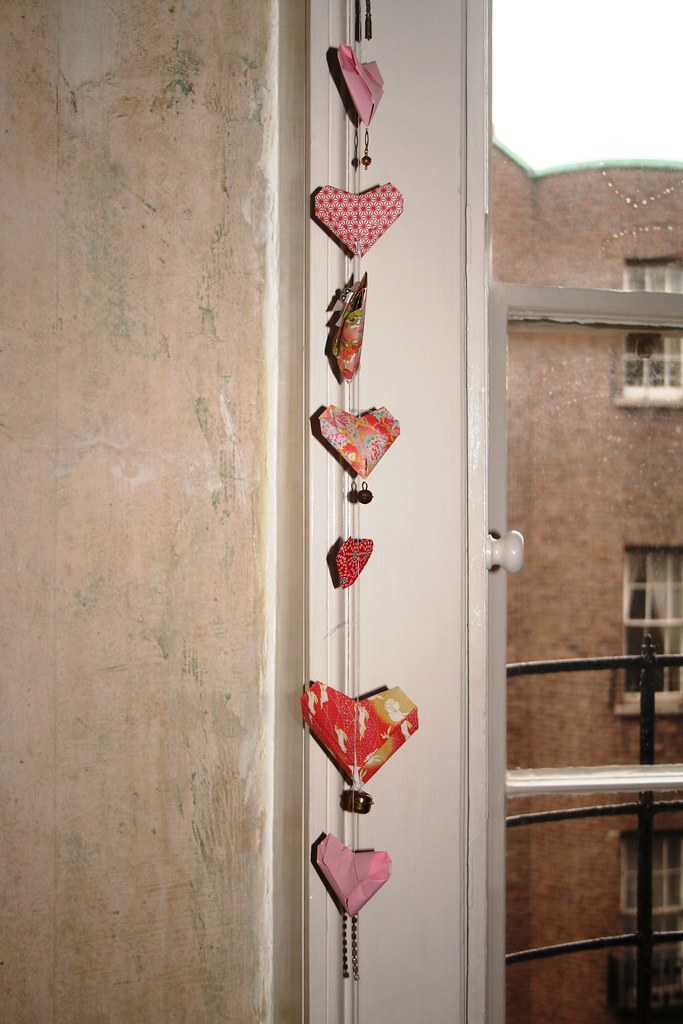
Rather than pack them away and forget about them, I decided to make a long chain of hearts out of them. Nothing simpler than that: I just hung them from each other in a long line.
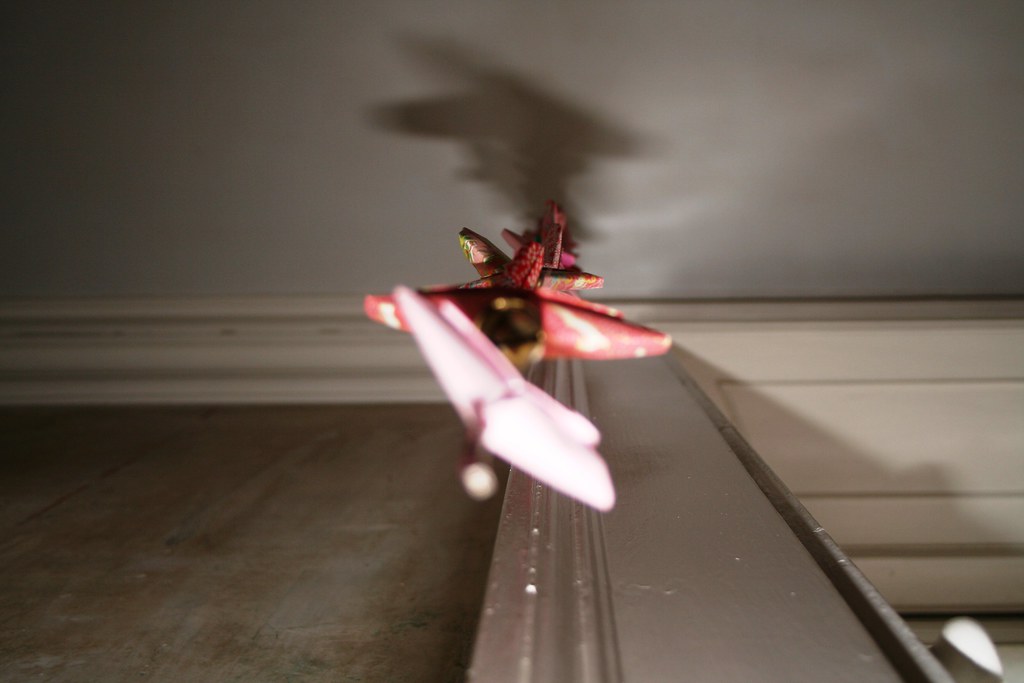
They hang nicely beside our very tall sash windows, swaying softly in the draft - yes, the nasty draft that you have to live with in an old house... The chain is so long that I actually could not get a decent shot of the whole line without moving furniture. Instead we will have to make do with an artsy-fartsy shot from below:
On a different note I am happy to announce that I have packed and sent off the giveawayto the lucky winner, Amy. I hope it will arrive quickly - and undamaged - after its long journey across the Atlantic from Ireland to Kansas. The prove is in the pudding parcel:
I don't know about you, but I am totally crap at origami. It is with horror that I remember a one-day Japanese language course where the kind tutor also showed us the traditional origami crane that all school children in Japan can make with their eyes closed. Well, I couldn't even do it with my eyes open!!!
While out on Sunday, a friend of a friend entertained the kids at the restaurant by folding the crane from a piece of scrap paper that was left on our table. I was mightily impressed - and wished that I had a little party piece like that to awe my little audience with. Also, my ambition was piqued, and I looked up origami crane instructions on the net. "If she can do it, so can I!" the Queen of Crafts thought, "thou shallt not be craftier than us!" Well, my attempts at recreating the crane were pathetic - and landed in the waste paper basket!!! But not being one to give up easily, I found another origami piece which I was able to do - yoohoo. Origami hearts!
Do you want to make one, too? I have developed an origami heart fetish and made about 20 yesterday. It's dead easy. Usually origami pieces are made from square paper. This project is so neat because you use a rectangular piece of paper - A4 size is just right. (Or A5, A6, whatever size you want your heart to be!) So no cutting or trimming needed! The other cool thing is that you only need paper that is decorated on one side. The pattern works in such a way that only the decorated side will be visible on the finished heart. That means you can even use scrap paper - recycle it here!
I usually take photos for my tutorials, but with origami I find pictorial instructions useless. I never understand the little arrows and instructions. So I stole borrowed my son's little digital camera to record my first ever clip tutorial. Tadaaaaaaaaaa! Craft-Werk goes 21st century! I proudly present my first attempt at a video tutorial. (Disclaimer: Sorry about the picture quality - must be the poor pixel settings of the camera - and the typing sounds in the background. I hope it is not too distracting!)
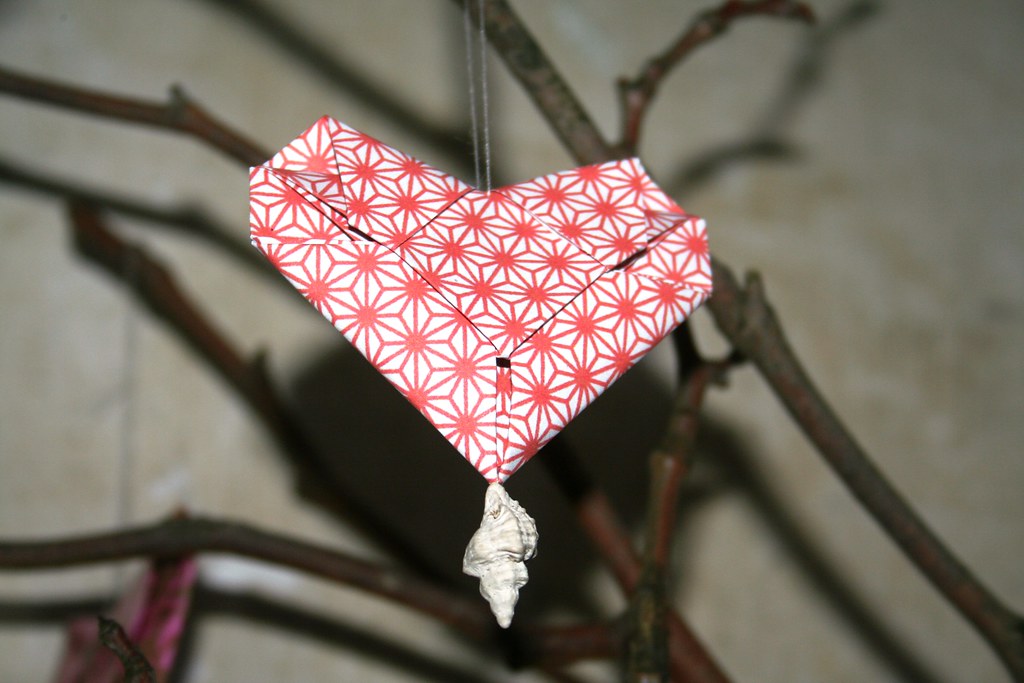
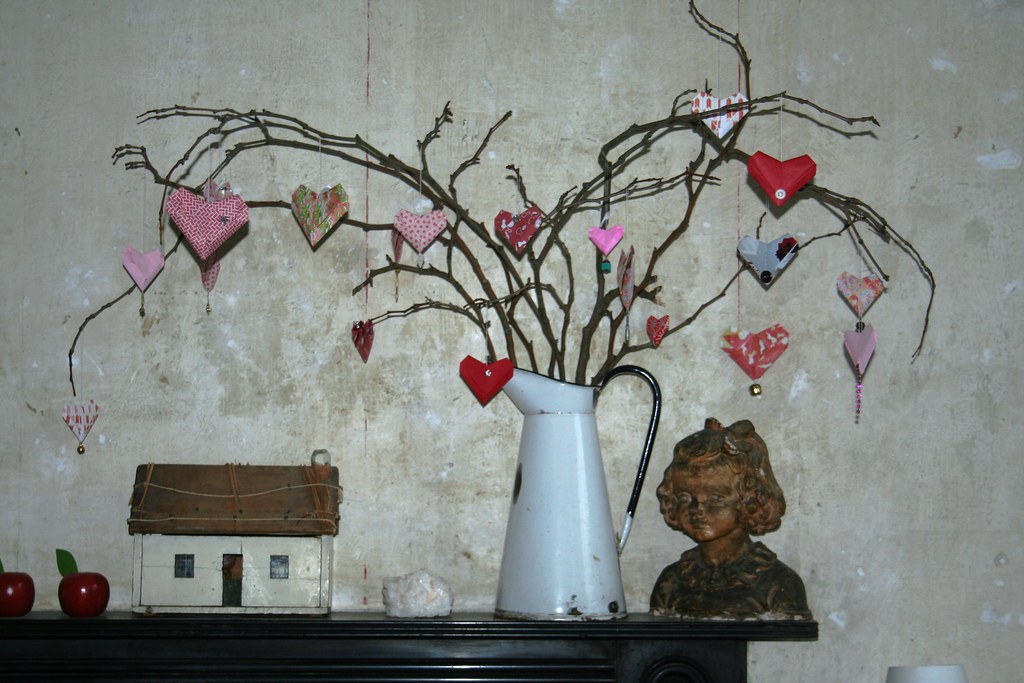
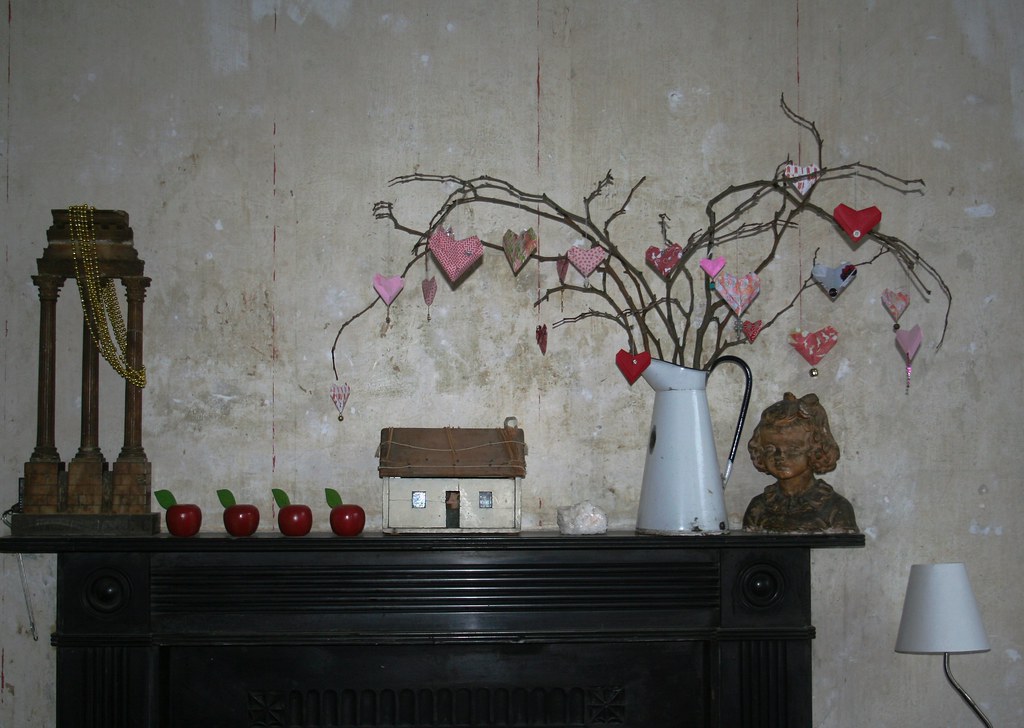
Ugh, was that me? Do you also hate hearing your voice? Anyway, I hope you could see how easy and quick it is to make this little paper heart. I decided to make them into ornaments to hang from a few branches. You are asking me why go through all the fuss of folding when you could simply cut out a heart shape and hang it up like that. Point taken - but these origami hearts are nicely three-dimensional. And it's good to learn something new, isn't it?
My mantlepiece in the drawing room was in need of some colour and happiness. I had some coloured paper in my stash which I used. I also experimented with colourful pages ripped from a magazine (didn't like those so much, though). But the best results were with scrap paper that I had printed chiyogami patterns on. I have recommended the site before - Canon has a whole webpage dedicated to crafting. You can download beautiful paper designs there - for free - and print them on your normal paper. Check it out - Canon Creative Park.
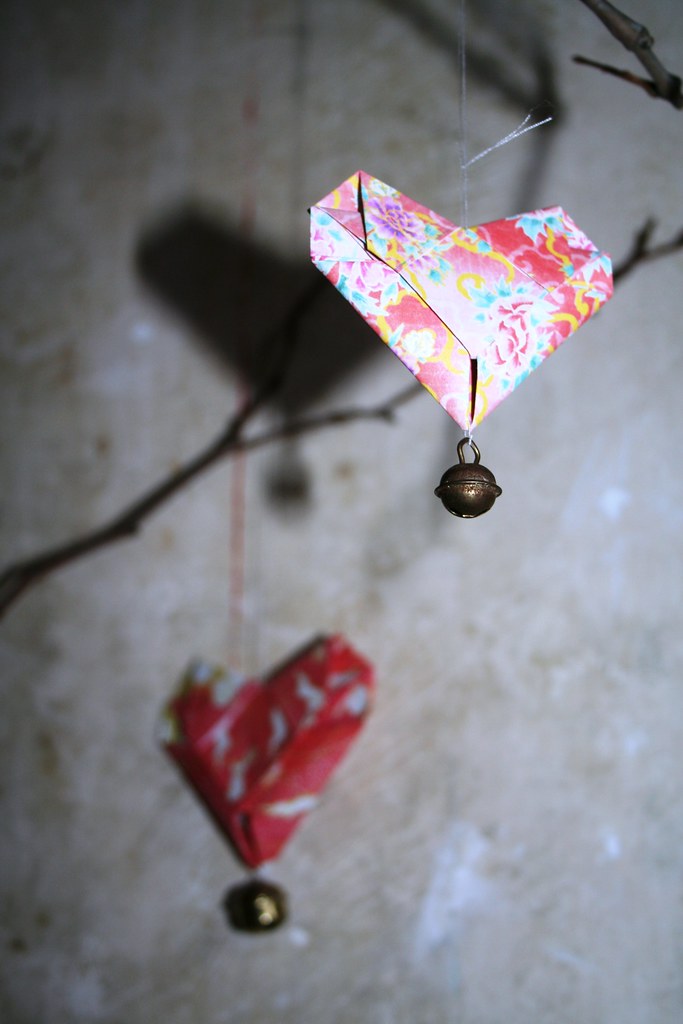
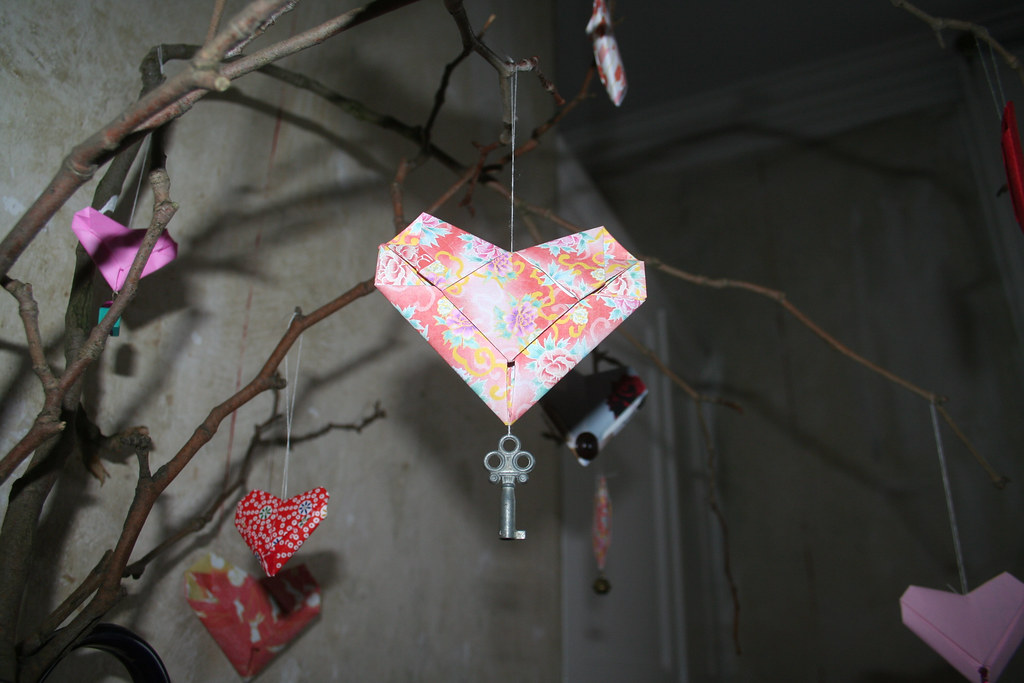
No two of my origami hearts are the same. They would look nice just on their own, but I decided to embellish them with bits and pieces that I had lying around - bells, buttons, ribbon, beads, even a little shell. My favourite, though, is what I have dubbed the "You hold the key to my heart"-heart.
I am not a fan of the whole Valentine's Day season, but these ornaments would make a lovely display. You could string them up on a bit of ribbon and hang them on the mantle. They also make an original Valentine's message - remember: only one side of the paper is visible on the finished heart, so you can write a message to your Valentine on the inside and then fold it up. Nifty!!!
Here is a little craft project for a rainy half-hour ;-). Also very easy to do with kids.
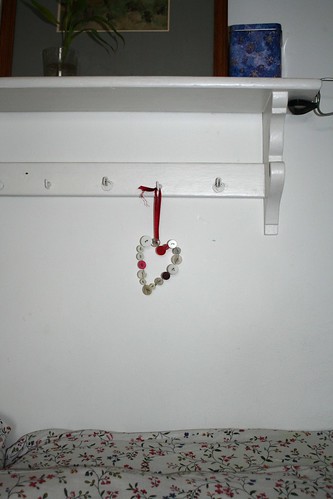
I was looking through my box of buttons, wondering should I throw them out as I would never really use them again. But then I remembered a little heart-shaped decoration I had seen somewhere and thought that that was the ideal way of using the buttons in a decorative way.
So I chose all the white, clear and red buttons I could find in my box. Then I cut a piece of florists' wire. (Silver wire would have been ideal but I could not find any in my stock of crafts material, so the green stuff had to do.) Make sure you cut it long enough and don't run out of wire half way through the project.
Push the wire through the buttons. To stop the buttons from moving, you should put the wire in through one hole and down out through another.
Mix the colours irregularly and keep threading until you have at least 15 cm length.Tie the wire ends together and bend into shape. Fasten a satin ribbon at the top and hang up.