This is one of the easiest sewing projects ever. Just the right kind of project for
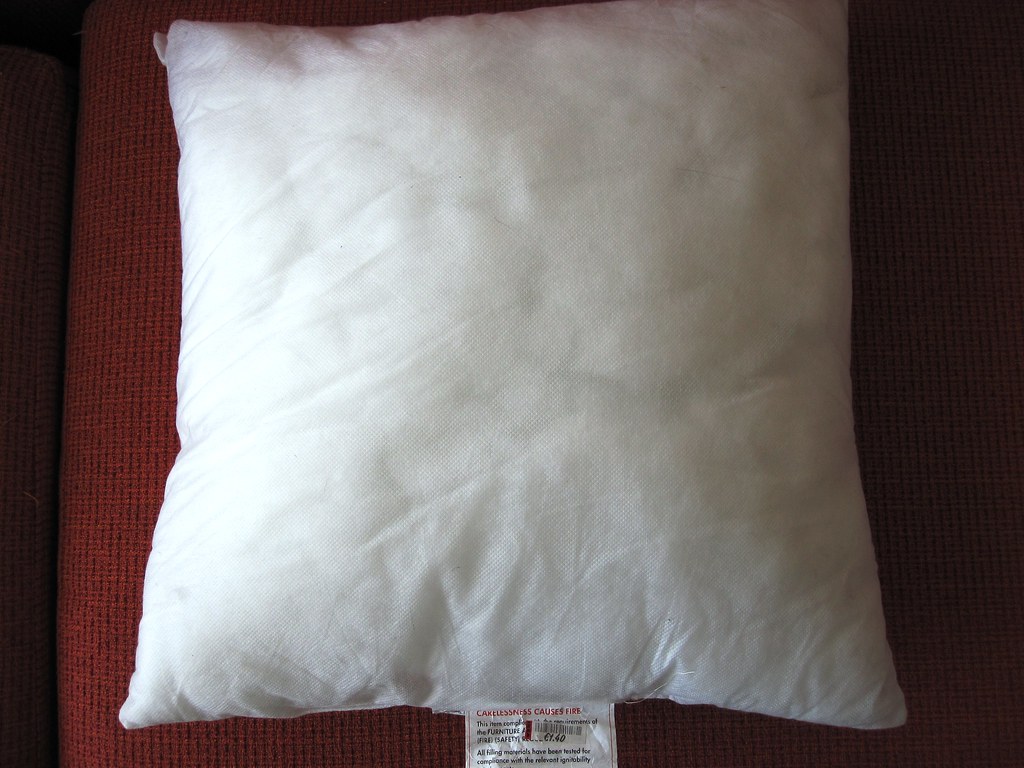
I started out measuring my inlet cushion which I had picked up in the Ikea bargain corner for a mere € 1.40 (price tag still visible in shot... um).
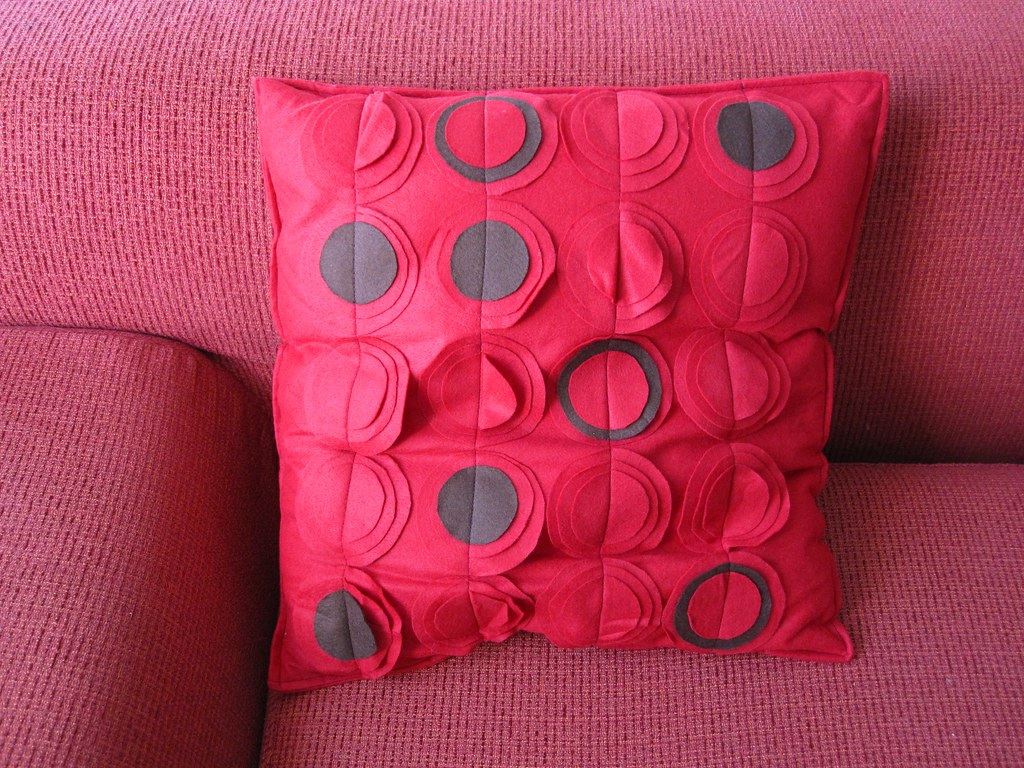
Lazy craftress that I am, I chose some red felt as the material for my cushion. The reason: Felt does not fray, therefore you can create all those little circles without having to hem them (unless you like the frayed look and therefore deliberately choose proper fabric...)
Next I cut my red felt to size. Again making it easiest for myself, I cut it in rectangular shape so that the material could be folded in half and I would only have to sew along three sides... (Maybe I should have ironed the material, but hey... will get creases anyway...)
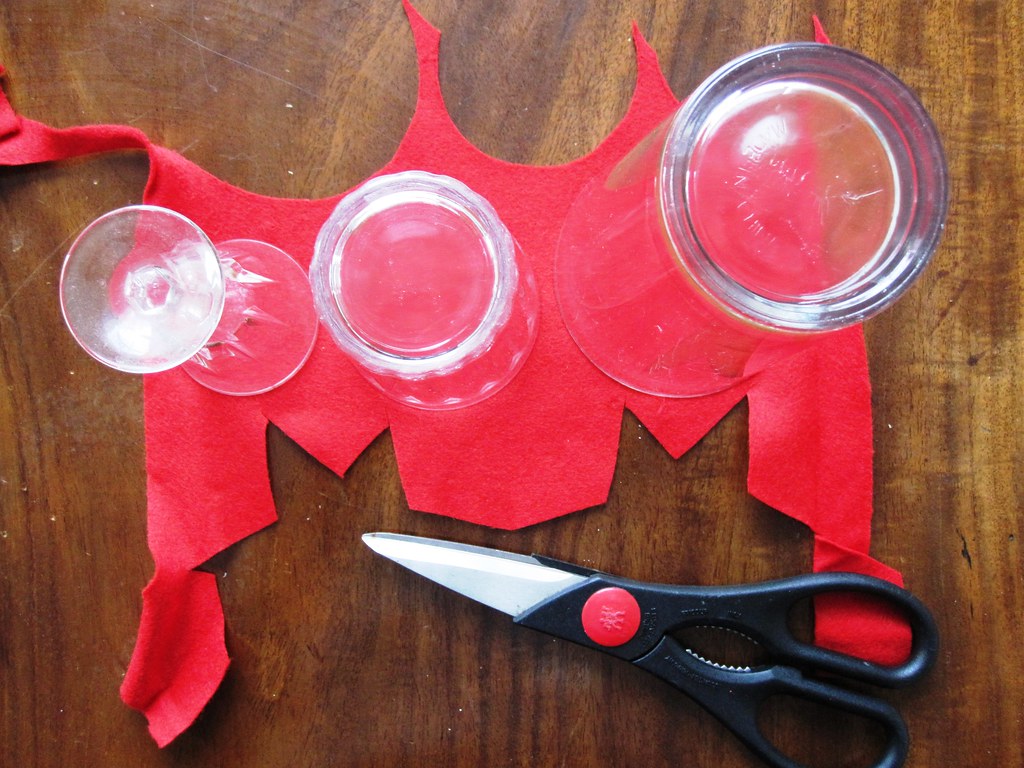
Then came the most time-consuming part: Cutting out the shapes that will give texture and interest to the cushion. I decided on felt circles in three sizes. I simply used three different size glasses to trace the shapes from. Liqueur glass, whiskey glass, pint glass (- please note: no alcohol was consumed during the making of this cushion...)
In total I cut out 60 circles for my cushion - and in the process permanently damaged my right index finger. It is still completely devoid of feeling... *eek*

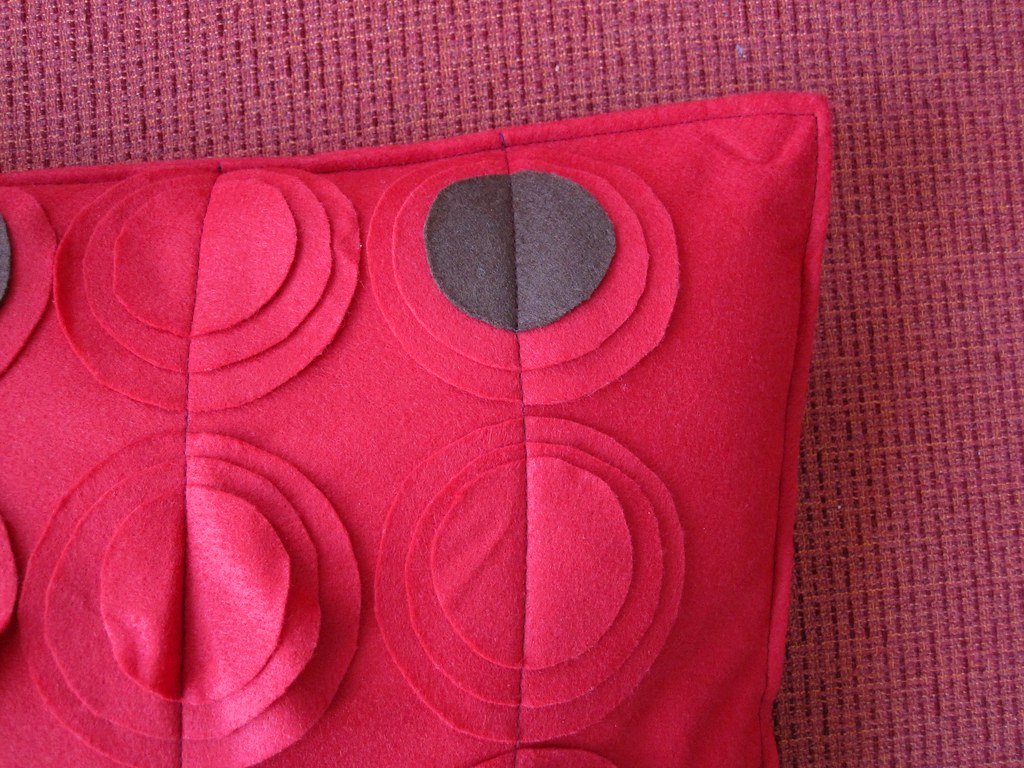
Some of the circles I cut from brown felt, just to add some extra interest to the design and create a retro feel. Then I played around with the arrangement on the fabric.
I didn't bother to pin the circles onto the felt. Ok, my excuse was that I didn't want holes from the pins in the felt, but really, I was just a lazy
Then I folded the material over, right on right and sewed down the two opposite, open sides. After turning the bag-shaped cover over, I pushed the cushion inside. Then I sewed along the remaining open side to close the cushion.
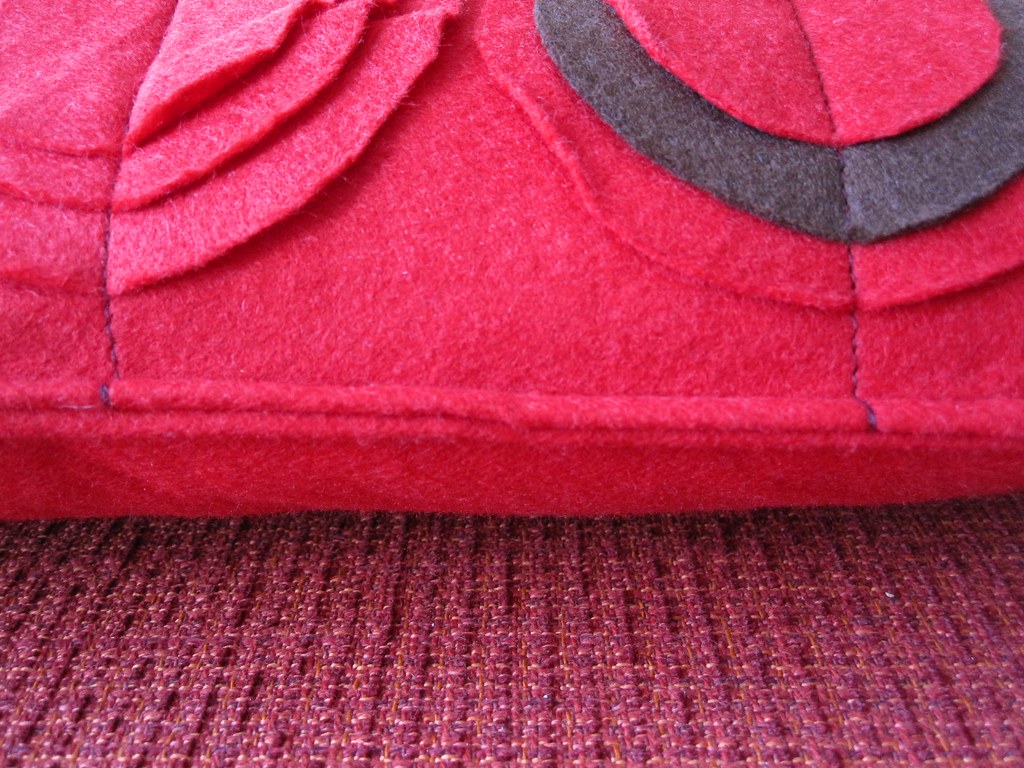
That, of course, left a visible seam, so I continued to sew along the edge of the other three sides, just to give it the illusion of piping. Et voilá, that's it.
Added cost of this cushion: about € 5.00 including inlet. It has already got a new fan who likes cuddling up next to it... And I'll probably make a couple more to "dress" my couch.
Best,

Linking to:






8 comments:
Red is my favorite color and retro is one of my favorite things, so this pillow is a winner in my book! Thanks for sharing. :)
I do live in Britain (now), and gaining a stone (or two... cheers to every flabby late night cheap excuse for a donner in the last 4 years) sounds somuch better than "I have gained 6.35 kilos!" Ahem.
Love that cushion to bits, it's honestly gorgeous.
Wish I had a sewing machine!
Hey Pam and Lisbonlioness - thanks for the comments ;-).
@ Lioness: Hehe, you are right - 1 sounds less than 6.35. But "stone" conjurs up the image of a big heavy rock... mind you, that's how I sometimes feel ;-)
Thanks for the comment! I'll be following and would love a follow back! The cushion is darling!
This looks so fun and retro-! Thanks for the tutorial!
That is adorable Sonja. I love the color combo...of course. Would match my family room perfectly.
That is so cool. You should enter that in thediyclub.com Weekly Showcase. We have a fun give-a-way each week.
We are looking for crafty talented people to showcase in our eZine-if you are interested let us know.
Check out our monthly contest as well, we have a $1500 give-a-way--one week left. Check out the guidelines and enter qualifying projects.
Cheri from ItsSoVeryCheri
So very cute. Love it. Thanks for sharing. Visiting from That's So Very Cheri. (Love the cat in the photo)
Post a Comment