FYI


Showing posts with label felt. Show all posts

Friday, March 16, 2012

Felt Flower

The momentum was kept up today with not one but three crafty things I did. It's already late now and tomorrow is Paddy's Day, so I won't have time to write up all three, but I'll show you todays favourite piece of creativity - a felt flower.


The inspiration for this easy flower pin came from pinterest - or actually a craft blog called Homemaker in Heels. I saw the flower there and decided on a whim that I should try it out. And I did and was lucky at first go. Goes to show how easy this project really is!!!
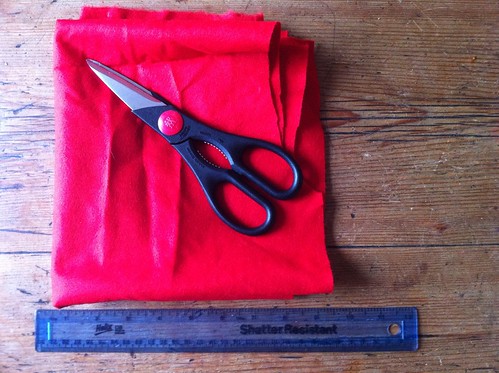
Here's what you need: A strip of felt, scissors, a glue gun and a brooch pin.


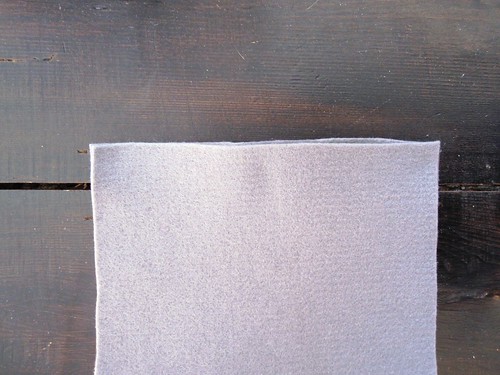
Cut off a piece of felt, about 12" long and 4" wide. Never mind whether it is ironed or not - it won't make any difference to the outcome of the project.


Fold the strip in half.


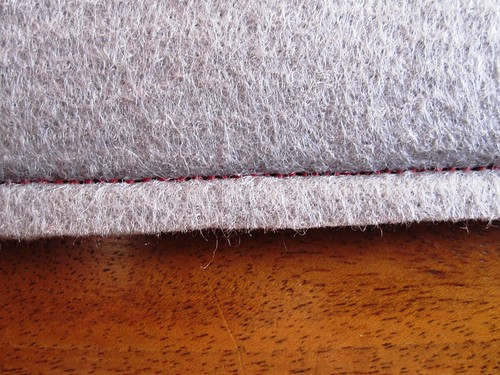
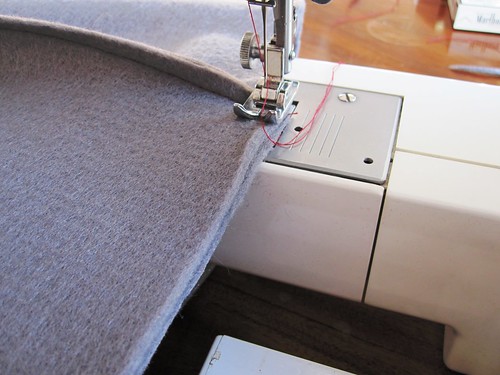
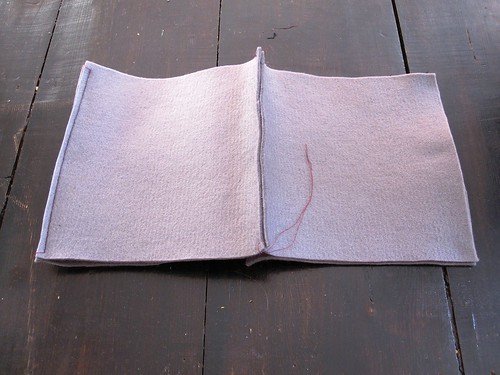
Sew down the length of the strip and then cut the felt almost down to the seam.


Roll up the length of felt. Secure the last bit with a drop of hot glue.
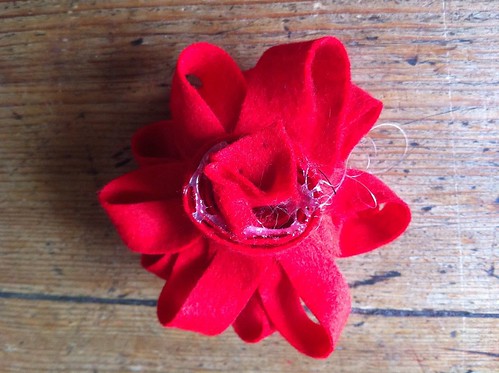


Now fix the flower by putting hot glue all into the rolled up middle of the flower. Before the glue has hardened, bunch a bit of felt into the middle there to fill it in a little.
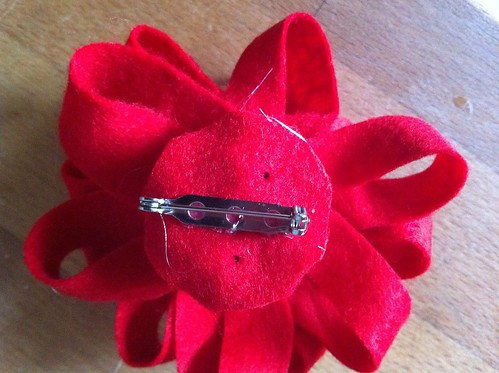


Cut a bit of felt and cover the bunched up back of the flower with it. Hot glue a brooch needle onto the back and tidy up all the glue strings.


Presto!


Look how extraordinarily pleased I am with my flower pin. I am grinning like a gingerbread horse (sorry, direct translation from German - but you get the picture... I am happy as Larry, pleased as Peter and delighted as Delilah...) You can almost hear me say tadahhhhhhhhh...


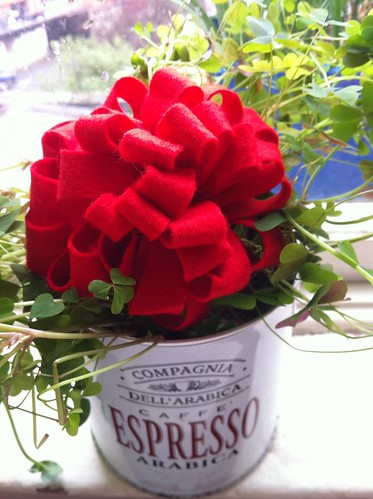
 Anyhow - if you are looking for a simple flower brooch to update an outfit, to prettify a hat or to bump up a bag, this is the project to do as you will more than likely have all ingredients at home. I think I will make many more of these - as pressies for friends, mums and goodie bag contents for the next girly birthday party. It even looks good in my tin of shamrock, planted just in time for Paddy's Day.


Best,


Linking this to:

Tickled Pink @ 504 Main
Frugalicious Friday @ Finding Fabulous

Tuesday, October 26, 2010

Flower Power

Yeah, I am aware it is autumn and not spring. But a little flower enhances the dullest of seasons and the greyest of baskets, ey? Making them is the easiest of things. Do you want a tutorial? Ha! Resistance futile! You're gonna get one, anyway...


Easy as 1 - 2 - 3: Cut out some petal shapes. They don't need to be regular - mother nature is pretty irregular, too.

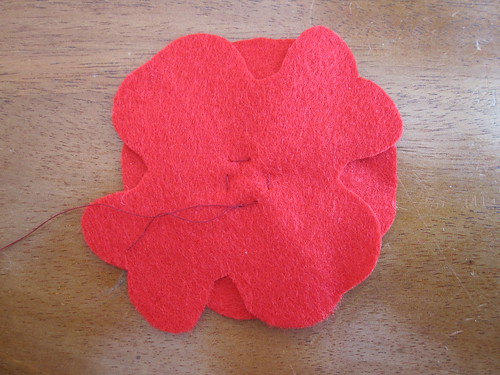
Stitch together.

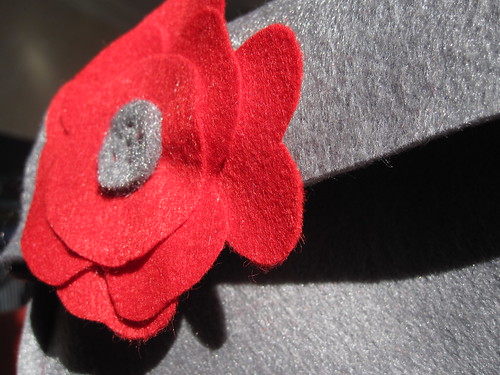
Use different colour felt for a centre of the flower - I used some grey scraps from yesterday's felt basket to coordinate, just simply stitching it on with red thread.

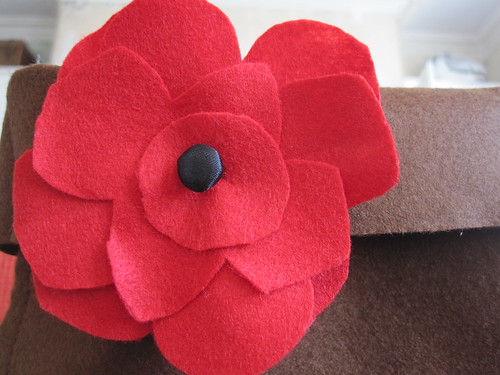
Or make it even easier by using a button as the centre.


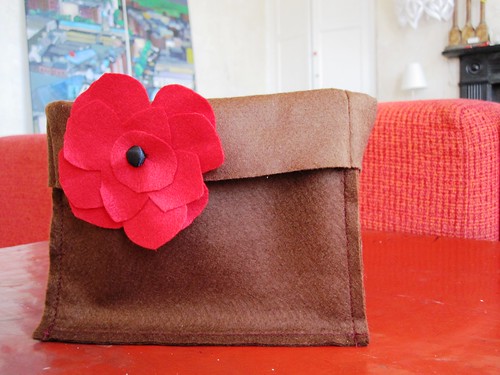
Yep, you've guessed it - I couldn't resist and made another felt basket. This time in brown, with felt left over from my retro cushion.


I think I may make more felt baskets with flowers. They might come in handy as Christmas pressies for assorted family members.

Best,

I am a basket-case!

Last year, when I started my blog, I briefly had this idea of assigning a particular crafts material to every week and only make projects that involved the chosen material. The idea didn't last very long - I think I managed to do two "MoW"s before it morphed into a "MoM" and then went AWOL. Wow. Or rather not. AnyHOW, looks like I am in a "material of the month" phase again, as during the past month or so I have posted four projects that involved felt - the gingerbread hearts, two cushions, and a flag/banner. And now I am adding another felt project to the list. You've guessed it - I felt deeply about felt...

I actually had a rough day, today, exacerbated by the fact that my Methuselah of a laptop coughed up with a couple of viruses and then decided to forestall my attempts at going online *sighs*. After a brief moment of panic - what will I do if I don't get my daily fix of FB, not to mention being unable to access my cloud-based editorial systems for work - I realised that dear old Methuselah had just given me the greatest gift of all: Time to be creative without the web. And so I gathered my stuff, set up the sewing machine in the warmest room of my house and worked away. Here is the result.


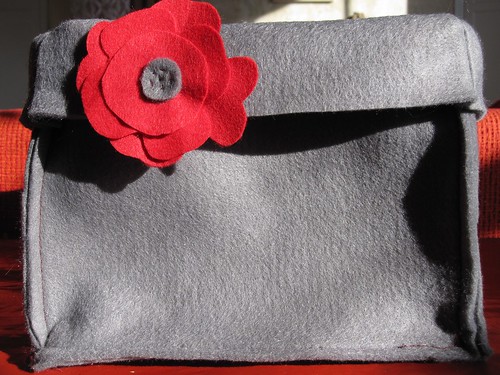
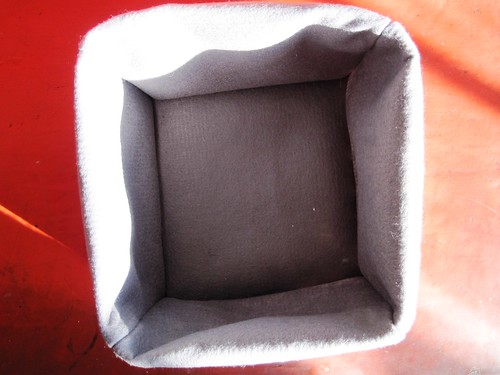
A felt basket.

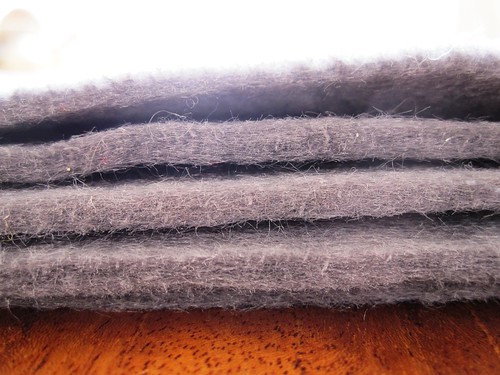
I had some 2m of grey felt on hand, recently bought as a bargain for about € 6.00. It is about 4mm thick.

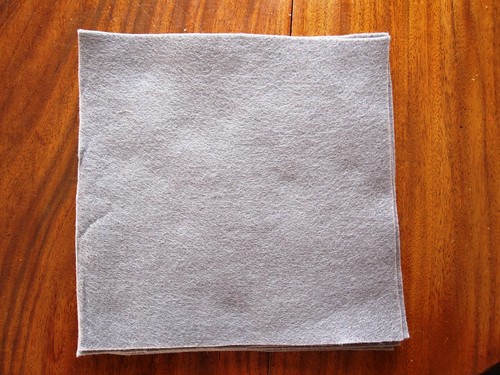
To start with I decided how big I wanted my basket and cut 5 square pieces of it, roughly 18x18 cm.


I put two squares on top of each other, carefully aligning the sides, and simply sewed a straight line down close to one edge.


This way I sewed four squares together, ending up by closing the "circle" and sewing square 1 and square 4 together. The hardest bit was actually sewing in the bottom of the basket - fitting 8mm felt under the needle was hard.


Voila - a felt basket in less than an hour for about 50c. For extra stability I turned the rim down.

Although grey is big on trend at the mo, the finished object looked a bit bland. So out came the left-over red felt from the cushions and I quickly whipped up a little flower to adorn the basket.


These baskets are so easy to make. They don't require any fancy patterns - squares is all you need. The felt is easy to work with as it doesn't fray. Only your sewing machine may be a bit overpowered by the thickness of the felt layers. But you could actually hand-stitch the sides together - it would probably give a nice effect, too.

What will I put into my new basket??

Best,


Linking to:  Metamorphosis Monday @ Between Naps On The Porch  ***  Make it for Monday @ Cottage Instincts   ***   The DIY Showoff Project Parade   ***   I Made The World Cuter @ Making The World Cuter  ***   Boardwalk Brag-Fest @ Bobbypins Boardwalk  ***   Spotlight Yourself @ It's So Very Cheri   *** Strut Your Stuff Thursday @ Somewhat Simple   *** Show Off Your Stuff @ Fireflies & Jellybeans  *** Get Your Craft On @ Life as Lori   *** Transformation Thursdays @ Shabby Chic Cottage   ***   Thrifty Thursday @ Tales from Bloggeritaville 

Monday, October 11, 2010

1 is such a lonely number

I have a tendency to get obsessed. If I get interested in something, I immerse myself in it from tip to toe. Luckily my attention span is short, so it never develops into an unhealthy long obsession. This applies to crafting, too, where this week I wouldn't rest until I had made another cushion.


You can't have just one cushion on a sofa. And textured cushions are a big thing at the mo. I had in fact collected a number of ideas recently from magazines. Do you also have that habit? I cut out little snippets from my mags and then duly forget about them and design my own thing. I may still copy one of them - here are the inspirations:


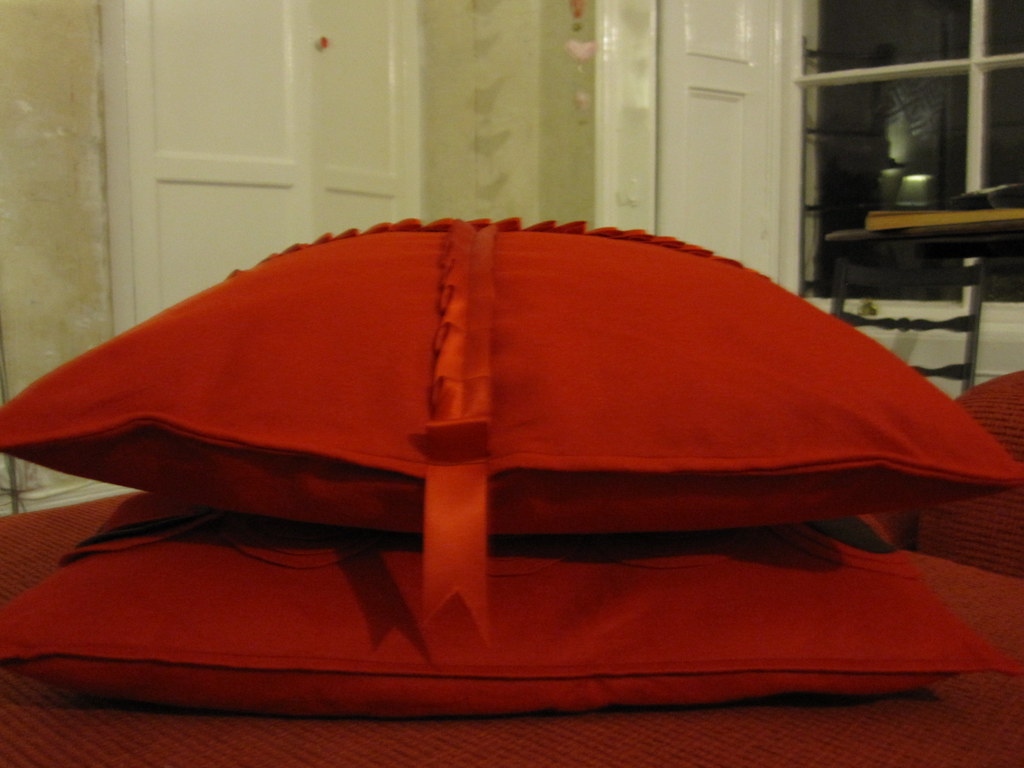
And since another inlet cushion was at hand and I still had some red felt left over, I set about thinking up another cushion design. Does this come across slightly Christmas-sy? Looks like a pressie, doesn't it? Well, that is intentional, because I used some red satin ribbon for decoration. Like the Retro-Style Cushion from a few days ago, this is a really quick and easy sewing projects for beginners. Didn't take more than an hour to complete.


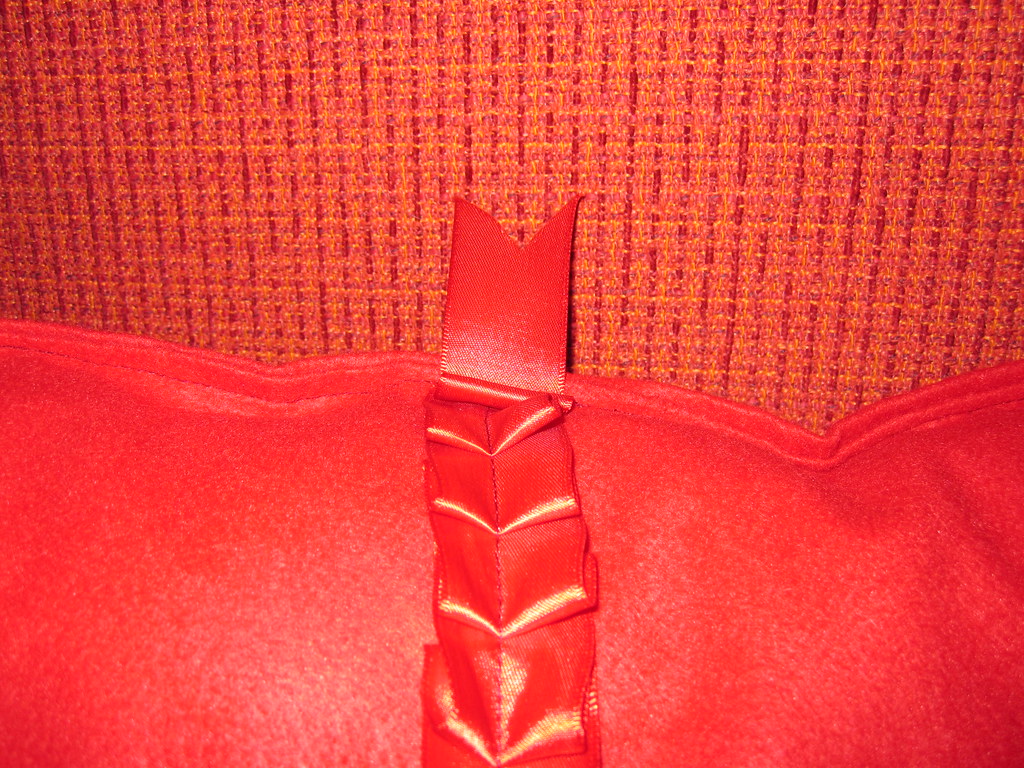
First of all I cut my material to size again. Then I sewed the ribbon onto the felt. I didn't even bother pinning it onto the fabric - it was much easier bunching it up as I went along. You can see in the picture on the right how I did it.

I sewed on two lengths of ribbon in a cross-shape across the fabric. Make sure you sew the ribbon no closer than 1cm to the edge.

Just for the fun of it I let the ends of the ribbon hang over the sides a bit. Hm, do they look like snake tongues?

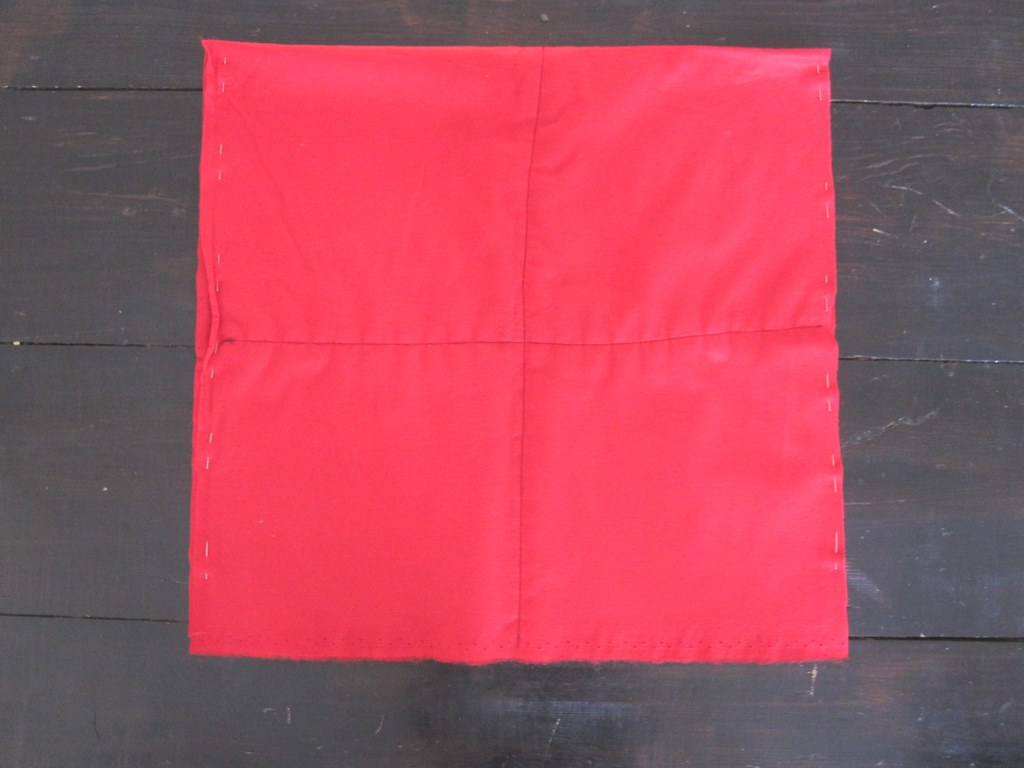
Then it was time to make the actual cushion. Folding the material right-on-right, I pinned the two opposite open sides together. I also had to pin the snake tongues back onto the ribbon loops, just to make sure I didn't sew them into the cushion.

I sewed round three sides, leaving one side open to slide the inlet in.

Just like the retro cushion, I closed the cushion by folding in the remaining open side and then sewing across it and around the cushion edge to create a piping effect.


So there we are - another red cushion for the red sofa. Another one for cuddling up in front of the fire with.


I still have some red felt left over. Another red cushion? Or should I break the cycle and use some chocolate brown felt instead? In any case, I am hooked...

Best,


Linking to:     Metamorphosis Monday @ Between Naps on the Porch   Make it 4 Monday @ Cottage Instincts
Craft Link Party @ Polly Want a Crafter
The Girl Creative
The DIY Show Off

Wednesday, October 6, 2010

Well Cushioned

I am well-cushioned. Always have been, always will be. I have made my peace with that. And now I have a beautiful new cushion. No, I didn't gain another stone (6,35 kilograms for those of us who do not live in the British Empire anymore...), but I just completed a little home decor project: a bright, red retro cushion.


This is one of the easiest sewing projects ever. Just the right kind of project for messy, lazy impatient crafters like yours truly. Honestly, this is so mind-blowingly simple, you'll get this finished quicker than the time it takes to choose and buy a fancy cushion in the shops. Here's what I did:

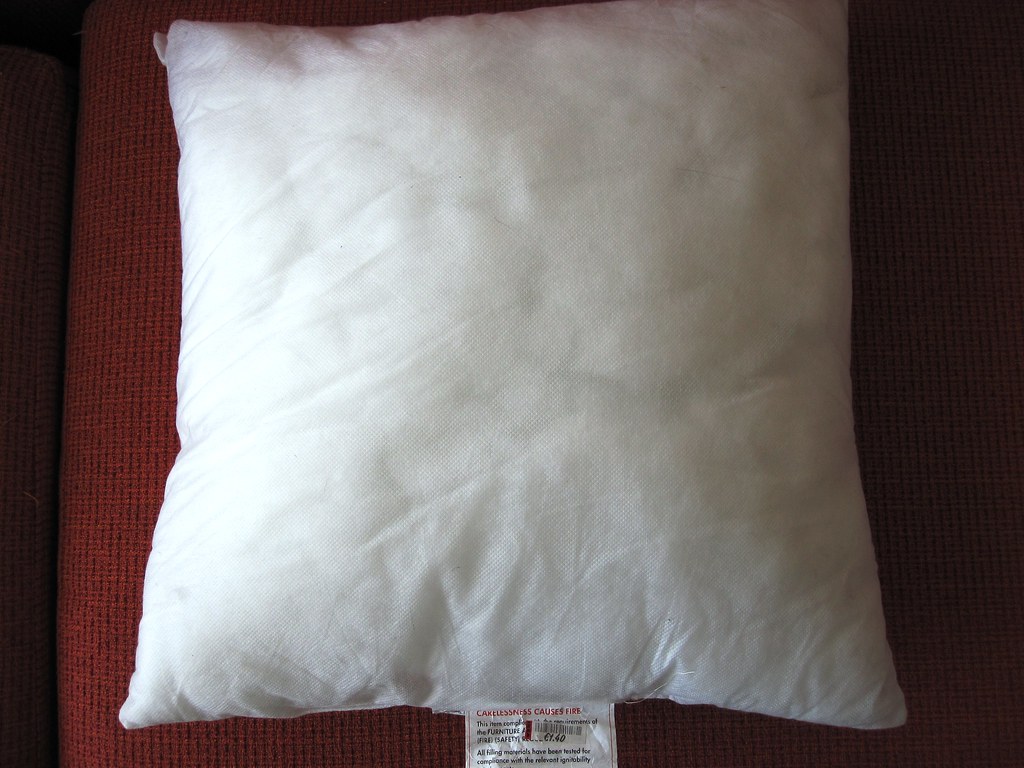
I started out measuring my inlet cushion which I had picked up in the Ikea bargain corner for a mere € 1.40 (price tag still visible in shot... um).
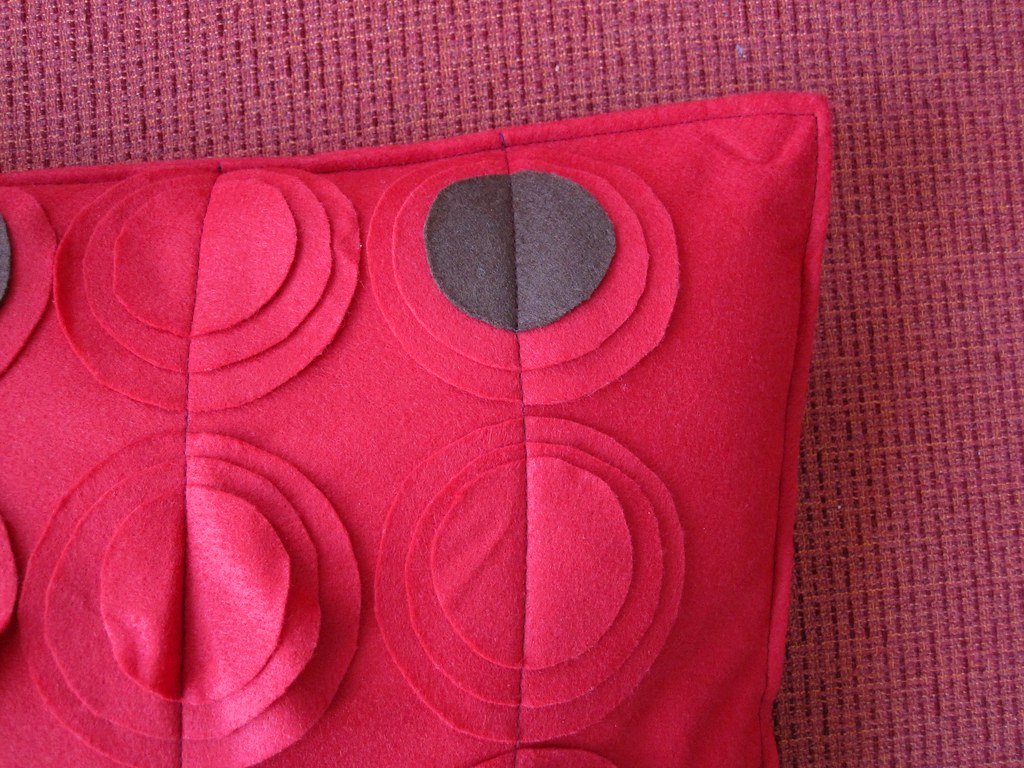
Lazy craftress that I am, I chose some red felt as the material for my cushion. The reason: Felt does not fray, therefore you can create all those little circles without having to hem them (unless you like the frayed look and therefore deliberately choose proper fabric...)

Next I cut my red felt to size. Again making it easiest for myself, I cut it in rectangular shape so that the material could be folded in half and I would only have to sew along three sides... (Maybe I should have ironed the material, but hey... will get creases anyway...)

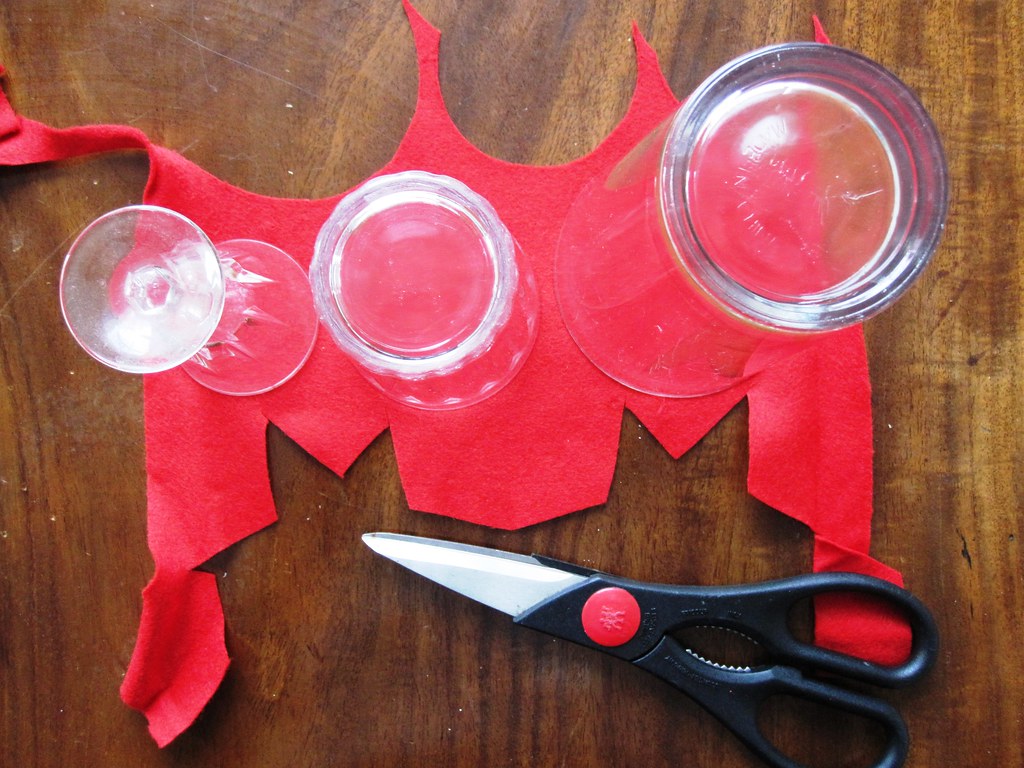
Then came the most time-consuming part: Cutting out the shapes that will give texture and interest to the cushion. I decided on felt circles in three sizes. I simply used three different size glasses to trace the shapes from. Liqueur glass, whiskey glass, pint glass (- please note: no alcohol was consumed during the making of this cushion...)
In total I cut out 60 circles for my cushion - and in the process permanently damaged my right index finger. It is still completely devoid of feeling... *eek*


Some of the circles I cut from brown felt, just to add some extra interest to the design and create a retro feel. Then I played around with the arrangement on the fabric.

I didn't bother to pin the circles onto the felt. Ok, my excuse was that I didn't want holes from the pins in the felt, but really, I was just a lazy bum seamstress. And since laziness is a recurring theme in this blog post, I also didn't take pictures of the sewing of the cushion. It is pretty obvious anyway: I sewed straight lines across the centre of the circles.
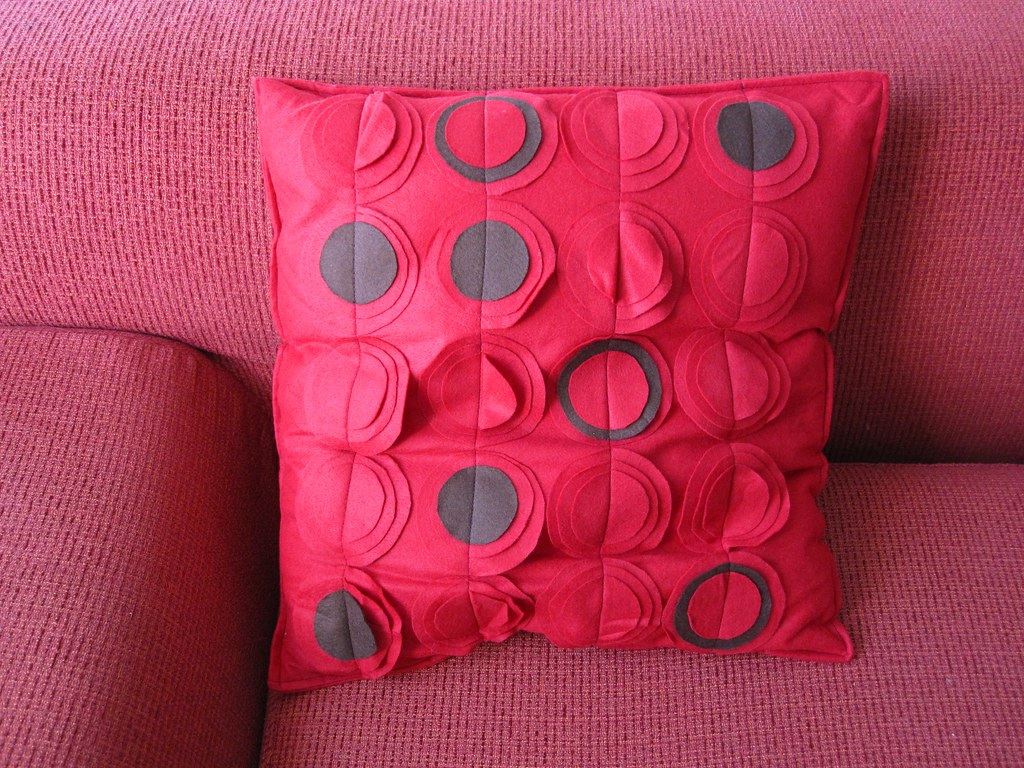
Then I folded the material over, right on right and sewed down the two opposite, open sides. After turning the bag-shaped cover over, I pushed the cushion inside. Then I sewed along the remaining open side to close the cushion.

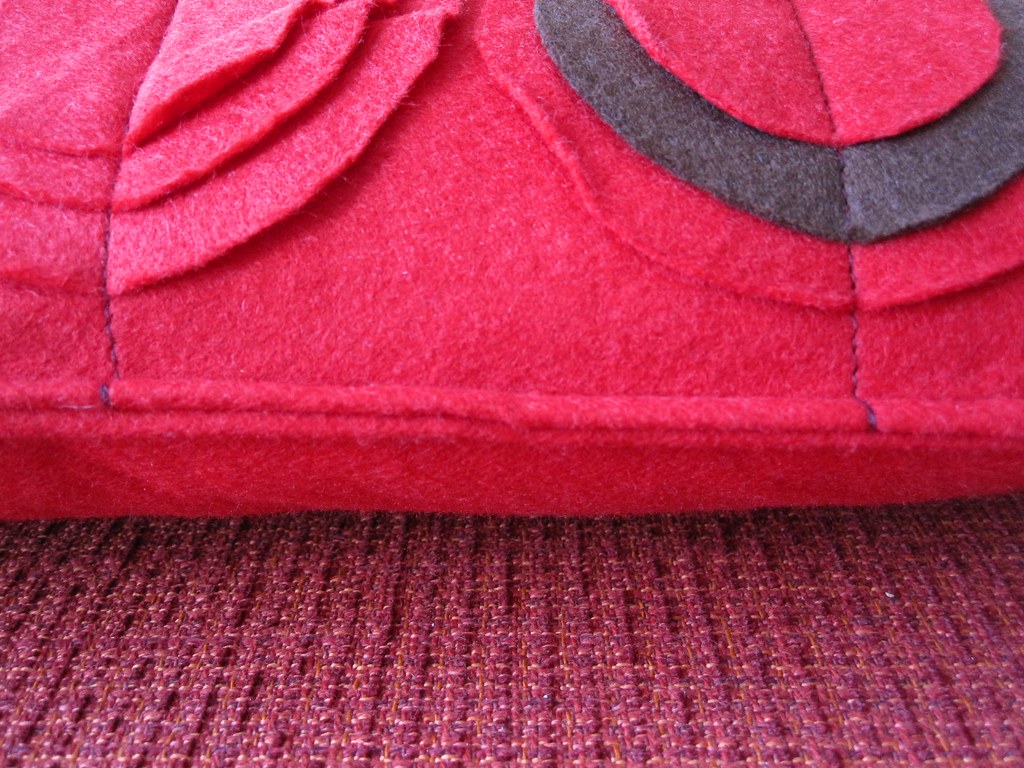
That, of course, left a visible seam, so I continued to sew along the edge of the other three sides, just to give it the illusion of piping. Et voilá, that's it.


Added cost of this cushion: about € 5.00 including inlet. It has already got a new fan who likes cuddling up next to it... And I'll probably make a couple more to "dress" my couch.

Best,


Linking to: 
DIY Club


giveaways

Show and Tell Green


Make it Yours @ My Backyard Eden