FYI


Showing posts with label blackboard spray. Show all posts

Friday, March 12, 2010

From Ugly Mug to High-Profile Mug

In one of my former lives I used to work for a large internet company, popularly associated with the colour purple. Guess who it was? Yahoo! You've got it... One of the superficial little perks of working for a large American corporation such as Yahoo! was the bits of merchandising that were continually thrown our way. I haven't really counted, but during my 3,5 year stint there, I came away with two jackets, about eight T-Shirts, two bags, two USB-computer lights, several baseball caps, a desk clock, other miscellaneous stuff and three mugs. Now that I am no longer associated with my former employer, I might as well pretty up those mugs.


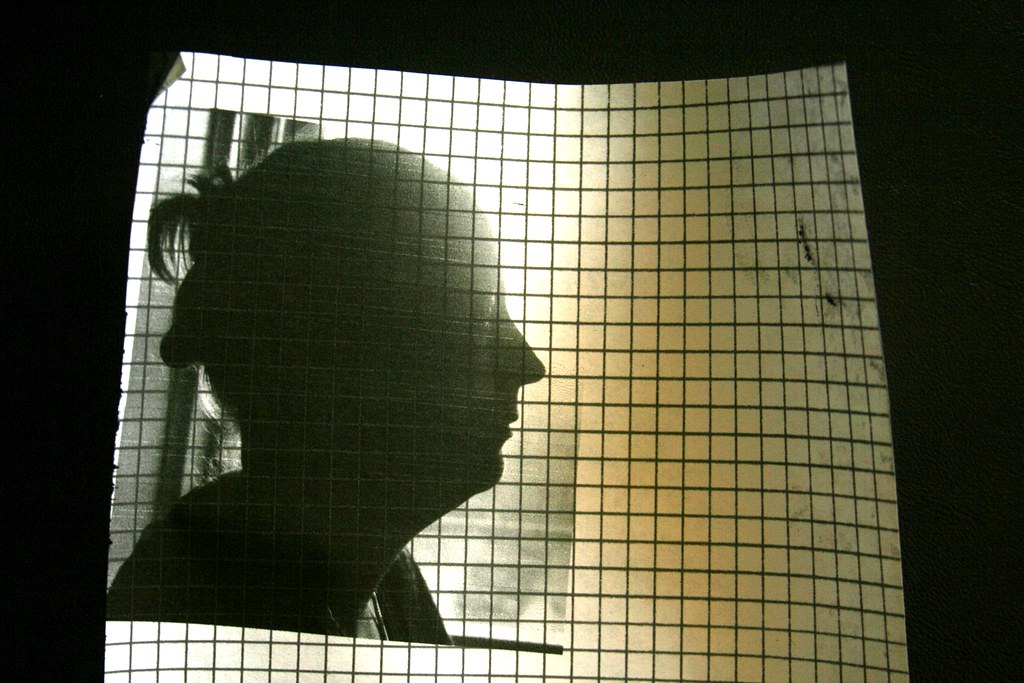
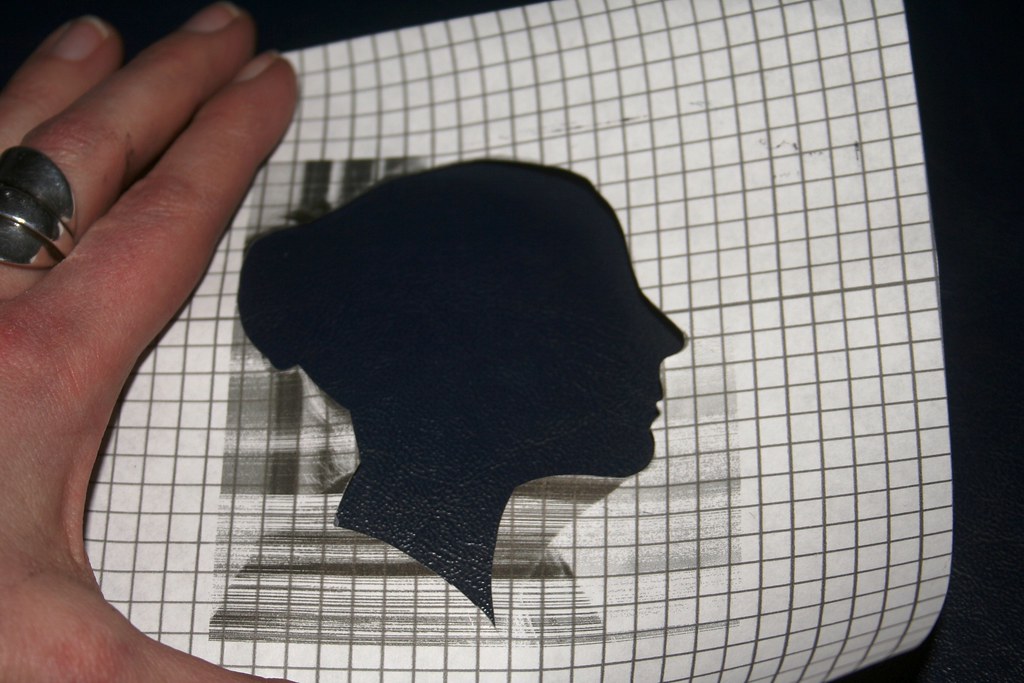
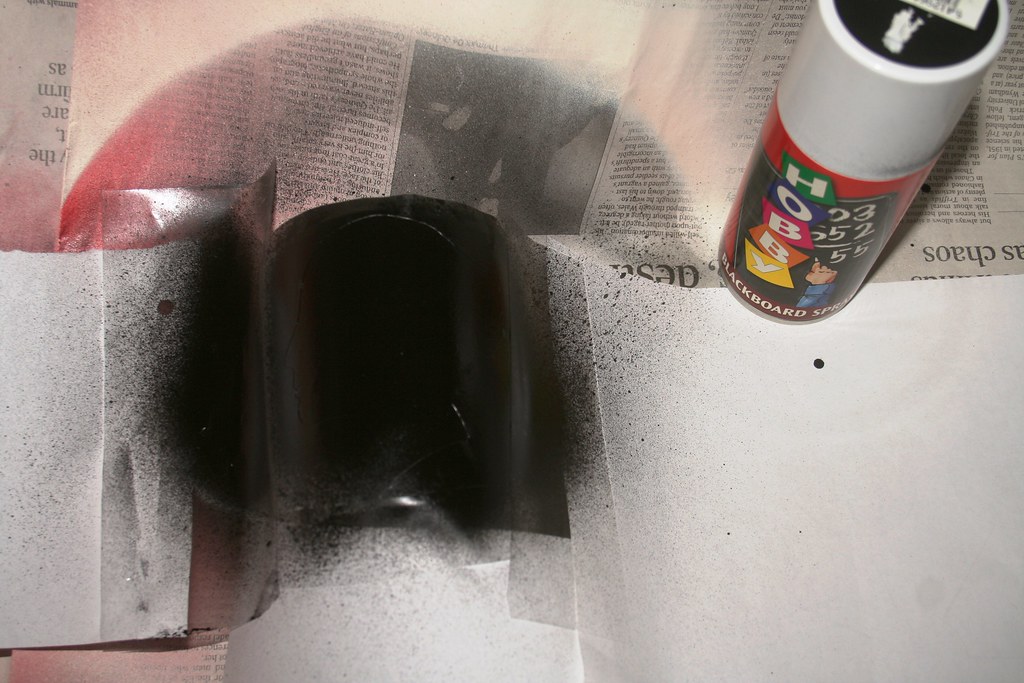
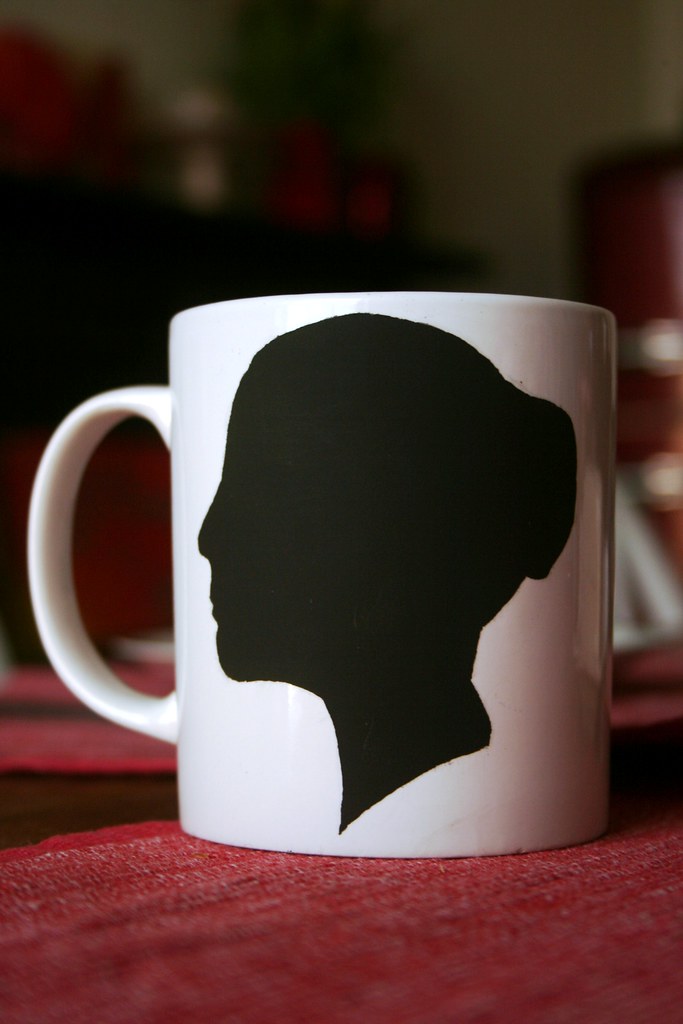
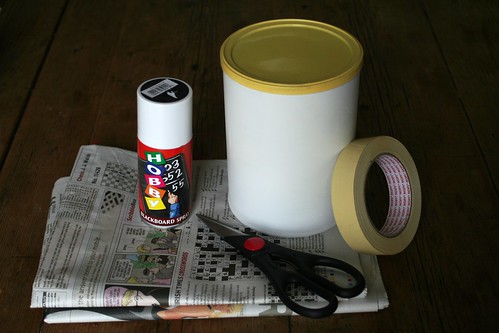
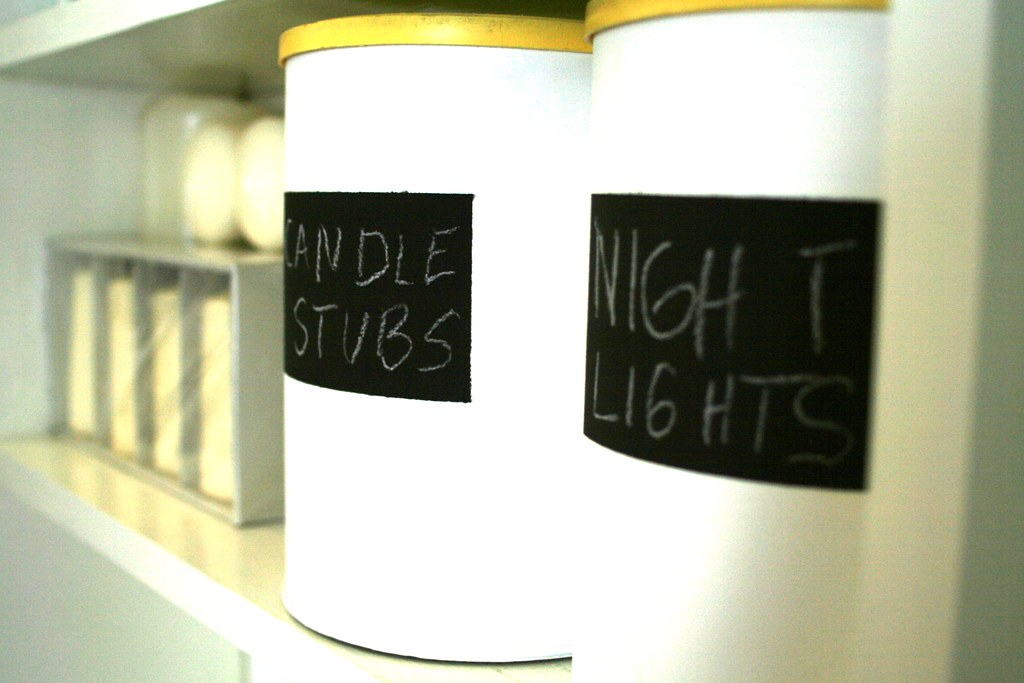
One of my favourite crafty helpers is blackboard spray. In the past I have created blackboard labels on storage tins and on jam jar lids, a sweet little blackboard and my memory pebble. Then the other day I came across this great re-vamp via the link party at A Soft Place to Land. Jennifer Juniper at Hope Studios used blackboard paint to paint over the logo-ed mugs and create a writable blackboard label on them. I loved the idea - and have adapted it with my own little twist: A blackboard label in the shape of a classic, black silhouette.

Here is how I did it: First of all I printed a photo of myself in profile onto the back of a peelable, clear sticky film. (What do you call that stuff - you know, that film you can cover books in...). Make sure your silhouette is big enough to cover the logo on your mug! Also, unlike my illustration left, make sure you have enough space around the edges of the profile! (I forgot to take a pic of the second attempt at printing it on the film...)

Then I cut out my profile. This is a bit tricky - use nail scissors so you can negotiate the delicate line of the profile. Start by cutting a little slit in the middle of the "head" and then cut outwards to the profile line and cut out the shape. (*ahem* I prettied myself up a bit there, getting rid of my double chin...) Discard the middle bit and you are left with the template.

Peel off the backing paper and place your template on the mug. Make sure it covers up the logo completely - you do not want to have a big purple exclamation mark to peek out next to your profile... Push along the edges of the film with your fingernail so no paint bleeds under it. Cover the rest of the mug with paper so you don't get any paint drops anywhere else.


Now spray over the template. You should give it at least two coats of paint, to make sure you have covered it completely. Let it dry for at least half an hour in between coats (or whatever your brand of blackboard spray recommends).


After drying, carefully peel off the sticky film. And you are done! Chances are, that the spray paint has bled a little bit under the film. No panic - take a craft knife and slowly and carefully scratch off any bumpy bits from your silhouette - you don't want to end up with a blobby big wart on your elegant nose *hehe*.

What do you think? Hm, it may seem a little bit egocentric to have a mug with your own pretty "mug" (Irish slang for "face" *hehe*) on it. So make a few more for all the family members. Write a little witty slogan on it and personalise your breakfast table ;-)


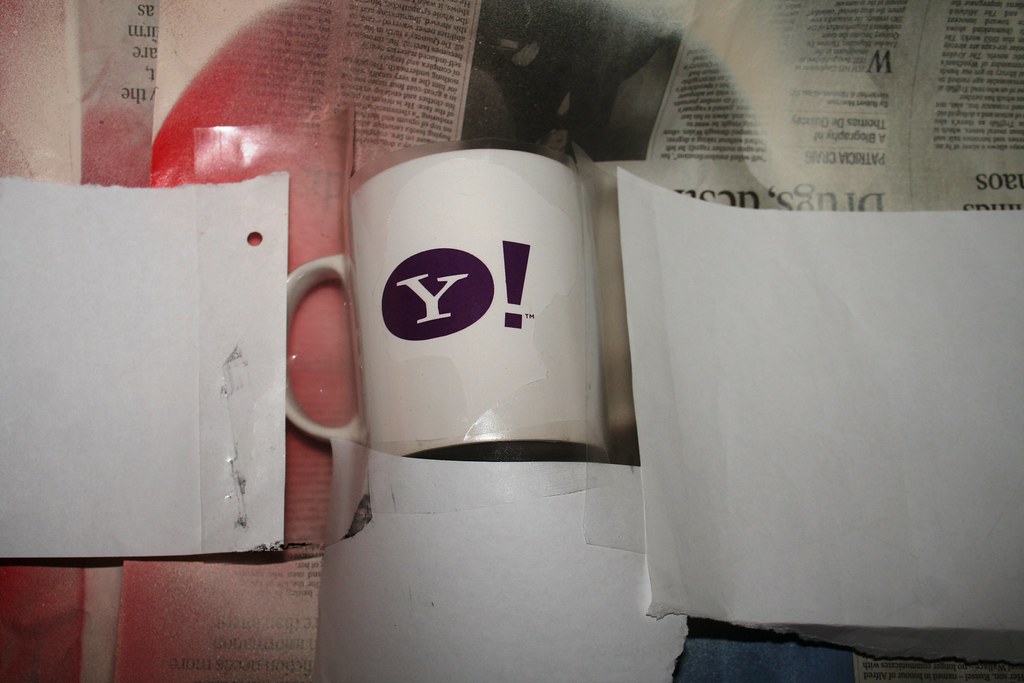
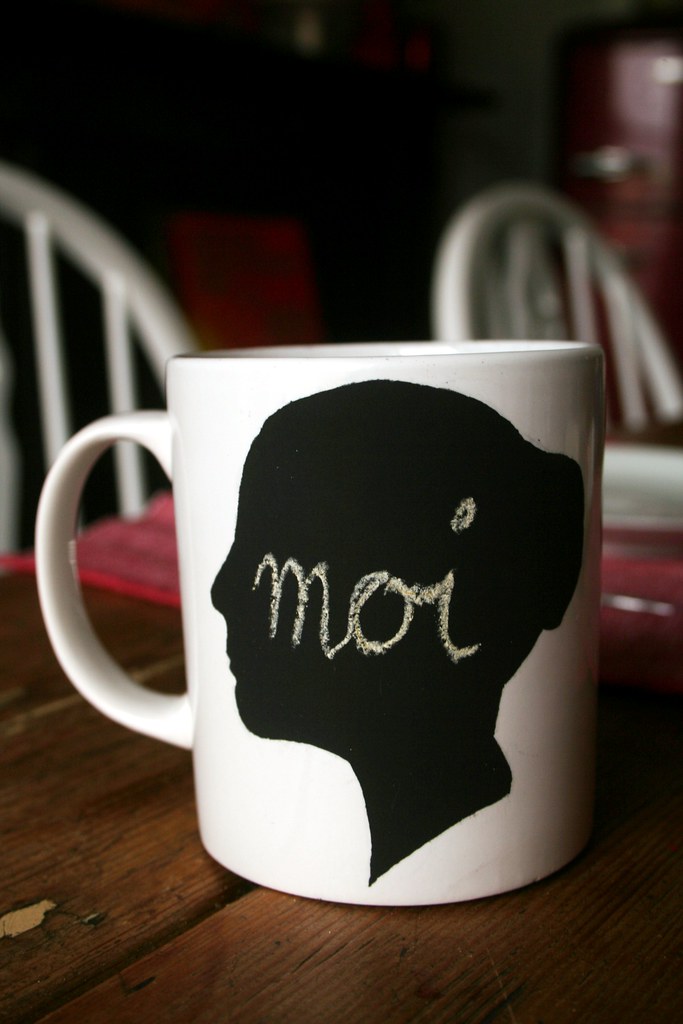
Now, I have no idea how well these fare in the dishwasher. I suspect it may rub off in there. So this might be a precious mug for those special occasions. Ah well, form cannot always follow function. Nonetheless, they are an improvement from an advertising gizmo to a personal piece of crockery!


Best,


Linking to 


DIY Day @ ASPTL


Tuesday, November 3, 2009

I'm still there...

Hello everyone - no, I haven't been taken by a Halloween ghost. It's been a bit quieter here than usual because first I was away for a few days, now I have some visitors staying with me and on top of that I am a bit preoccupied with college. But I always have a bad conscience when the blog lies low - 'cause I know what it feels like to follow someone else's blog and waiting for updates...

Unfortunately nothing to show at the mo, but I would like to draw my esteemed readers' attention to another blog which I have come across because its talented writer/crafter Yasemine recently contacted me. She has written a blog post on using blackboard spray and is linking to my earlier post to my blackboard spray projects. Please check out her blog - Love Live Survive Home: Blackboard spray paint labels DIY

Crafty greetings!

Friday, October 2, 2009

Blackboard Paint - Storage Labels for Jam Jars

With my course in photography I am quite busy and therefore do not get to do as much crafting as I would like. It seems that my creativity these days goes into photography. There are plenty of projects to work on and less time for crafts. But here is a small project, another variation on the theme of blackboard paint.


As the jam-making season has drawn to a close, I had a few jam jars left over. My kitchen dresser is a horrible mess of little bits and pieces that I like to have handy but which haven't got a proper home. I found the solution to the unsightly mess with my jam jars.

I simply sprayed the metal lids of the jars with blackboard paint. Give the lids a good wash, making sure they are not greasy or dusty. Then spray with blackboard spray. Give them at least two coats and let each coat dry thoroughly. If you are too impatient and the paint is not properly dry, you will scratch it off in the process of writing on it with your chalk.


Ok, you can see what is inside the jar, anyway, but the uniformly black lids add a bit of style to the jar display in my storage shelves. You can label your jars easily with chalk and wipe it off when you use the jar to store something else in it. I now have a great home for the children's ink cartridges and my paper clips.

Monday, September 21, 2009

MoM - Blackboard Spray: A Pebble and A Mini Blackboard


While I was at it with the blackboard spray, I grabbed a couple of other things that were at hand and easily transformed.


I had a flat pebble, picked up on the beach a while ago. With a couple of coats of blackboard spray it makes a nice little "reminder stone". It has enough space to write a little thought for the day. It currently graces my mantlepiece with my thought for the day.

Among the 500 assorted frames and pictures which are languishing in various cupboards in my house, I found a smallish one with a simple wooden frame. I took out the glass and simply sprayed it. As I didn't prime the glass, it needed about three coats of spray. It now is a lovely little menu board for a nice dinner party. What do you think?


15 January 2010: *ugh* just in time this evening to link this to

Sunday, September 20, 2009

Announcement: MoW becomes MoM - And what you can do with Blackboard Spray

Ok, it's time to face up to the truth: The whole Material-of-the-Week-thing didn't quite work for me. I still like the idea of showing more than one meagre project that involves a particular material within a certain period of time. But my chosen time frame simply put too much pressure on me to craft and to update the blog. After all - there is a life beside blogging...

So I have decided to turn the MoW into a MoM! No, I am not going to focus on mommy-crafts now (how boooooooooring), but instead I will choose a Material of the Month from now on. That will make it easier for me to pick a material and then come up with ways of using it. And besides that I will still have time to update the blog with other crafts ideas which I have come up with but that do not feature the MoM.

Here is this month's MoM: Blackboard Spray!


Ireland is not exactly a crafter's paradise. I do not really know why but there are very few Crafts Shops around. And those that do exist do not have the huge array of crafts supplies that you would find at home in Germany. Generally I find that Irish people are not as dexterous as Germans, for instance. Also, I have the impression that home-made gifts are not appreciated here as much as back home. (Although this does actually not apply to my Irish family and my circle of friends here - they are all special *haha*. Or maybe they have just learned to humour the Queen of Crafts???*thinks*)

Anyway, I was shopping in a stationer's last week and when picking up a can of spray varnish (which I baaadly need because I am slowly but surely running out of my clear nail varnish which has been misappropriated too often for crafts projects), I came across a can of Blackboard Spray purely by chance. I did not really have any particular project in mind, but I knew I had to have the stuff. And at € 5,00 it was a chance I could easily take.

The ideas came pretty quickly, though, and I couldn't wait to use the stuff. So here is what I came up with: Rewritable blackboard labels for storage cans. Here is what you need: Some tins, masking tape, newspaper and blackboard spray.

I still had a few large tins with plastic lids back from the days when I had to make formula milk for my baby children. (Yes, that is a good while ago - I am such a hoarder...) I sprayed the tins with white, matt fridge paint.
Then I masked off a rectangle on the tin with masking tape. If you want to make it easier, use a credit card or cut a template the size of your envisaged label and then draw around it with a pencil marking the shape on the tin. Use masking tape to create the rectangle on your tin. Then use newspaper and more masking tape to cover the rest of the tin so it doesn't get any spray markings.


Then spray away. For best results you should spray at least two coats, leaving the first coat to dry for a minimum of one hour. (If you are too impatient you will botch the label - the chalk will scratch of the blackboard paint when you write on it. Trust me - it's happened to me like that!) Carefully peel off the newspaper covering and the masking tape.


And voilá - you are there. Some fancy rewritable labels on your nice white storage tins. Go with any decor and always look stylish. Ha, and hardly cost anything.


Edit: I am linking this to Remodelaholic's Linking Party!