FYI


Showing posts with label recycling craft. Show all posts

Thursday, September 16, 2010

Spooky Silhouettes

Mid-September and I see many blogs already busy with Halloween decorating. *umph* not really my type of thing, I have to admit, even though the whole Halloween thing-a-ma-jig originates in my host country, Ireland. But well, my latest project happens to fit the season pretty well...

If you are a regular reader, you know by now that I am quite concerned obsessed with recycling. That is partly due to the fact that I once had a summer job working on a rubbish dump. (Don't ask!) The amount of trash that goes into landfill is just mindblowing! I won't bore you with statistics, but I can see from our household alone that 21st century human beings generate more rubbish than ever. While we recycle as much rubbish as possible, it still bugs me that there is so much plastic material being thrown away. Hence my interest in reusing packaging materials.

With one two-litre-bottle of milk every day, I had built up quite a stash of plastic to work with. I had great plans for a project - which unfortunately didn't turn out the way I wanted it to. I had to find a way of using the cut up pieces of plastic - and this is what I came up with: a simple spooky silhouette to stick into your flower pots.


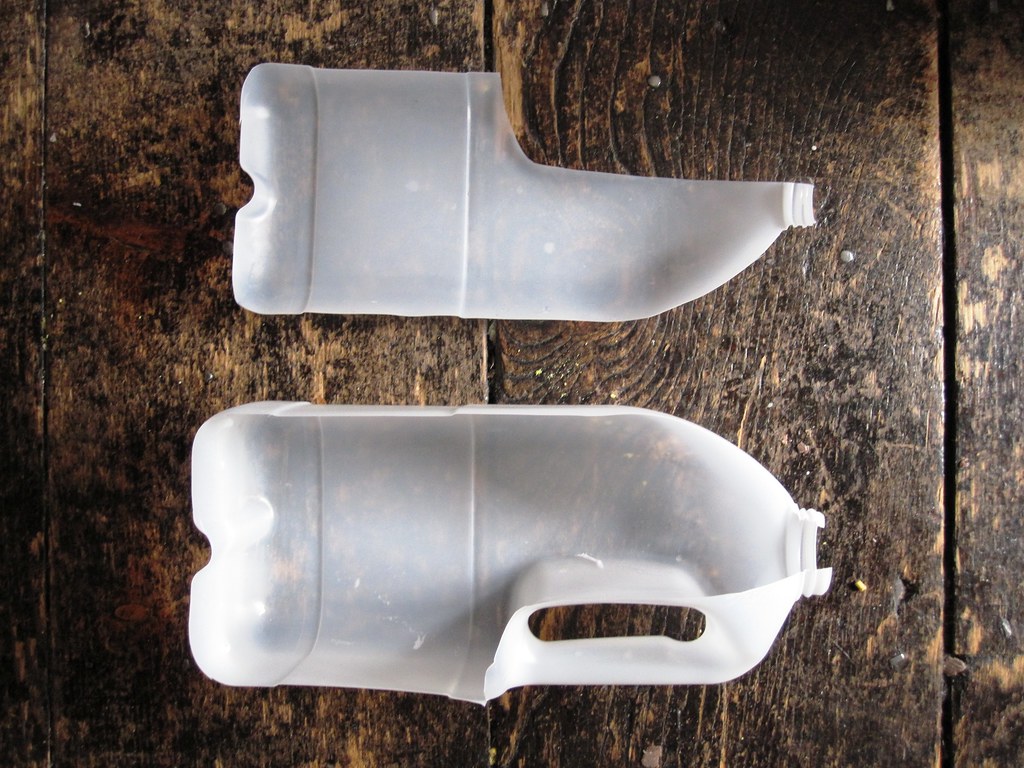
Here's what I did: First of all I cut my milk bottle to get a flat piece of plastic.


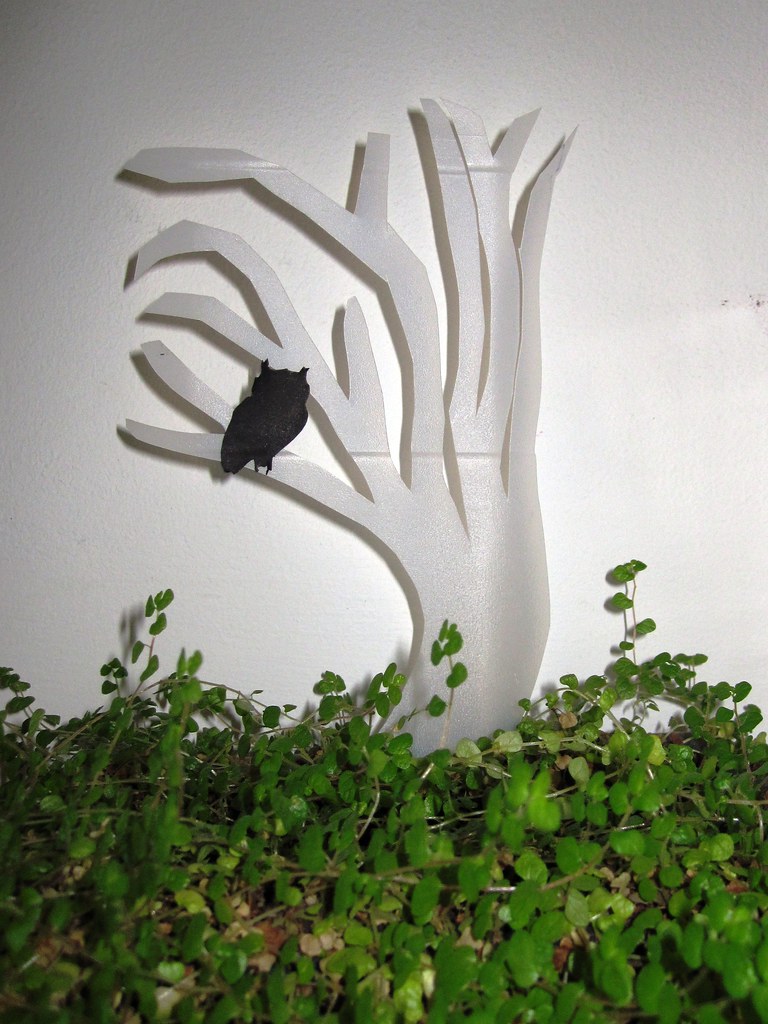
Catering for the Halloween theme, I decided on a spooky tree shape. A tree is pretty easy to cut, so I basically free-handed it. But you could always print out a tree shape from cliparts, transfer it to the plastic and then cut it out.

Note that I cut a zigzag at the bottom of the tree - that's for easier sticking the silhouette into the flower pot.


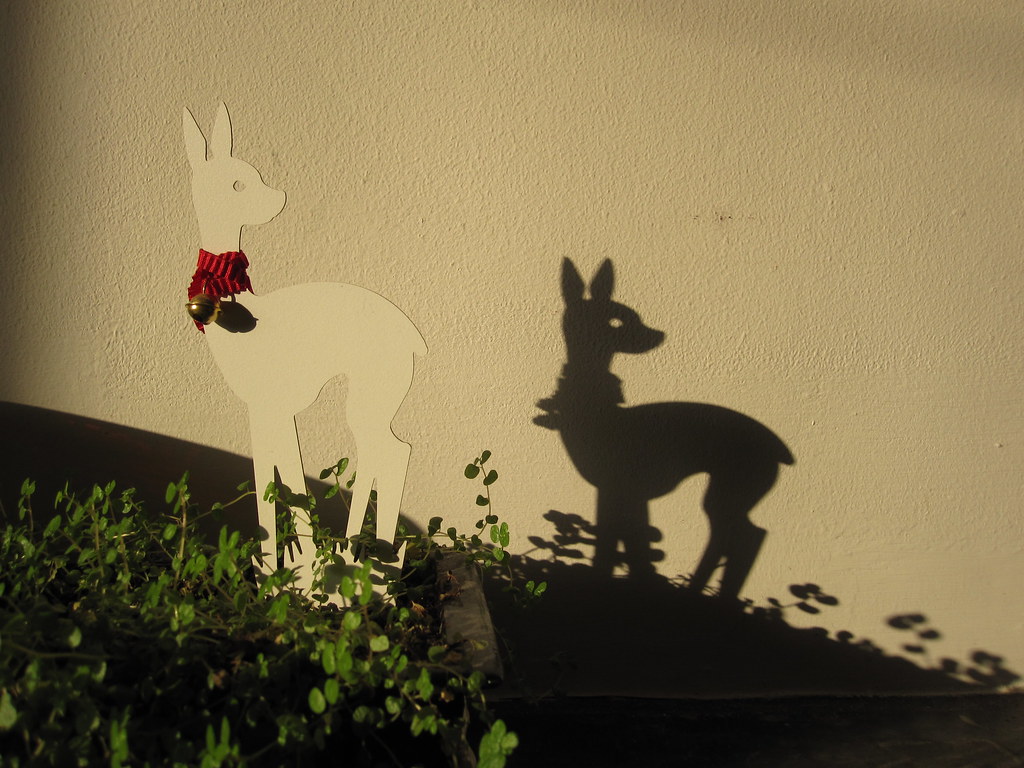
I actually quite like the silhouettes white and without further decoration. I have a beautiful shop-bought one of a little fawn that creates a beautiful shadow on the chimneybreast when the sunlight catches it on my kitchen mantlepiece. The silhouette itself pretty much blends into the white background, but the shadow it creates against the wall is really surprising and lovely.


But to make it a bit more fun and stand out a bit more for illustration purposes, I cut out an owl from black paper and stuck him onto the tree.


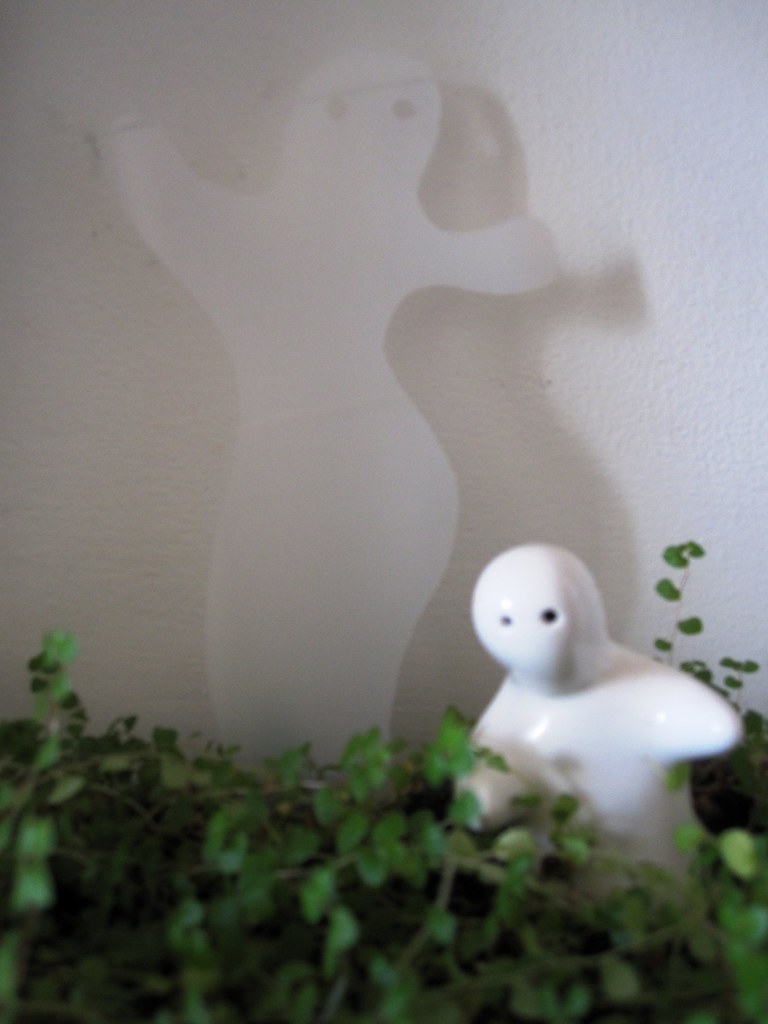
I also tried my hand at a ghost. Whoa, this looks like a curvy bombshell of a she-ghost *lol*. Dancing lambada or something... Ola!!! Again, I cut her free-hand and then used a punch to make her eyes.


Sorry, there was no bright sunlight in my kitchen this afternoon, so the silhouette and shadow do not stand out as much as they should. I guess you could always give the silhouettes a coat of black spray paint to make it fit the dark and spooky Halloween theme. But anyway, there you are - using rubbish to prettify scarify your home.


I am positively fawning over the silhouettes...

Best,


Linking to:

DIY Club
giveaways 


Get your craft on Thurs.

Wednesday, September 8, 2010

Chunky Necklace - Recycled from Unloved Bracelets

Ok, I suppose I won't get away with a post that ignores the fact that Craft-Werk had been languishing for nearly four month's??? Well, I'll keep it short - (I may not have any readers anymore who interested in my ramblings, anyway.) What happened was that I had to sit my finals for my Diploma in Photography in May. I passed (with distinction, she brags) and I partied. I took a break from crafting to just enjoy life for a bit without the pressure of being creative. Then I went on holiday to Germany and Poland. And the longer I put off writing a new entry for the blog, the more difficult it became to find an excuse for my long absence - in turn putting me off to get back into blogging. On top of that the irrational pressure that I had to come back to blogging with a "bang", i.e. a total stunner of a project. Rubbish, all of it - instead I decided to follow the marketing-effective advice of a well-known sports equipment manufacturer, and just did it. So without further ado, back into the flow...

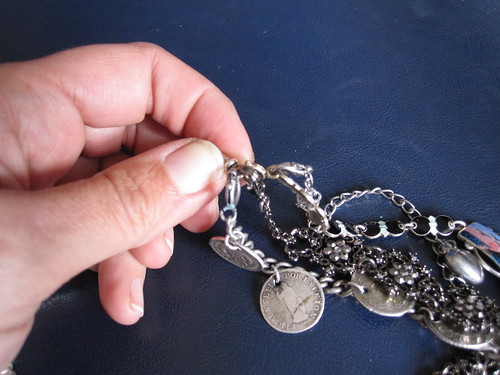
I love costume jewellery, particularly bracelets. Recently I discovered that I hardly wear my bracelets anymore, though, because they annoy me when I am typing at my laptop. I don't want to give them away, however, and so I had to think of a way of reusing them. Currently you see a lot of layered necklaces in the shops - and they were my inspiration for this:
This is one of the easiest re-using projects I have ever done.  Here is my material:

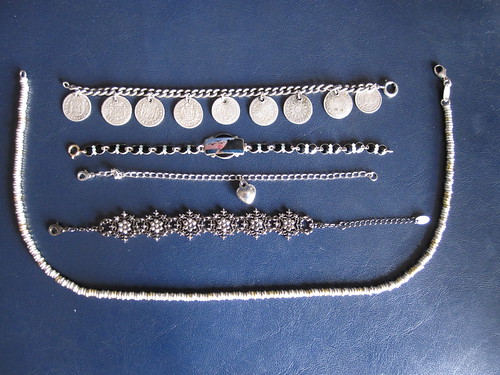
1 chunky, long silver necklace

4 bracelets of little monetary but huge sentimental value, i.e. the dangling, antique Silver coins, collected by my father-in-law in Peru for his wife and then attached to a chain; an enamelled bracelet bought in the 1940s in Norway by my grandfather for my granny; a sweet little silver heart (which came from a kids magazine) and a shiny metal bracelet from China.

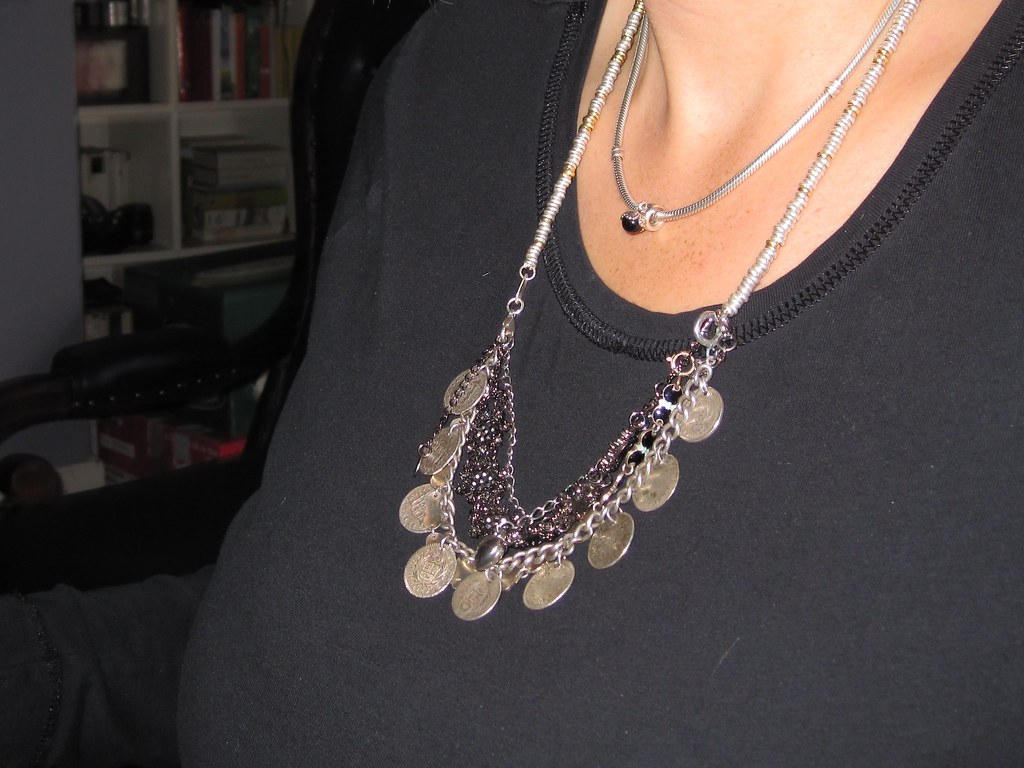
No tools necessary as I all I did was put the hoops of the bracelets through the clasp of the necklace - and attach the clasps of the bracelets to the hoop of the necklace.

A bit fiddly, I admit, but done in all but 5 minutes!


Chunky and folksy jewellery is still in fashion, I believe - so here is my updated, recycled look:


Right - that's it for now. Hope you'll like it!

Best,

Posted to:


Tuesday, March 30, 2010

Plastic Milkbottle Recycling


Yoohooooo, I am back. Even if only for a little break between another set of visitors. I was sad to see my last visitors go home, but I used the time to do a little crafts project. This had been sitting at the back of my mind for quite a while, and I am kinda happy with the outcome. - How many bottles of milk do you go through with your family? We drink about 2 litres per day - I find that quite a lot, actually... The milk comes in these translucent 2 litre-plastic bottles in Ireland. So go through seven of them per week. Of course we put them into the recycling waste, but I would much rather make something from them... And I finally came up with a nifty little idea.


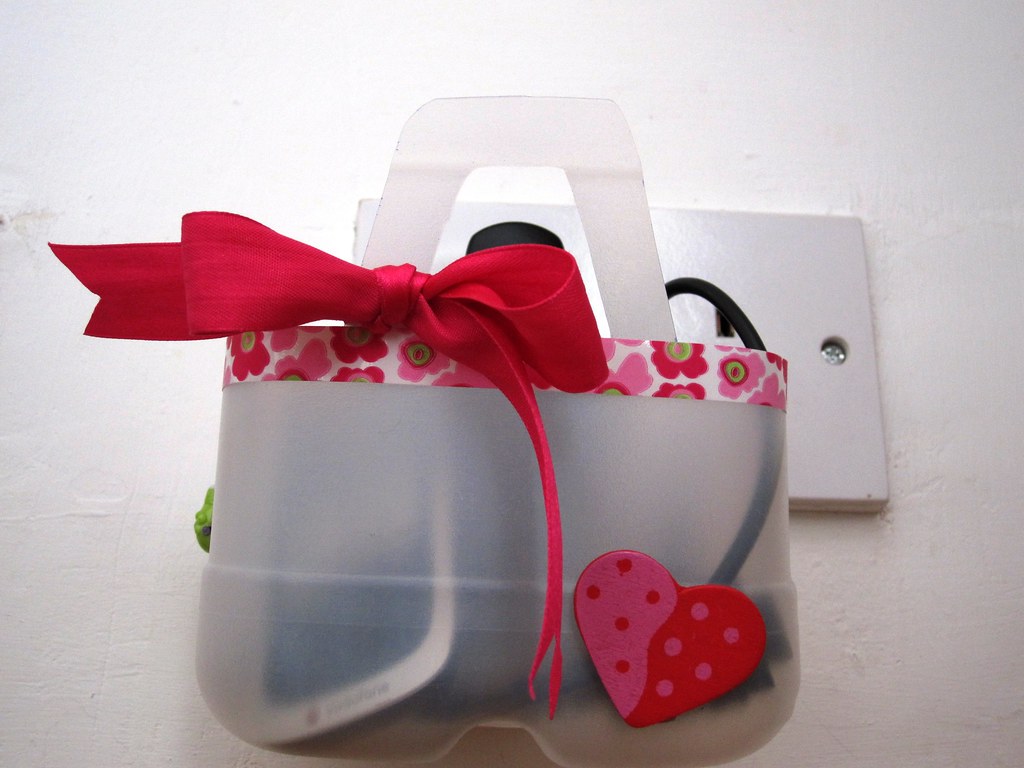
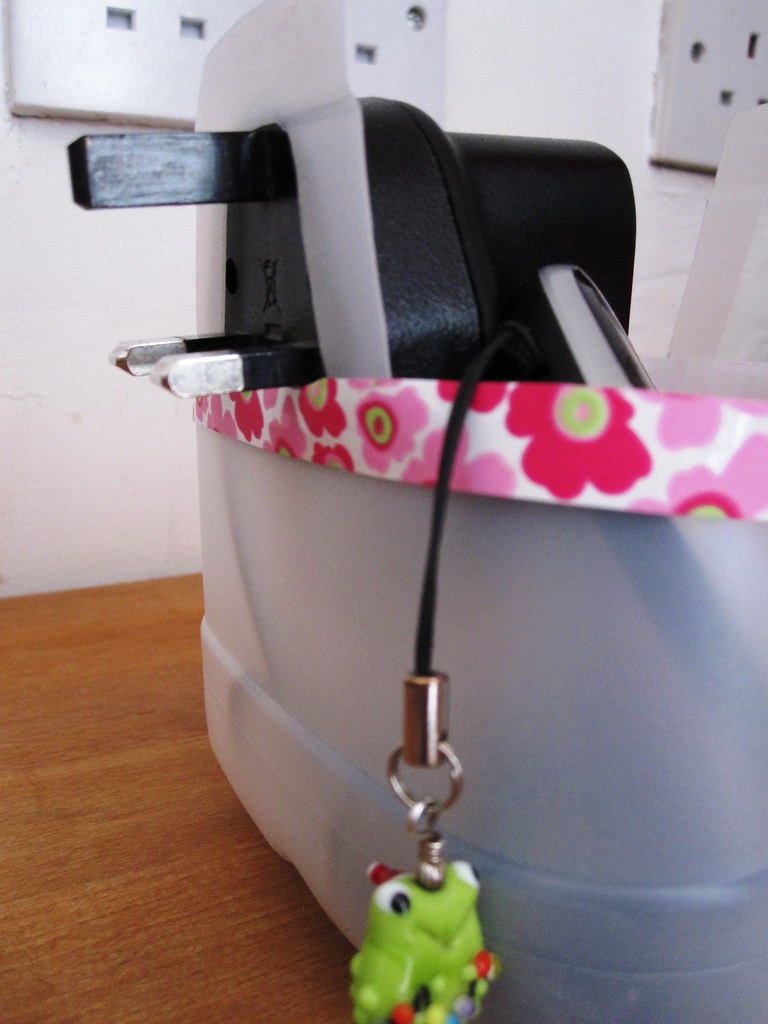
Can you see properly what I made? Yes, it is a plastic basket with little handles. But the cool thing is that the handle is big enough to put a plug through and attach it that way against the socket. So this is really a little mobile phone charging station. And here is how I made it:

Take a plastic milk bottle - or other plastic container that is reasonable easy to cut with scissors. A bottle with a rectangular-shape bottom is easiest to use for this project. 

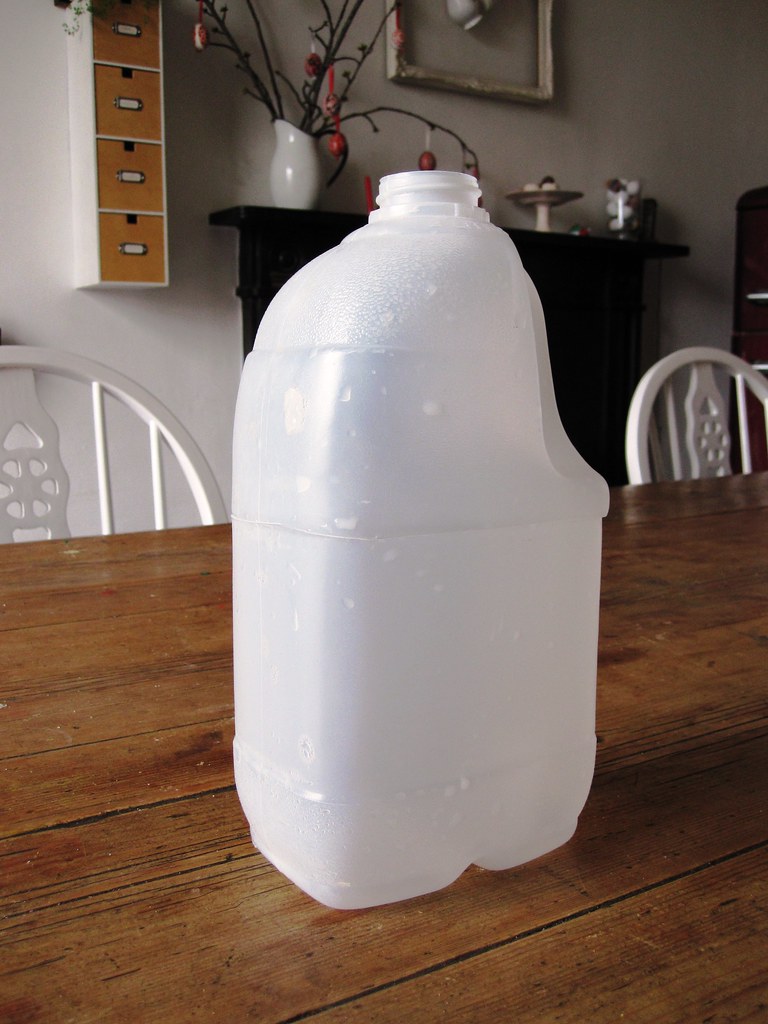
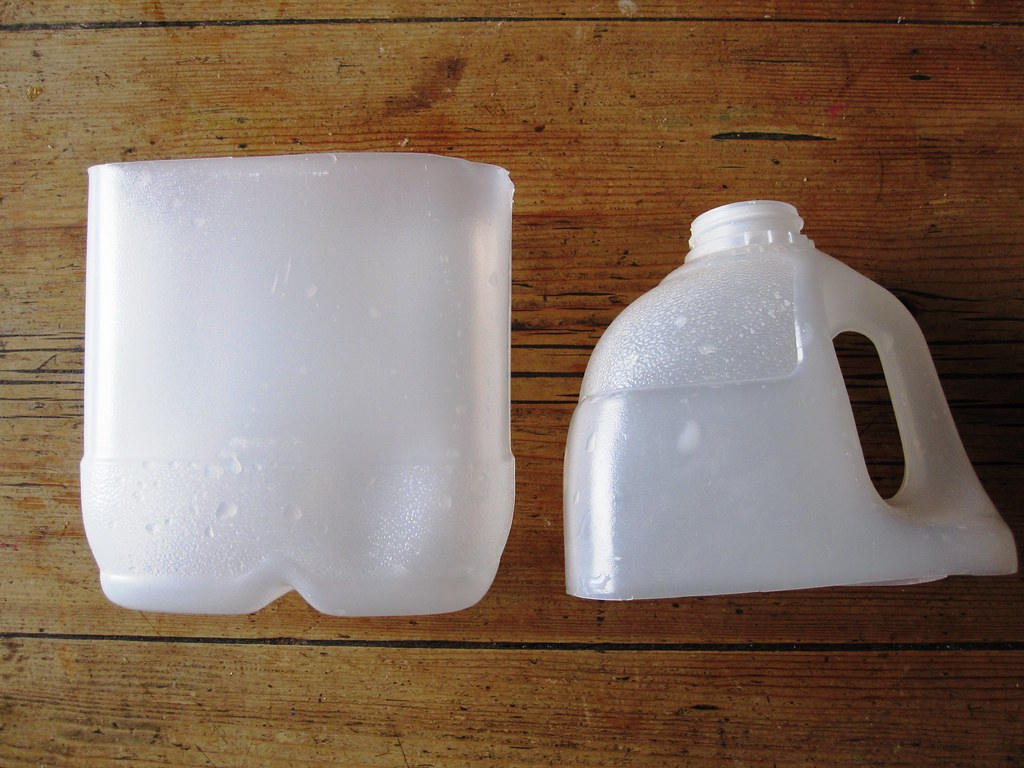
First cut the bottle in half. Make sure you have enough of the bottle left, though, to cut out little handles.

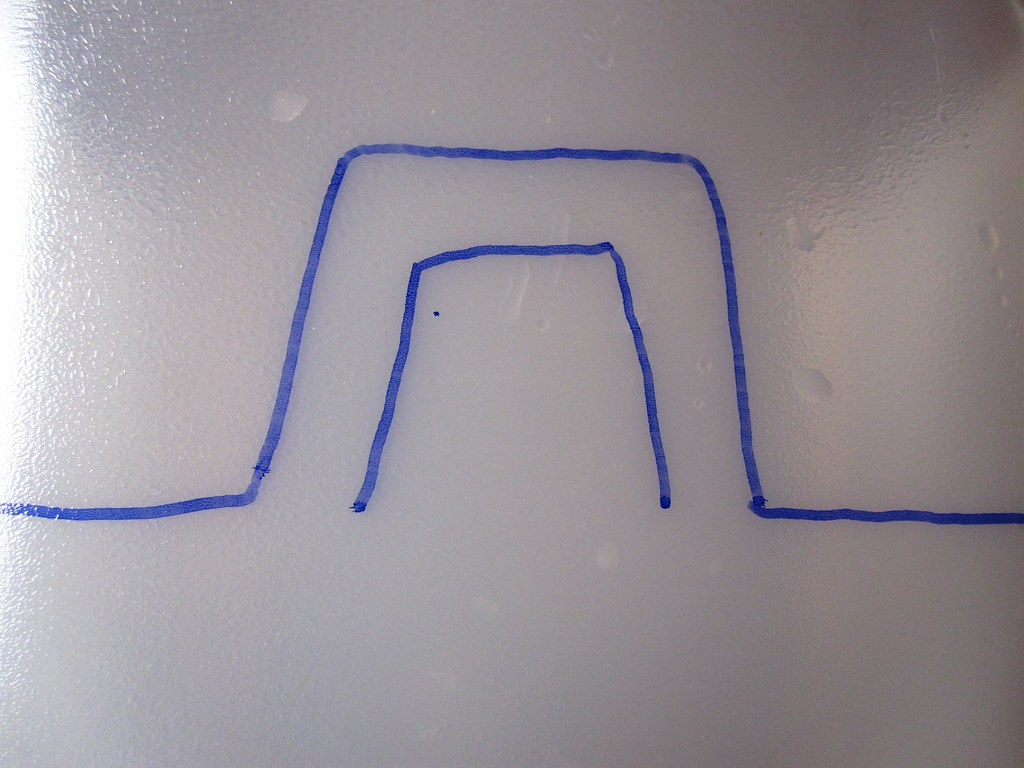
Next determine the size of your plug. The Irish plugs are really strange - hehe, I think so, having grown up with different types of plugs in Germany. They have three bits sticking out, arranged in a sort of triangular shape. Mark the shape of your handles on the plastic, either making a template or freehanding it. 

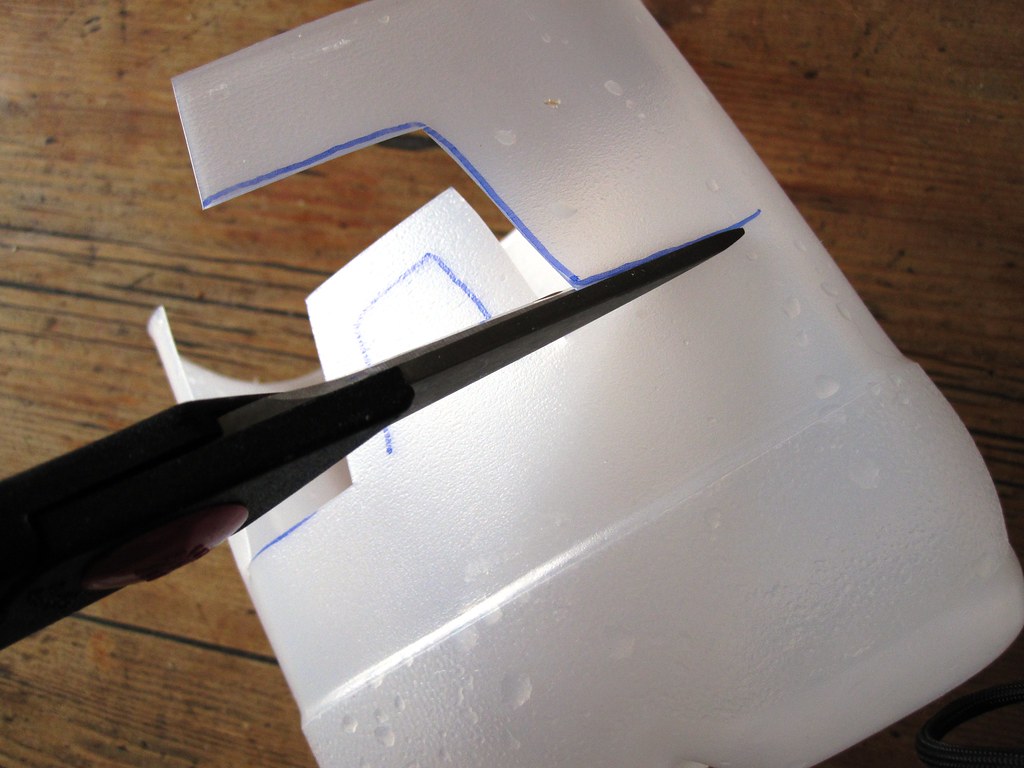
Now cut out the handles and the rim of the basket. Our bottles are fairly thin plastic, so it was very easy to do that with ordinary kitchen scissors.


Bingo - that's it. You can now push the plug of your mobile phonecharger from the inside of the basket through the handle and plug it into the socket. The handle will keep the basket hanging securely against the wall/socket. Plastic is non-electroconductive, so it is safe to attach it that way. Place your mobile in the charging station, plugged into the charger.


I glammed up my simple charging station with a length of colourful plastic ribbon which I stuck around the rim with glue dots. A matching pink bow and a little heart complete the cute look. The whole thing cost nothing and was done in a few minutes. How much better can it get???

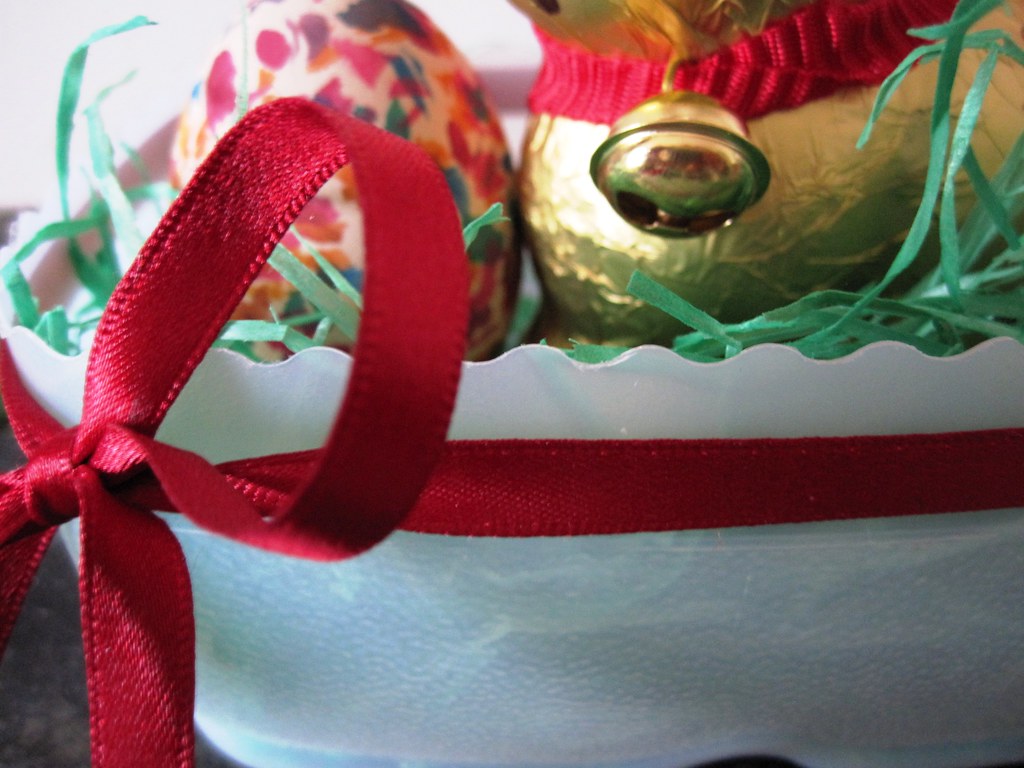
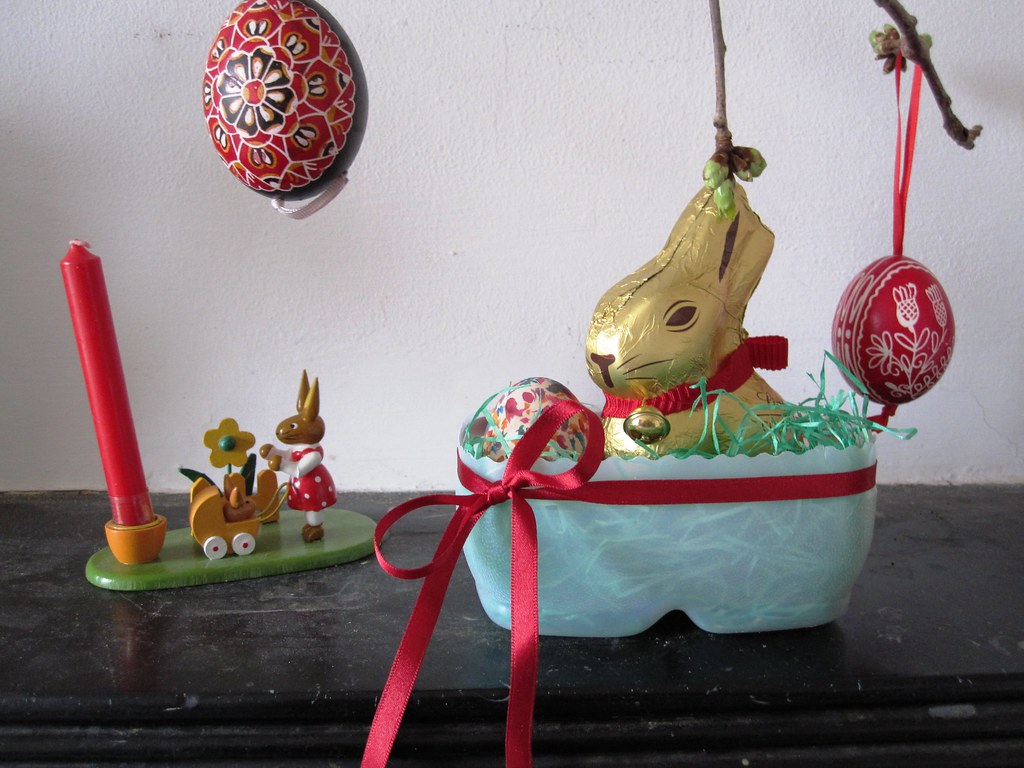
And while I was at it I made another one, trying out the wavy scissors. I just cut the bottle in half and then tied a little ribbon around it. With some Easter grass it is a cute little nest, home to a Lindt chocolate bunny which I am saving for when Lent is over and I am eating chocolate again. Can't wait...


Where do you keep your mobile phone? Have trouble finding it in the morning? Well, no more hunting for your mobile. Even when not charging it, this is a handy place to keep your phone! Make one for each member of the family, personalize the charging station with embellishments, initials, ribbons... Can you think of other uses for a milkbottle basket?

Best,

Linking to:
Photobucket


DIY Day @ ASPTL


Friday, March 12, 2010

From Ugly Mug to High-Profile Mug

In one of my former lives I used to work for a large internet company, popularly associated with the colour purple. Guess who it was? Yahoo! You've got it... One of the superficial little perks of working for a large American corporation such as Yahoo! was the bits of merchandising that were continually thrown our way. I haven't really counted, but during my 3,5 year stint there, I came away with two jackets, about eight T-Shirts, two bags, two USB-computer lights, several baseball caps, a desk clock, other miscellaneous stuff and three mugs. Now that I am no longer associated with my former employer, I might as well pretty up those mugs.


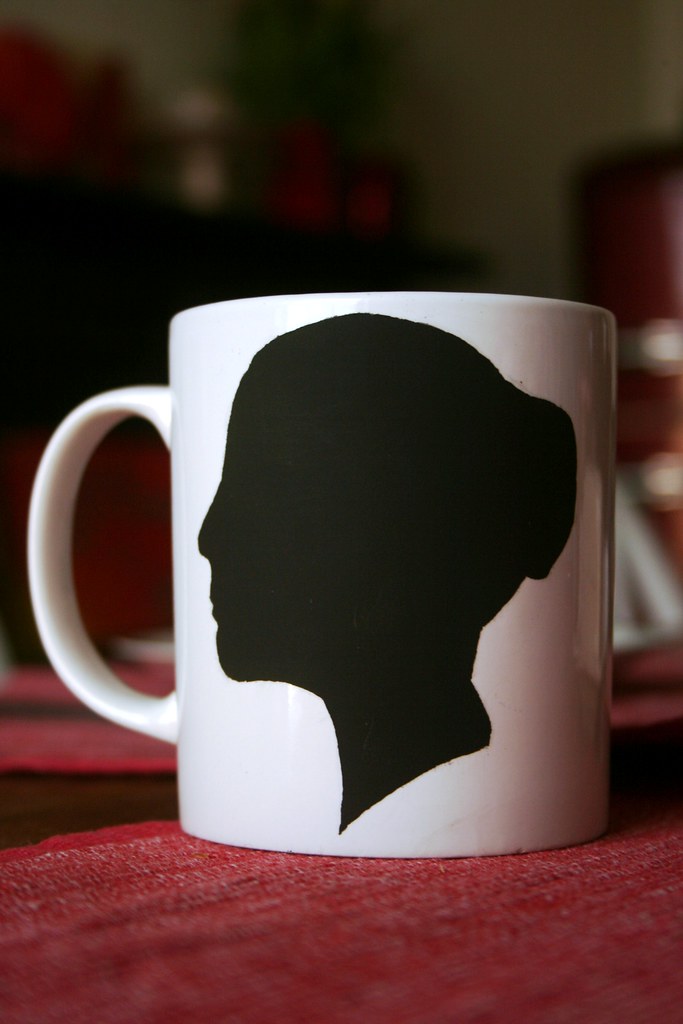
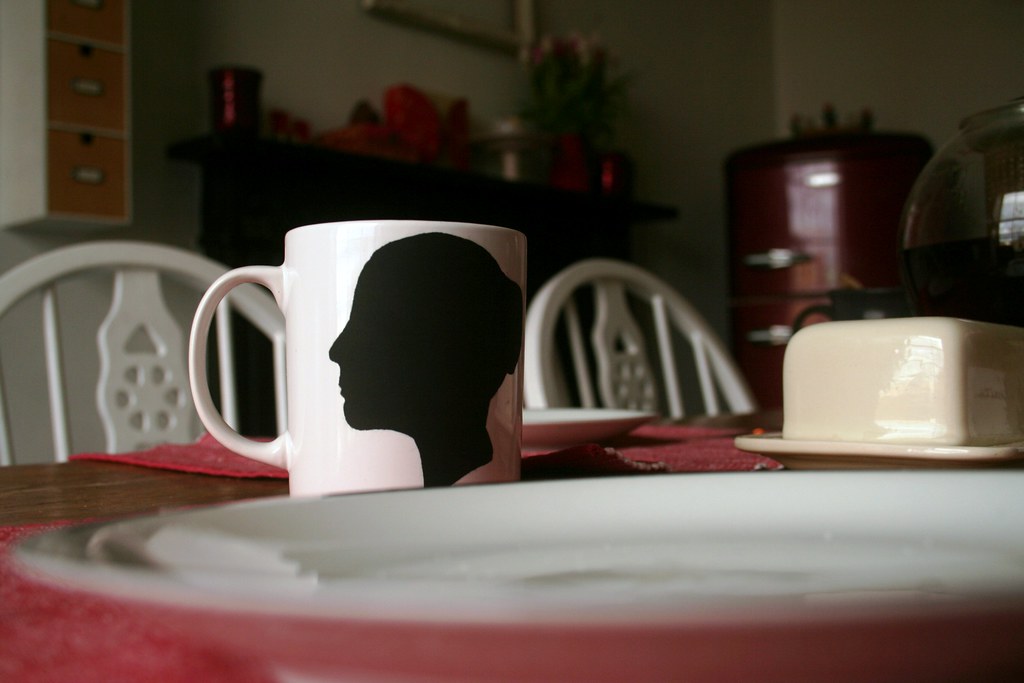
One of my favourite crafty helpers is blackboard spray. In the past I have created blackboard labels on storage tins and on jam jar lids, a sweet little blackboard and my memory pebble. Then the other day I came across this great re-vamp via the link party at A Soft Place to Land. Jennifer Juniper at Hope Studios used blackboard paint to paint over the logo-ed mugs and create a writable blackboard label on them. I loved the idea - and have adapted it with my own little twist: A blackboard label in the shape of a classic, black silhouette.
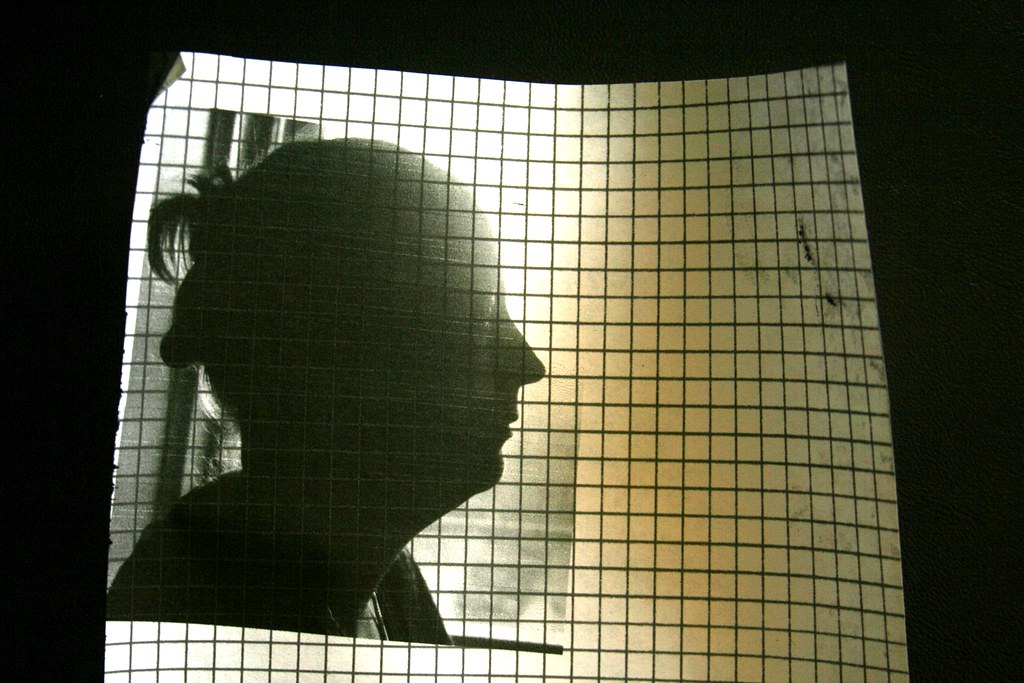
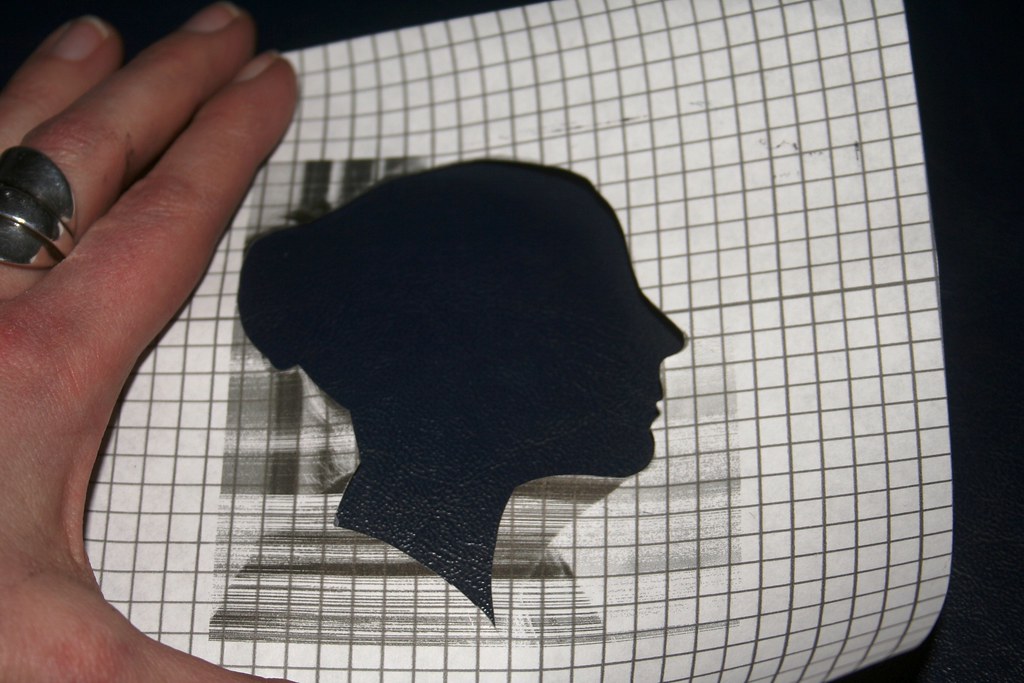
Here is how I did it: First of all I printed a photo of myself in profile onto the back of a peelable, clear sticky film. (What do you call that stuff - you know, that film you can cover books in...). Make sure your silhouette is big enough to cover the logo on your mug! Also, unlike my illustration left, make sure you have enough space around the edges of the profile! (I forgot to take a pic of the second attempt at printing it on the film...)

Then I cut out my profile. This is a bit tricky - use nail scissors so you can negotiate the delicate line of the profile. Start by cutting a little slit in the middle of the "head" and then cut outwards to the profile line and cut out the shape. (*ahem* I prettied myself up a bit there, getting rid of my double chin...) Discard the middle bit and you are left with the template.

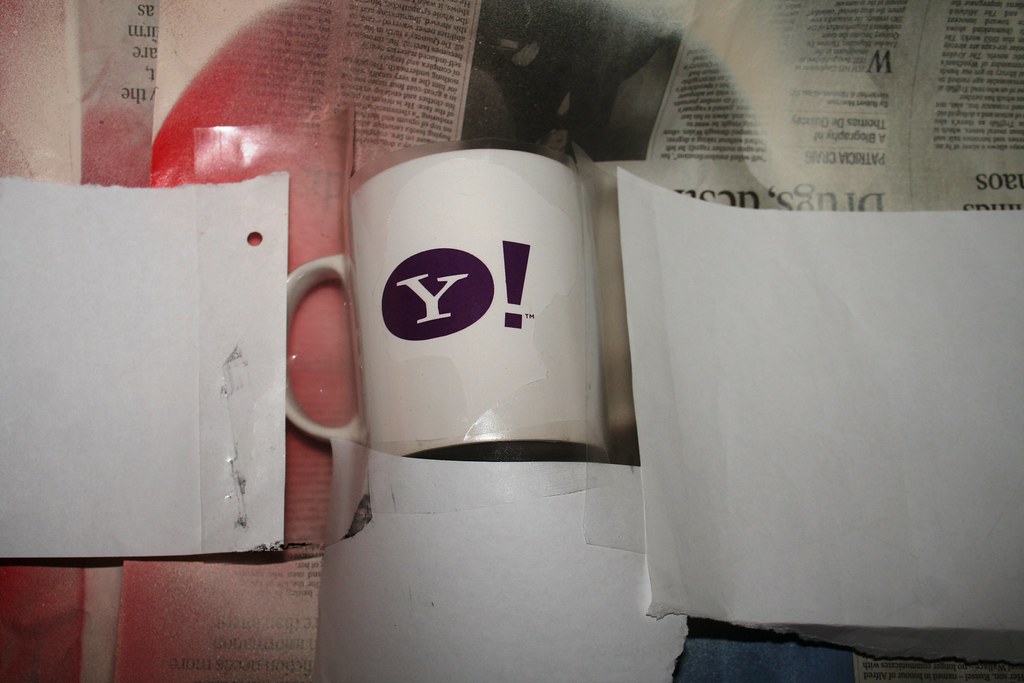
Peel off the backing paper and place your template on the mug. Make sure it covers up the logo completely - you do not want to have a big purple exclamation mark to peek out next to your profile... Push along the edges of the film with your fingernail so no paint bleeds under it. Cover the rest of the mug with paper so you don't get any paint drops anywhere else.


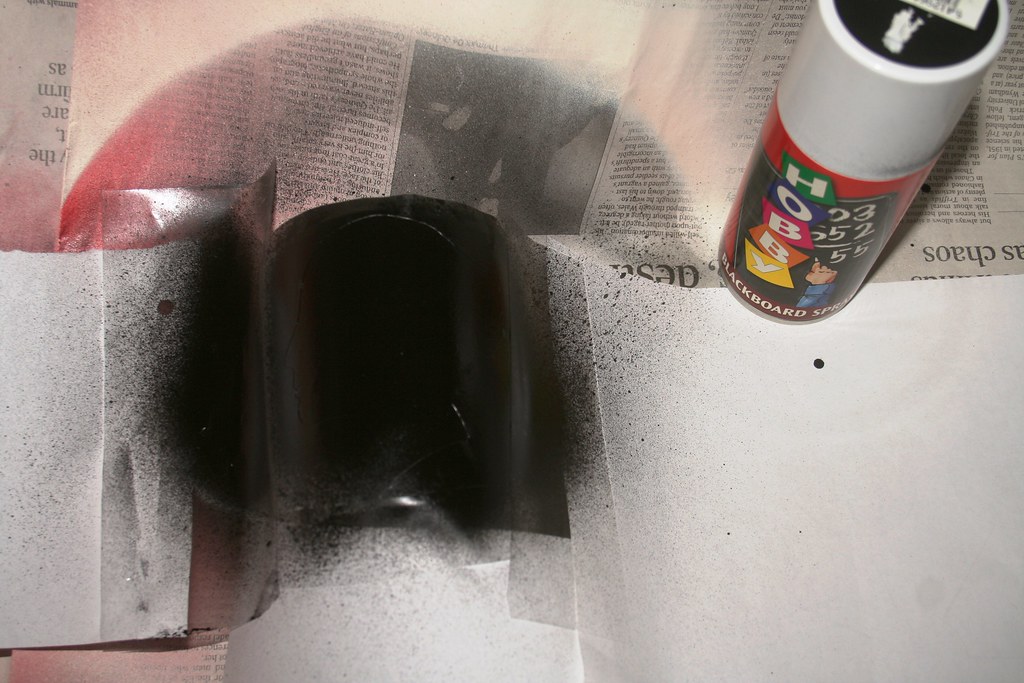
Now spray over the template. You should give it at least two coats of paint, to make sure you have covered it completely. Let it dry for at least half an hour in between coats (or whatever your brand of blackboard spray recommends).


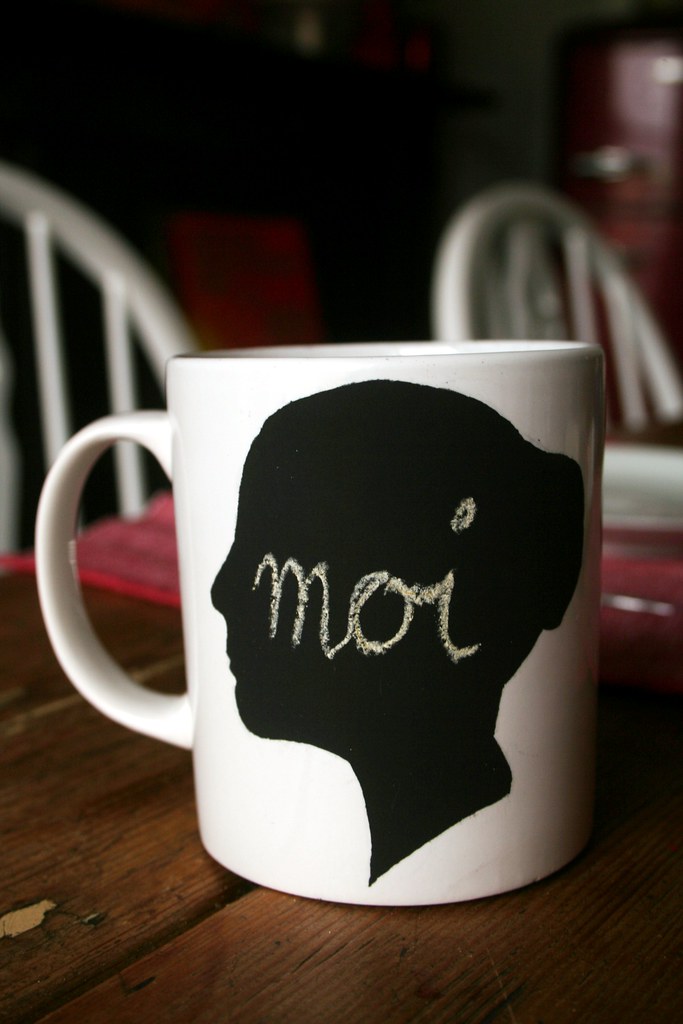
After drying, carefully peel off the sticky film. And you are done! Chances are, that the spray paint has bled a little bit under the film. No panic - take a craft knife and slowly and carefully scratch off any bumpy bits from your silhouette - you don't want to end up with a blobby big wart on your elegant nose *hehe*.

What do you think? Hm, it may seem a little bit egocentric to have a mug with your own pretty "mug" (Irish slang for "face" *hehe*) on it. So make a few more for all the family members. Write a little witty slogan on it and personalise your breakfast table ;-)


Now, I have no idea how well these fare in the dishwasher. I suspect it may rub off in there. So this might be a precious mug for those special occasions. Ah well, form cannot always follow function. Nonetheless, they are an improvement from an advertising gizmo to a personal piece of crockery!


Best,


Linking to 


DIY Day @ ASPTL