FYI


Showing posts with label brooch. Show all posts

Friday, March 16, 2012

Felt Flower

The momentum was kept up today with not one but three crafty things I did. It's already late now and tomorrow is Paddy's Day, so I won't have time to write up all three, but I'll show you todays favourite piece of creativity - a felt flower.


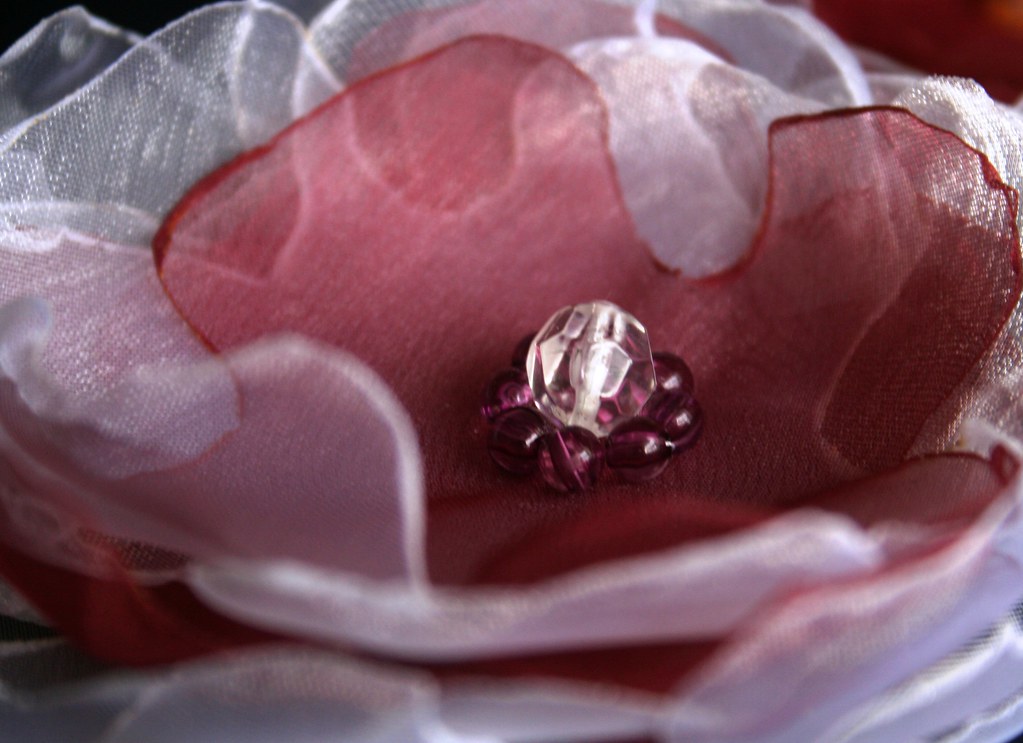
The inspiration for this easy flower pin came from pinterest - or actually a craft blog called Homemaker in Heels. I saw the flower there and decided on a whim that I should try it out. And I did and was lucky at first go. Goes to show how easy this project really is!!!

Here's what you need: A strip of felt, scissors, a glue gun and a brooch pin.


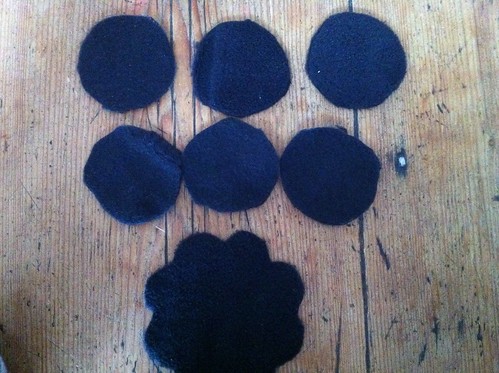
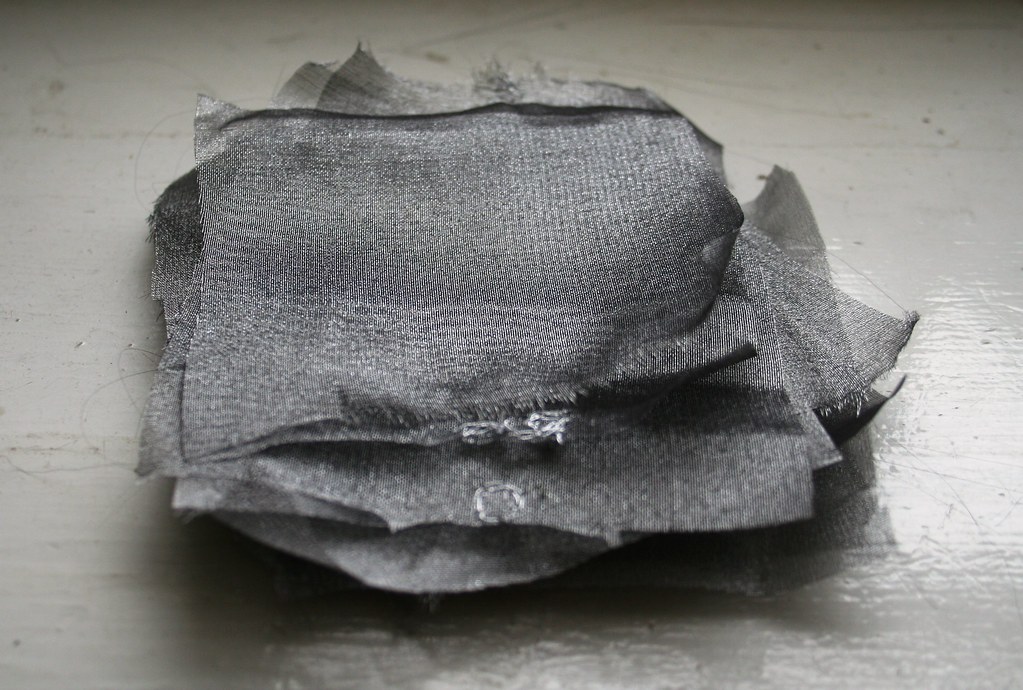
Cut off a piece of felt, about 12" long and 4" wide. Never mind whether it is ironed or not - it won't make any difference to the outcome of the project.


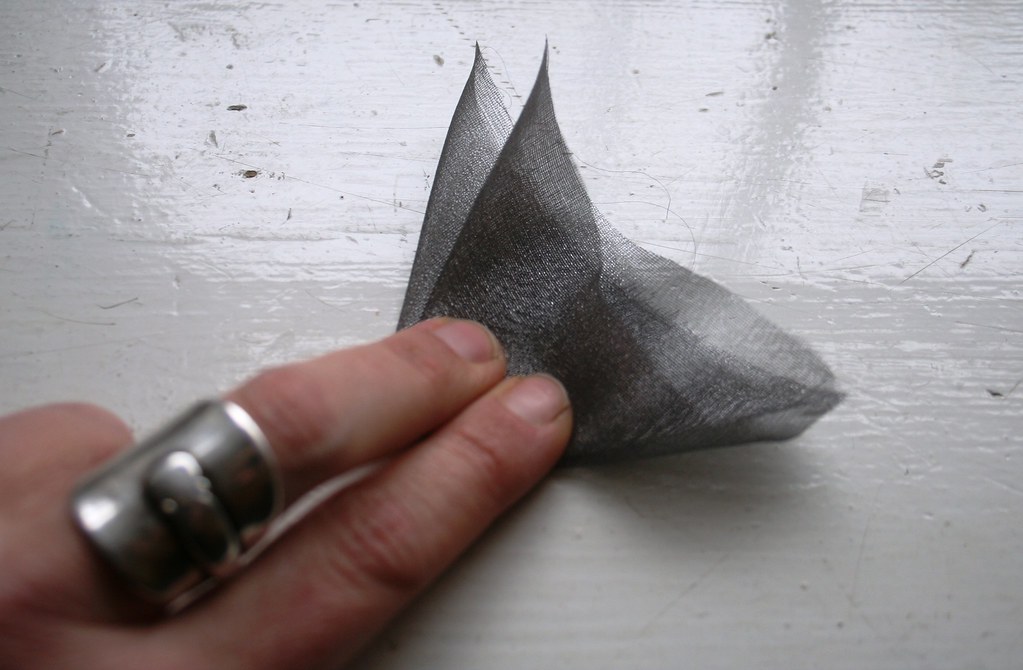
Fold the strip in half.


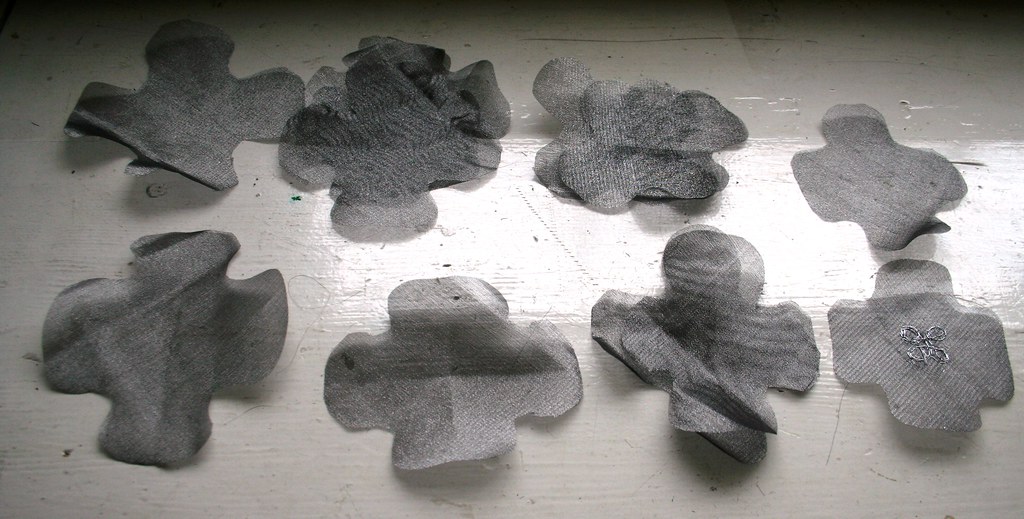
Sew down the length of the strip and then cut the felt almost down to the seam.


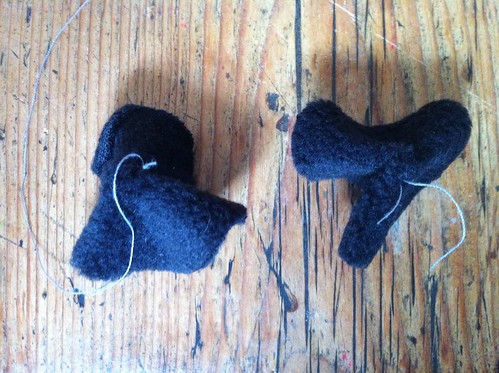
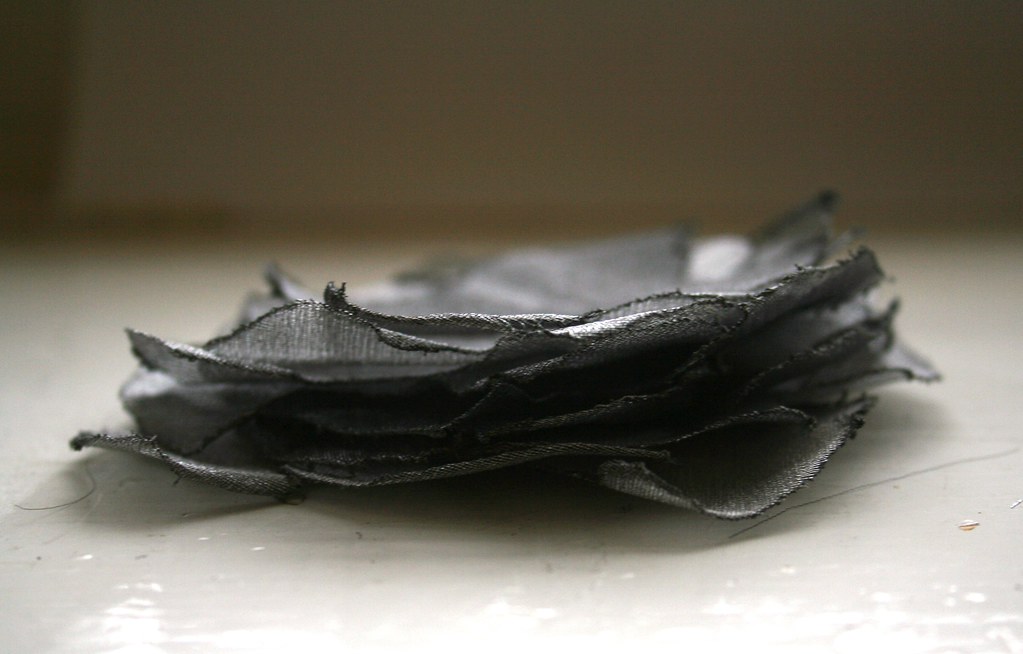
Roll up the length of felt. Secure the last bit with a drop of hot glue.


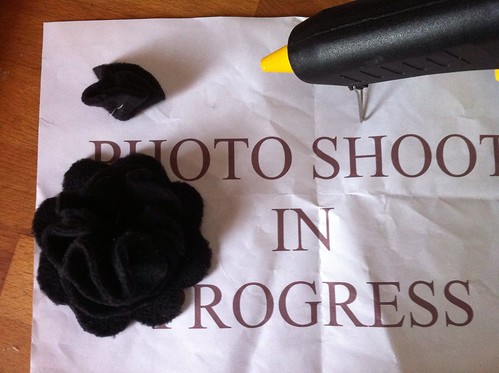
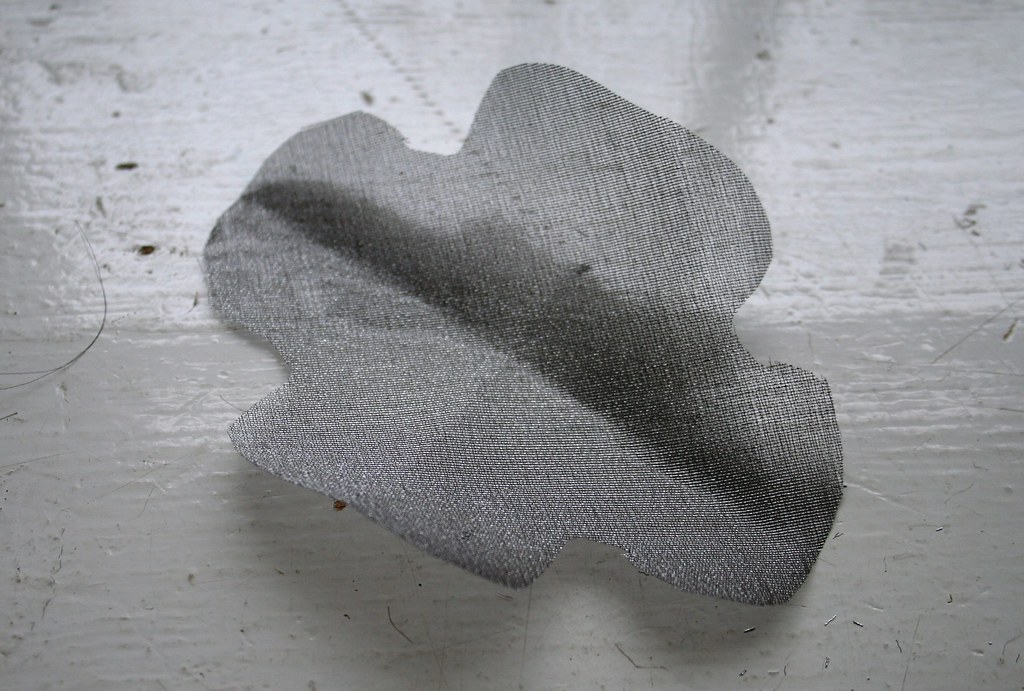
Now fix the flower by putting hot glue all into the rolled up middle of the flower. Before the glue has hardened, bunch a bit of felt into the middle there to fill it in a little.


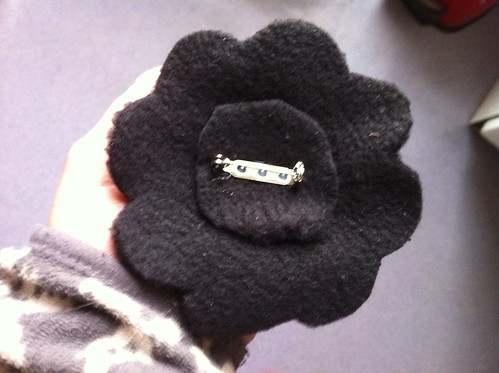
Cut a bit of felt and cover the bunched up back of the flower with it. Hot glue a brooch needle onto the back and tidy up all the glue strings.
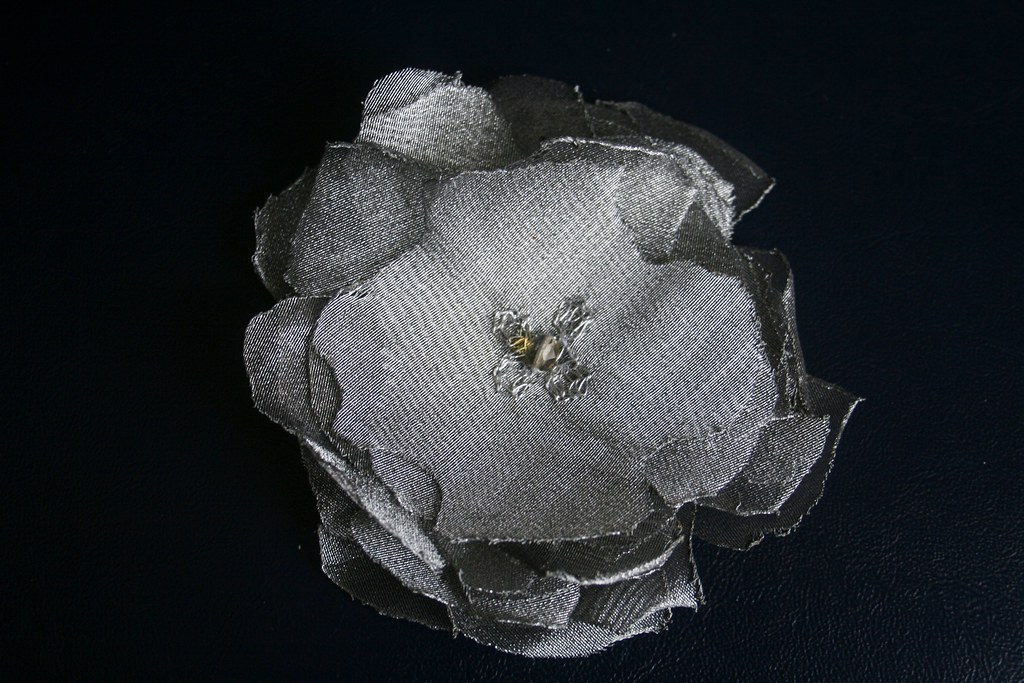
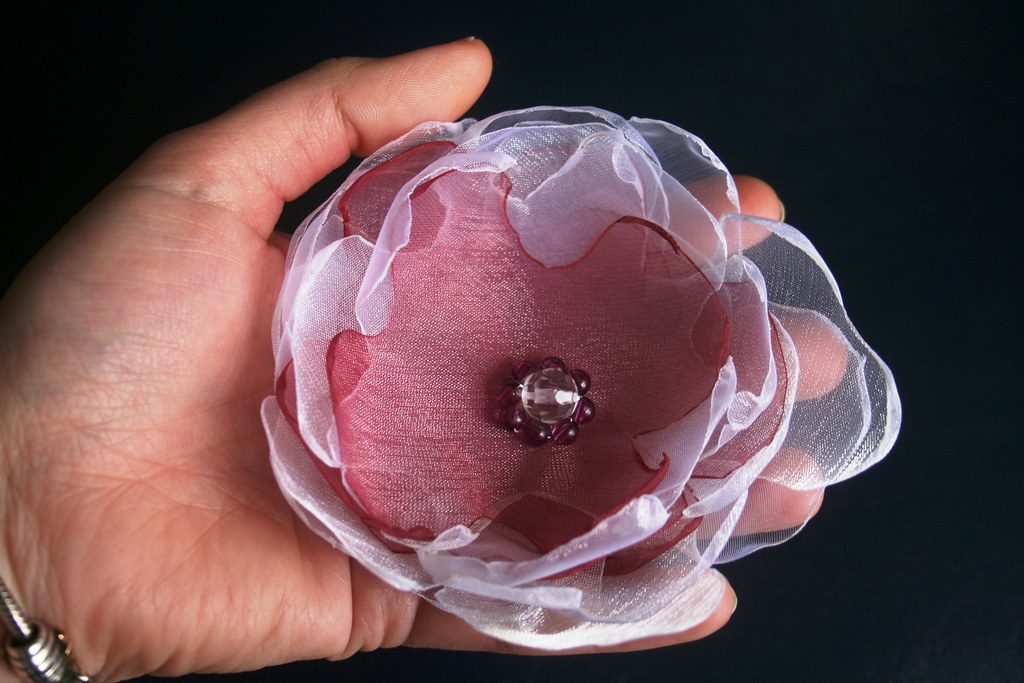


Presto!


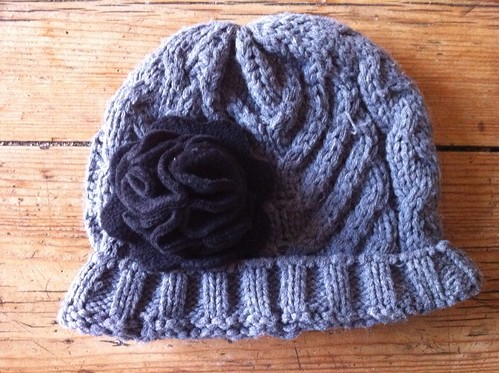
Look how extraordinarily pleased I am with my flower pin. I am grinning like a gingerbread horse (sorry, direct translation from German - but you get the picture... I am happy as Larry, pleased as Peter and delighted as Delilah...) You can almost hear me say tadahhhhhhhhh...


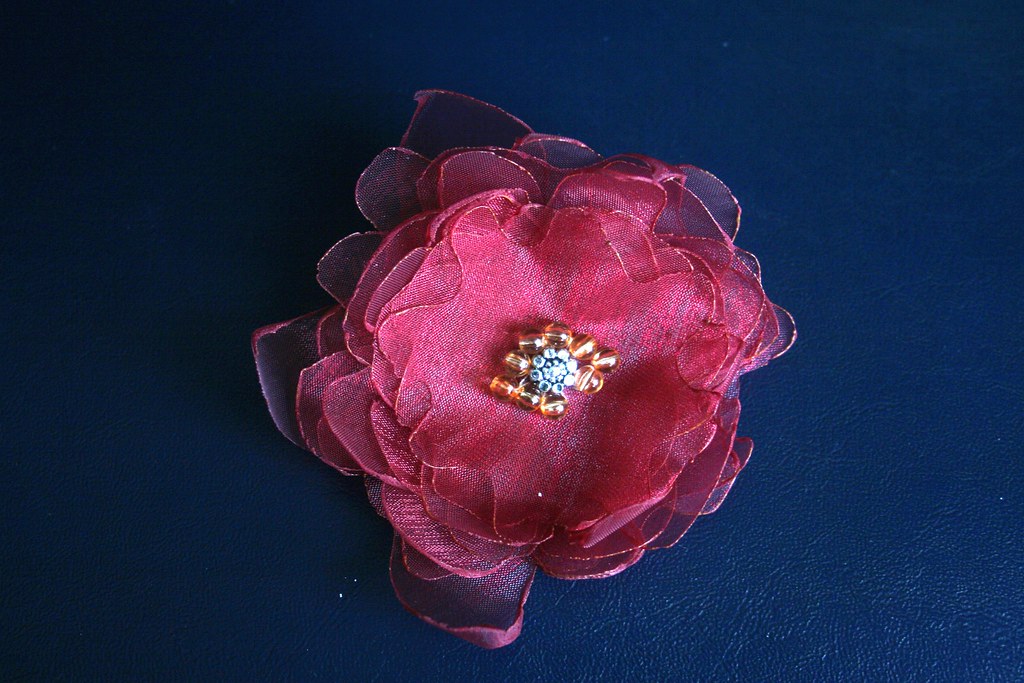
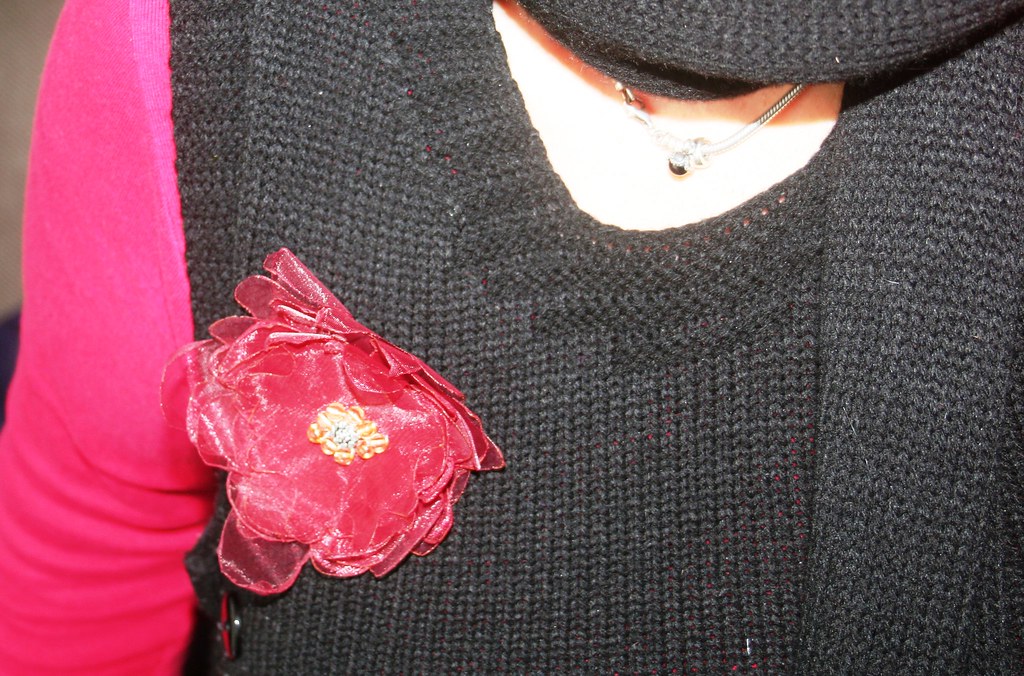
 Anyhow - if you are looking for a simple flower brooch to update an outfit, to prettify a hat or to bump up a bag, this is the project to do as you will more than likely have all ingredients at home. I think I will make many more of these - as pressies for friends, mums and goodie bag contents for the next girly birthday party. It even looks good in my tin of shamrock, planted just in time for Paddy's Day.


Best,


Linking this to:

Tickled Pink @ 504 Main
Frugalicious Friday @ Finding Fabulous

Tuesday, February 14, 2012

Keep Calm and Craft On

*Arrrgh*, I think it's got me. I feel lethargic (not enough sunlight?), hungry (possibly caused by dieting) and at loose ends. Right, it's February, the customary late-winter depression has finally caught up with me. There are several antidotes to this: book a holiday in the sun, eat yourself happy and watch TV for hours on end. Costly and ugly solution. I'd rather just craft a bit and make myself feel better that way. So I cheered myself up with a little flower project.


Yeah, still a bit dullish-February, but that's what happens when this is all that you have at hand:

An off-cut from some black fleece and a cookie cutter. I started off by tracing the flower shape of the cookie cutter onto the fabric.

From the remaining fabric I cut six circles. (I used a shot glass to trace the circles.)

I made the circles into "hats" by gathering the middle of the circle and then sewing through it and tying a tight knot.

I did a little test run and arranged the "hats" on the large flower shape to fit them into place. The easiest is to arrange four of them in a square and after that fitting the two into the remaining gap. You can sew them into place - which is very fiddly - or you can go the easy way and use hot glue instead. There is your flower done.

Finally, I used the hot glue to fasten a brooch needle on the back of the flower. If you think your flower needs a bit more stability, then glue the needle onto a circle of fabric first and then glue the fabric to the back of the flower.

You can see the flower is big enough to fit in my hand.


Et voilá - here is my flower brooch on my warm, woolly, winter hat:


I spare you the sight of me modelling the hat. It would plunge you into deep depression, too. Anyway, easypeasy flower brooch - after the success of number 1 I feel like trying it with some other fabric and colours, too.


Best,


PS: Posting this to...
UndertheTableandDreaming

Tuesday, September 28, 2010

Industrious

While I am practicing a bit of absenteeism from my blog, I have nonetheless been quite industrious. Making those gingerbread hearts has become a bit of an obsession, and over the last week I have made about 50 of them.

To see how they are made, click HERE. The more you make, the better you get at writing with that awkward bottle of puffy paint.


And finally I have also got my hands on a real gingerbread heart. I received a parcel today from my colleagues who are based in Munich, home of the Oktoberfest. As I am missing the mess fun that is the beerfest, they put a gingerbread heart and some yummy chocolates in a box to lighten up my beerfest-free autumn in Ireland. So you can see, my little brooches are a fair enough-copy of the real thing. (Disregard what it says on the heart - this one is actually an advertising gimmick, handed out by a company. It says "Dialogue connects" - *umm*, well...)

I will hopefully sell some of these through a friend who has a stall on the Dublin Oktoberfest. As my gingerbread hearts are quite large, I made a few small ones as well - too small to write a witty slogan on it, but big enough for a cute flower. Sorry, bad picture quality - here I am sporting one of my hearts.

As a post-scriptum I have taken a picture of the back of the brooches - I simply hot-glued the needles onto the felt and they are attached firmly.

Anyway - I had a couple of comments on my brooch yesterday and continue wearing it. If nothing sells, my daughter and her friends will be very happy :-).

I leave you with the thought of the day:


Best,


Linking to "Get your Craft on" at TODAY'S CREATIVE BLOG and...


Saturday, January 16, 2010

Corsages - can't get enough of them

It seems that I am a bit obsessed about corsages at the moment. I came across a tutorial for making a corsage out of old denim a while ago. Sachiko's of Tea Rose Home great and easy way of making a pretty flower brooch convinced me that I should give it a go. And what can I say - I got into a bit of a flower frenzy, it seems. They are so easy to make that I didn't just make one, but kept going and made three corsages.


Now, there is actually no real need for yet another corsage tutorial. The reason I am including one here now is that I found a way of (literally) cutting corners. Oh, but before I start, I would also like to give credit to Beckie of Infarrantly Creative who made a stunning necklace that involved handmade flowers a while ago. Her bonheur necklace is really amazing. And I basically combined her instructions with Sachiko's instructions to make my own flowers.


Ok, so here we go: You need some synthetic fabric, beads, needle and thread, scissors and a lighter... *hehe* sounds mysterious, eh? But you will see where the lighter comes in. First of all cut your fabric into rough squares, differing in size from about 12 cm to 8 cm.  As you can see in my picture to the left, I cut mine very carelessly and roughly - I doesn't really matter at this stage!


Next create petals out of the squares. Here is my little corner-cutting and time-saving idea: Fold up your square diagonally - and then diagonally again - so that you come up with this: 


Holding the fabric at the point, cut off the top part of your triangle in a kind of B-shape. The further you cut into the middle, the longer the petals will be. Opened up it looks like this (see right pic).

 Depending on how see-through your material is and how transparent you want the finished corsage to be, you need to cut a number of squares. I made about 12 petals and sorted them according to size:


Again, don't worry that they are all different shapes - mother nature isn't particularly regular, either... and the finished flower will still look fine!


The next step is where the lighter comes in. In order to stop the fabric edges from fraying, use a lighter and "burn" the edges. Unfortunately I couldn't hold my big camera and at the same time handle fire, so I have no images of this process. Essentially you just move the flame swiftly along the edges of the fabric petals. Don't be too slow, or the fabric will catch fire. What you want is really just to get the synthetic fibres to heat and kind of get sticky... (*arrrrgh* difficult to explain when English is not my mothertongue.... sorry). Check the picture (right) where you can see the slightly curled and "glued" edges.


Now you simply stack the petals, starting with the largest at the bottom and going smaller. Make sure the petals do overlap nicely to create that flower shape. 


When you are happy with the shape, sew the stack of petals together in the centre of the flower with needle and thread. My fabric (which actually came from a tab top curtain in silver) had some simple twirly flower shapes stitched on. I had cut one of the petals shapes in such a way that the silver flower-twirl was in the centre of it - and I made that my top petal. I only sewed a grey bead in the middle of the twirl as the centre. And that's it. I attached a brooch pin at the back of it and it was ready to go...


However, I wasn't happy that the corsage was so two-dimensional - not very full. So I gave it a couple more tries. To the left is another one, this time all in red and with a flower-bead as the centre.


Here is a white and burgundy one. Isn't it nice and delicate? Unfortunately the beads are off-centre *doh*...


 I couldn't wait to wear it yesterday - it stands out nicely on my black pinafore. (But if you knew to how much trouble I went to get this seriously underwhelming shot of the corsage in action!!! My arm nearly fell off, trying to capture it by turning the camera on myself...) 


Which one do you like best?


18 January 2010: I have just discovered a nice site - cottage instincts and am linking this to