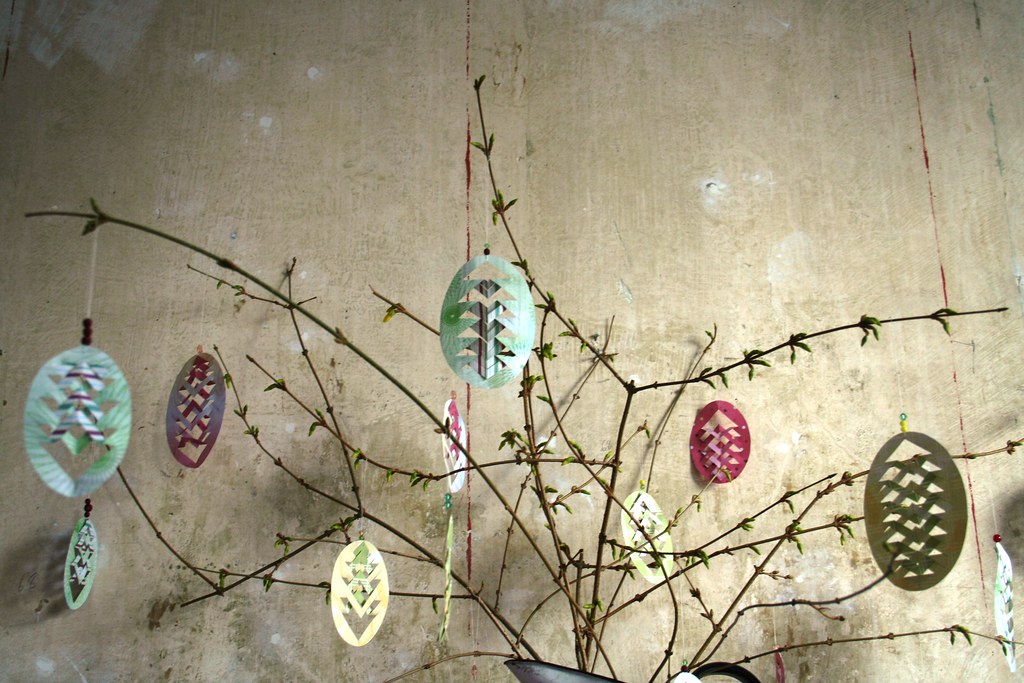
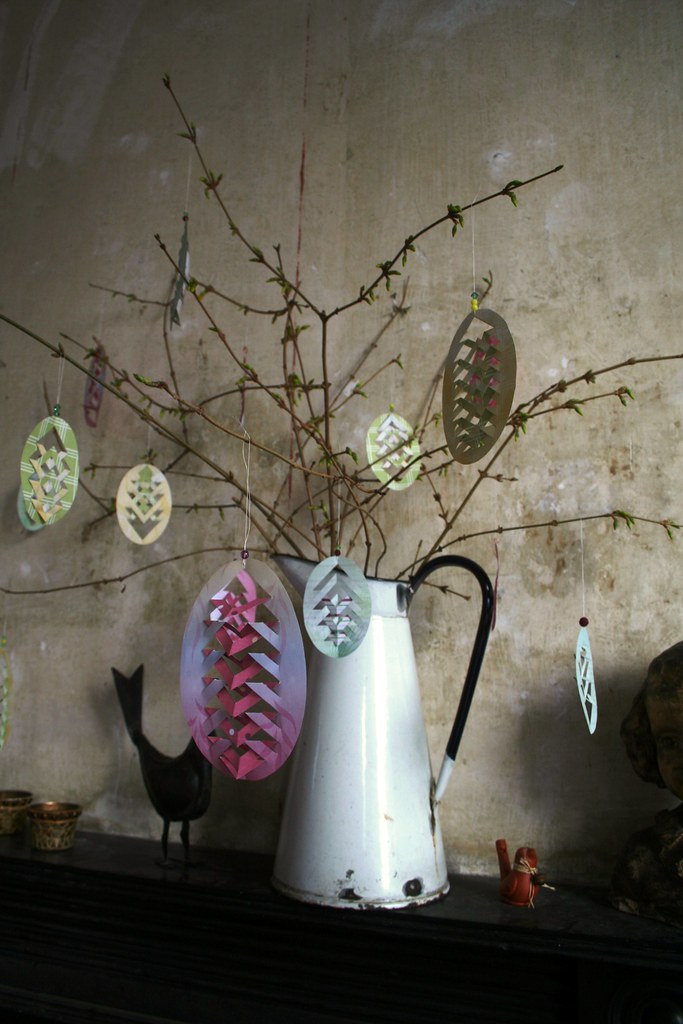
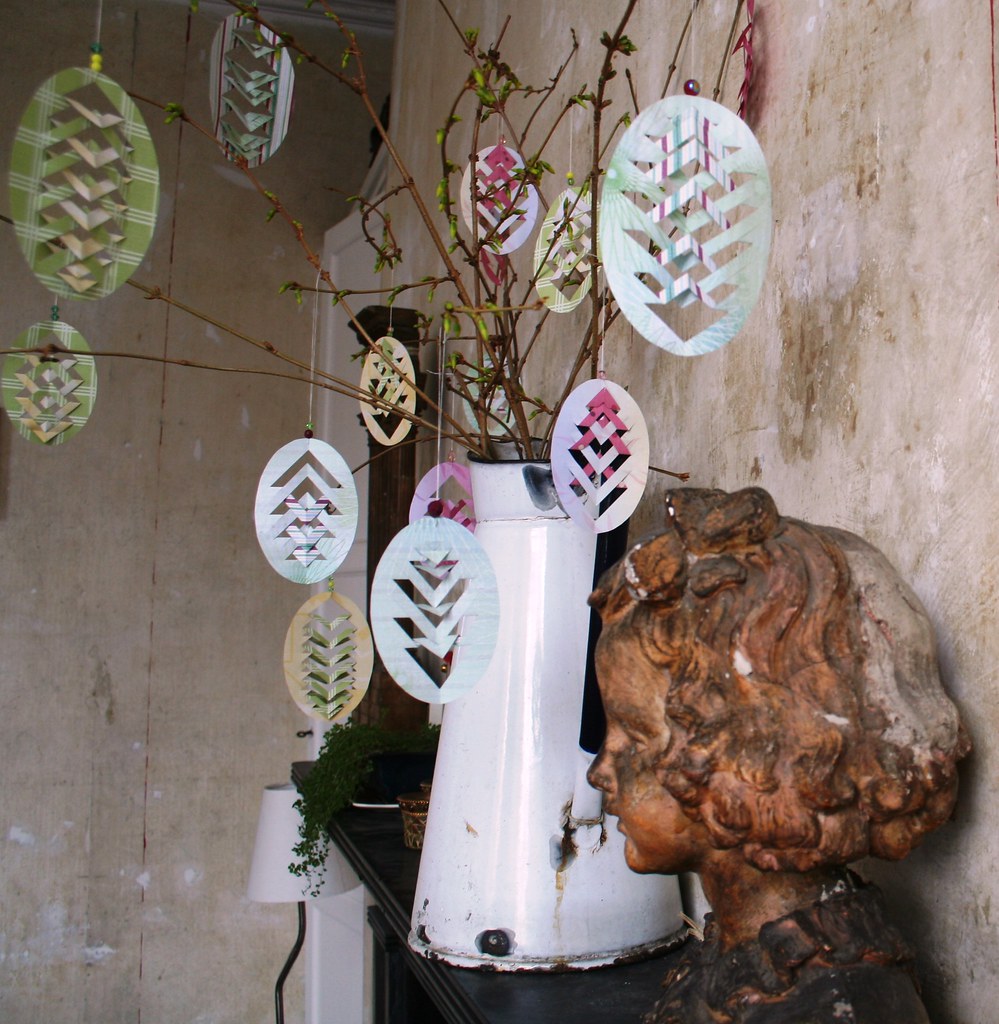
Ooops, decorations I mean... I am already preoccupied with eggs, as you can see. I like to have a little seasonal mantlepiece arrangement in my sitting room. In Germany - as in most places - we would hang painted eggs on branches which are placed in a vase. I actually have a collection of beautiful Czech hand-painted Easter eggs which I have amassed over the years. But they are predominantly red and white - and therefore will get pride of place in my red-and-white kitchen. So something else had to be found for the sitting room mantle. As this our first Easter with the new sitting room I hadn't yet got any extra deco and was wrecking my brain what to use there. And then my daughter came home from school with a beautiful paper decoration that she had made there. Bingo - easy to copy and yet looking really intricate and lovely.
These are very simply made, just by cutting out the egg shape, cutting slits into it, and then folding over the resulting triangles. You don't even have to be particularly exact with the cutting and folding - it will always turn out nice. That's why this is actually a craft you could involve your kids in. Depending on their age you could do the cutting for them. The little ones could actually colour the paper for you and you would cut and fold. My daughter coloured, cut and folded a stack of them herself and we put a vase with twigs into her room, too. Everyone happy ;-).
But here is a little step-by-step tute. As I didn't have doublesided scrapbook paper at hand, I quickly printed out some nice designs from Canon Creative Park.
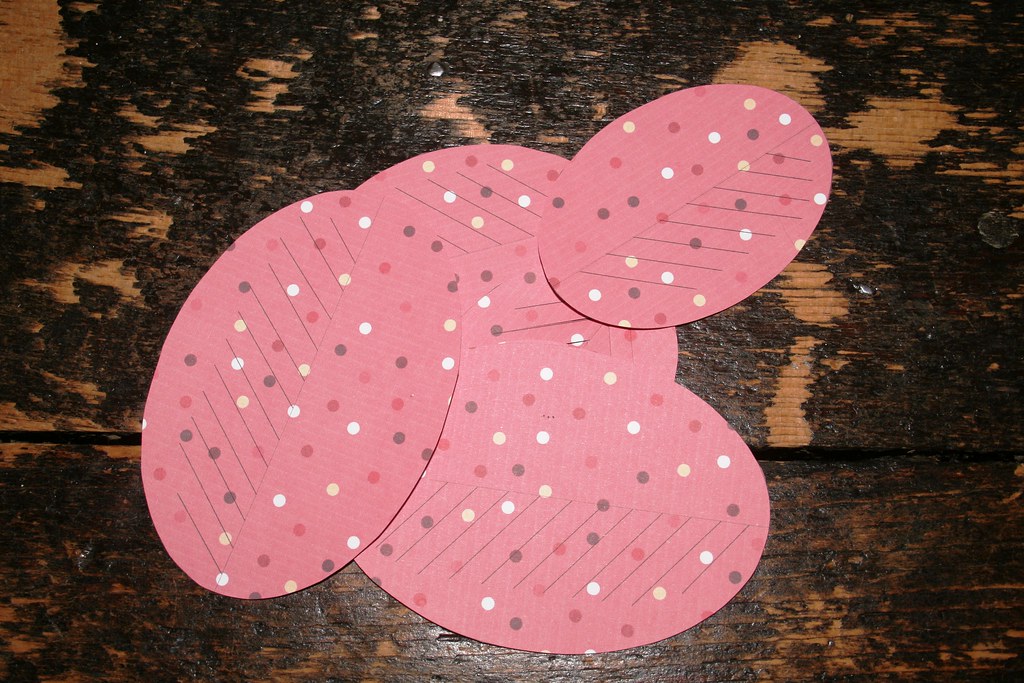
Then I quickly made a template with two sizes of egg shapes in MS Word. I printed the template on top of the scrapbook paper. (I'll put the template at the end of the tute for you to download.) The lines are very thin so they don't stand out too much and distract from the finished design.
First of all I cut out all the egg shapes from the paper.
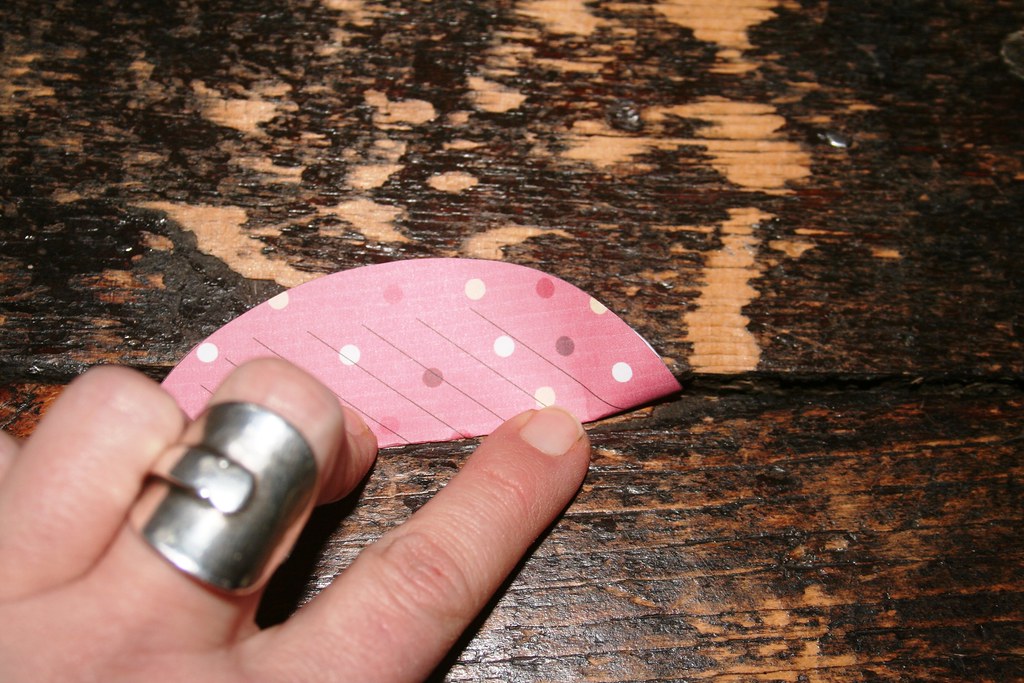
Fold one shape in half length-wise along the line.
Cut along the short lines, creating lots of little slits in the paper. Make the cuts as long as suggested in the template.
You end up with a sort of leaf-design when you open the shape up again.
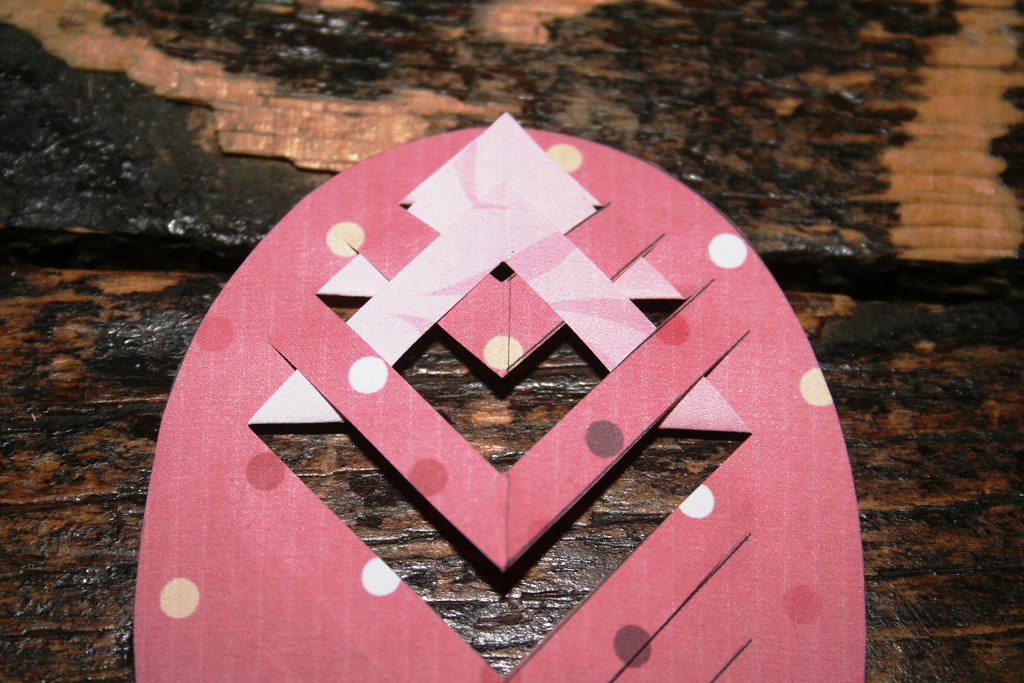
Now comes the folding. Start off with the smallest slit which is making a triangular shape. Fold it up to the top.
Leave the next slit untouched and instead fold up the one after that. Then push it under the bit of paper you left untouched.
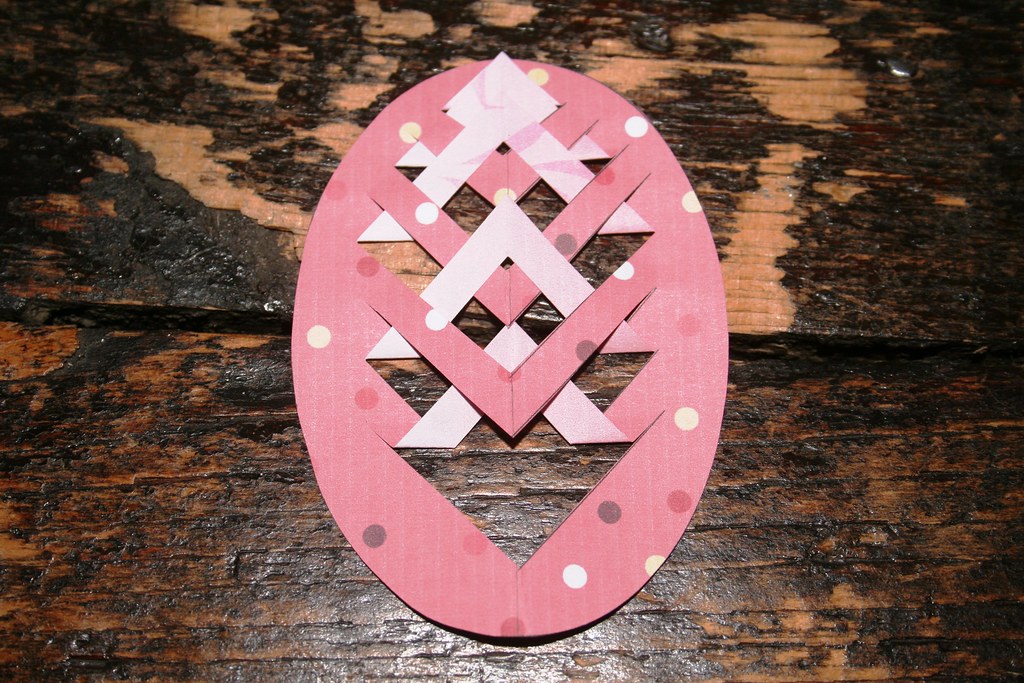
Again leave the next bit of paper untouched and fold up the one after and push it under. Continue to the end and you come up with this:
If you turn it over, it looks like this:
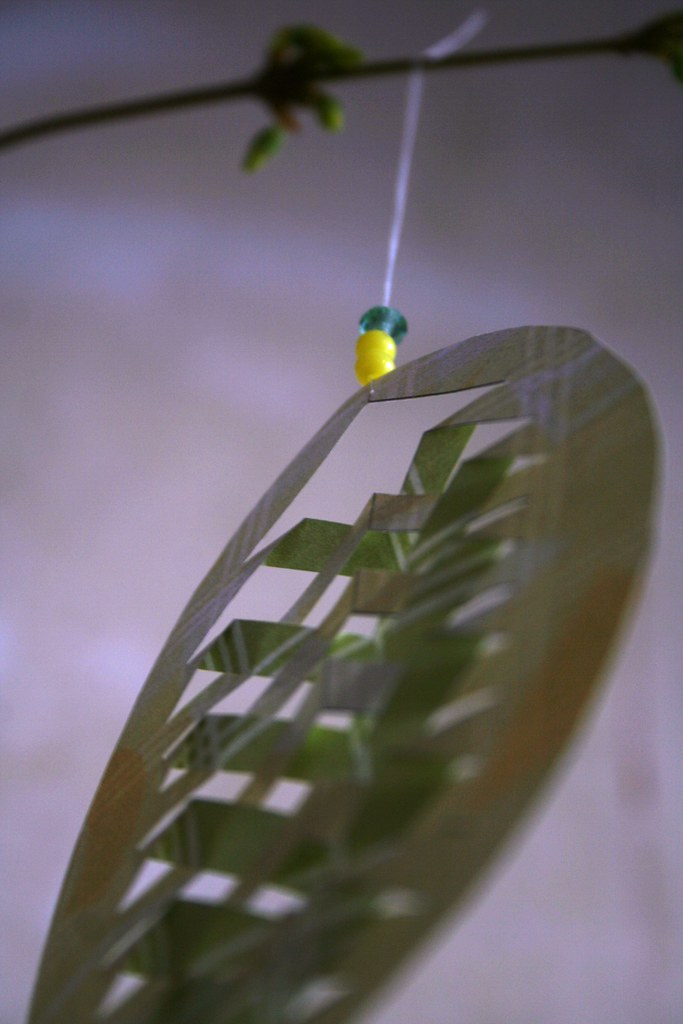
Finished! All that's left to do, is attach a bit of string to hang the decoration from. I also pushed a couple of beads in complimentary colours onto the string to give the decorations a tiny bit more weight.
And now hang on your branches.
You can play around with the folding and sliding under and make different patterns. No two of the decorations are the same. They look intricately woven and yet are just very simple affairs.
Right, here is the template for you to download. I hope it works for you - otherwise just use it as a base from which you create your own template.