FYI


Showing posts with label paper. Show all posts

Monday, March 18, 2013

Peekaboo

Alright, with Patrick's Day out of the way (belatedly happy Paddy's Day, all afiliated Hibernophiles out there!), I can finally get down to the first decorating highlight of the year. Easter is around the corner. And don't I know it - this year's fasting exercise is streeeeetching my patience. No chocolate since mid-February. A self-imposed Facebook ban. No crisps. I am surviving, but I *am* looking forward to a chocolate feast on Easter Sunday. But I digress. It's still about a week too early to bring the Easter eggs out. Mr Craft-Werk objects, as you know. Especially when we are talking silly relics of religious rituals. But where there is a pair of scissors, there is also a will.

"Peekaboo"
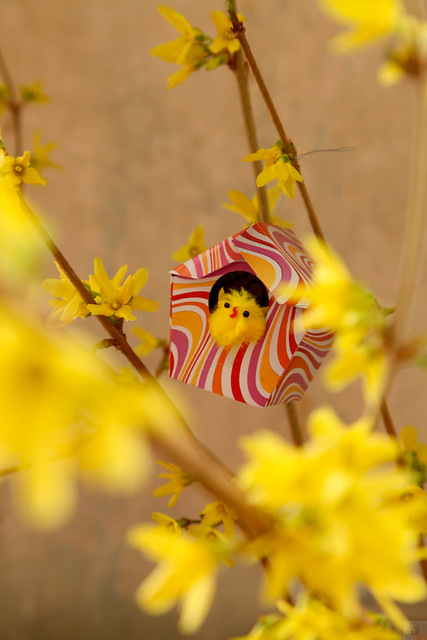
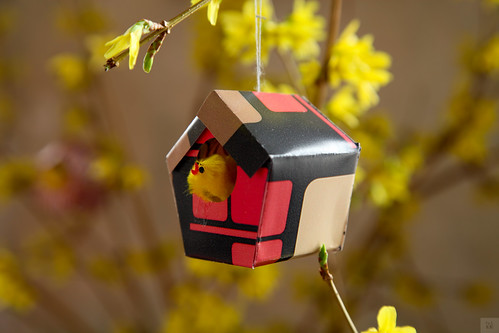
I came up with these whimsical little bird houses with chicks peeking out of them after I found a whole stash of those pipe-cleaner chicks in my craft-materials box. "What can I do with them?" I thought to myself. I came up with a little paper birdhouse that is very easy to make - all it needs is some nice cardstock, glue and a pair of scissors.

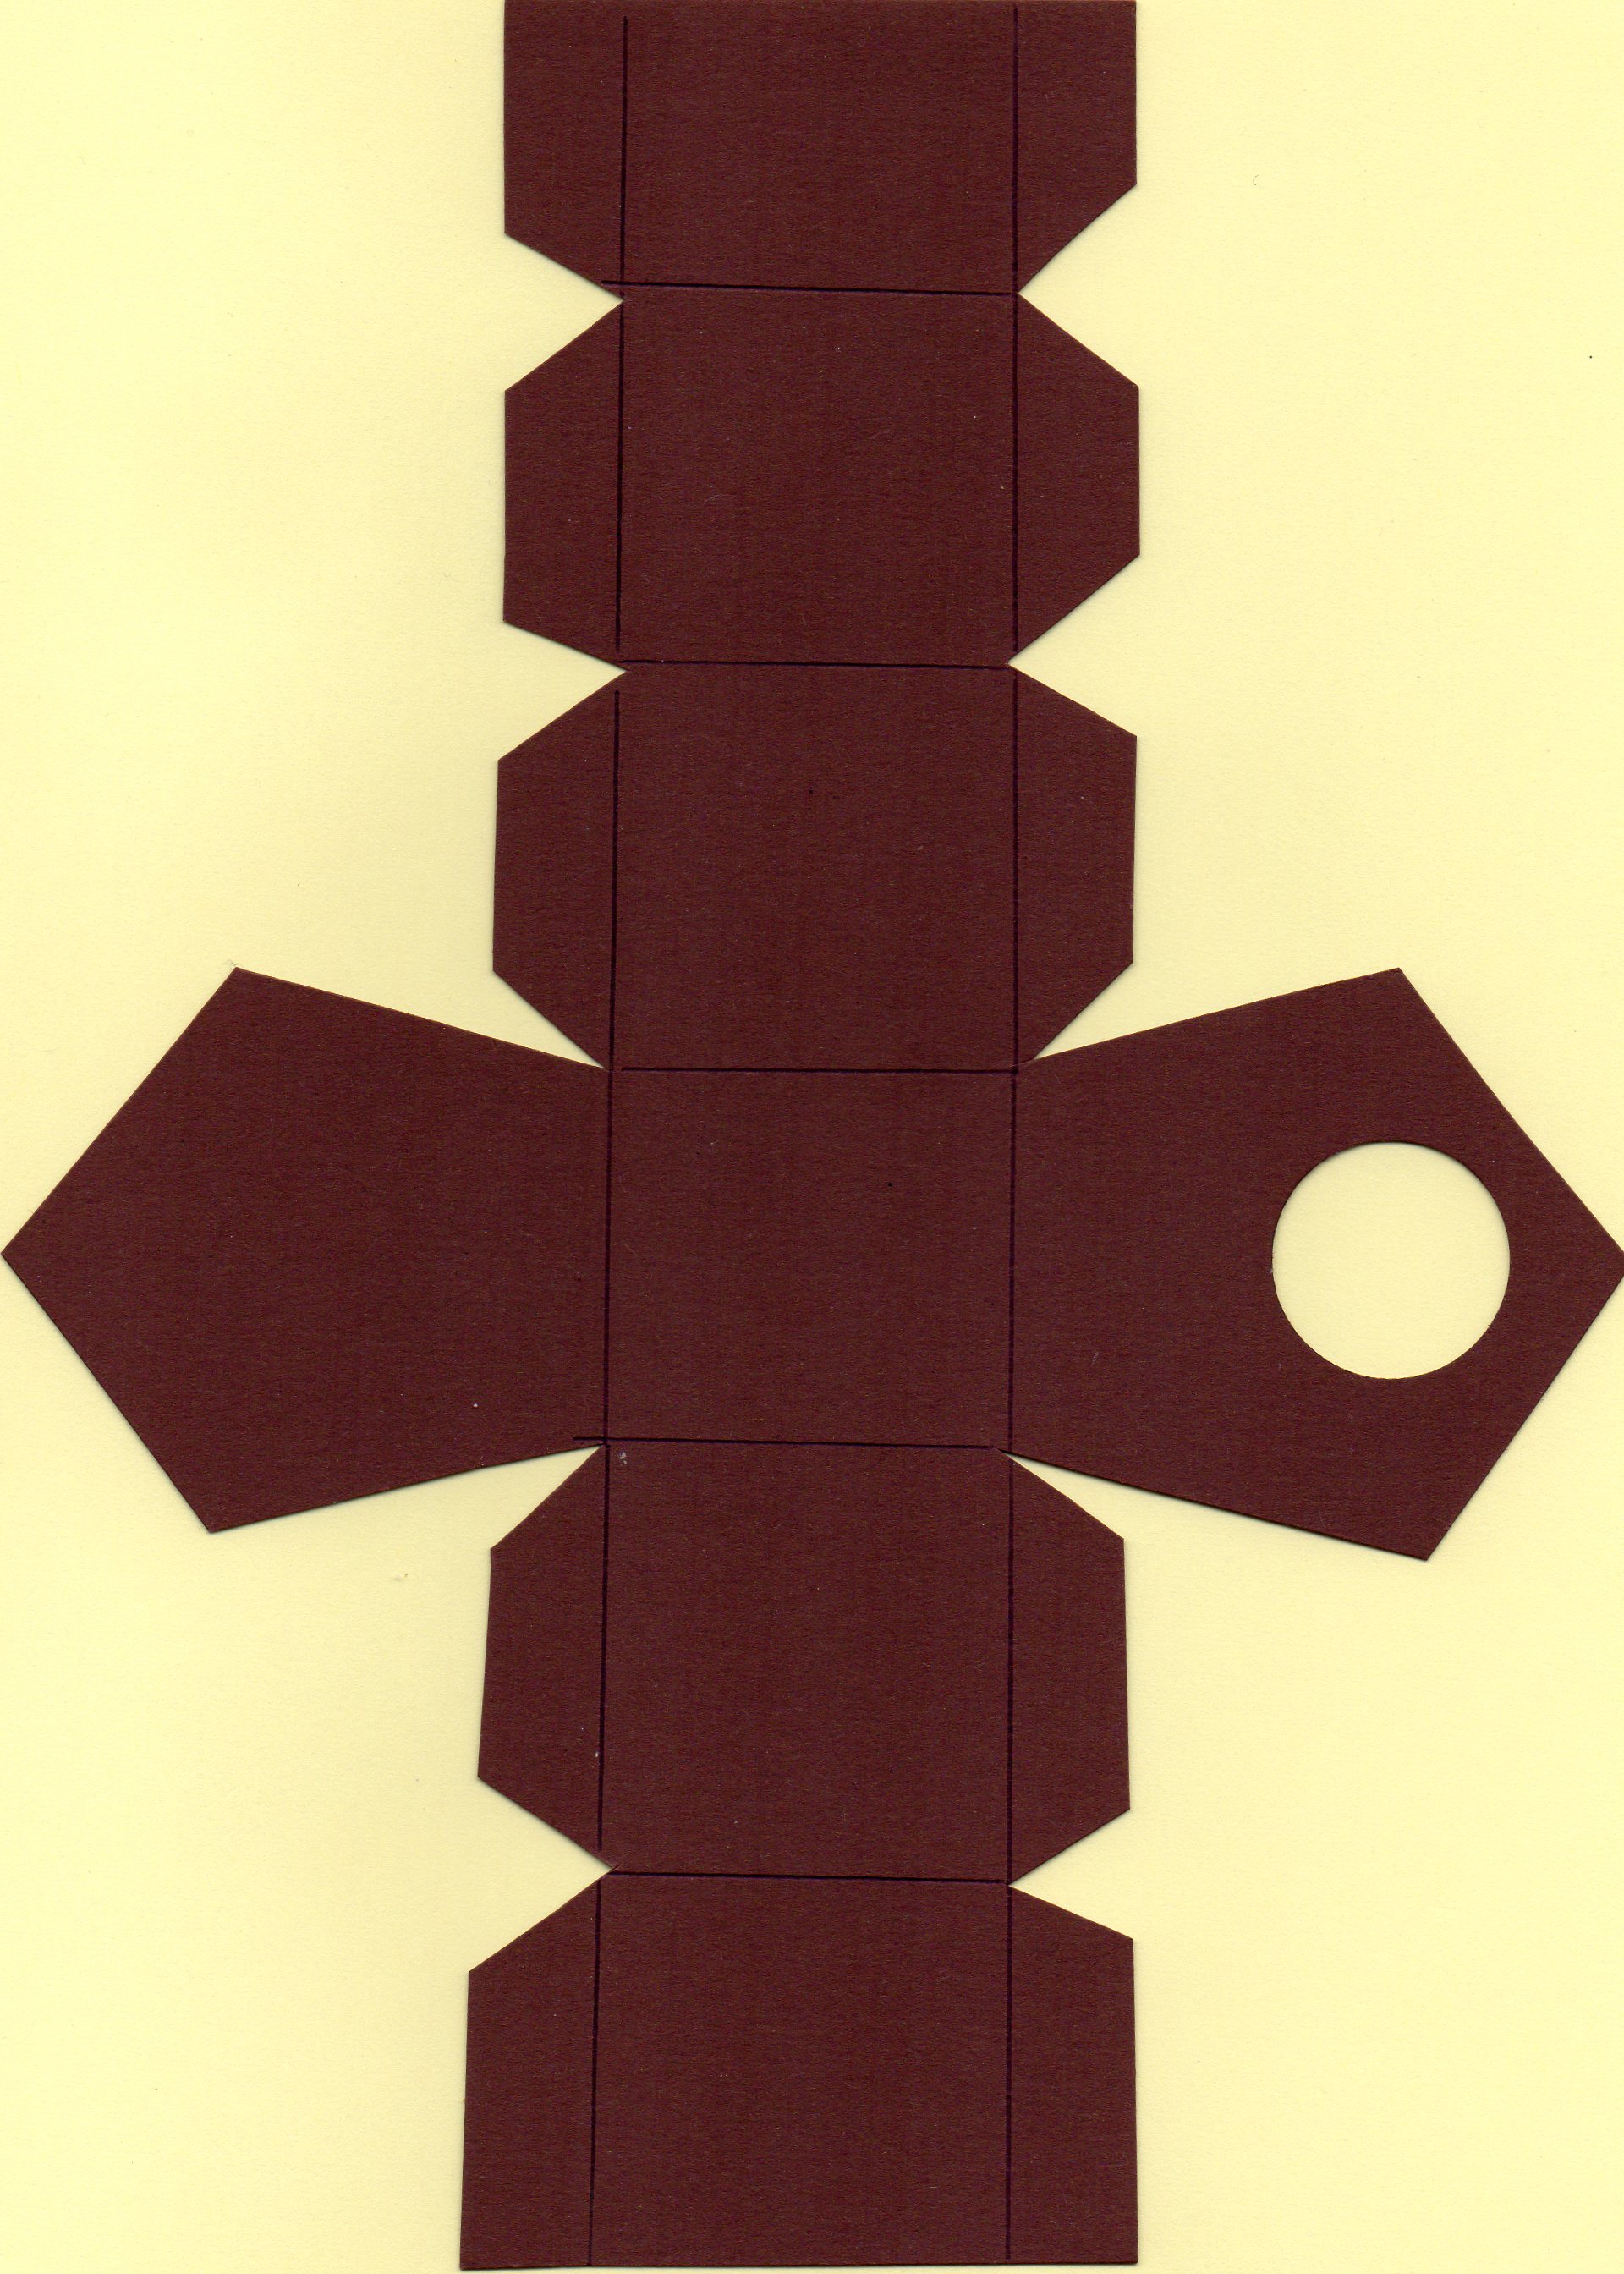
First of all I made a template from which I could cut a number of those shapes. I drew it up simply by estimating and experimenting. Feel free to use the image to the right: Print it on a piece of card stock to use as your template. (I scanned it at the highest resolution I could - just resize in the size that you need.)

When you look at my template you will hopefully see the lines that I drew on the template. They are the folding lines. Fold up the two main bits - the front of the birdhouse with the hole in it, and the back. before you then fold the sides over so that they form the two sidewalls and the roof, fold the edges in, in order to glue them to the front and back of the house. Ah, you'll work it out as you go along.


For some nice, colourful paper in spring colours I "blasphemed" and ripped photos out of a book on funky wallpapers. (I feel bad about destroying a book - there is something sacrosanct about books, isn't there?) The pipe cleaner chicks were simply popped into the finished birdhouses and secured with a drop of glue.


And that is it - here they are, my colony of chicks, frolicking in- and outside their houses. They blend in pretty well with the first branches of forsythia from my garden. They bring a smile to my face, every time I look at them.


Happy spring time!


Best,


Saturday, January 12, 2013

Happy New Year

Flowers in September? Well, that's what you saw until now on this blog. And all of that in the middle of January. I may have completely ignored Christmas 2012 in my blogging life (at least in *this* blogging life) but intend to be back in business in 2013. So this is for you:


By all intents and purposes Craft-Werk seemed to have gone into hibernation. And yes, for the last while I haven't done much but get my equilibrium back after the disconcerting end of my student life. Then I got very busy with my professional life - both old (in journalism) and new (in photography) and that sucked all my creative energy. (Yes, I know you have heard that before *sighs*). But then January comes along and somehow in deepest darkest winter there is always this creative volcano that keeps prodding from beneath the surface. With college out of the way for good, there is no reason not to let it erupt.

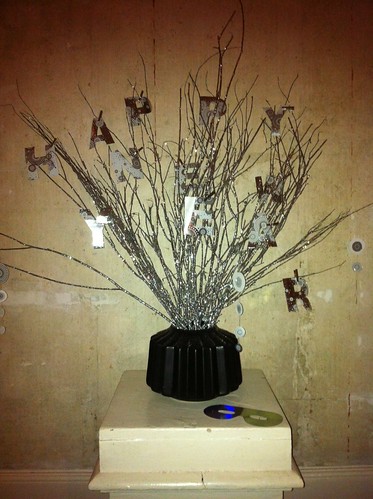
So I got crafty after New Year's. What really brings it out is my Protestant frugality. But of course I will only admit to contemporary goody-two-shoes mentality aka environmentally mindedness *coughs*. Because the New Year's display above came from this:

A heap of waste paper from the Christmas crackers at my lovely sister-in-law's Chrimbo dinner. They were just too nice to throw away, I loved its sparkly design and I knew I could do something with it.

And so I got the old trusty scissors out, printed myself some nice alphabet templates and cut away...

The whole arrangement now sits in the drawing room, where before the Christmas tree took up space and then left a rather big gap. (For a previous Christmas cracker project, check out my "Birds of Bling" post from last January) It's all a bit bling, silver glitter on twigs and all, but at least the geometrical vase keeps it all a bit grounded - an Ikea bargain, btw, at € 2, bought in the January sales.

So there we are. Back in business with crafting. I have a few ideas up my sleeves, involving...

  • MDF
  • loooooads of tennis balls
  • and some white tulle
Not in the same project, though... But watch this space.

Happy new year, crafty friends!
Tuesday, October 5, 2010

Make your Own Business Cards

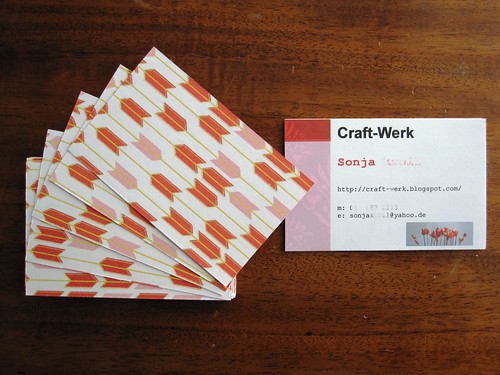
My crafty enterprises are not a business but a hobby. And yet I had great fun making some business cards for me the other day.


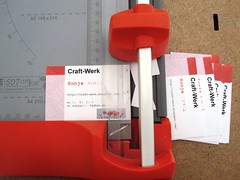
Yep, you can have them printed very cheaply. But you can also have the fun of designing them yourself. Plenty of templates available in MS Publisher or any other desktop publishing programme. Ok, yeah, takes a bit of time to print and cut, but at least it is fully to your own specifications.

I even printed a nice design on the back of the card - not my own, of course, but a downloaded Chiyogami design from Canon Creative Park.


Happy designing, everyone!

 Best,

Friday, March 26, 2010

Apologies...

Another "oooops" from me - I am totally snowed under with college work and visitors at the mo. No time for crafting or for writing :-(. I hope I will have a little more time soon. In the meantime, I am resuscitating an old project that I posted in the early days of my blog. In fact, it was this project that initially made me think I should really start a blog and share my ideas with interested crafters. However, I didn't really have much of an audience back then, so I hope that some of you have not seen this project of mine before...


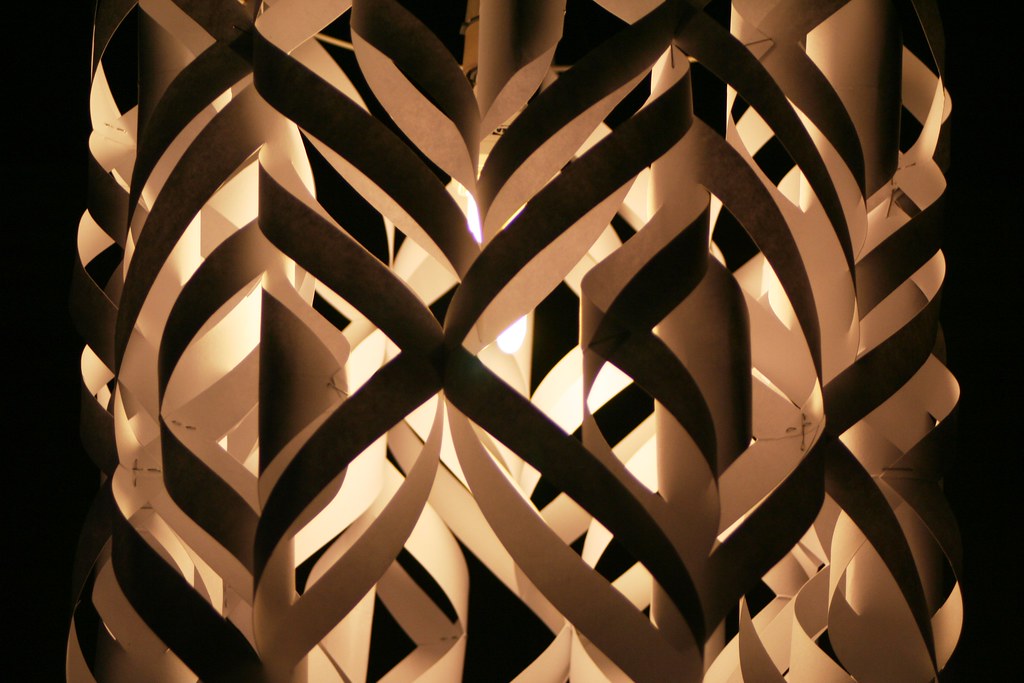
This is my designer lampshade. It has just been featured by The Frugal Designer Rayan on her fantastic website which contains a huge resource library for crafty projects, remodels, decorations, ideas and inspiration. Please pop over to her site and check it out for yourself. Submit your own projects and help build the library if you like. 

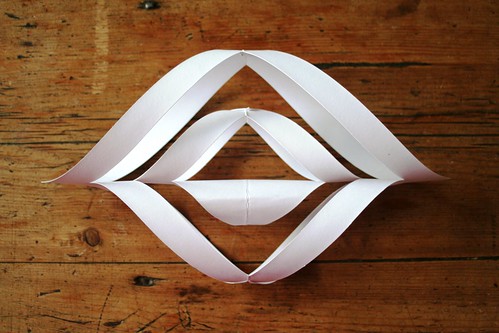
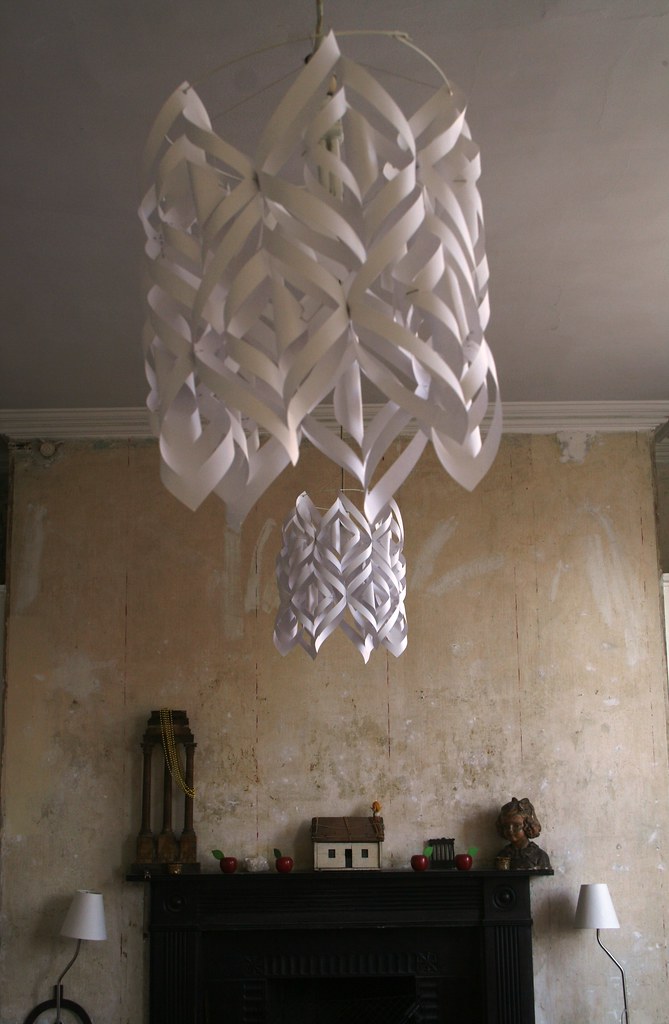
The lampshade is really easy to make - you only need some cardstock and staples to make it. It is assembled from 12 pieces which look like this:


I describe how to make these here. Don't get thrown off by the fact that they are meant to make a Christmas star *hehe*. The lampshades look really nice in my sitting room. See for yourself: 


(I can't tell you how much it bugs me that the lamp on the left was not sitting straight when I took the photo *ugh*.) Please check my original post.

Right, back to work and visitors... I hope I'll be able to schedule the blog linking party for tomorrow. AND that it works properly, this time...

Best,

Monday, March 15, 2010

Easy Easter Eggorations

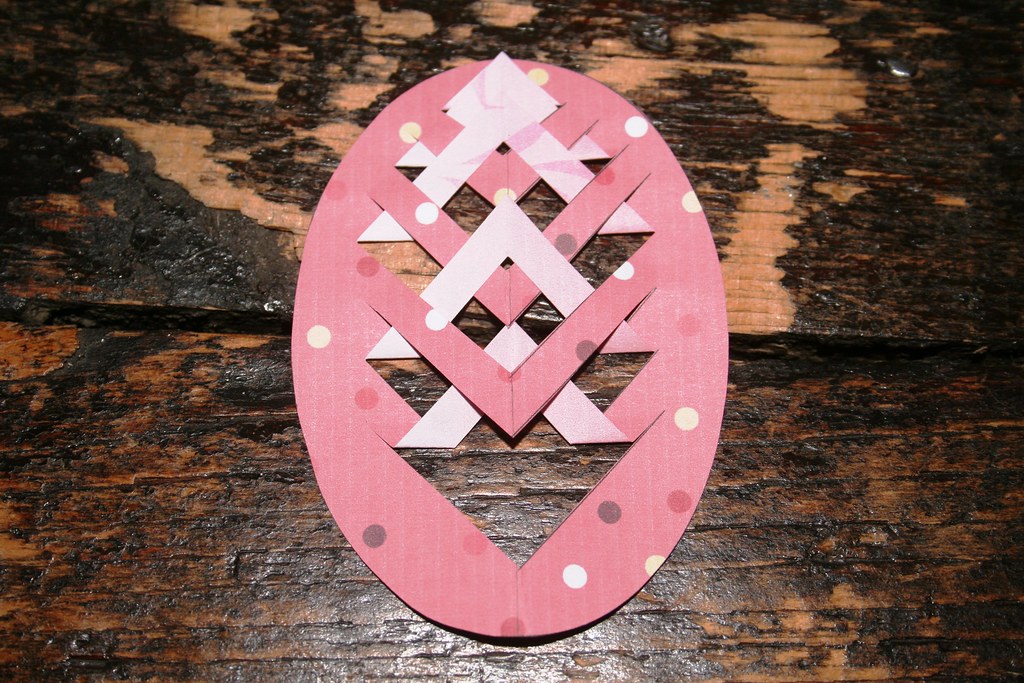
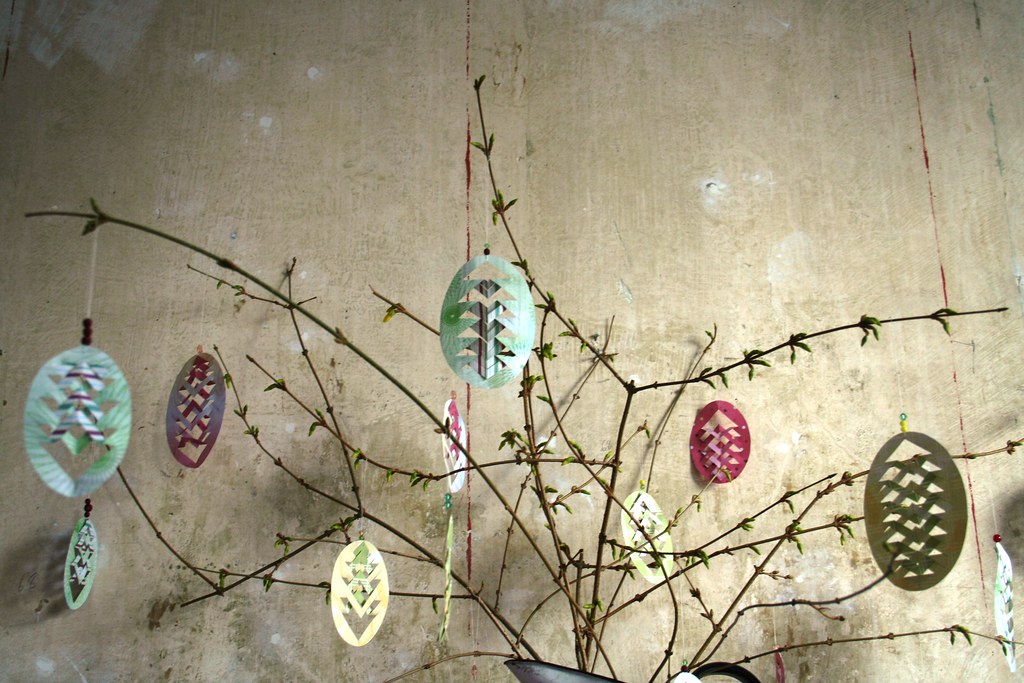
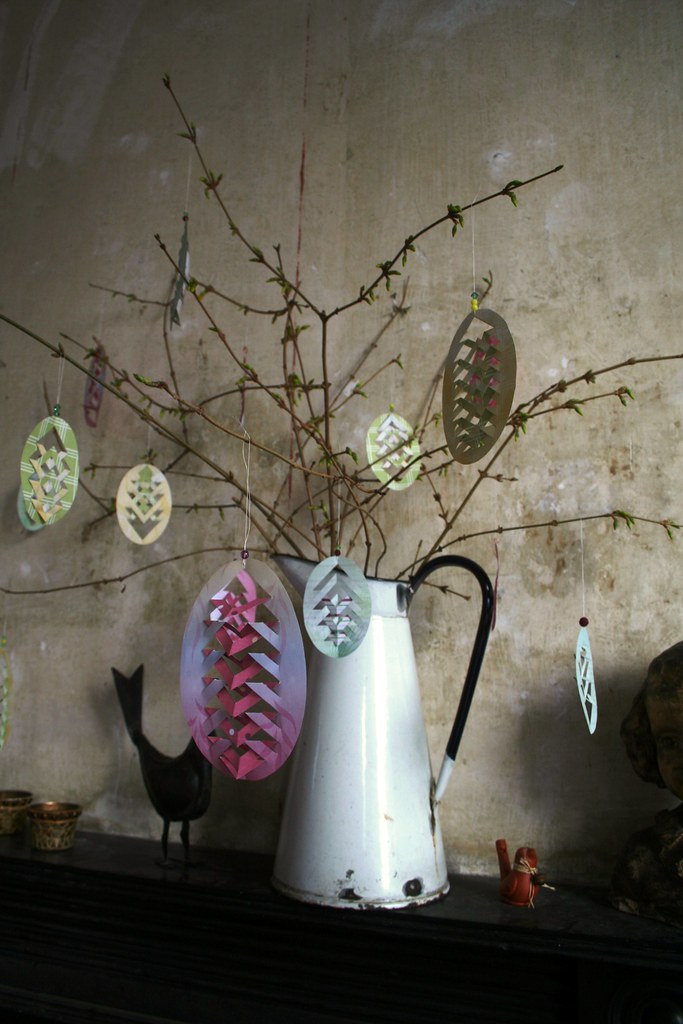
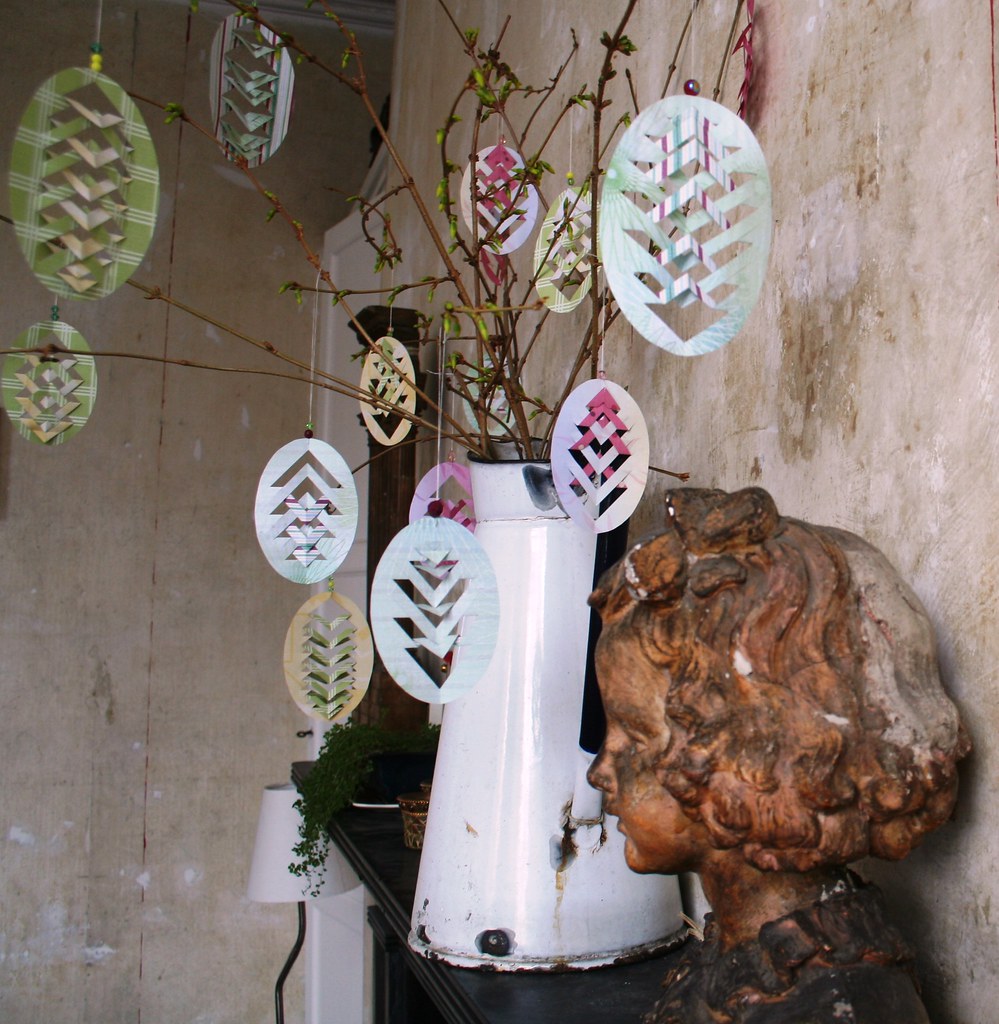
Ooops, decorations I mean... I am already preoccupied with eggs, as you can see. I like to have a little seasonal mantlepiece arrangement in my sitting room. In Germany - as in most places - we would hang painted eggs on branches which are placed in a vase. I actually have a collection of beautiful Czech hand-painted Easter eggs which I have amassed over the years. But they are predominantly red and white - and therefore will get pride of place in my red-and-white kitchen. So something else had to be found for the sitting room mantle. As this our first Easter with the new sitting room I hadn't yet got any extra deco and was wrecking my brain what to use there. And then my daughter came home from school with a beautiful paper decoration that she had made there. Bingo - easy to copy and yet looking really intricate and lovely.


These are very simply made, just by cutting out the egg shape, cutting slits into it, and then folding over the resulting triangles. You don't even have to be particularly exact with the cutting and folding - it will always turn out nice. That's why this is actually a craft you could involve your kids in. Depending on their age you could do the cutting for them. The little ones could actually colour the paper for you and you would cut and fold. My daughter coloured, cut and folded a stack of them herself and we put a vase with twigs into her room, too. Everyone happy ;-).

But here is a little step-by-step tute. As I didn't have doublesided scrapbook paper at hand, I quickly printed out some nice designs from Canon Creative Park. 

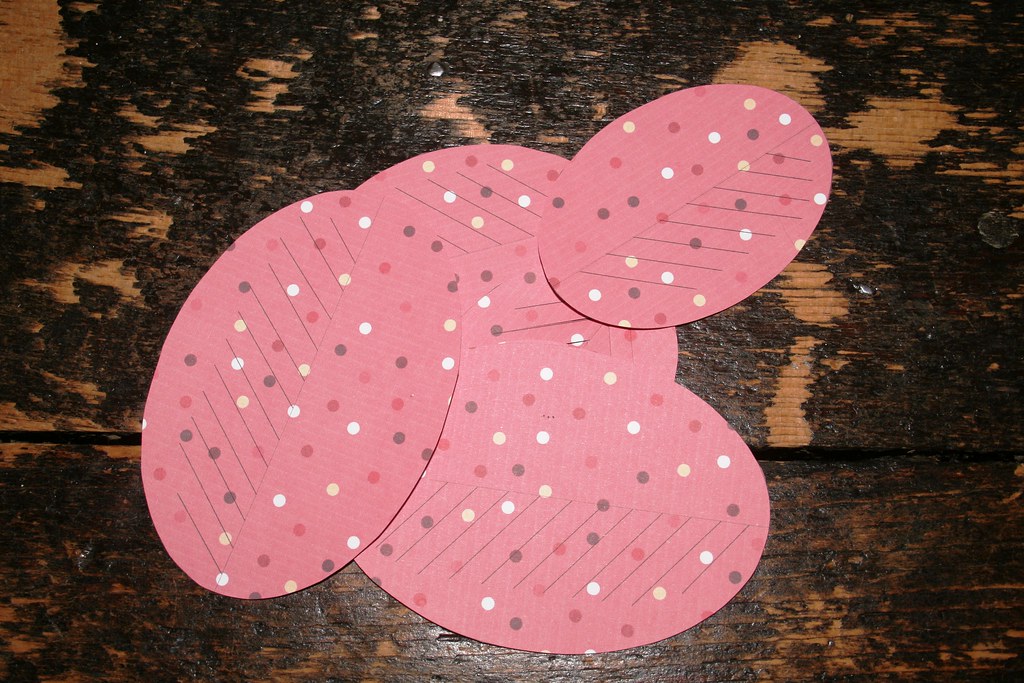
Then I quickly made a template with two sizes of egg shapes in MS Word. I printed the template on top of the scrapbook paper. (I'll put the template at the end of the tute for you to download.) The lines are very thin so they don't stand out too much and distract from the finished design.

First of all I cut out all the egg shapes from the paper.

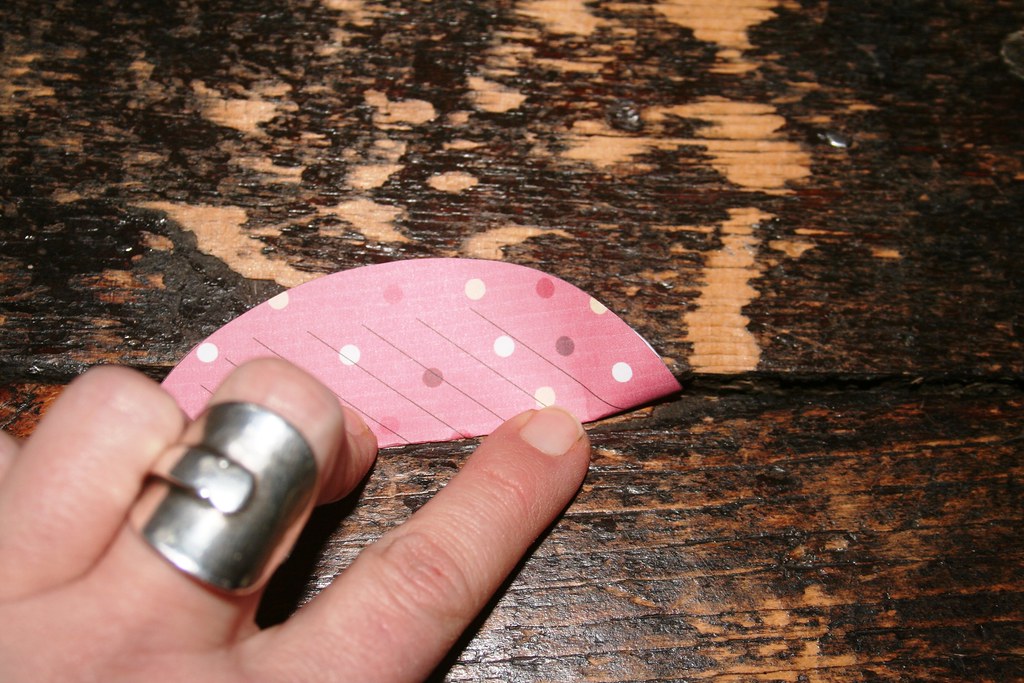
Fold one shape in half length-wise along the line. 

Cut along the short lines, creating lots of little slits in the paper. Make the cuts as long as suggested in the template.

You end up with a sort of leaf-design when you open the shape up again.

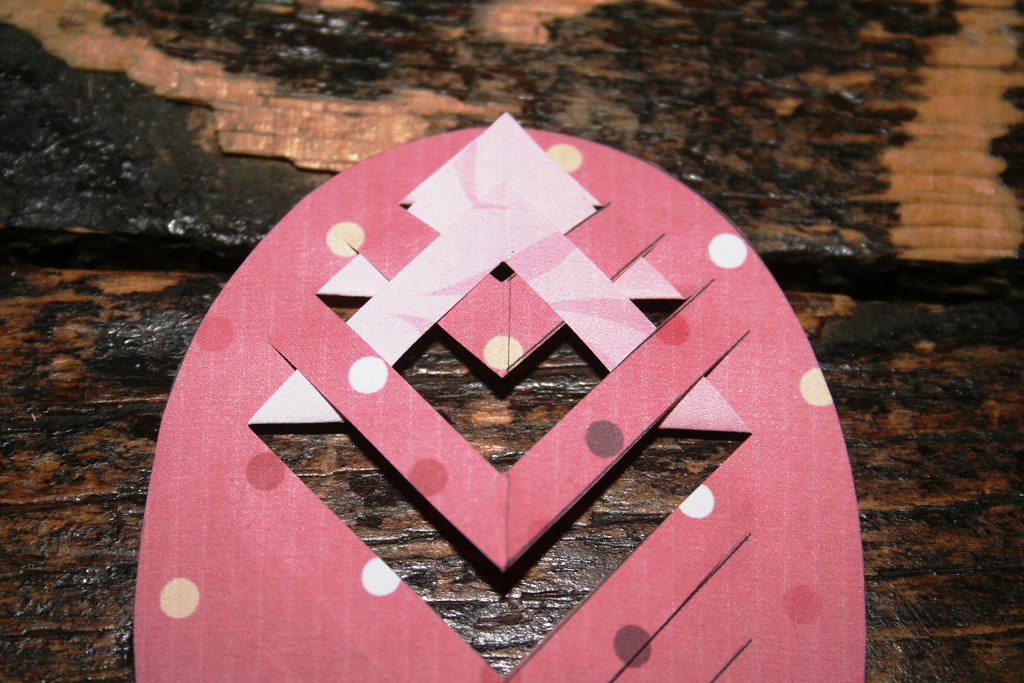
Now comes the folding. Start off with the smallest slit which is making a triangular shape. Fold it up to the top.

Leave the next slit untouched and instead fold up the one after that. Then push it under the bit of paper you left untouched. 

Again leave the next bit of paper untouched and fold up the one after and push it under. Continue to the end and you come up with this:


If you turn it over, it looks like this:


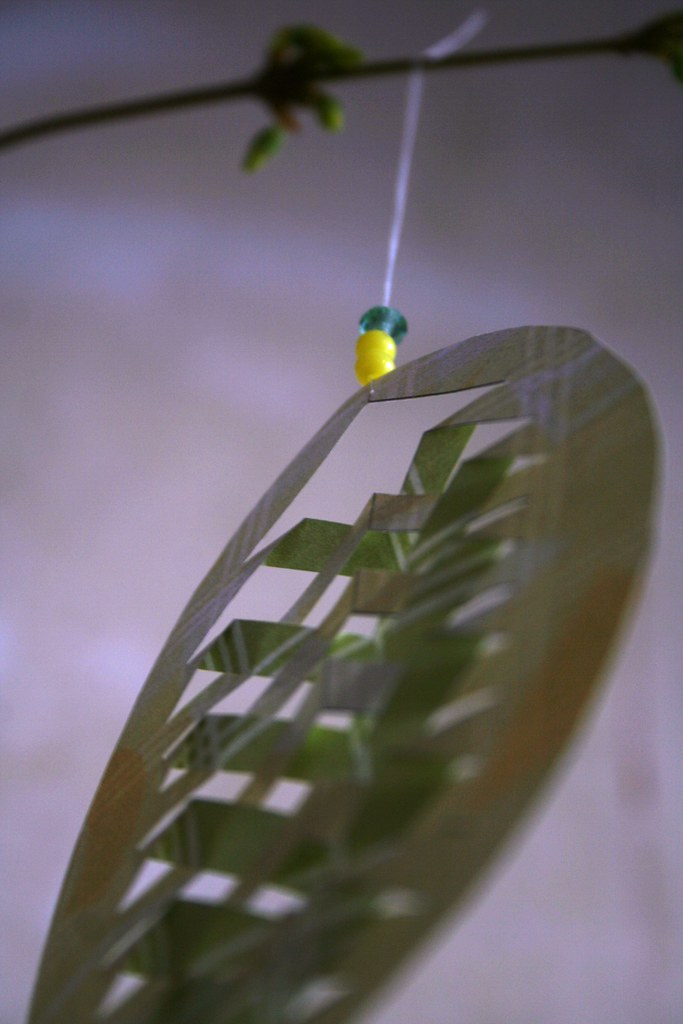
Finished! All that's left to do, is attach a bit of string to hang the decoration from. I also pushed a couple of beads in complimentary colours onto the string to give the decorations a tiny bit more weight.

And now hang on your branches.


You can play around with the folding and sliding under and make different patterns. No two of the decorations are the same. They look intricately woven and yet are just very simple affairs.

Right, here is the template for you to download. I hope it works for you - otherwise just use it as a base from which you create your own template.

Paper Easter Eggs                                                            


Happy Easter everyone!!

Best,


PS: This project was... oneprettything

Linking to


Get your craft on Thurs.


giveaways


The Girl Creative

 The DIY Show Off

Making


Sunday, February 14, 2010

Classy Silhouettes

Black is such a classy colour. I mostly wear black (apart from my trademark red), but I do not really use it much in my interior dreamings. But I have noticed that an awful lot of re-dos that I see in blogs is done with black paint. Well, here is a little idea that might appeal to all you lovers of the colour black out there. 'Cause today I made a couple of classy silhouettes.


The inspiration for this project came from a whole wall of silhouettes. These are two silhouettes of ancestors. I think they are late 18th and early 19th century respectively. Before the invention of photography in 1836, the cheapest way for the burgeoning bourgeoisie to have a portrait done, was having a silhouette cut. If you look closely at the lady on the left, you will notice the fine detail and care that went into these "likenesses". This silhouette was not cut, though, but painted. The outline of the head was painted black and then the details such as the hair and the ear were added. They even included the eyelashes. Isn't this lady beautiful? (I am thinking Elizabeth Bennett, here...)
Here is another silhouette, which I believe is pre-19th century, just based on her hairstyle. Again, this is a painted silhouette. The fine details of hair and bows would have been impossible to cut. Both miniatures are about 3-4 cm in size (approx. 1 - 1.5 inches). - Isn't it wonderful to think that these likenesses are still around, long after the two ladies are gone? They certainly we held very preciously and are mounted in sweet little wooden frames with gilt edges...
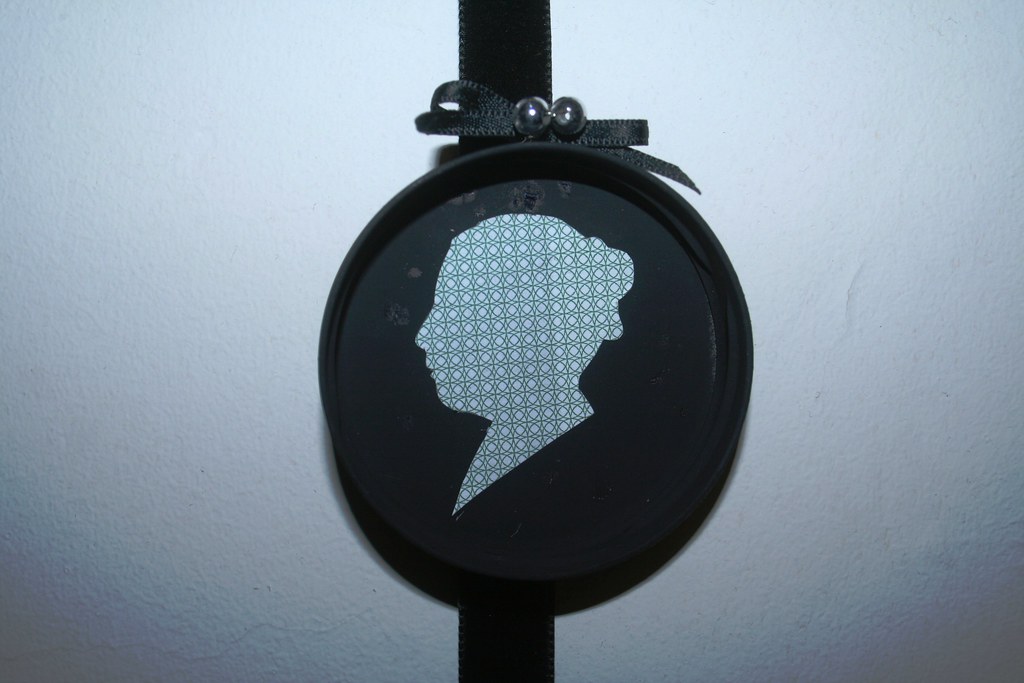
I decided on a slightly more modern version of the silhouette by inverting the colours - light silhouette against a dark background. The paper I chose for the silhouette came from my stash of security envelopes. I haven't been able to stop collecting those ever since my ill-fated "Material of the Week"-adventures last year... (See some other projects with security envelope paper here: paper beads, a little garland, card decorations and mini-envelopes.)

Sorry, no photos of the individual steps, but it is pretty self-explanatory: I printed a photo of my own, regal head in profile onto the back of the security envelope paper. Then I cut it out with small scissors. (Brrrr, hate using flash - leaves very ugly shadows on the pics. Obviously, the frame is perfectly round, not oval...)

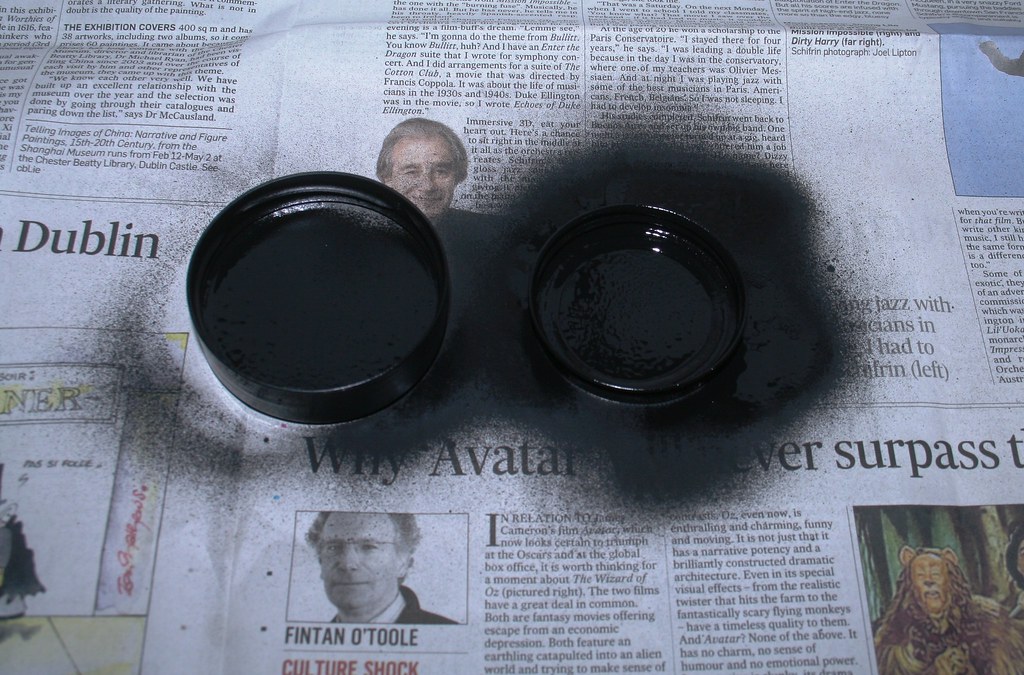
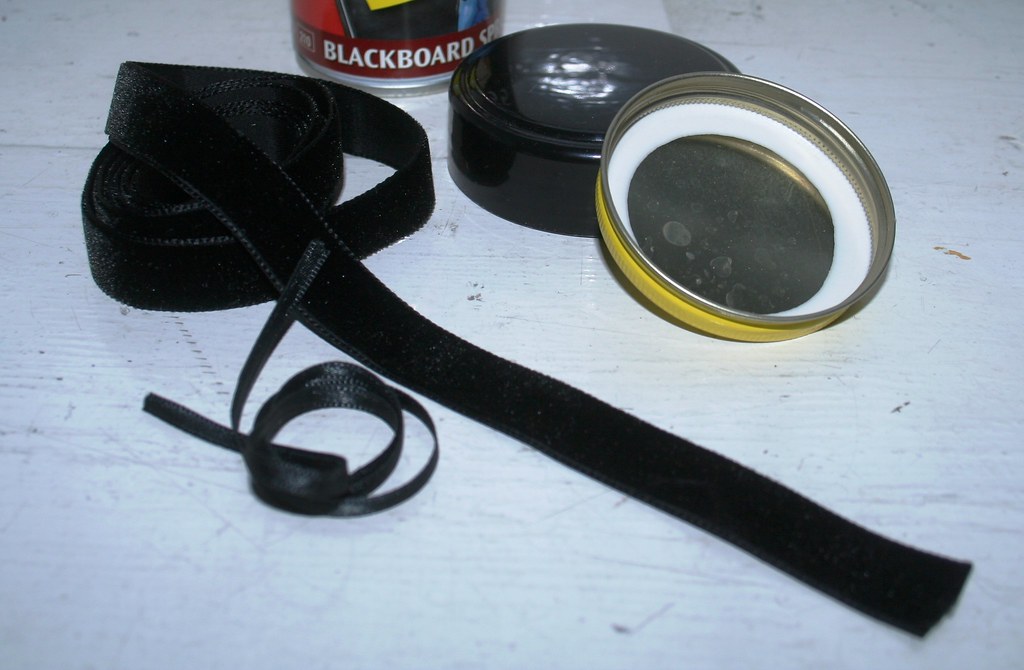
The idea for the frames came to me the other day when I was doing the recycling. While taking the lids off all the empty jars that were going into the glass recycling, it occurred to me that they make perfect little frames. So out came the blackboard spray (proper black spray paint would do much better, but I haven't got any), and I gave the two chosen lids a good spray. Make sure you choose lids that are not of the "twist off"-variety. Those have irregular rims and do look too much like lids...

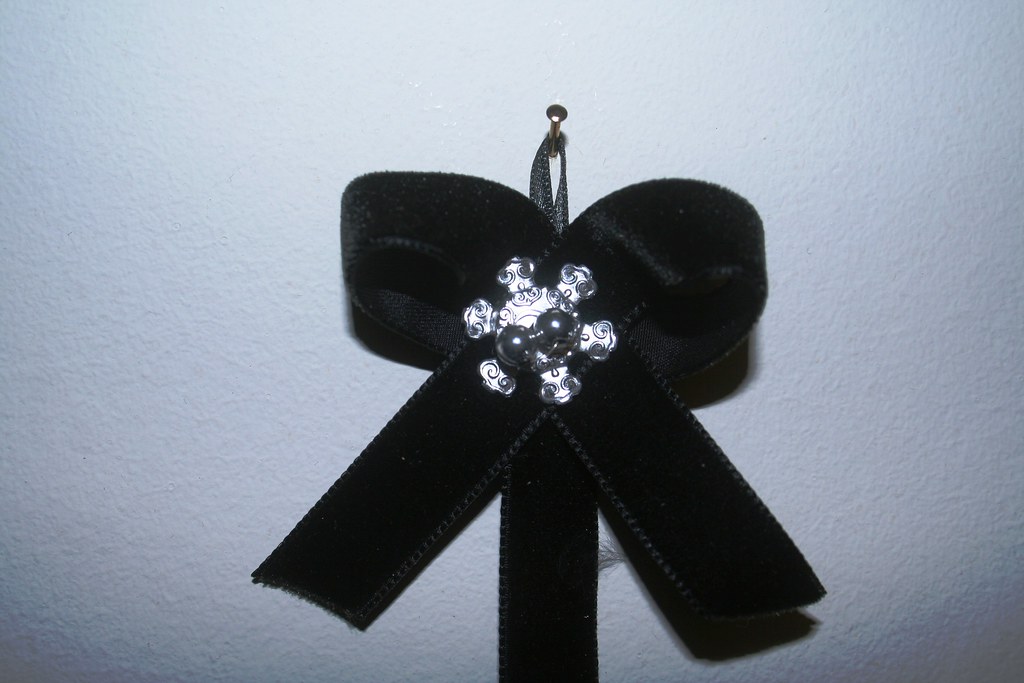
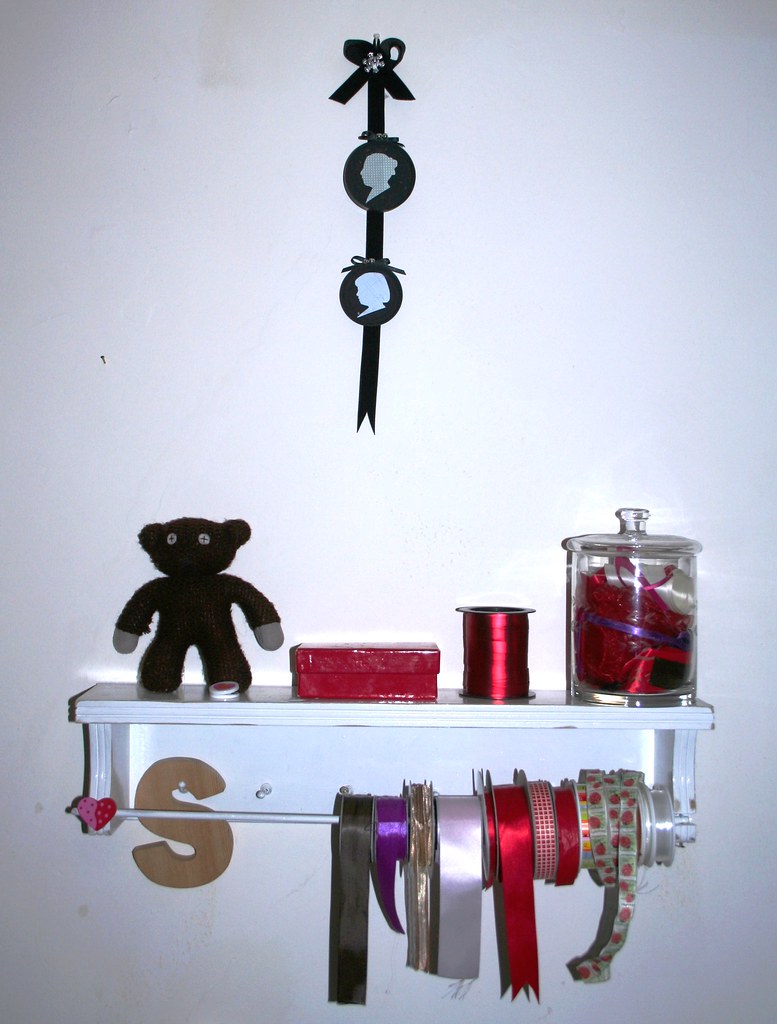
Be patient until your spray paint has dried and then stick your silhouette into the lid. (As usual I was impatient, scratched the not-yet-dried surfaces and had to touch up with a marker *tstststs*.) Since my ribbon collection is newly organised *yoohay*, I quickly found a length of black velvet ribbon onto which I stuck the lids miniatures. It looked a bit too bare like that, so I embellished a bit with bits of pieces in my "miscellaneous" box. To hang the length of ribbon, I made a bow. Cheapskate that I am, I had some little silver beads on thin wire (dismantled from a Christmas cracker... I know, I am a total crackpot, saving fiddly bits like that...). And guess what the silver star/snowflake ornament on the bow is? .... It's the hanger from a Christmas bauble!!! When taking down the Christmas decorations, one bauble smashed and I kept the hanger (yeah, definite crackpot, Sonja!). I simply flattened it. Then I put the wires from the beads through the star and pushed it through the velvet bow and the ribbon. I also attached a small satin ribbon to hang it up. 

Lastly, I glued the lids onto the ribbon. Continuing with the tradition of keeping the ladies' likenesses, I also made a silhouette of my daughter. And here it is, my silhouette display - preliminarily hung above the shelf beside my desk.

  
So, there is a classy little project for you - that will cost you nothing, but is priceless! 

Best,


Linking to:


Photobucket


DIY Day @ ASPTL


http://itssoverycheri.com/2010/02/14/its-so-very-creative-party/?


The Girl Creative