FYI


Showing posts with label decoration. Show all posts

Saturday, January 12, 2013

Happy New Year

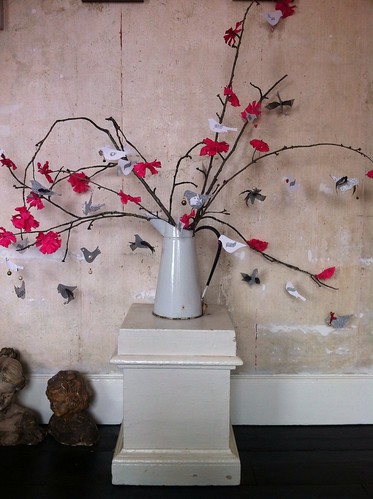
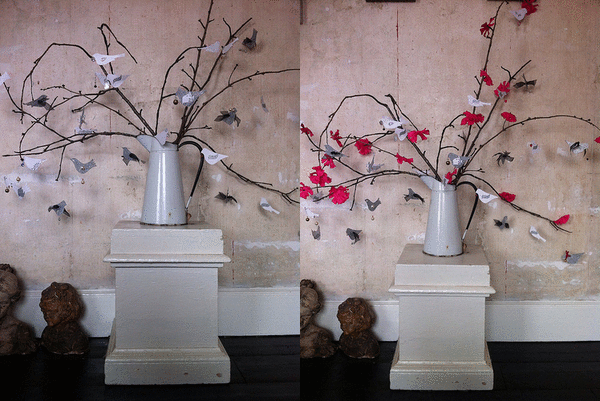
Flowers in September? Well, that's what you saw until now on this blog. And all of that in the middle of January. I may have completely ignored Christmas 2012 in my blogging life (at least in *this* blogging life) but intend to be back in business in 2013. So this is for you:


By all intents and purposes Craft-Werk seemed to have gone into hibernation. And yes, for the last while I haven't done much but get my equilibrium back after the disconcerting end of my student life. Then I got very busy with my professional life - both old (in journalism) and new (in photography) and that sucked all my creative energy. (Yes, I know you have heard that before *sighs*). But then January comes along and somehow in deepest darkest winter there is always this creative volcano that keeps prodding from beneath the surface. With college out of the way for good, there is no reason not to let it erupt.

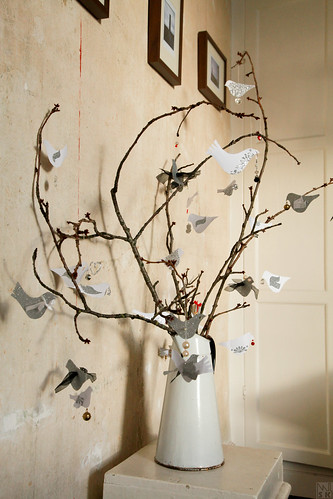
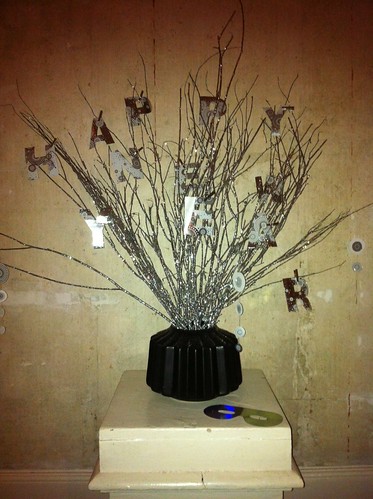
So I got crafty after New Year's. What really brings it out is my Protestant frugality. But of course I will only admit to contemporary goody-two-shoes mentality aka environmentally mindedness *coughs*. Because the New Year's display above came from this:

A heap of waste paper from the Christmas crackers at my lovely sister-in-law's Chrimbo dinner. They were just too nice to throw away, I loved its sparkly design and I knew I could do something with it.

And so I got the old trusty scissors out, printed myself some nice alphabet templates and cut away...

The whole arrangement now sits in the drawing room, where before the Christmas tree took up space and then left a rather big gap. (For a previous Christmas cracker project, check out my "Birds of Bling" post from last January) It's all a bit bling, silver glitter on twigs and all, but at least the geometrical vase keeps it all a bit grounded - an Ikea bargain, btw, at € 2, bought in the January sales.

So there we are. Back in business with crafting. I have a few ideas up my sleeves, involving...

  • MDF
  • loooooads of tennis balls
  • and some white tulle
Not in the same project, though... But watch this space.

Happy new year, crafty friends!
Tuesday, September 18, 2012

Last Attempt at Flowers

Right, the summer is nearly over. As usual I find it hard to accept that. I am fighting it tooth and nail. And just to spite the outdoors which is now beginning to deprive me of fresh flowers, I am bringing the flowers inside.


It all started here. One of those flower garlands. One of my nieces had played a little bit to roughly with it and the string broke. So I decided to take the whole thing apart and use it differently. After all, poor Claus (the rocking horse) was beginning to feel a bit confused, sporting a pink flower garland, anyway...


Essentially I picked the whole thing apart. You are left then with pieces of flimsy fabric, cut into a vague flower shape. I simply just stuck these shapes onto the branches in my vase. The hole in the middle where the string had run through, was handy for pushing the flowers onto the branches. And now the branches have miraculously flowered in mid-September, much to the surprise of my niece.


Yes, it is Tack City. But I like a bit of colour every once in a while. And for a free and easy bit of decoration this was actually fun...


There are a few bits of fabric flowers left over on the string. I already have a cunning idea up my sleeve how that could be used up. Stay tuned...


Best,


Wednesday, January 18, 2012

Birds of Bling

Christmas is sooo last season. I have set my sights on spring now. I am determined to make it as difficult as possible for the dark, grey thoughts that usually take hold of me in February. And with a stash of blingy bits and a massive creative flash taking hold of me now that my college exam is over, I set to work. Gimme some birds of spring bling.


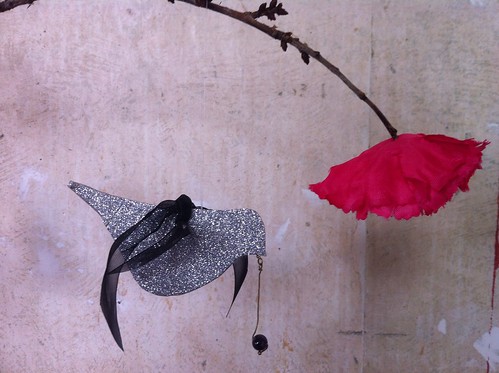
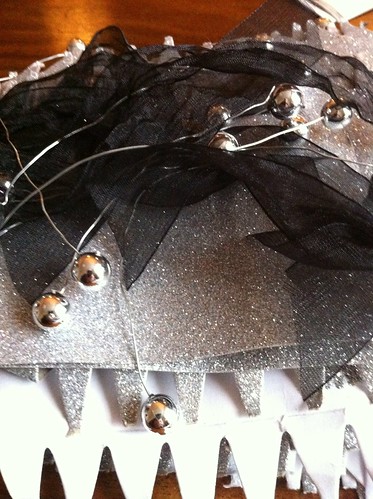
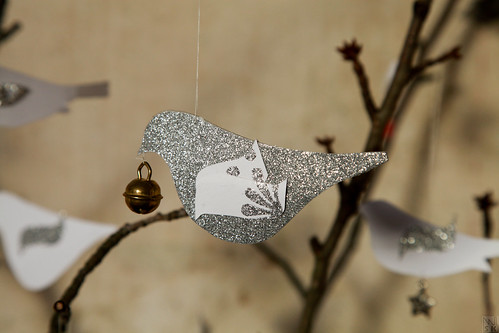
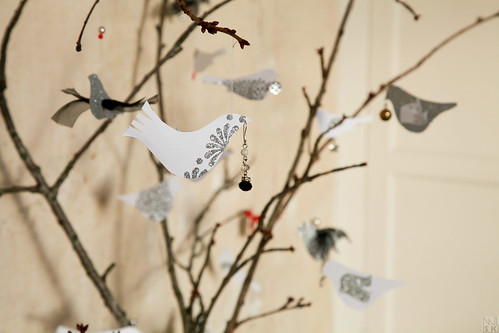
Right, these birds started life as... wait for it... Christmas crackers. Yep. Miss Cheapskate here collected the torn up bits of Christmas crackers. Actually, it was even more embarrassing than that. The crackers had been used for decoration at a party hosted by friends and so I actually took the rubbish home from their party... Reason being that I was attracted by the sparkly card board, the black ribbon and the metal tie clips. 


Anyway, at first I thought I might reuse this for Christmas tags, but then I realised that my drawing room was so bare after taking down the Christmas deco and I didn't want to throw out the vase of twigs. Hence the idea was born to craft some decorations for that. And instead of Christmassy shapes I eventually settled on birds - they remind me of spring time...

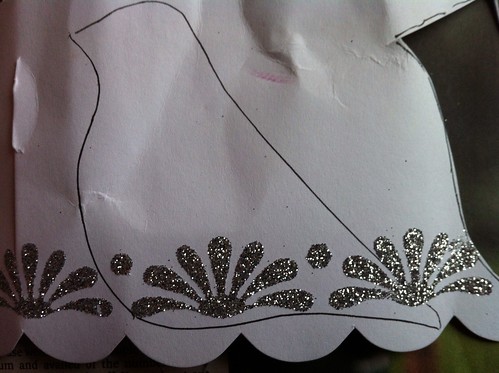
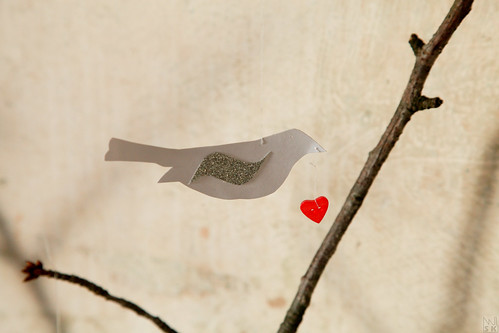
I downloaded a few bird templates from the internet - a simple Google Image search throws up plenty of designs - and printed them on some card and cut them out. Then I used those three templates for drawing the bird shape onto the cracker card.


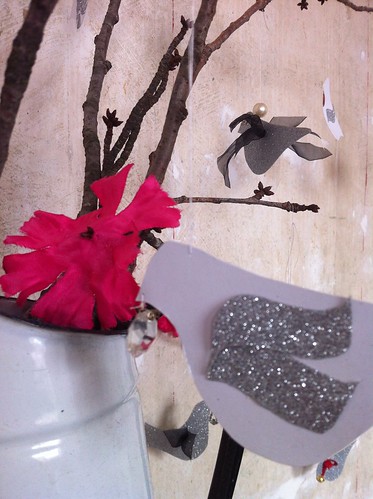
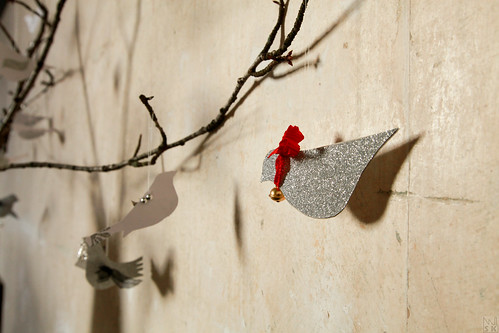
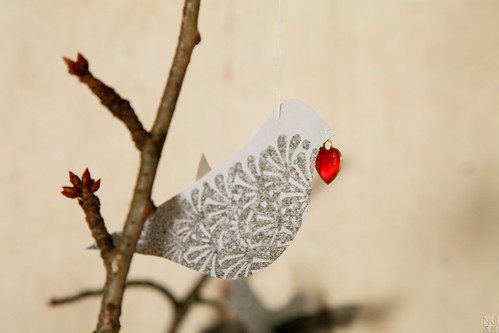
The result was not quite blingy enough. But I am one of those loonies who picks up any solitary earring lost in the street and who holds on to broken bits of jewellery and "whimsies". And from that stash I spruced up the birdies...

... with heart-shaped buttons...


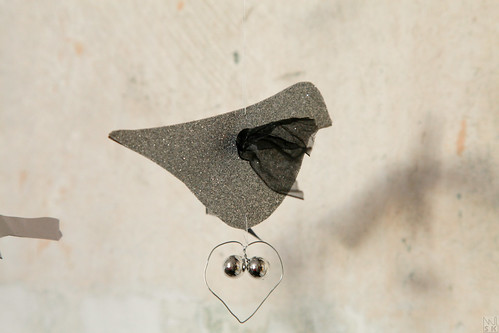
... with the wire ties twisted into a heart-shape... 


... with a little bell...


... with a little red ribbon from my Lindt chocolate bear...


... with a heart pendant...


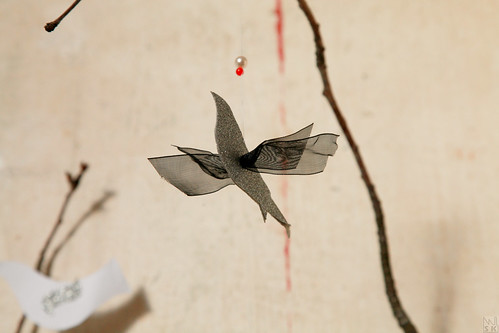
Some of the birds I gave wings by punching a hole into them and then just feeding the black ribbon through. He really looks as if he is soaring, doesn't he?


In any case, I am delighted with my blingy birds. They are happily hanging on the branches. Best thing: They are so light that every time someone passes by, they flutter in the air. Heck, they flutter at all times - this old house has a fine draft that comes in very handy for that.


A bit whimsical, I guess - and whim is not really something I usually like - but hey, I am waiting for spring time and they will remind me it is on its way.


Best,


Sunday, December 18, 2011

Christmas Star XXL

If the title makes you expect to read about some X-Factor loony - either from this side of the Atlantic or the other - who is going to torture our ears endlessly with some tackily re-recorded and Cowell-ised, jingly-belled and synthesized crap, you can stop right here. This is about what you see in the picture below:


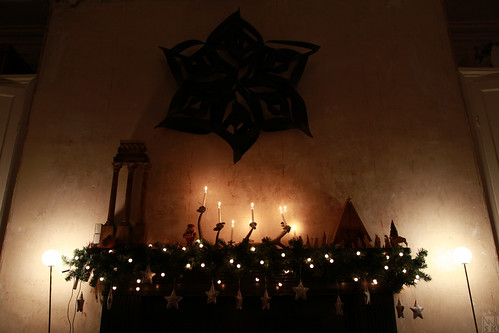
Christmas is now less than a week away. I bet everyone is done decorating. But in case you aren't, I intend to show you a few easy, quick and cost-efficient decorating ideas in the last few remaining days until the big one. The picture is my starting point for a few posts over the next week. Yes, I intend to post every day, now that I have been released from the prison called college. And contrary to what you might have assumed, I actually have had my sitting room decorated for weeks (I just have not had the time to show any of it). The picture above shows a few things I wanted to share via my blog. And let me start with my pride and joy, the wall deco.

Wall decorations have been very much in fashion for the last couple of years. And I am not talking paint effects or fancy, shiny wall papers here. Three-dimensional wall decorations are pretty in - from starburst mirrors to quilled flowers to Christmas baubles blue-tacked to the wall. With that in mind I resurrected my favourite Christmas project - and went XXL.

Previously the starting point of the Christmas star was a sheet of A4 paper from which I cut paper squares 21x21 cm size. This time I went double that - 40x40. And used slightly thicker matt black crafting paper that you can buy in A1 size sheets in craft shops. This makes you an XXL star about 120cm long when assembled. So you need a pretty large wall for that. If you want to know how to make a Christmas star, hop over to the original blog post which I wrote a hundred two and a half years ago.

The best thing about this wall deco: It is suitably Christmassy, yet I think it will still look well on the wall when I don't take it down in January. I intend to let this sit for a while. And I don't see why not... ;-)


Best,

Monday, November 29, 2010

First of Advent

The first of advent is through. I have slowly crept into the kitchen with my decorating efforts, but in comparison to previous years this year's decoration is much tamer. The reason is really that I am so busy - and also find it hard to get over my laziness when I do have a free second. Well, it's a process of little steps. And yesterdays steps included decorating the kitchen chandelier.


I was nearly too late to get the holly - we are snowed in. Snow in Ireland is very rare. Snow in  November is nearly unheard of. Luckily there is a park across the street from me, where I was able to nick a few branches.

This is the easiest deco ever - I just weave the branches around the chandelier and then hang the baubles. Nice effect. Only problem are the holly berries which tend to drop into our food when eating at the dining table underneath the chandelier ;-). Especially once the branches have been up a few day and are drying out. But hey, a few concessions need to be made for proper Christmas atmosphere...

Best,

Tuesday, November 23, 2010

Christmas 2010 begins

Finally, the day is here. Let the games fun begin: Today is the official opening of Christmas season 2010. At least in my books. According to tradition, Christmas decorating in Germany does not begin until after the last Sunday before Advent. The first of Advent, i.e. the first of the four Sundays before Christmas Day, is next weekend. I had been aching to get my Chrimbo decorations down from the attic, but had to wait until Mr Craft-Werk was ready to face my annual Christmas marathon. Truth is - I just love Christmas. Always have, always will. Even if others think it is phoney or overly commercialised these days. For me it is still the family celebration it was in my childhood. And I insist on giving my children the same experience of the magical time up until and on Christmas - even though I live in a country now that boasts little if any great Christmas traditions. No matter. Christmas is firmly German in our household.


Nonetheless, life is about those little compromises. And if Mr Craft-Werk doesn't care much for the occasion, I will at least not subject him to it full-on. So I started off quite lightly today and so far have only decorated a bit in the drawing room. My most coveted item of Christmas decorations is up first - the nativity - and gets centre-stage on the drawing room mantle.

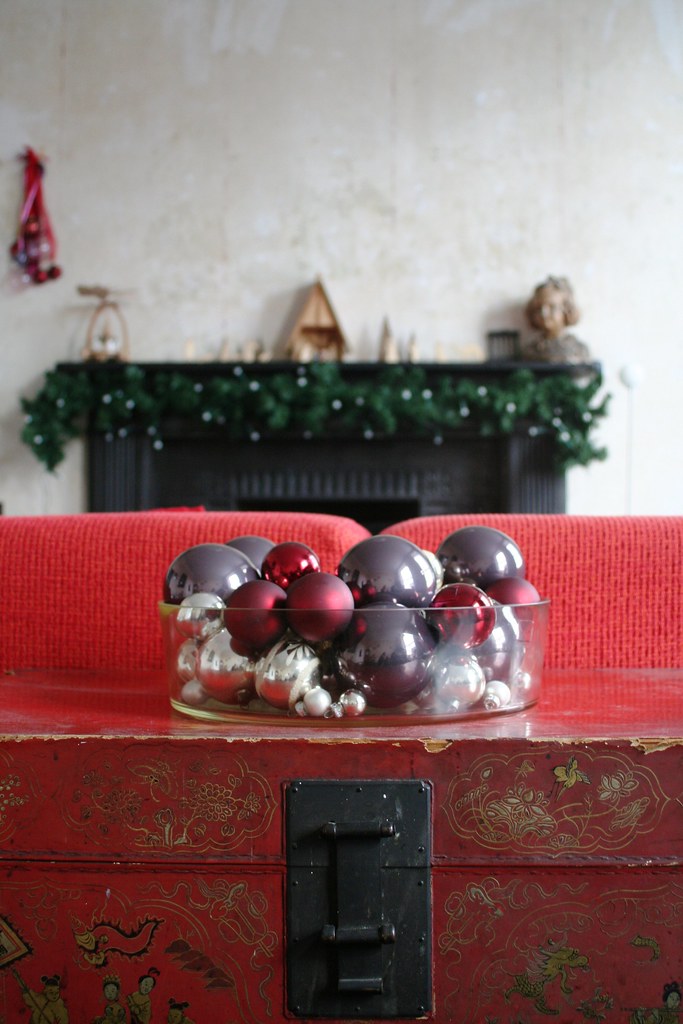
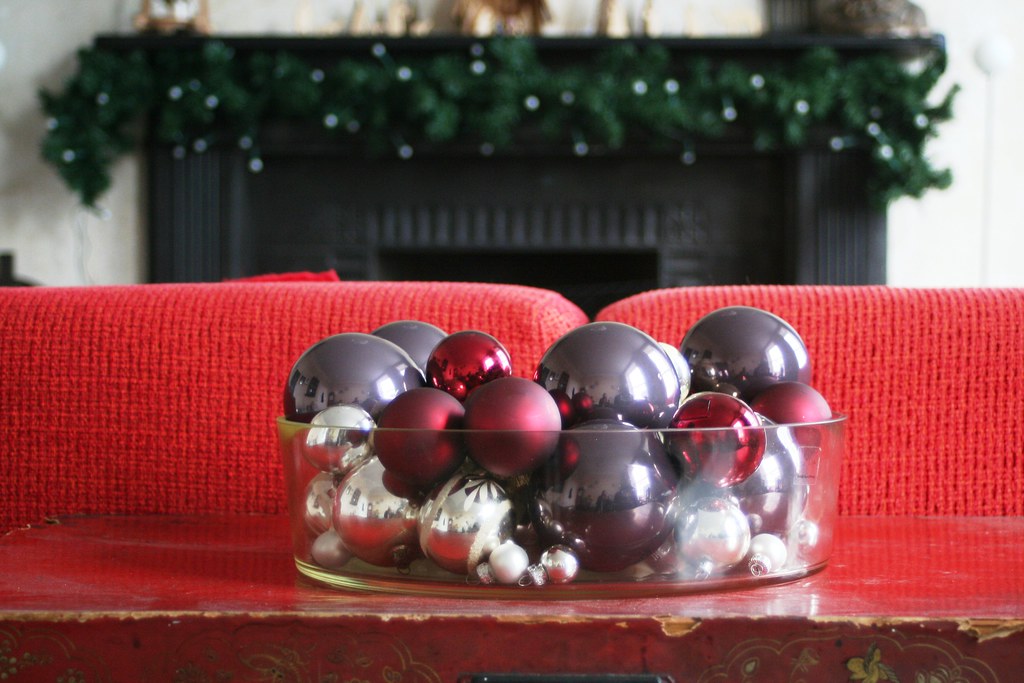
While I was rooting for the nativity and stockings it occurred to me that it was a real shame that I would have to go through the boxes again once I am ready to decorate the tree shortly before Christmas. But then I thought, why not organise that now - and make the best of it by keeping my collection of baubles at hand and also display them.

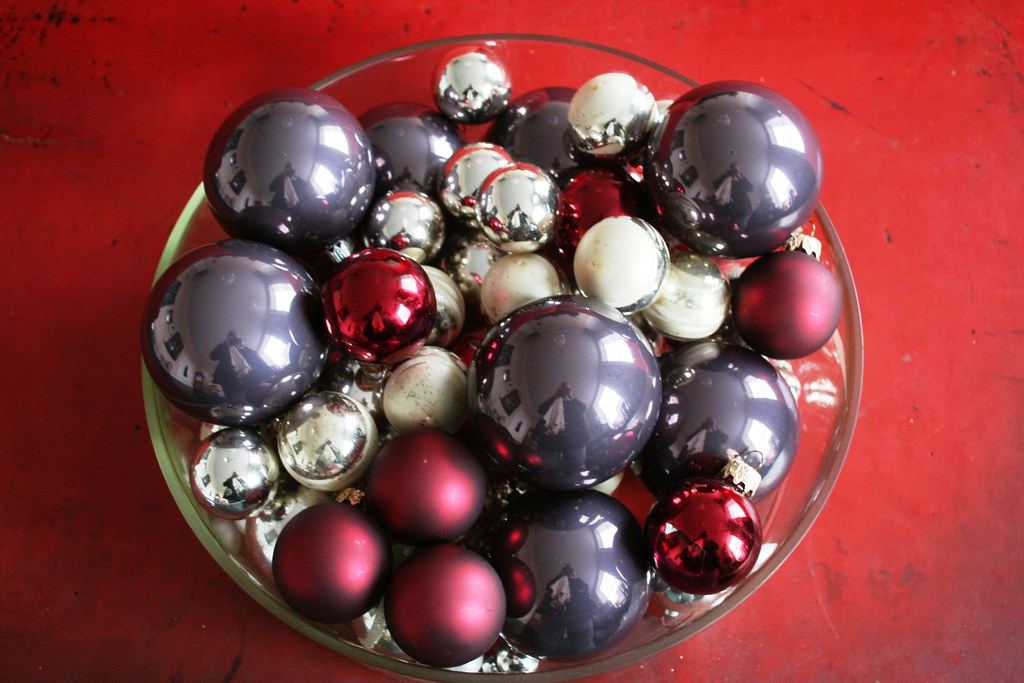
Out they came out of their boxes. I simply filled them in a large glass bowl.

Some of the baubles are cheap red glass balls. The purple ones I picked up really cheaply this January in the sales. And the silver ones are antique. They came to me from my grandmother (who is now 92). According to family lore, they were bought when my grandmother was born in 1918.


So there is a bit of glamour in the drawing room now, but really just a handy way of storing the baubles in an easily accessible place until I dig them out to put on the tree.


With half the drawing room under my belt, I look forward to starting on the kitchen now. How far have you come??

Best,

Monday, March 15, 2010

Easy Easter Eggorations

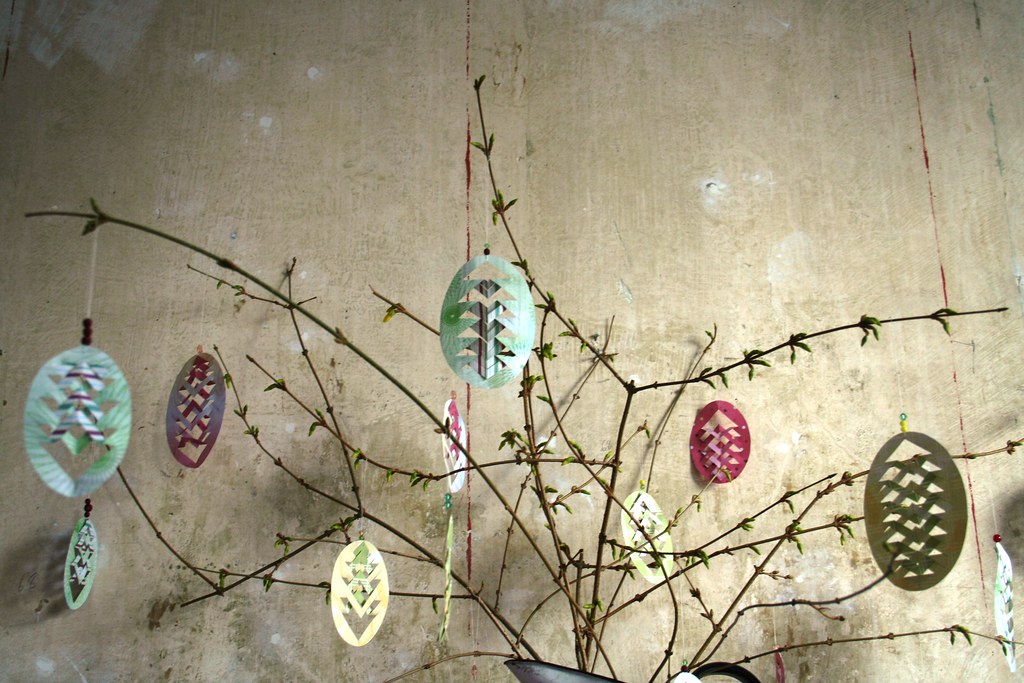
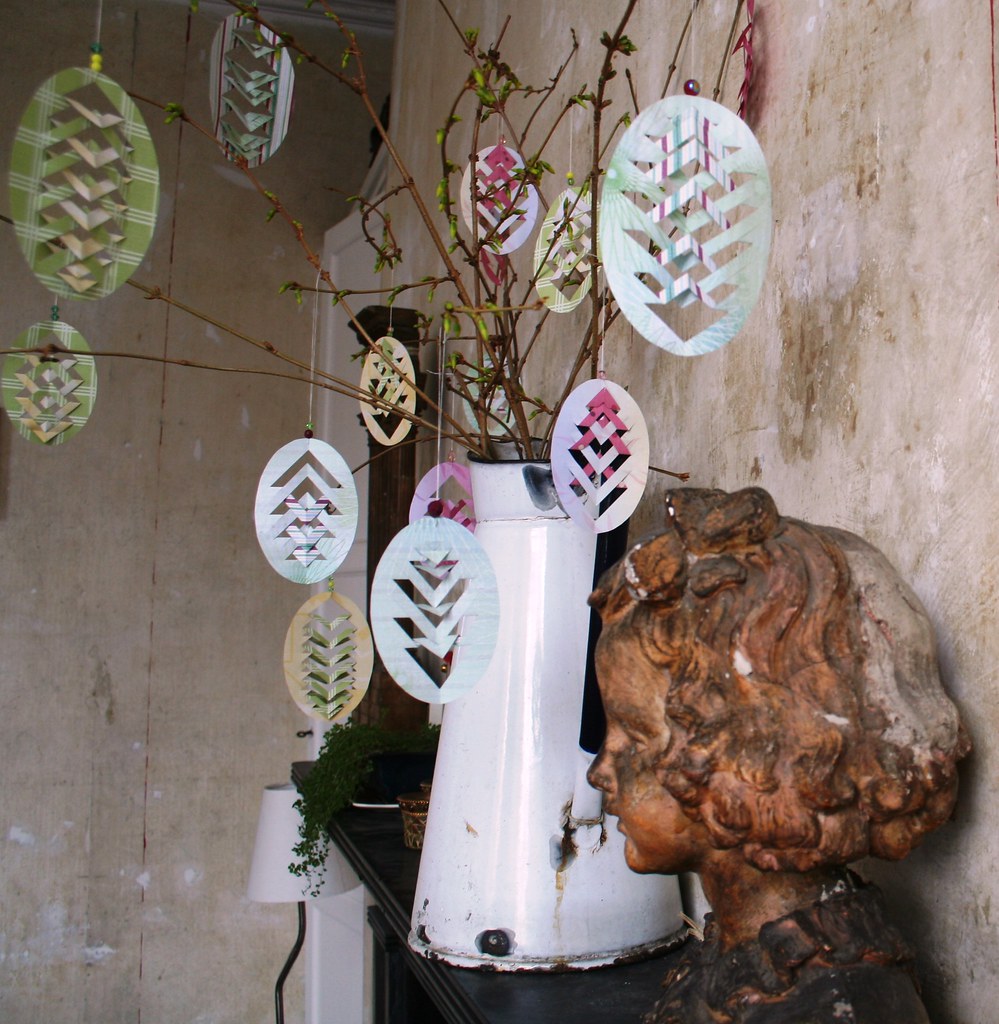
Ooops, decorations I mean... I am already preoccupied with eggs, as you can see. I like to have a little seasonal mantlepiece arrangement in my sitting room. In Germany - as in most places - we would hang painted eggs on branches which are placed in a vase. I actually have a collection of beautiful Czech hand-painted Easter eggs which I have amassed over the years. But they are predominantly red and white - and therefore will get pride of place in my red-and-white kitchen. So something else had to be found for the sitting room mantle. As this our first Easter with the new sitting room I hadn't yet got any extra deco and was wrecking my brain what to use there. And then my daughter came home from school with a beautiful paper decoration that she had made there. Bingo - easy to copy and yet looking really intricate and lovely.


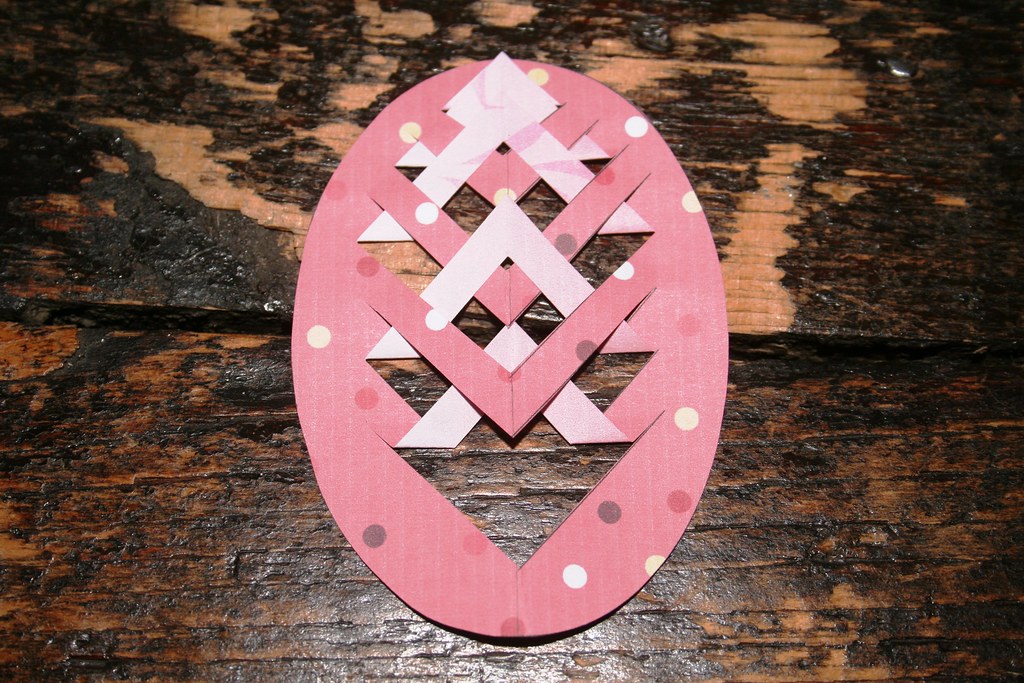
These are very simply made, just by cutting out the egg shape, cutting slits into it, and then folding over the resulting triangles. You don't even have to be particularly exact with the cutting and folding - it will always turn out nice. That's why this is actually a craft you could involve your kids in. Depending on their age you could do the cutting for them. The little ones could actually colour the paper for you and you would cut and fold. My daughter coloured, cut and folded a stack of them herself and we put a vase with twigs into her room, too. Everyone happy ;-).

But here is a little step-by-step tute. As I didn't have doublesided scrapbook paper at hand, I quickly printed out some nice designs from Canon Creative Park. 

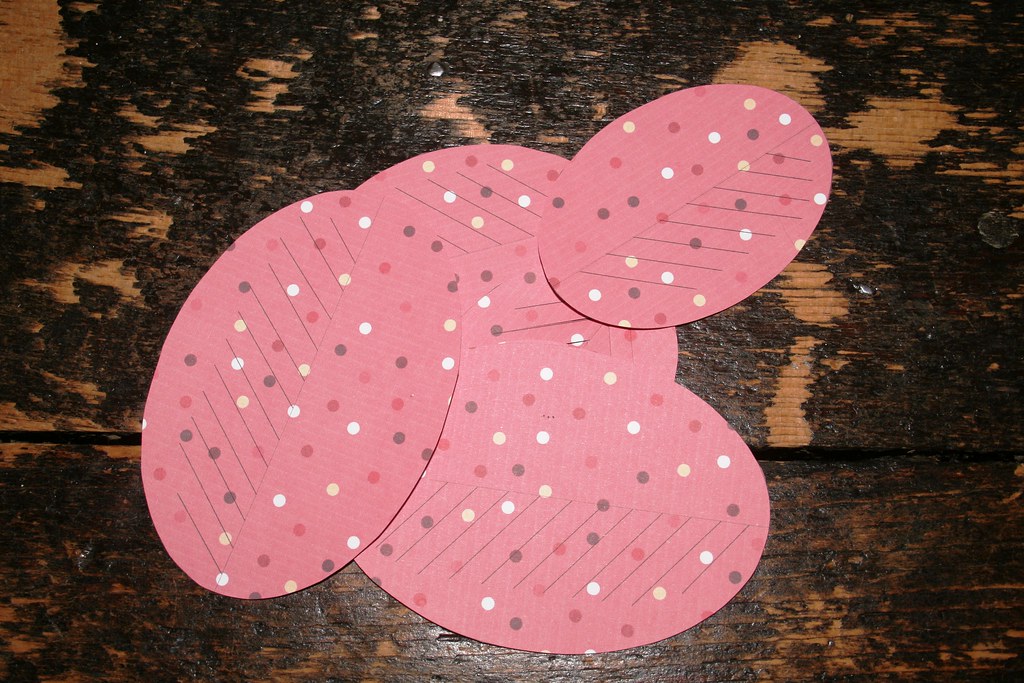
Then I quickly made a template with two sizes of egg shapes in MS Word. I printed the template on top of the scrapbook paper. (I'll put the template at the end of the tute for you to download.) The lines are very thin so they don't stand out too much and distract from the finished design.

First of all I cut out all the egg shapes from the paper.

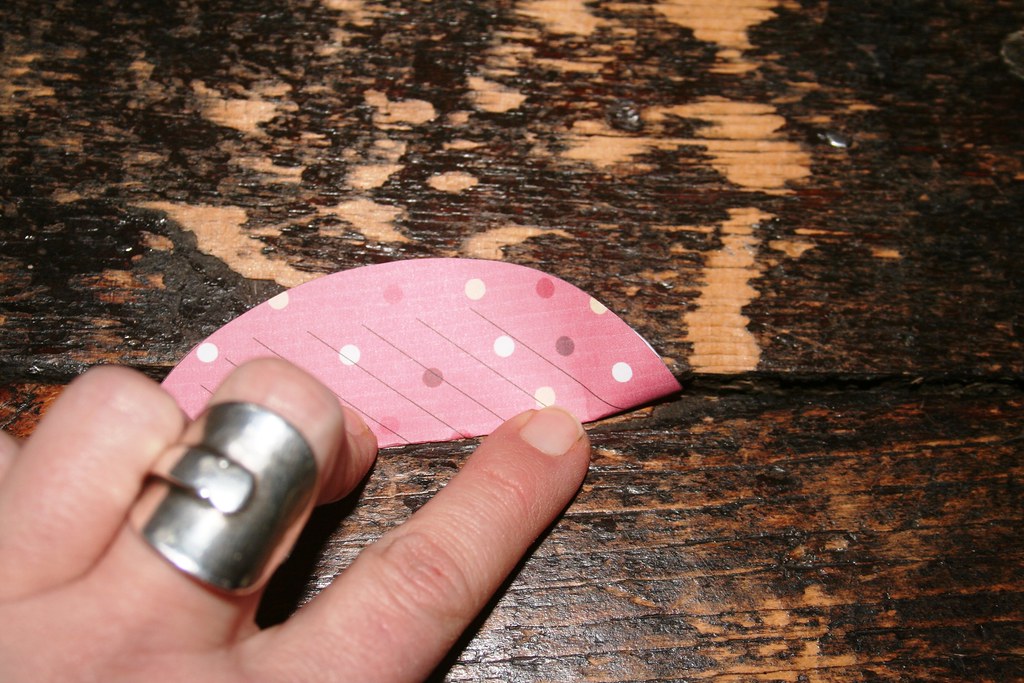
Fold one shape in half length-wise along the line. 

Cut along the short lines, creating lots of little slits in the paper. Make the cuts as long as suggested in the template.

You end up with a sort of leaf-design when you open the shape up again.

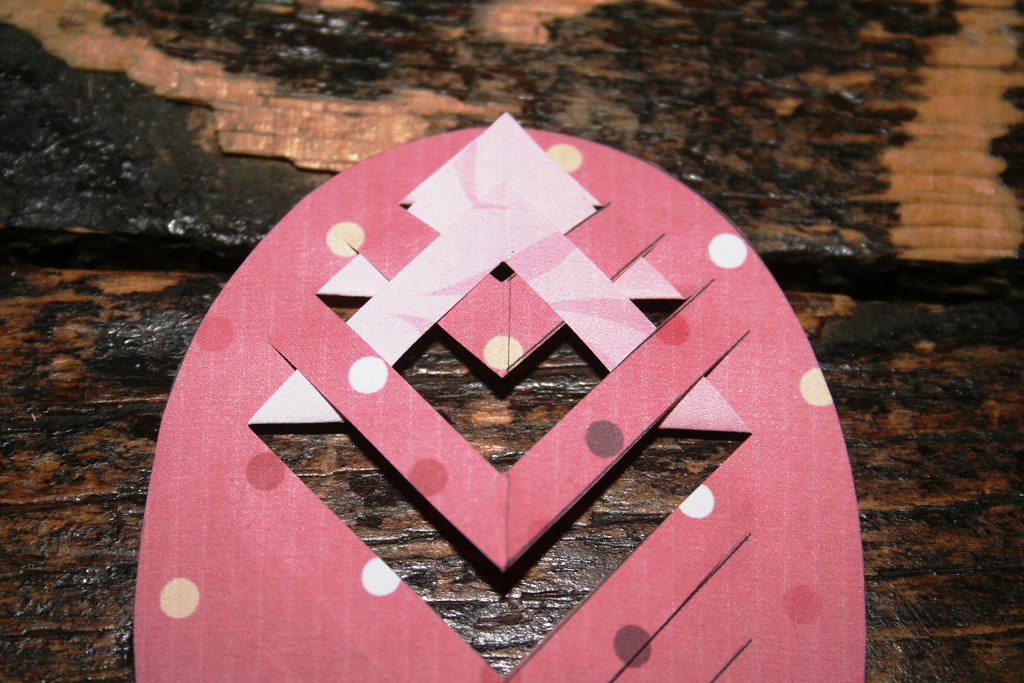
Now comes the folding. Start off with the smallest slit which is making a triangular shape. Fold it up to the top.

Leave the next slit untouched and instead fold up the one after that. Then push it under the bit of paper you left untouched. 

Again leave the next bit of paper untouched and fold up the one after and push it under. Continue to the end and you come up with this:


If you turn it over, it looks like this:


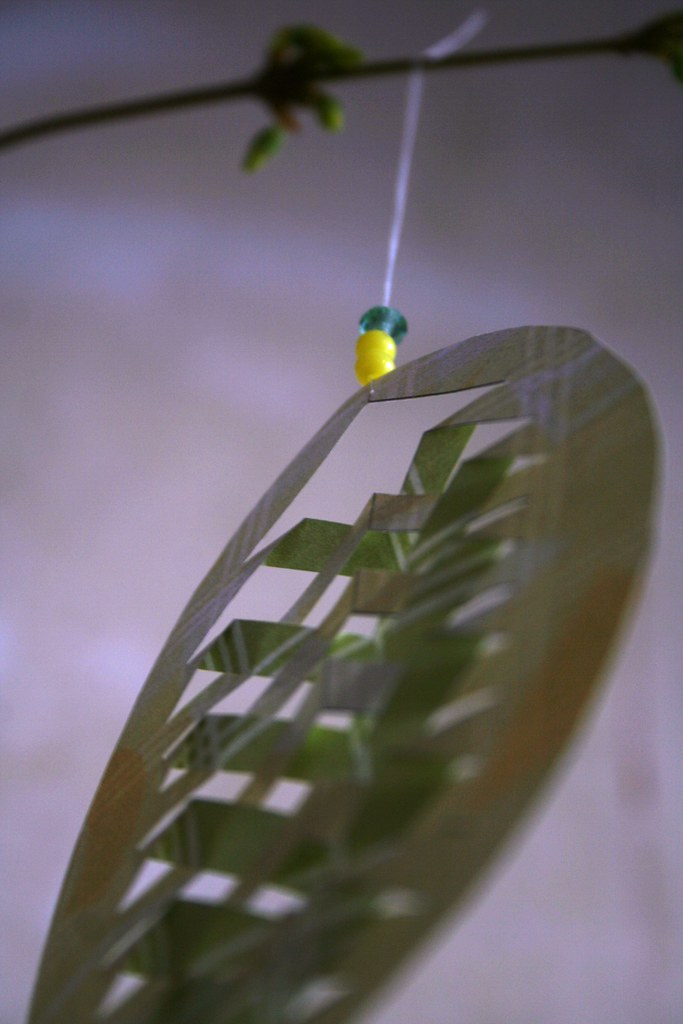
Finished! All that's left to do, is attach a bit of string to hang the decoration from. I also pushed a couple of beads in complimentary colours onto the string to give the decorations a tiny bit more weight.
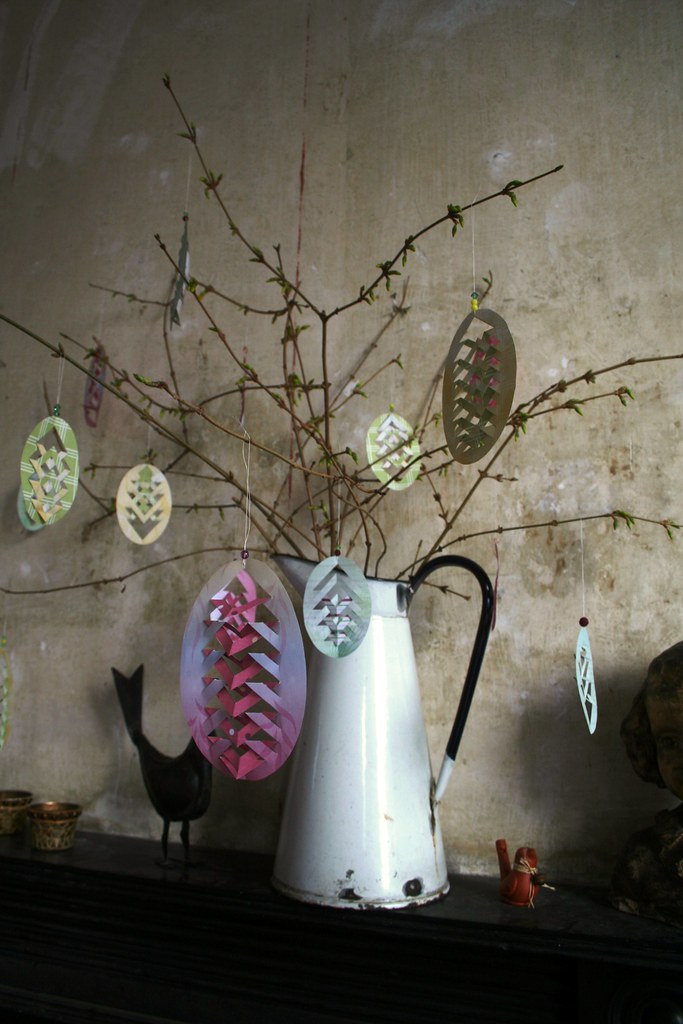
And now hang on your branches.


You can play around with the folding and sliding under and make different patterns. No two of the decorations are the same. They look intricately woven and yet are just very simple affairs.

Right, here is the template for you to download. I hope it works for you - otherwise just use it as a base from which you create your own template.

Paper Easter Eggs                                                            


Happy Easter everyone!!

Best,


PS: This project was... oneprettything

Linking to


Get your craft on Thurs.


giveaways


The Girl Creative

 The DIY Show Off

Making