FYI


Showing posts with label re-do. Show all posts

Saturday, February 20, 2010

Kitchen Chairs Enlivened

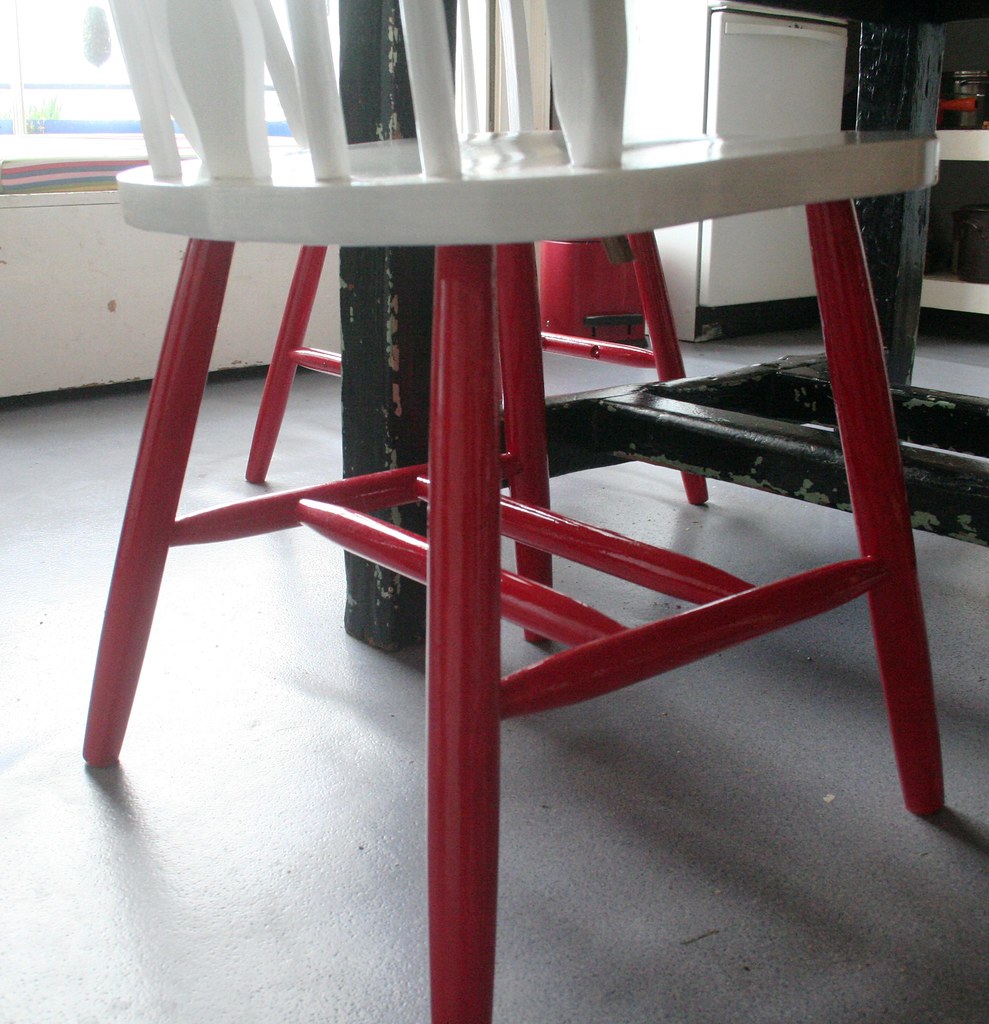
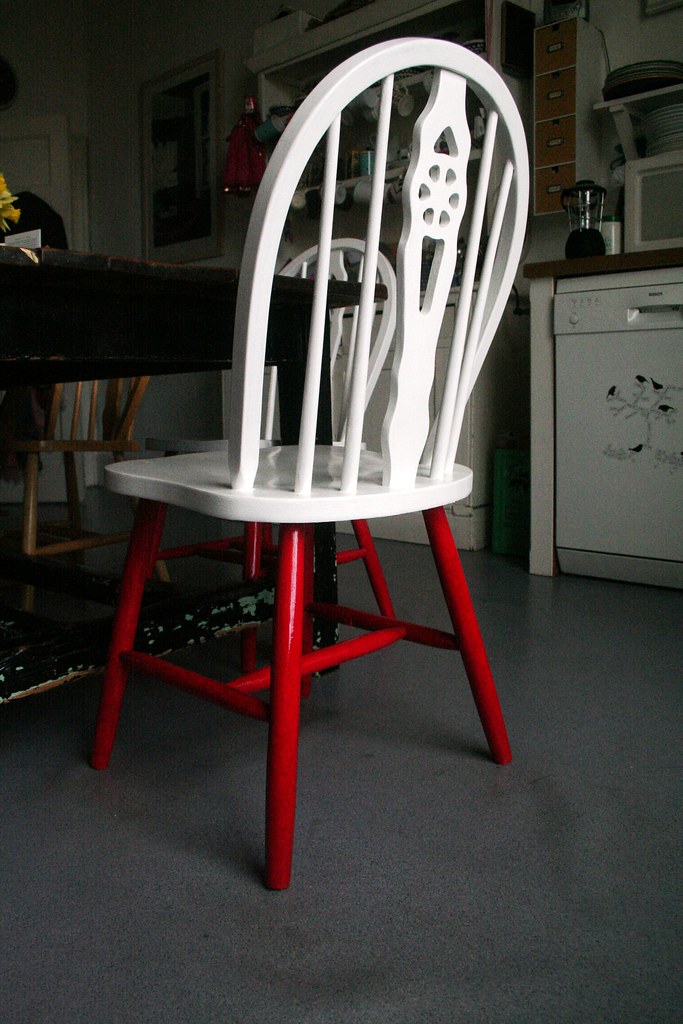
When we remodeled our kitchen four years ago, we were given a set of six wooden chairs by my brother- and sister-in-law who had just moved into a new house. Now, I am not a great fan of "rustic" furniture, but who looks a gift horse in the mouth? Besides, the chairs are a classic design and were neutral, as in "wooden". Ultimately I would love to have some design classic like the Arne Jacobsen Series 7 chair. But I guess I will have to save a bit for that... In the meantime we have updated and enlivened our kitchen chairs with a bit of paint.

 
Oooops, I should've hoovered the floor before I took that pic *blushes*. 
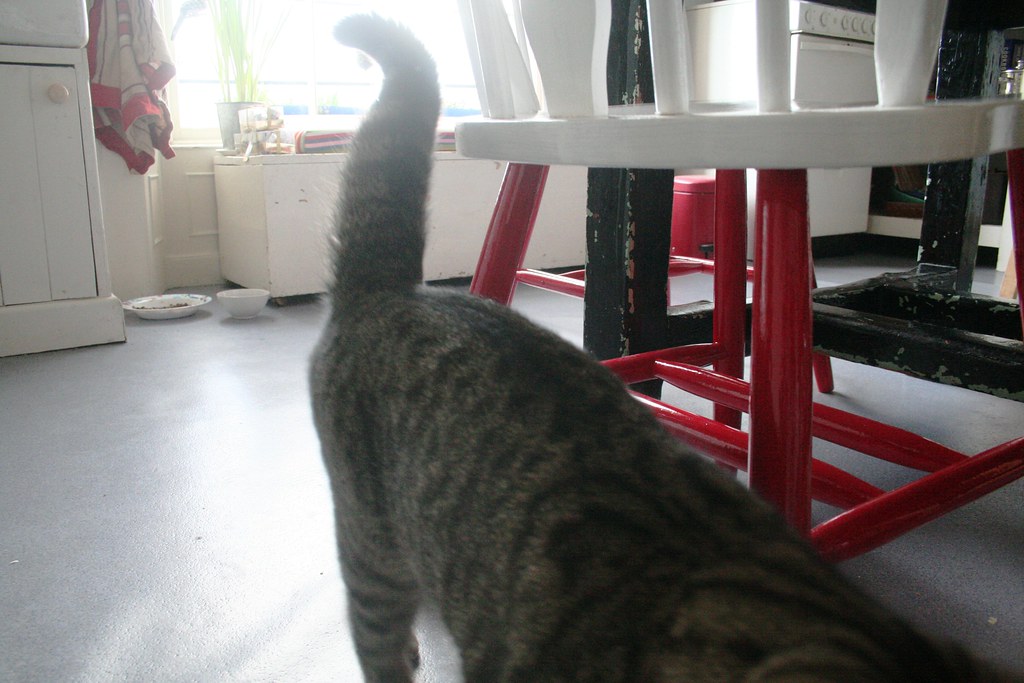
Guess who walked right into the photo shoot? Yep, always there, just in case we put out some food... (In fact Skittles had just pushed a pan with left-over mashed potatoe from the kitchen counter onto the floor and was happily nibbling away at it...) Apologies for the picture quality in this post - it is difficult to really show the chairs in context. 
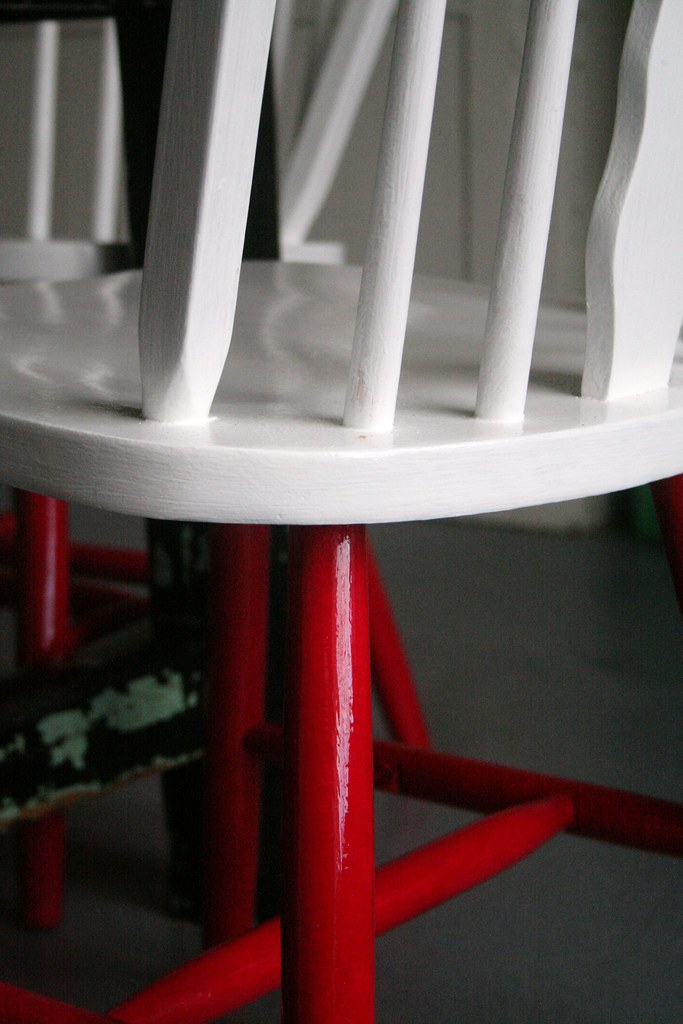
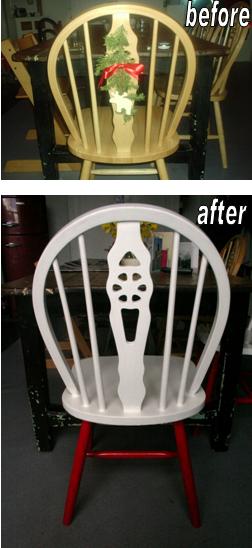
Essentially we painted the legs a bright red and the seat and back brilliant white. I know it is a bit playful and not very elegant. Maybe "quirky" - but I like quirky. At least it means that not everyone has it. And red just lifts my spirits...
Here we go with a little before and after - sorry, the "before" image was taken around Christmas, hence the decoration with reindeer and fir...
 

On a different note I would like to say a big thank you to you, dear readers, for taking part in my little giveaway! I love getting your comments and I usually reply to them via the comment box, myself. This time I am avoiding that because I don't want to upset the numbers for the draw. Anyway, thanks for taking part and for visiting the blog. It's not only motivating, but also uplifting to know that you are out there!!! - If you haven't yet entered the giveaway, please do so here by simply leaving a comment. I will draw the winner on Monday evening, 11.30 pm.

 Best,


Sunday, February 14, 2010

Wake up Sonja!

OMG - I have just realized that it totally and completely passed me by that my living room re-do was featured on The Best of your Before and Afters. Jeeeeeeez, how could I have missed that? Lindsey's Blog is one of my daily stops! I think I was a bit preoccupied with my college exam at the time...

Anyway, you can see the post and Lindsey's kind comments on her blog here. There is tons of other very cool before and afters on her blog - so good and inspiring, in fact, that I regularly turn green with envy.

As regards the mysterious "sugar soap" that Lindsey refers to: It's a cleaning concoction that we used when preparing our otherwise untreated walls in the living room. According to Wikipedia it is most widely used in Commonwealth countries - hence you American readers may not have heard of it before. It gets its name from its similarity in looks to sugar. But it is actually sodium carbonate. Wikipedia informs me that it is comparable to TSP in the United States...

Off to change my notification settings now...

Best,

Wednesday, February 3, 2010

SPCF - Save the Shelf

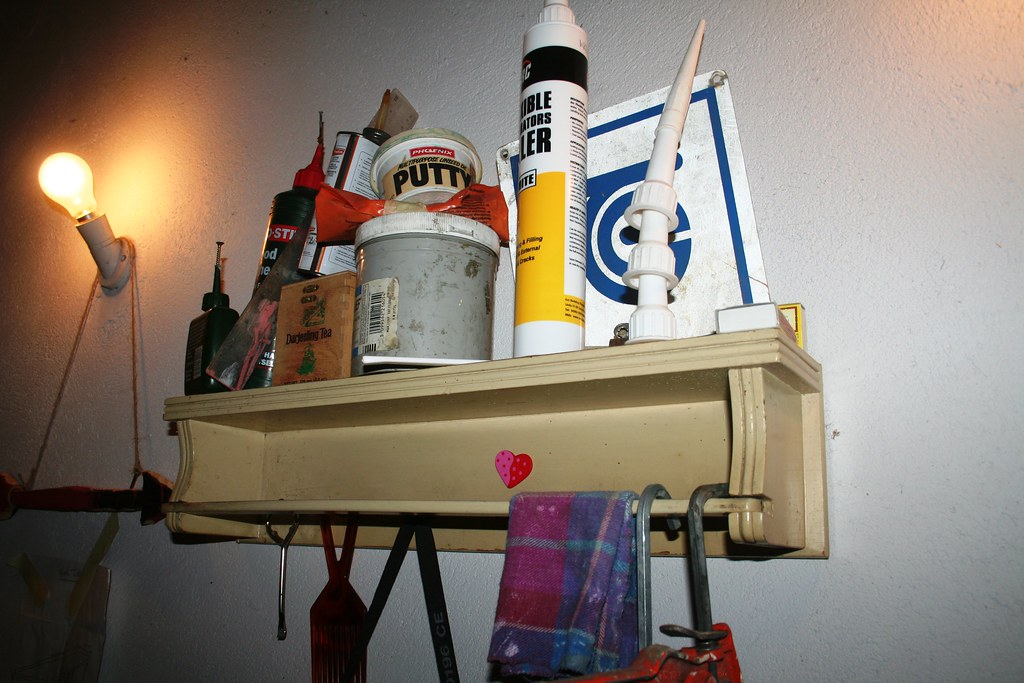
Let's start a Society for the Prevention of Cruelty against Furniture! I mean, honestly, sometimes it is just too mean what people do to lovely pieces of furniture, carefully crafted by some craftsman and then cruelly neglected or sadly misused!!! Take, for example, this lovely little shelf/towel holder which was found in this sorry state and completely outside its usual habitat:


The poor little thing had been cruelly ripped out of its usual habitat, a warm country kitchen, and been transplanted into a cold, dirty and untidy garage/workshop. To add insult to injury, it had been stripped bare of its fur towel and was used for storing paint tins and decorating paraphernalia. Some brute left burn marks (of a cigarette?) on its coat top. Clearly this once-loved shelf (indicated by the little pink heart) had once served its purpose beautifully and well, but now it was tired and needed help.

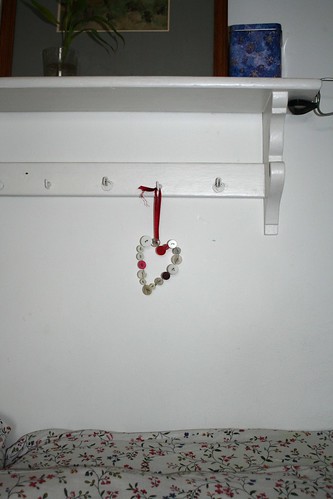
Cue the rescue squad (aka Queen of Crafts Sonja). I had previously already rescued the shelf from my grandfather's basement, together with this lovely specimen (see left). I decided to cocker up the little darling with a bit of care and gloss.

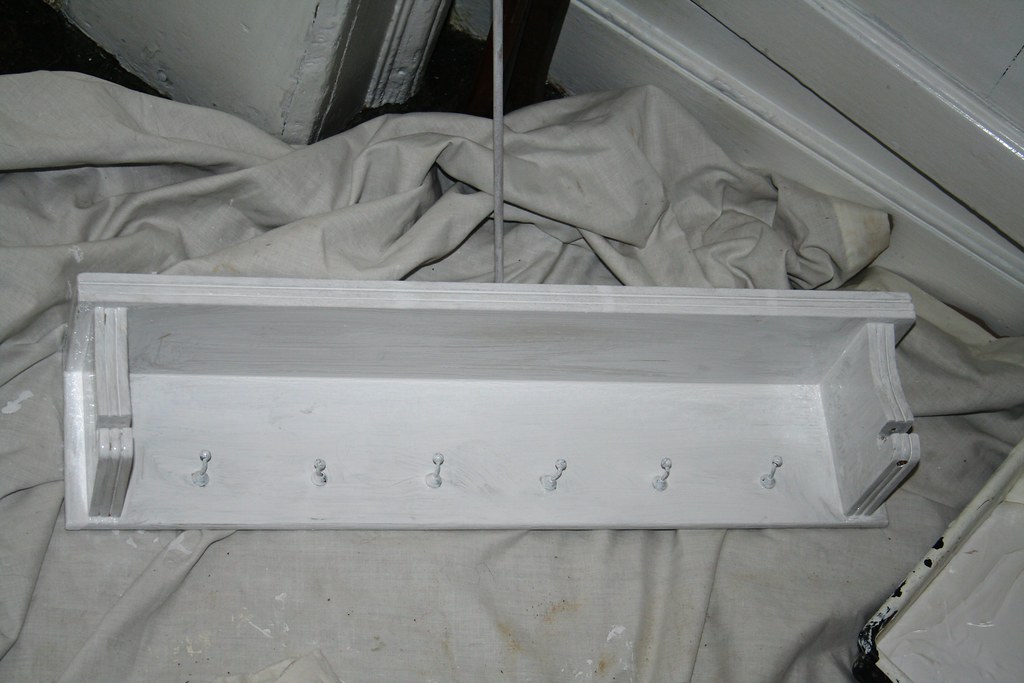
First of all I sanded down the discoloured paint and gave it an undercoat of white paint. I also cut a piece of dowelling to size which I found among its tormentor's things in the garage in order to replace the towel hanging rod. I had to drill a hole into it so that it still hinges and allows to slide something onto the rod.

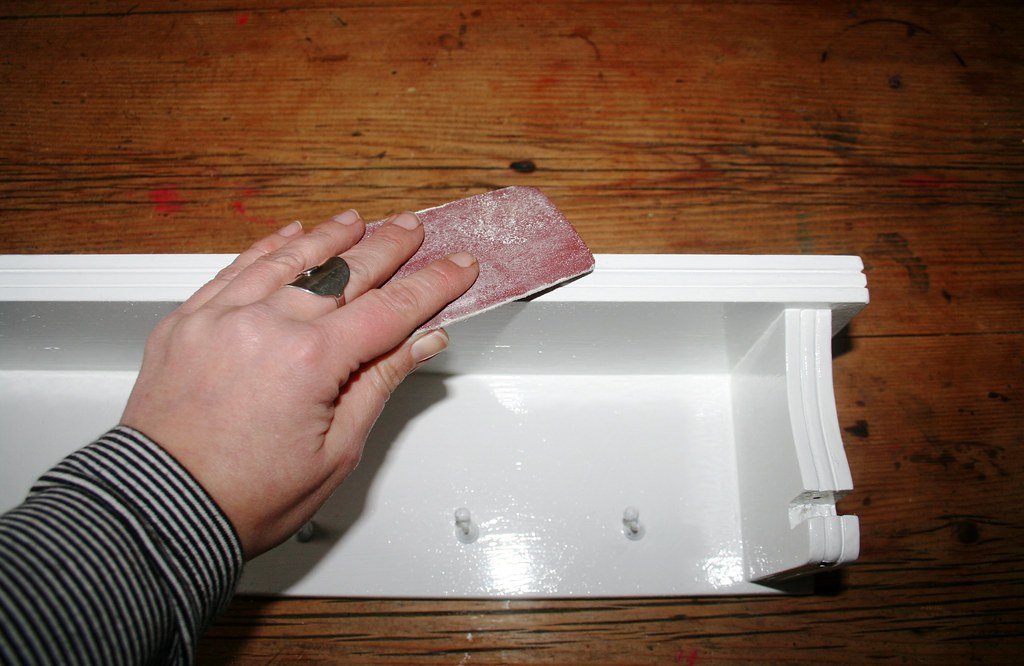
Then it was ready to be painted again with white gloss. And I fixed the rod back into its slot, using a nail on which it could hinge. I was a bit distressed that I had to go at it with sandpaper, but I distressed it all the same...

It's back to its former glory now and will be placed in its new home, soon. But you will have to wait for another day to see where it is going and what it will be used as. To be continued...


Best,

Sunday, January 31, 2010

Bedroom Re-Do

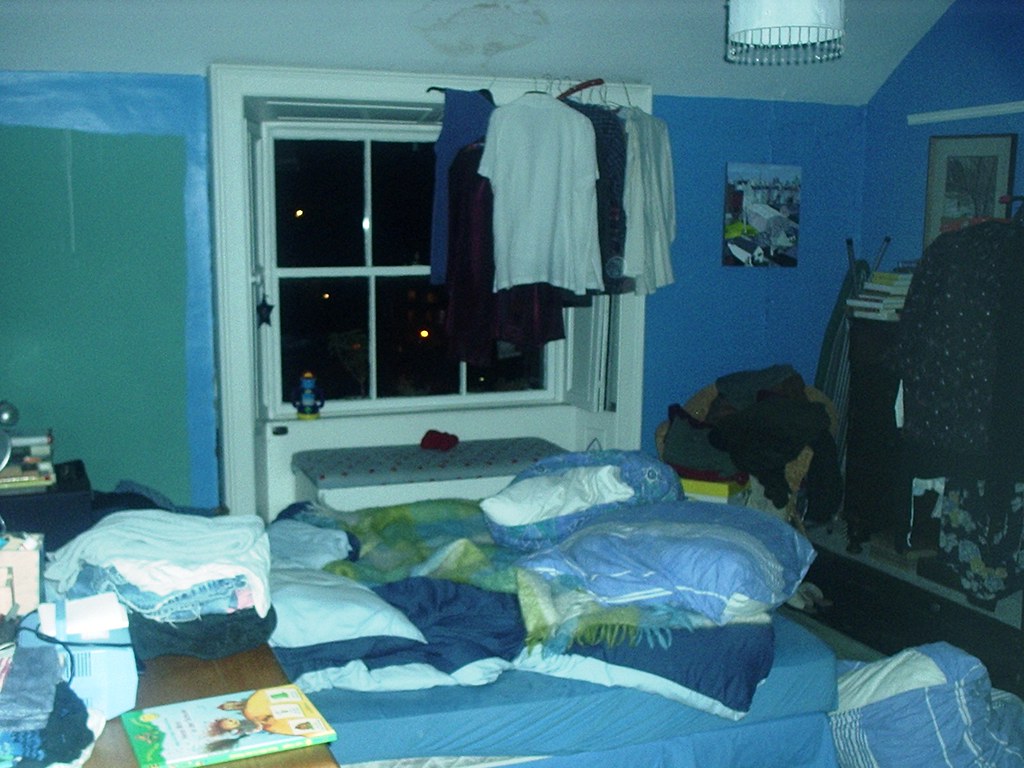
I am just in the middle of a tiny, little furniture re-do. But it isn't finished yet, so I thought instead I'll show you how a little bit of paint and some reshuffling of furniture updated our bedroom. I did this a couple of years ago, and the bedroom has evolved a little since then, but nonetheless there is already quite a difference when you compare the before and after. So without much ado, here is a picture of the bedroom as it was before.


Have you recovered from the shock? I am embarrassed to show what it looked like - and to publicly prove what we put up with. But blogging is exhibitionism bare-all, isn't it, so for the sake of showing off the impact you can have with just a bit of paint, I am including it here... So much was wrong with that room:

  • lazy painting with the original jade green visible where previously had been a wardrobe which we had painted around with the new light blue paint
  • wooden flooring that was partly stained dark brown and partly painted white
  • no proper hanging space for shirts and trousers, thus misusing the window surround as a clothes rail
  • water marks on the ceiling where the roof had leaked
  • general untidyness due to this being an unloved room
Some major changes were needed to make this a room that we like to be in - namely a proper paint job on walls and floor, wardrobe space, and easy to tidy organisation. Ten years ago I loved all the strong colours on the wall, but gradually I became really tired of all the greens and blues that I had surrounded myself with. I just wanted rest - easy-on-the-eye white. And no pictures, please, although there are tons of beautiful paintings in this house (plus a better half who is a talented painter).

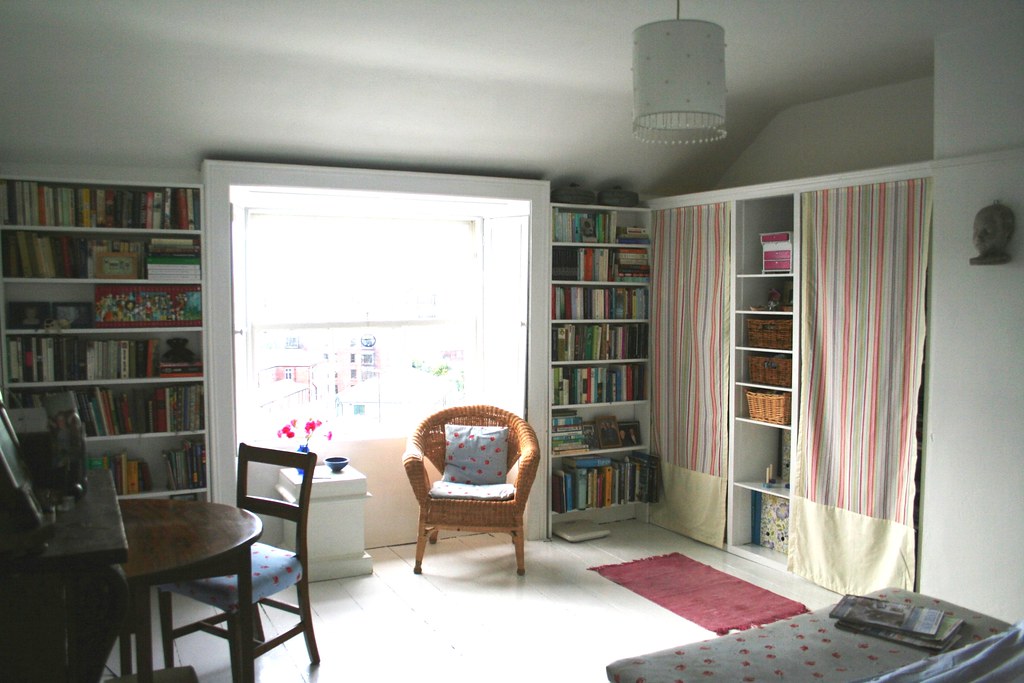
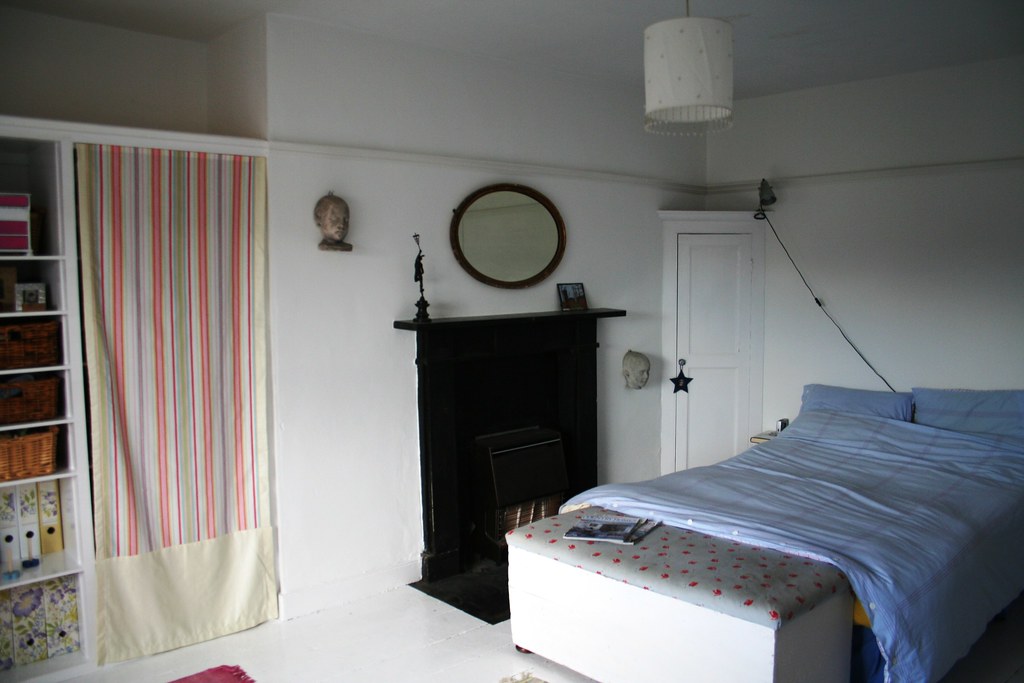
So here is what we did: After shipping off our kids to their grandparents for a few weeks, we set to work and painted the walls and the floorboards white. It immediately opened up the room and made it seem so much cleaner and bigger. Then my partner did his magic with a few planks of wood and some dowelling and created bookshelves on either side of the window to house our ever-expanding library of books. I love having a little reading corner in the privacy of my bedroom, plus the books stacked against the wall seem to be acting as extra insulation! I re-covered the chair on the left and created a small work space for my laptop with an antique, folding table on the left wall, where previously the bed had been. (That used to be where I did my writing and working for a while - luckily I now have a proper study...)


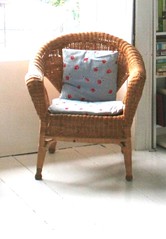
The wicker chair had been left in the house by previous tenants. I simply updated it with some cushions that I covered in the same Ikea fabric which I had used for the trunk (visible against the window in the before pic). 

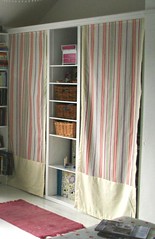
The ideal place for a wardrobe was the alcove to the left of our fireplace. We could see from marks on the walls and the floor that there must have been an inbuilt wardrobe there, before. Sadly, it had been ripped out. We re-instated it and my partner built it to our specifications - with hanging space on the left that has two rails on top of each other, eight rectangular cubbyholes in the right hand side and shelving in the middle that would provide space for folders, big books and drawers. I managed to source wicker baskets that were exactly the right size for the short shelves. Money was tight, so we did not build doors for the wardrobe, but I simply sewed some panels from Laura Ashley fabric, which I had found as off-cuts in their bargain corner.

The bed was moved to the other side of the room. At the time of taking the photo we had not yet made any bedside tables. Hence the bedside light is perched on the funny, triangular corner cupboard that was original in the room.

Wanna see a direct comparison? Here are the before and the after are side-by-side.   


The greatest investment in this re-do was the time we put in - and the effort of motivating ourselves to get off our arses do it. I really like being in this room, even though it is not always as tidy as in the pictures.  

 Best,


Linking to 
DIY Day @ ASPTL