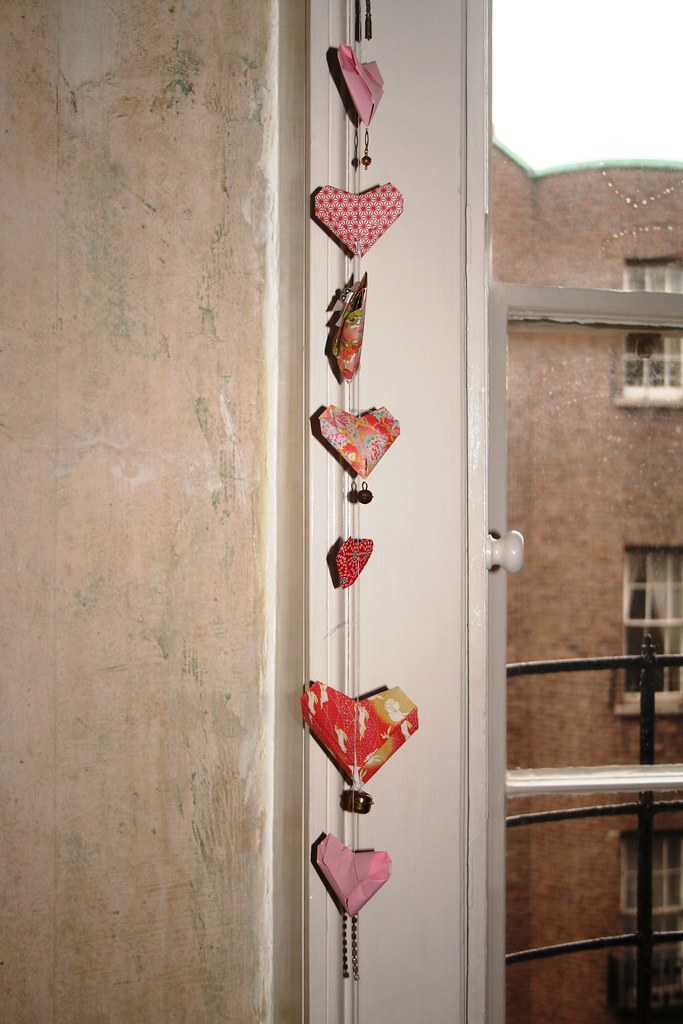
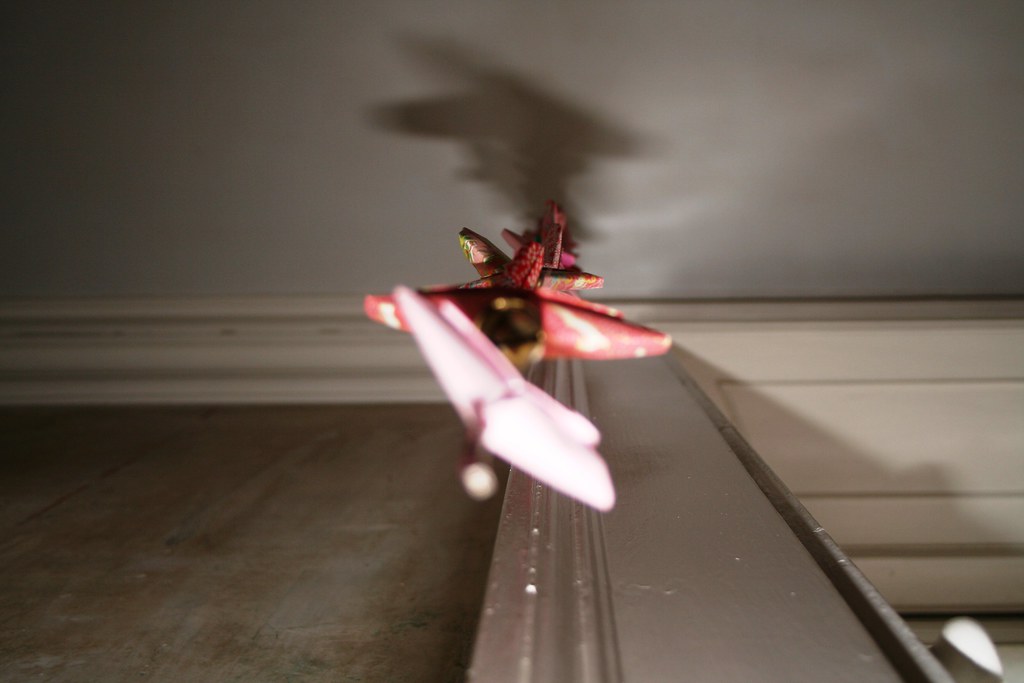
They hang nicely beside our very tall sash windows, swaying softly in the draft - yes, the nasty draft that you have to live with in an old house... The chain is so long that I actually could not get a decent shot of the whole line without moving furniture. Instead we will have to make do with an artsy-fartsy shot from below:
FYI
Showing posts with label drawing room. Show all posts
Saturday, February 27, 2010
Chain of Hearts
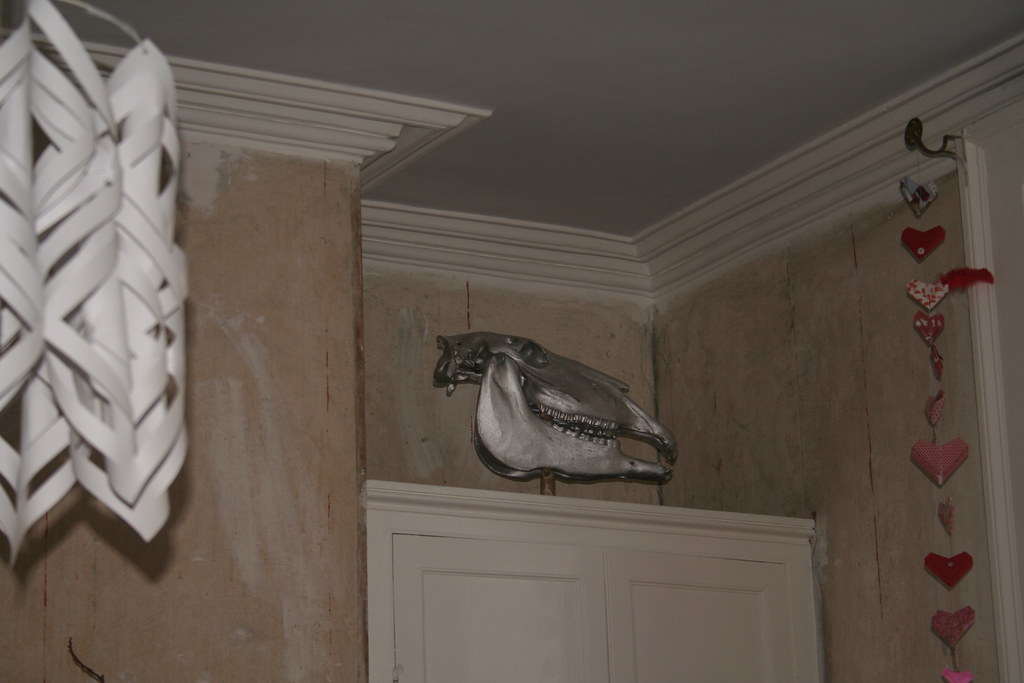
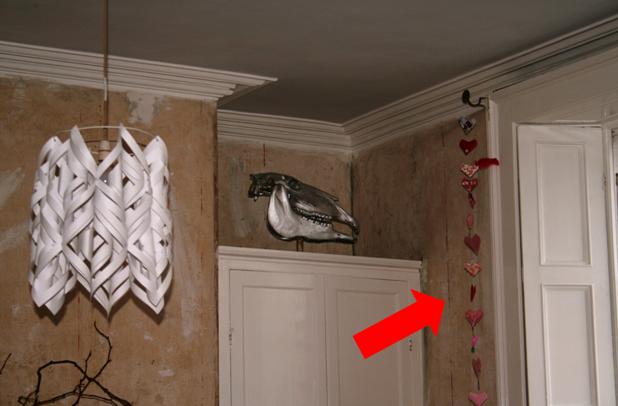
After several weeks of displaying my lovey-dovey origami hearts on my mantlepiece in the sitting room, I have finally decided to take them down and make space for the Easter decoration that will soon go up. I really love those hearts, though I did not want to display them so prominently anymore. So I found a new place for them. Did you spot them in yesterday's pictures and post about the sculptural horse skull?

Rather than pack them away and forget about them, I decided to make a long chain of hearts out of them. Nothing simpler than that: I just hung them from each other in a long line.
On a different note I am happy to announce that I have packed and sent off the giveaway to the lucky winner, Amy. I hope it will arrive quickly - and undamaged - after its long journey across the Atlantic from Ireland to Kansas. The prove is in the pudding parcel:
Labels:
decoration,
drawing room,
giveaway,
heart,
origami,
ornaments
Friday, February 26, 2010
I like weird...
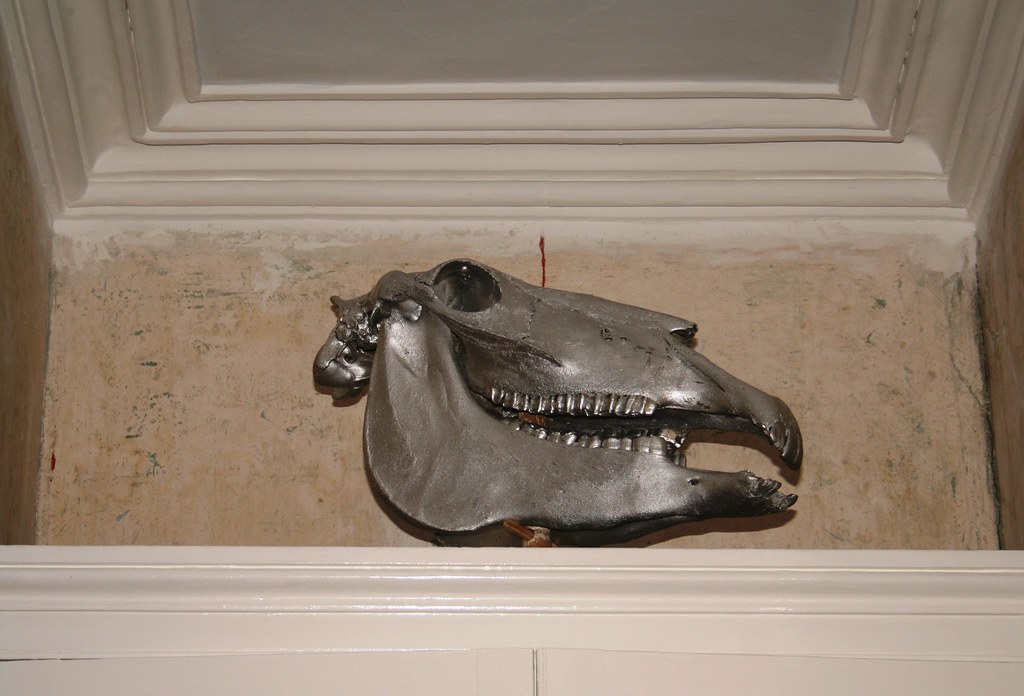
Yes, I know it is coming up Easter and not Halloween - and I suspect many of you will find morbid if not downright ugly what I am presenting you today. Well, even though I am neither a rock chick nor a goth teenager, I find skulls very sculptural and beautiful interesting in their own way. Maybe the whole decorating-with-skulls craze has already peaked and I am jumping onto the bandwagon just as it is pulling into the graveyard (if you pardon the pun), but if Damien Hirst can play with skulls, so can I!
As luck would have it, I am married to a former skull-enthusiast. Growing up, my partner had a large collection of skulls - sheeps', badgers', birds', donkeys', horses', you name it - and we have a number of them nowadays out on our garden walls. Anyway, looking at the a horse skull closely, I was fascinated by the play of light and shadows on the bone. (Can you tell I am a photographer, obsessed with light and shadow??) Can you spot him in the winter picture on the right? So, originally I gave the skull an undercoat of silver primer, with the intention of painting it some other colour and leaving it in the garden.
But then the skull just looked so well, so sculptural, so fascinating, that I decided to bring it inside and place it in our sitting room. The top of our in-built cabinet was the perfect empty spot.
I had to make a stand on which to display the skull, otherwise it would have sat behind the moulding of the cabinet. Ok, I admit, my better half helped me with this - he drilled a hole into a bit of wood and an old chair leg (which had been washed onto the beach) and fixed the two together with a wooden dowel. Then we stuck a few clipped chopsticks through another hole to create two "arms" that the skull could rest on.
And that was it - up on the cabinet he went. He's leering at us, I guess... I wonder what kind of comments the skull will attract, both here and by my visitors?
Happy weekend, everyone!
As luck would have it, I am married to a former skull-enthusiast. Growing up, my partner had a large collection of skulls - sheeps', badgers', birds', donkeys', horses', you name it - and we have a number of them nowadays out on our garden walls. Anyway, looking at the a horse skull closely, I was fascinated by the play of light and shadows on the bone. (Can you tell I am a photographer, obsessed with light and shadow??) Can you spot him in the winter picture on the right? So, originally I gave the skull an undercoat of silver primer, with the intention of painting it some other colour and leaving it in the garden.
But then the skull just looked so well, so sculptural, so fascinating, that I decided to bring it inside and place it in our sitting room. The top of our in-built cabinet was the perfect empty spot.
I had to make a stand on which to display the skull, otherwise it would have sat behind the moulding of the cabinet. Ok, I admit, my better half helped me with this - he drilled a hole into a bit of wood and an old chair leg (which had been washed onto the beach) and fixed the two together with a wooden dowel. Then we stuck a few clipped chopsticks through another hole to create two "arms" that the skull could rest on.
And that was it - up on the cabinet he went. He's leering at us, I guess... I wonder what kind of comments the skull will attract, both here and by my visitors?
Happy weekend, everyone!
Labels:
decoration,
drawing room
Sunday, February 14, 2010
Wake up Sonja!
OMG - I have just realized that it totally and completely passed me by that my living room re-do was featured on The Best of your Before and Afters. Jeeeeeeez, how could I have missed that? Lindsey's Blog is one of my daily stops! I think I was a bit preoccupied with my college exam at the time...
Anyway, you can see the post and Lindsey's kind comments on her blog here. There is tons of other very cool before and afters on her blog - so good and inspiring, in fact, that I regularly turn green with envy.
As regards the mysterious "sugar soap" that Lindsey refers to: It's a cleaning concoction that we used when preparing our otherwise untreated walls in the living room. According to Wikipedia it is most widely used in Commonwealth countries - hence you American readers may not have heard of it before. It gets its name from its similarity in looks to sugar. But it is actually sodium carbonate. Wikipedia informs me that it is comparable to TSP in the United States...
Off to change my notification settings now...
Best,
Anyway, you can see the post and Lindsey's kind comments on her blog here. There is tons of other very cool before and afters on her blog - so good and inspiring, in fact, that I regularly turn green with envy.
As regards the mysterious "sugar soap" that Lindsey refers to: It's a cleaning concoction that we used when preparing our otherwise untreated walls in the living room. According to Wikipedia it is most widely used in Commonwealth countries - hence you American readers may not have heard of it before. It gets its name from its similarity in looks to sugar. But it is actually sodium carbonate. Wikipedia informs me that it is comparable to TSP in the United States...
Off to change my notification settings now...
Best,
Labels:
blogs,
drawing room,
featured,
re-do
Monday, January 11, 2010
Guestroom turned Drawing Room: Before and After
Strictly speaking, decorating is not crafting. However, when decorating, crafting often comes into play. I have noticed that a lot of rather crafty blogs which I follow, very often include posts on their remodeled/redecorated/renovated rooms. So I hope my esteemed readers do not mind me posting a "before and after" here which refers to the (ongoing) remodeling of my drawing room. It's a longish saga, so bear with me, please ;-)
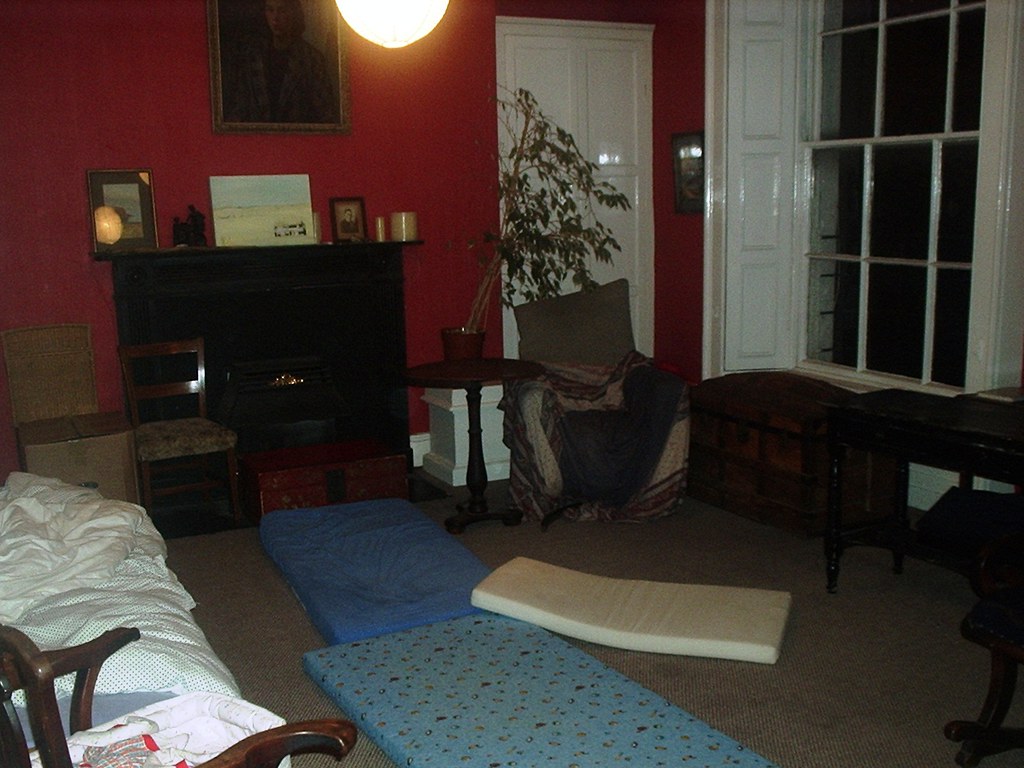
What is now our drawing room started out as our guestroom. (Historically, however, the room was the master bedroom of our 200-year-old house and then had been used as an office before we moved in... what a journey!) I have I only got one picture of it - it just was never nice enough to merit the taking of photographs... Here it is before:
The deep burgundy on the wall was our choice *eeek* - well, it was the late 90s... The room housed a merry mixture of all the old furniture in the house. Some rather tatty, some nice antiques but all mismatched. It had nasty light brownish carpet in it and the walls were papered with structural wallpaper. As you can see it was also used as the kids' playroom, hence the mattresses on the floor (must have been some gymnastics session going on there...).
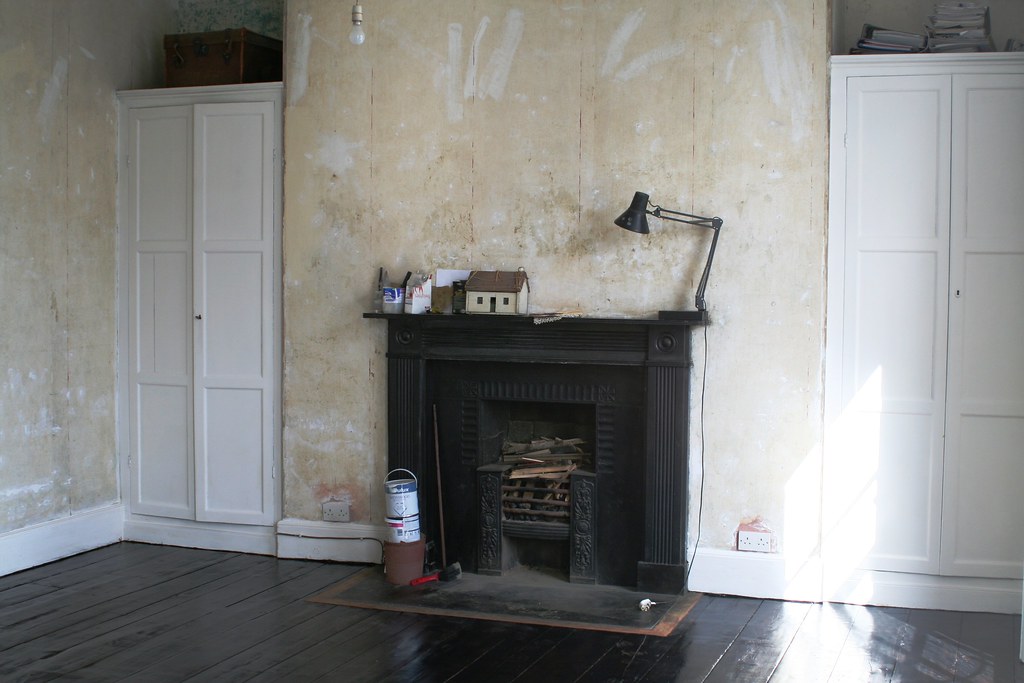
Anyway, I always thought it was the nicest room in the whole house: Very large, 2 really tall windows which look out onto a park, and always warmer than all other rooms because it caught the morning sun and heated up nicely. In short: It was a shame and a waste to use it as an occasionally used guestroom and not for continuous use. So the decision was made to turn this space into our drawing room. But oh, how long it has taking us to remodel this room *siiiiiiighs*. Finally about a year ago we tackled the project. The Royal spouse is a hands-on man, so he ripped off the wallpaper one day when I was at work and on my return I was met with this frightening sight:
The most difficult part of the whole project was actually reshuffling all the furniture, paintings and bits and pieces that had accumulated in the room over the years. But since we were working towards a particular date (an exhibition of my photographs that was due to take place in this space), we had to plow on.
Once emptied, the room was even nicer than we had thought. The floor badly needed some kind of treatment although it consisted of beautiful, wide planks (I think it is spruce???) and was in very good condition. As is traditional in old houses like this, it was only stained around the edges. Most of the floor would have been covered by a large rug, so even the Georgians cut corners and only stained that part of the floorboards that was visible. There was no option but to sand the whole floorspace. We rented a sander and did it in an afternoon. The result already enhanced the room.
What is now our drawing room started out as our guestroom. (Historically, however, the room was the master bedroom of our 200-year-old house and then had been used as an office before we moved in... what a journey!) I have I only got one picture of it - it just was never nice enough to merit the taking of photographs... Here it is before:
The deep burgundy on the wall was our choice *eeek* - well, it was the late 90s... The room housed a merry mixture of all the old furniture in the house. Some rather tatty, some nice antiques but all mismatched. It had nasty light brownish carpet in it and the walls were papered with structural wallpaper. As you can see it was also used as the kids' playroom, hence the mattresses on the floor (must have been some gymnastics session going on there...).
Anyway, I always thought it was the nicest room in the whole house: Very large, 2 really tall windows which look out onto a park, and always warmer than all other rooms because it caught the morning sun and heated up nicely. In short: It was a shame and a waste to use it as an occasionally used guestroom and not for continuous use. So the decision was made to turn this space into our drawing room. But oh, how long it has taking us to remodel this room *siiiiiiighs*. Finally about a year ago we tackled the project. The Royal spouse is a hands-on man, so he ripped off the wallpaper one day when I was at work and on my return I was met with this frightening sight:
The most difficult part of the whole project was actually reshuffling all the furniture, paintings and bits and pieces that had accumulated in the room over the years. But since we were working towards a particular date (an exhibition of my photographs that was due to take place in this space), we had to plow on.
Once emptied, the room was even nicer than we had thought. The floor badly needed some kind of treatment although it consisted of beautiful, wide planks (I think it is spruce???) and was in very good condition. As is traditional in old houses like this, it was only stained around the edges. Most of the floor would have been covered by a large rug, so even the Georgians cut corners and only stained that part of the floorboards that was visible. There was no option but to sand the whole floorspace. We rented a sander and did it in an afternoon. The result already enhanced the room.
We thought the colour of the floor was too light, though, and also wanted to stain it for protection. The colour of choice was something resembling cherrywood. We stained the floor - and were disgusted with the vibrant, orange floor that we achieved. So disgusted in fact, that I did not document that detour on our road to the perfect drawing room... The only efficient way of dealing with this desaster was staining over the orange stain. And that meant a really dark brown stain, something we initially had not considered. So we stained again and this time the result was satisfactory:
Here is another image with less reflections, looking towards the fireplace:
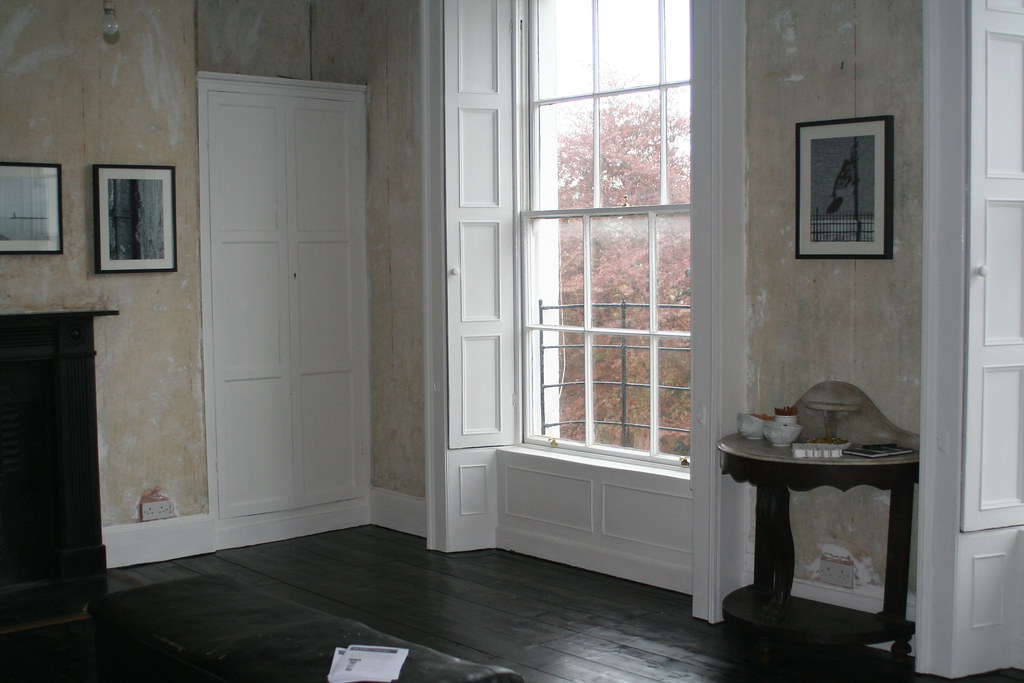
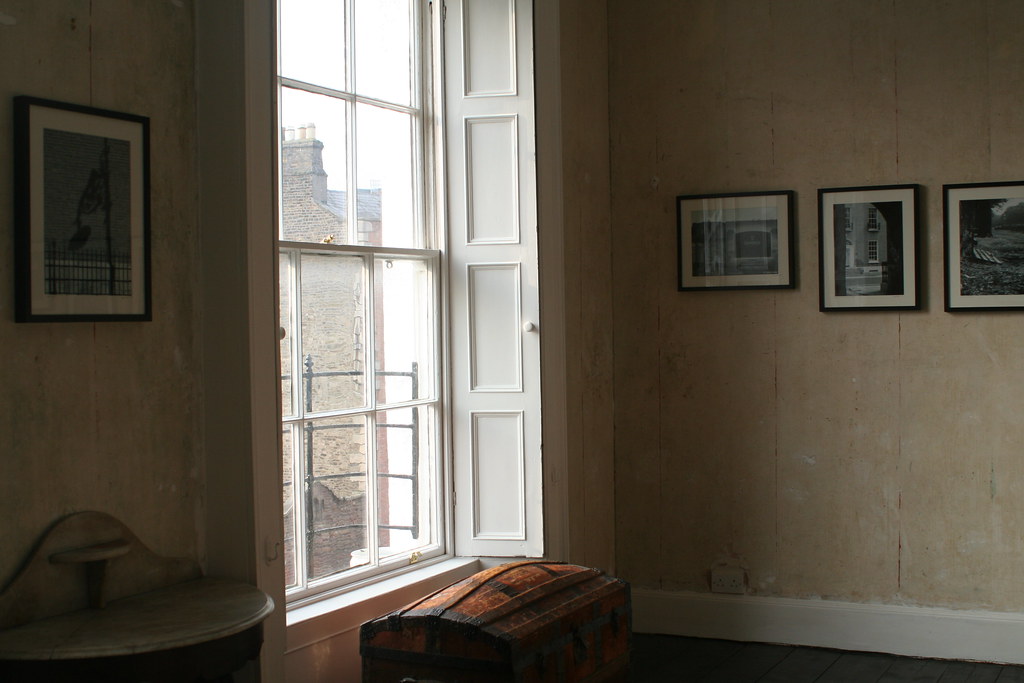
With the floor finished the room was ready for the exhibition. The neutral walls, the pristine floor and the high ceilings certainly enhanced the displayed images - it was a successful enterprise, I must say... See for yourself:
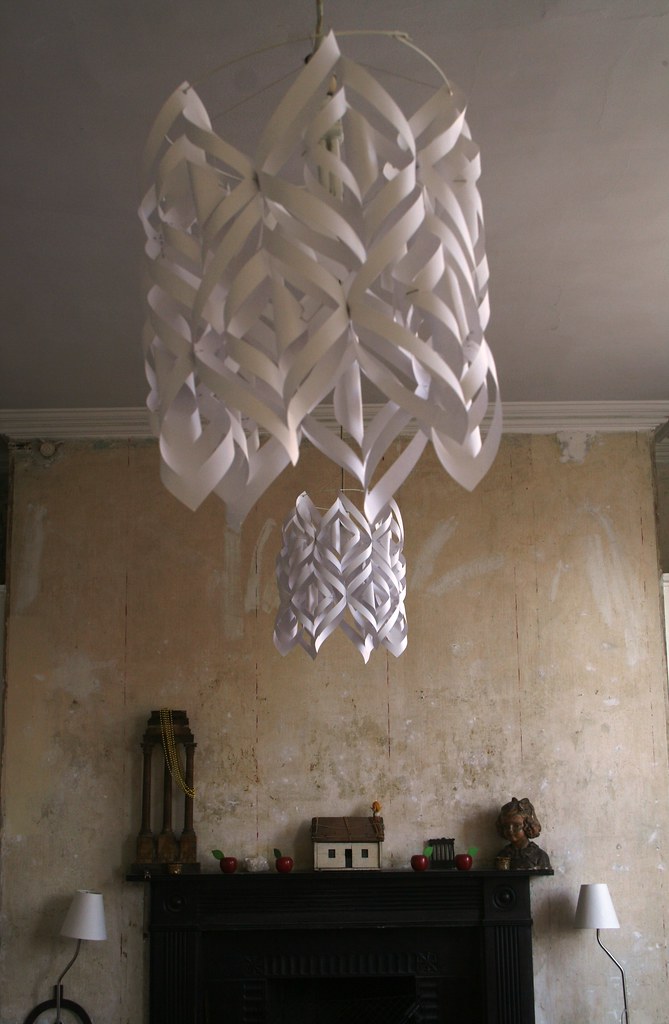
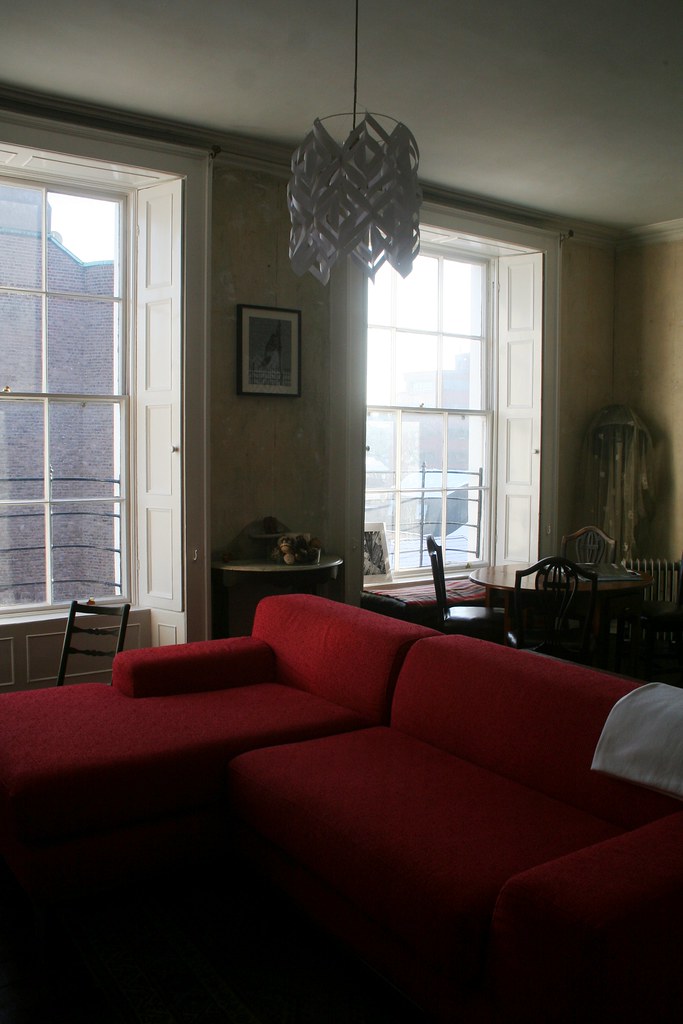
Now we were ready to furnish the room. But the reshuffling game was so daunting, that the room languished several rooms until we made the last push. With a nice sofa ordered, some lampshades crafted (check my blog post here!)and assorted pieces of furniture approved for and placed in the room, the drawing room is now my favourite room in the house!
We thought long and hard about the wall decoration - and decided to leave the untreated wall as it is. We washed it down with sugar soap and dusted it. What appears as very obvious paint brushstrokes on the walls, does not stand out nearly as much when you look at it. It's a bit of a statement that not everyone likes. (As in the inimitable words that only a mother could surreptitiously comment: "Oh, so you are not going to paint the walls..." NO, mum!!!)
It is not quite finished yet - we have plans for a large bookcase on the wall opposite the fireplace and I would also like to rehang pictures (they are still hanging on the nails we hammered in for the exhibition...), but it's a space that I do invite guests to sit in. But no more sleeping in here - it's not a guestroom anymore *yay*.
I am linking this to the DIY Show Off Show & Tell.
Labels:
before and after,
diy,
drawing room,
remodeling
Subscribe to:
Posts (Atom)