FYI


Showing posts with label ribbon. Show all posts

Monday, October 11, 2010

1 is such a lonely number

I have a tendency to get obsessed. If I get interested in something, I immerse myself in it from tip to toe. Luckily my attention span is short, so it never develops into an unhealthy long obsession. This applies to crafting, too, where this week I wouldn't rest until I had made another cushion.


You can't have just one cushion on a sofa. And textured cushions are a big thing at the mo. I had in fact collected a number of ideas recently from magazines. Do you also have that habit? I cut out little snippets from my mags and then duly forget about them and design my own thing. I may still copy one of them - here are the inspirations:


And since another inlet cushion was at hand and I still had some red felt left over, I set about thinking up another cushion design. Does this come across slightly Christmas-sy? Looks like a pressie, doesn't it? Well, that is intentional, because I used some red satin ribbon for decoration. Like the Retro-Style Cushion from a few days ago, this is a really quick and easy sewing projects for beginners. Didn't take more than an hour to complete.

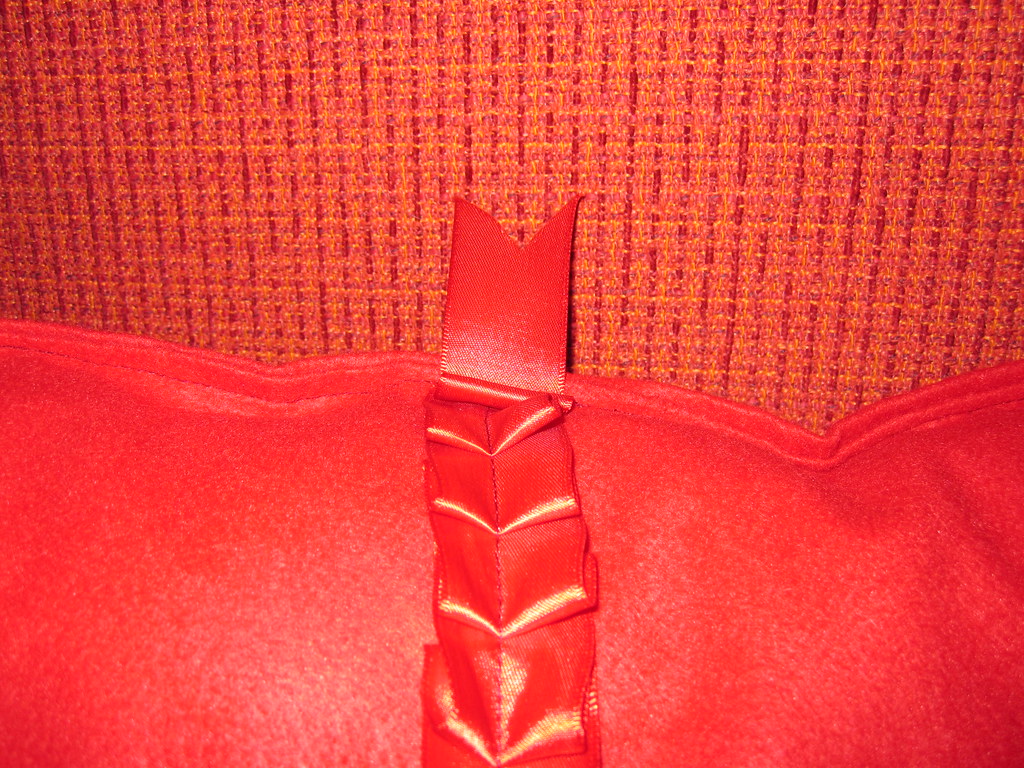
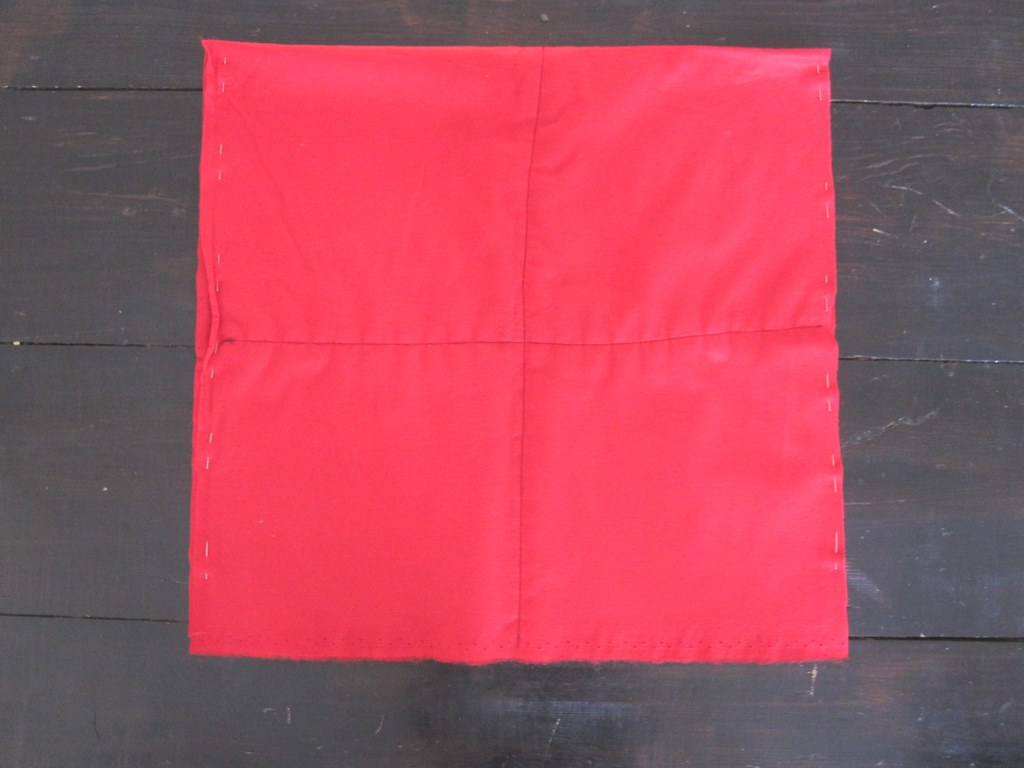
First of all I cut my material to size again. Then I sewed the ribbon onto the felt. I didn't even bother pinning it onto the fabric - it was much easier bunching it up as I went along. You can see in the picture on the right how I did it.

I sewed on two lengths of ribbon in a cross-shape across the fabric. Make sure you sew the ribbon no closer than 1cm to the edge.

Just for the fun of it I let the ends of the ribbon hang over the sides a bit. Hm, do they look like snake tongues?

Then it was time to make the actual cushion. Folding the material right-on-right, I pinned the two opposite open sides together. I also had to pin the snake tongues back onto the ribbon loops, just to make sure I didn't sew them into the cushion.

I sewed round three sides, leaving one side open to slide the inlet in.
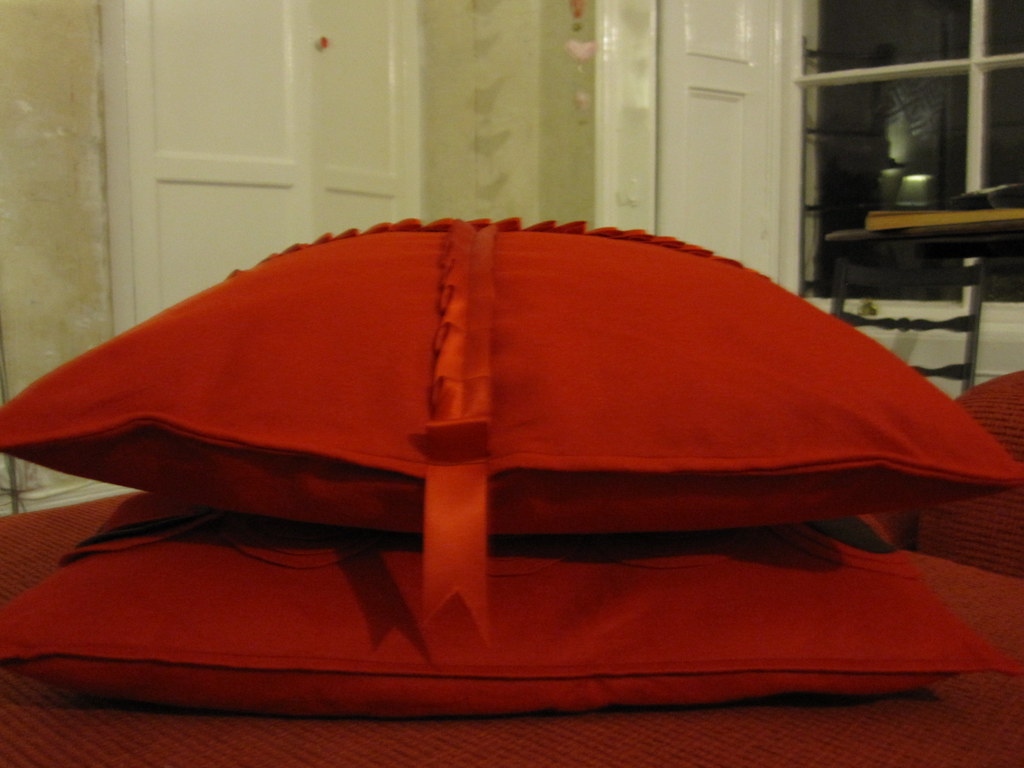
Just like the retro cushion, I closed the cushion by folding in the remaining open side and then sewing across it and around the cushion edge to create a piping effect.


So there we are - another red cushion for the red sofa. Another one for cuddling up in front of the fire with.


I still have some red felt left over. Another red cushion? Or should I break the cycle and use some chocolate brown felt instead? In any case, I am hooked...

Best,



Linking to:     Metamorphosis Monday @ Between Naps on the Porch   Make it 4 Monday @ Cottage Instincts
Craft Link Party @ Polly Want a Crafter
The Girl Creative
The DIY Show Off

Sunday, February 14, 2010

Classy Silhouettes

Black is such a classy colour. I mostly wear black (apart from my trademark red), but I do not really use it much in my interior dreamings. But I have noticed that an awful lot of re-dos that I see in blogs is done with black paint. Well, here is a little idea that might appeal to all you lovers of the colour black out there. 'Cause today I made a couple of classy silhouettes.


The inspiration for this project came from a whole wall of silhouettes. These are two silhouettes of ancestors. I think they are late 18th and early 19th century respectively. Before the invention of photography in 1836, the cheapest way for the burgeoning bourgeoisie to have a portrait done, was having a silhouette cut. If you look closely at the lady on the left, you will notice the fine detail and care that went into these "likenesses". This silhouette was not cut, though, but painted. The outline of the head was painted black and then the details such as the hair and the ear were added. They even included the eyelashes. Isn't this lady beautiful? (I am thinking Elizabeth Bennett, here...)
Here is another silhouette, which I believe is pre-19th century, just based on her hairstyle. Again, this is a painted silhouette. The fine details of hair and bows would have been impossible to cut. Both miniatures are about 3-4 cm in size (approx. 1 - 1.5 inches). - Isn't it wonderful to think that these likenesses are still around, long after the two ladies are gone? They certainly we held very preciously and are mounted in sweet little wooden frames with gilt edges...
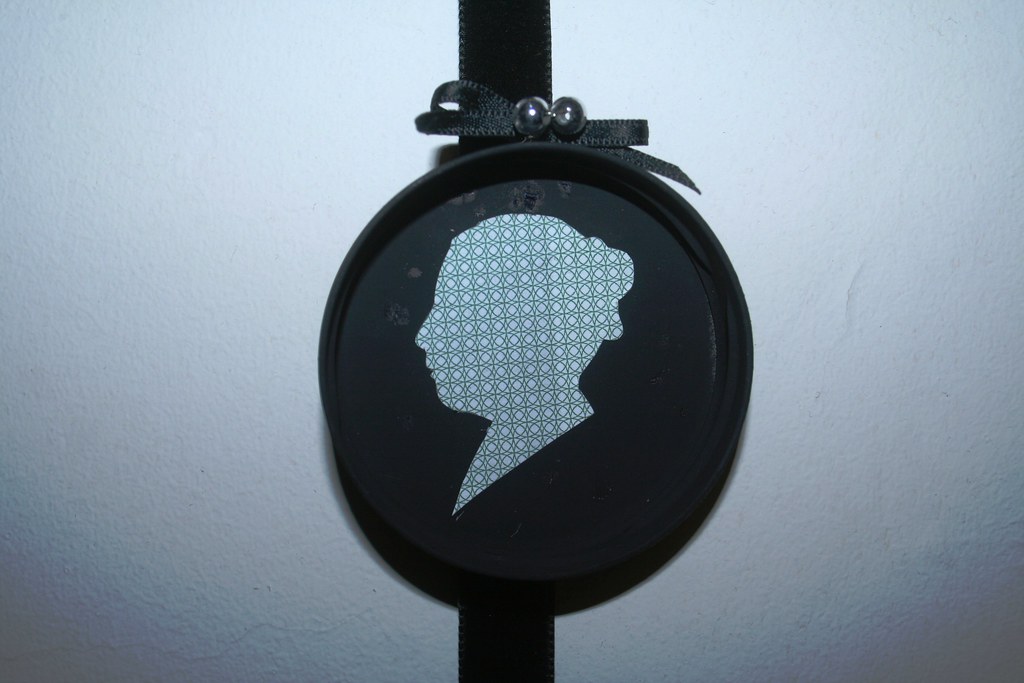
I decided on a slightly more modern version of the silhouette by inverting the colours - light silhouette against a dark background. The paper I chose for the silhouette came from my stash of security envelopes. I haven't been able to stop collecting those ever since my ill-fated "Material of the Week"-adventures last year... (See some other projects with security envelope paper here: paper beads, a little garland, card decorations and mini-envelopes.)

Sorry, no photos of the individual steps, but it is pretty self-explanatory: I printed a photo of my own, regal head in profile onto the back of the security envelope paper. Then I cut it out with small scissors. (Brrrr, hate using flash - leaves very ugly shadows on the pics. Obviously, the frame is perfectly round, not oval...)

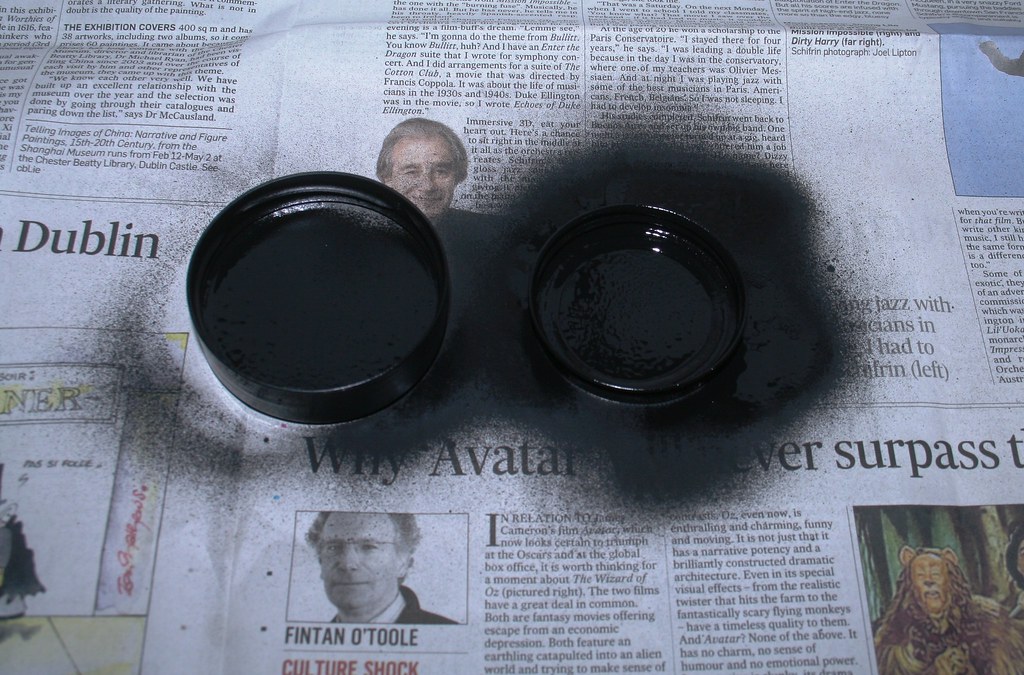
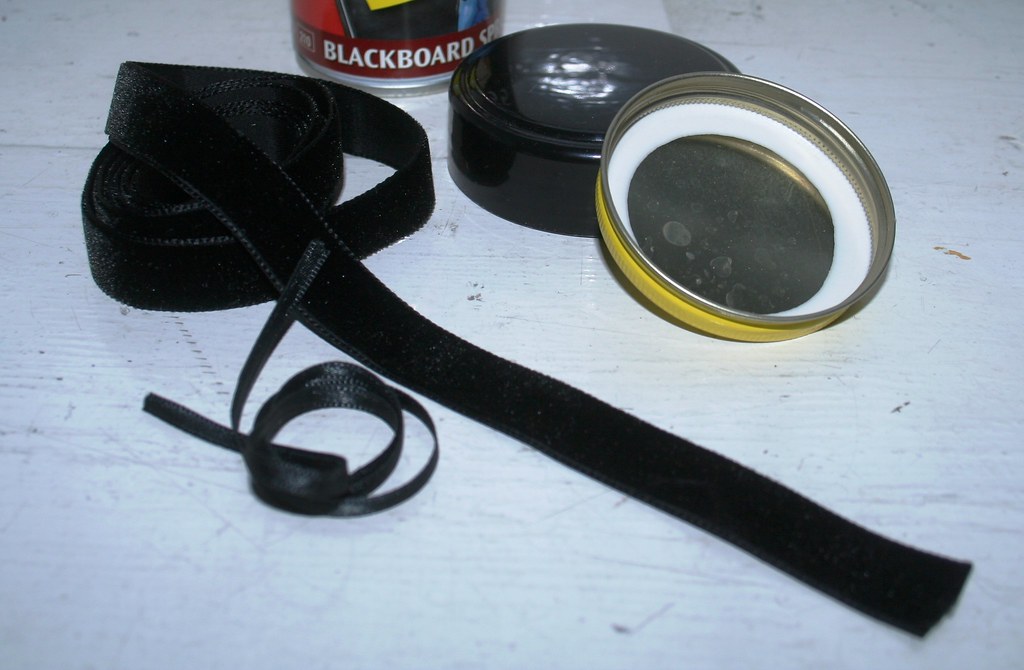
The idea for the frames came to me the other day when I was doing the recycling. While taking the lids off all the empty jars that were going into the glass recycling, it occurred to me that they make perfect little frames. So out came the blackboard spray (proper black spray paint would do much better, but I haven't got any), and I gave the two chosen lids a good spray. Make sure you choose lids that are not of the "twist off"-variety. Those have irregular rims and do look too much like lids...

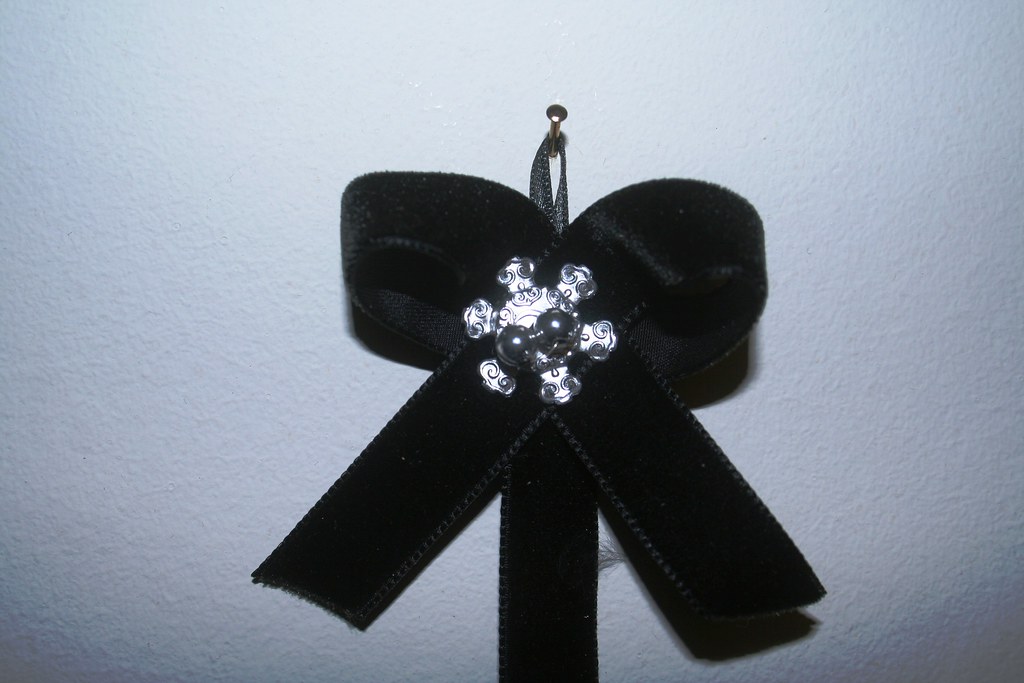
Be patient until your spray paint has dried and then stick your silhouette into the lid. (As usual I was impatient, scratched the not-yet-dried surfaces and had to touch up with a marker *tstststs*.) Since my ribbon collection is newly organised *yoohay*, I quickly found a length of black velvet ribbon onto which I stuck the lids miniatures. It looked a bit too bare like that, so I embellished a bit with bits of pieces in my "miscellaneous" box. To hang the length of ribbon, I made a bow. Cheapskate that I am, I had some little silver beads on thin wire (dismantled from a Christmas cracker... I know, I am a total crackpot, saving fiddly bits like that...). And guess what the silver star/snowflake ornament on the bow is? .... It's the hanger from a Christmas bauble!!! When taking down the Christmas decorations, one bauble smashed and I kept the hanger (yeah, definite crackpot, Sonja!). I simply flattened it. Then I put the wires from the beads through the star and pushed it through the velvet bow and the ribbon. I also attached a small satin ribbon to hang it up

Lastly, I glued the lids onto the ribbon. Continuing with the tradition of keeping the ladies' likenesses, I also made a silhouette of my daughter. And here it is, my silhouette display - preliminarily hung above the shelf beside my desk.

  
So, there is a classy little project for you - that will cost you nothing, but is priceless

Best,


Linking to:


Photobucket


DIY Day @ ASPTL


http://itssoverycheri.com/2010/02/14/its-so-very-creative-party/?


The Girl Creative


Thursday, February 11, 2010

Tidying up Loose Ends - Ribbon Organisation

Hi everybody. Are you still there? Sorry, I vanished for a short break to Bologna. What a beautiful country Italy is - I was so impressed by everything. The antiquities, the food, the friendliness of the people. The Italians certainly know ARS VIVENDI. If you want a couple of impressions from that beautiful place, check my flickr set "Bologna".

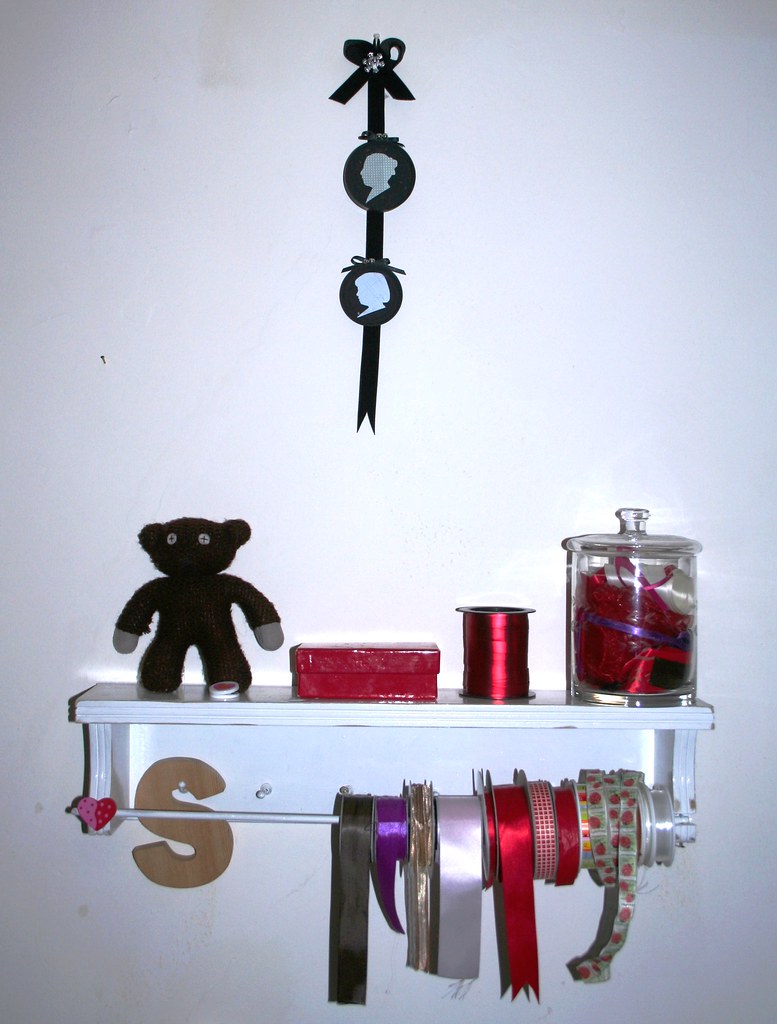
But now back to blogging and crafting. Or in reverse order - there is crafting first and then there is blogging. It's been a while in coming, but I finally managed to get rid of the mess that was my ribbon box. I forgot to take a before-picture, but believe me, it was not a pretty sight. Scrunched up ends of ribbons, bows, and bobbins all squashed into an old shoe box in my kitchen cabinet. Something had to be done. And this is what I came up with - not only a made-over shelf, but also some ribbon organiser:


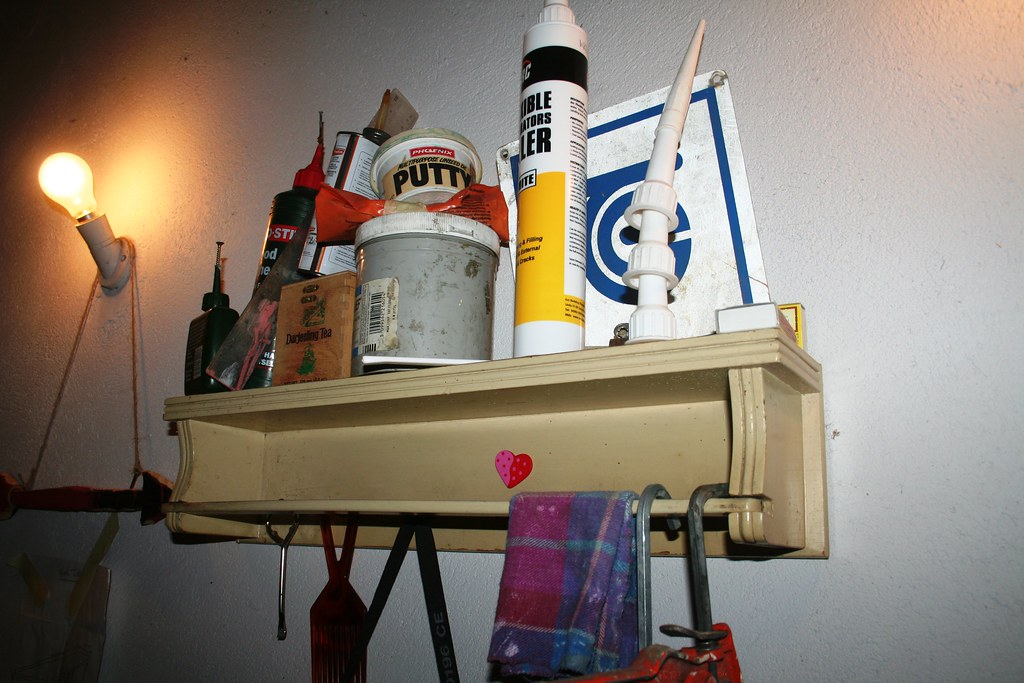
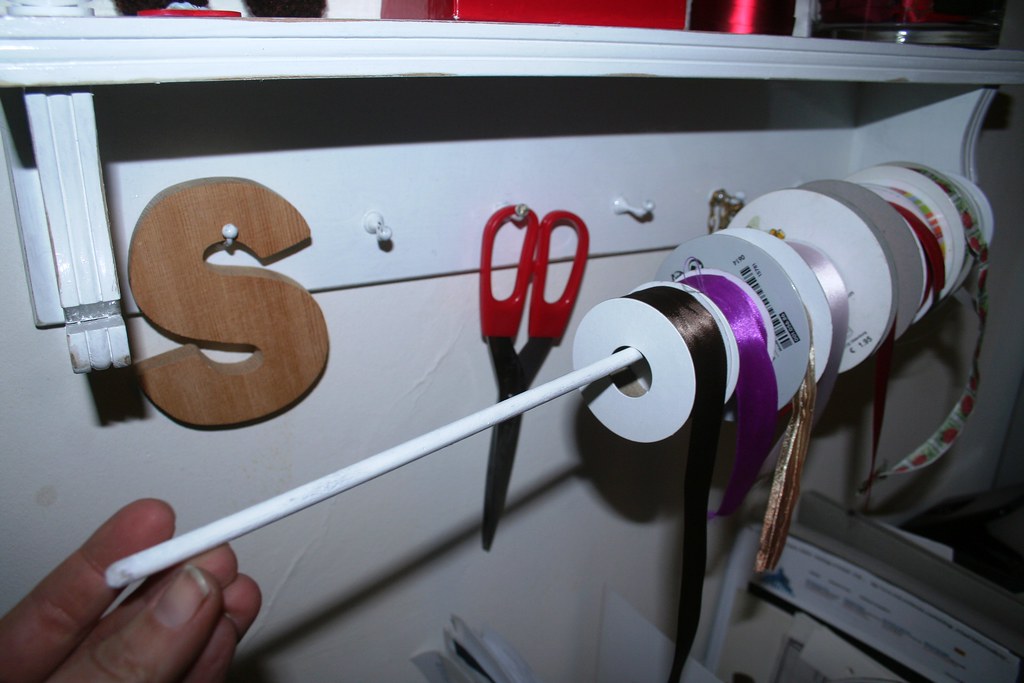
You will recognise the shelf from my earlier post about the poor little shelf I rescued from the garage. With a bit of elbow grease, care and paint, I revived the thing and finally hung it up above my desk in my study/craft room. I love that I have my ribbons all handy now, and a place for the scissors to hang. And some display space to make the room where I increasingly spend most of my time prettier. 


The bobbins feed onto what used to be the towel rail. The hooks behind it will house my scissors and assorted bits and pieces that can be hung up. On top I have placed a glass jar with short ends of ribbons. They are too pretty to be hidden in a box - and I always have an overview over the available ribbons when I am wrapping presents or crafting. 


And finally, Basil, my sweet little teddy, gets the prime spot to look down upon me from his "pedestal".


So here is a proper before-and-after. Definite improvement, I think.


 Best,

 Linking to:

giveaways

Tuesday, January 26, 2010

Upcycled Packaging

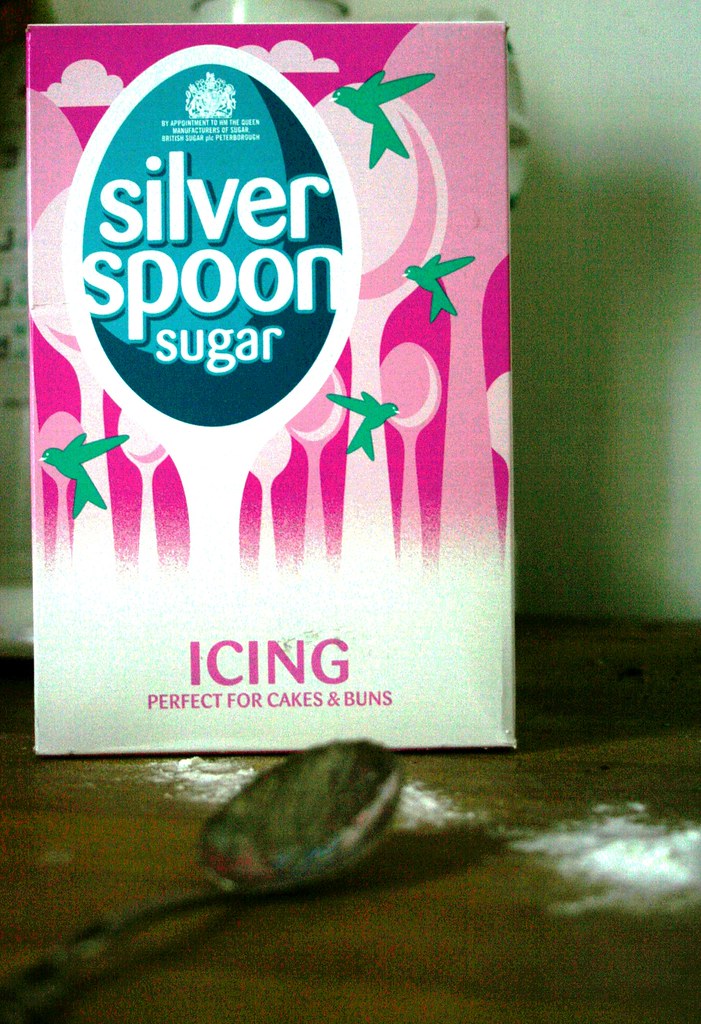
Have you ever noticed how beautiful commercial packaging can be? We all love antique enamel signs and biscuit tins and we know how carefully they were designed decades ago. Most of the packaging nowadays seems to be utalitarian, cheap and cheerless. So imagine my delight, when I saw this beauty of an icing sugar packet in the shop. Well, I needed to buy some icing sugar, anyway, but I would have bought it regardless, just for the cute and nice design.


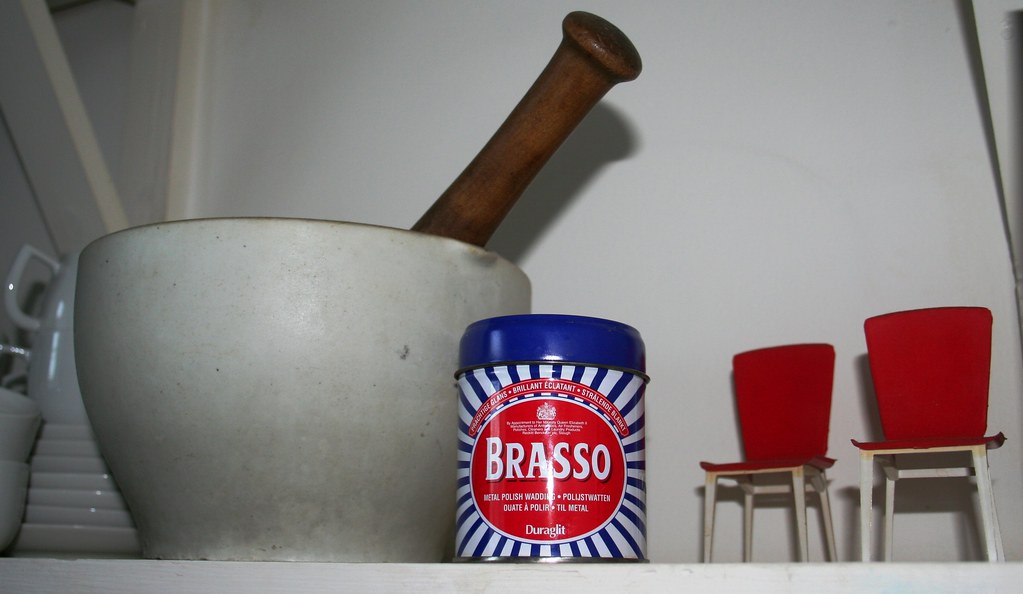
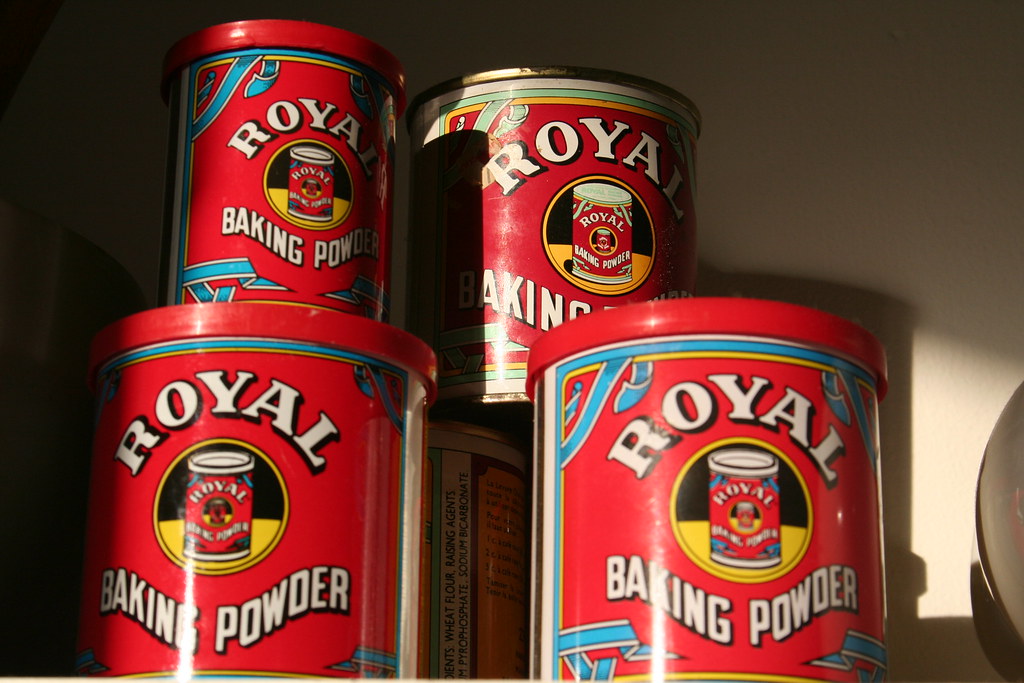
I have always had a soft spot for nicely designed containers and tins. Here is a selection of - empty but beautiful - tins that I just cannot throw out. They are attracting dust in my kitchen...


Anyway, back to the icing sugar box - I am not really a pinky-pink girly-girl, but the box was just so sweet, if you pardon the pun. It didn't take me long to figure out what to do with the lovely humming bird-design. It's kind of obvious, even:


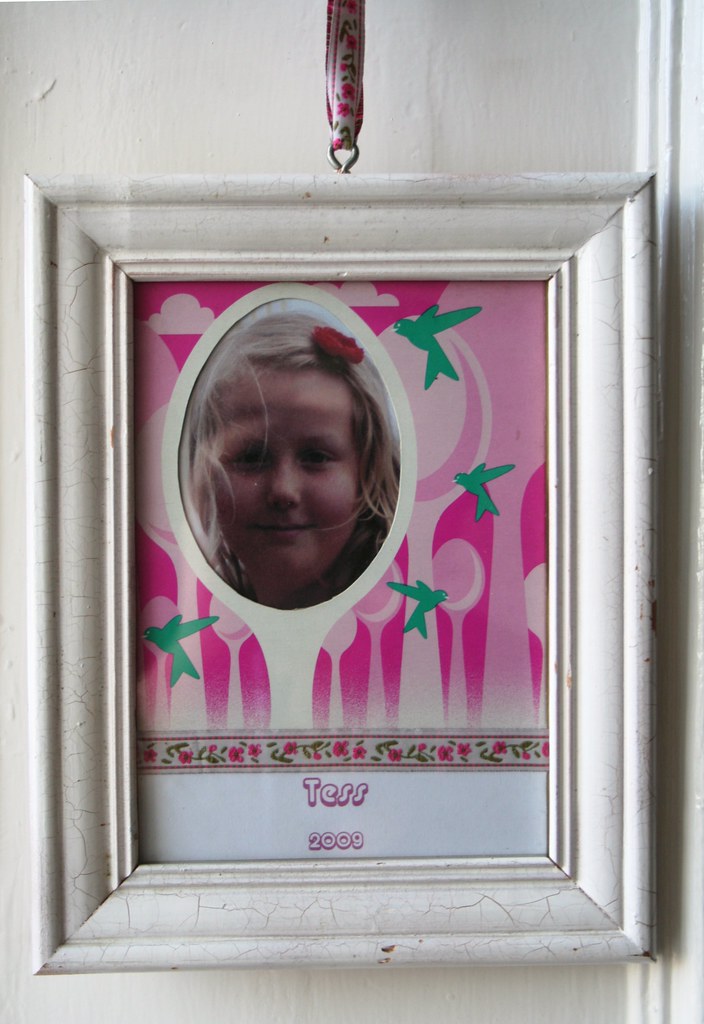
I trimmed the front of the box and then cut out the "spoon". The opening created exactly the right size and shape for a sweet little portrait. Next I printed out a recent picture of my daughter and cut it the right size to fit behind the opening.
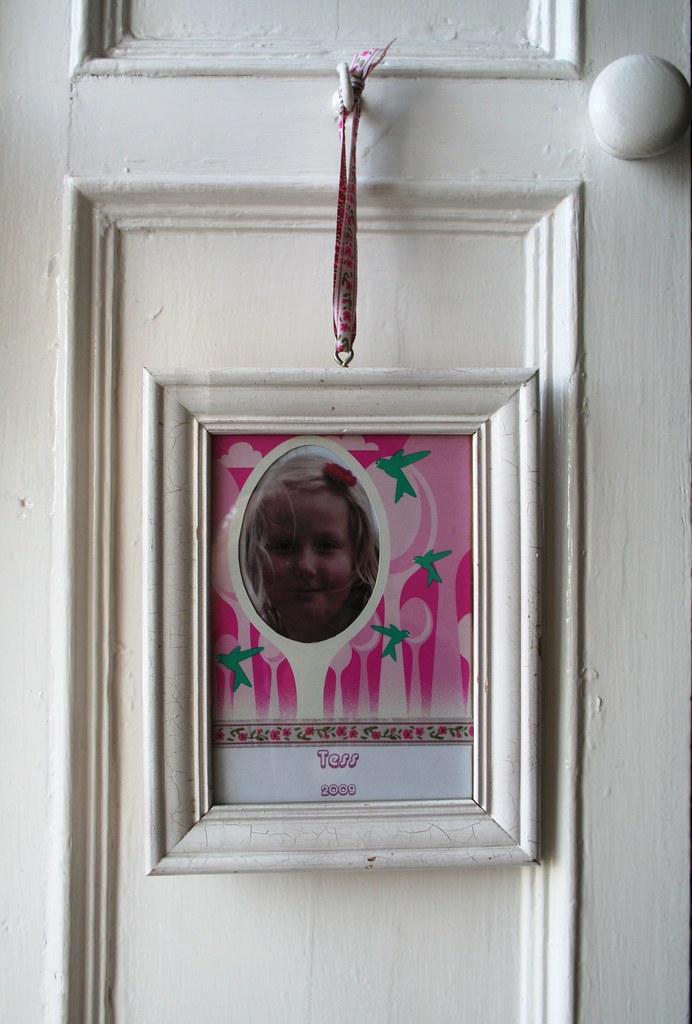
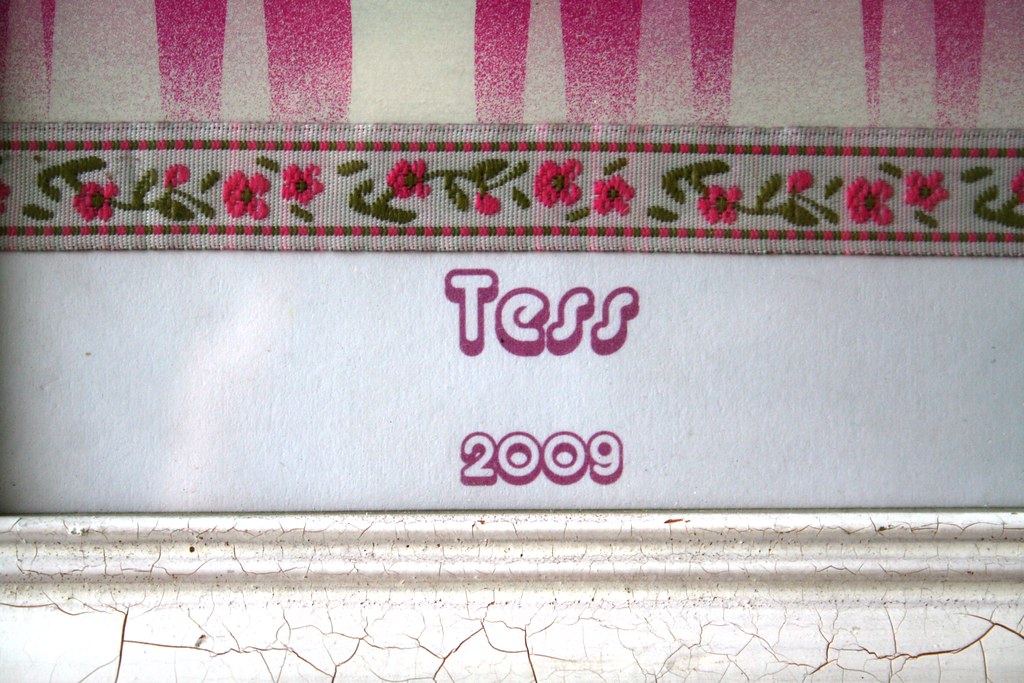
I also had to cover up the writing at the bottom of the design, so I simply printed out my daughters name and the year her photo was taken and glued it over the writing. It looked a bit bare like that, so I embellished the picture with a bit of ribbon that I had at hand. I actually used some nifty glue dots to stick it over the picture.

I had an old white frame the right size at hand. And presto! A sweet little portrait to hang up in my daughter's room. Ooops, I have just remembered that she doesn't like pink. Well, maybe she'll graciously overlook that...

Best,


Linking to


DIY Day @ ASPTL