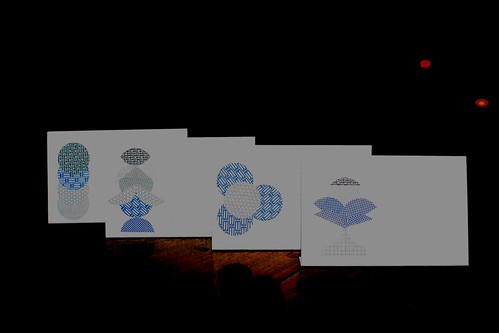
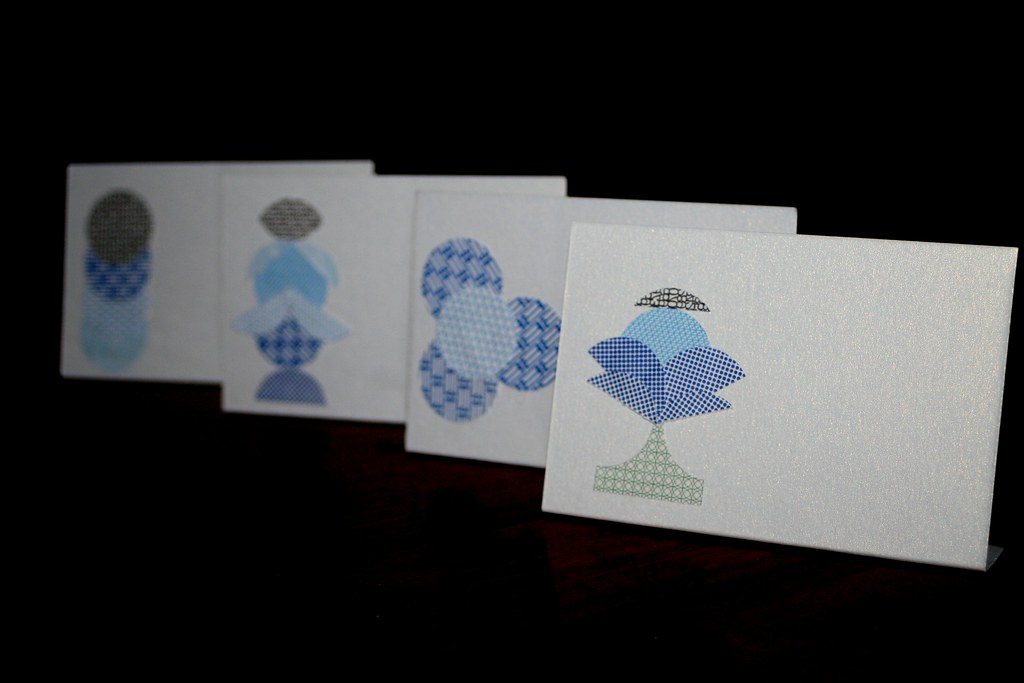
I had promised to come up with a few posts in which I was working with the same material. Unfortunately I was really busy this week, sometimes not getting to sit at the computer nor even do some crafting. However, I finally finished another project with the security envelopes.

 Essentially I made security envelope envelopes *grins*. I cut out little rectangles, folded them over and cut a little triangular flap. Then I made a little cut into which the flap can be pushed to keep the envelope shut. The last bit was sewing the sides of the envelope together. You could also glue them, but I liked the effect of the stitch on the paper. Charming little envelopes for a cute message to the boyfriend...


 Are you sometimes frustrated with your large wallet, stuffed full with credit cards, supermarket clubcards, insurance contact details etc.? I am and I don't always want to carry the whole, bloody thing with me. Instead it easier to keep cards in a little protective cover. Following the same principle as above I also incorporated the envelope windows so that I can see which card is inside the cover. I used a circle punch to make a little dent at the side for easier pulling out of the cards. You could also use these as business card holders.

 I am the sort of person who is prepared for any eventuality. That is why I always carry a few stamps in my wallet. (You never know when the urgent need to send a postcard overcomes you...) To stop the stamps from getting folded and smudged, I made a couple of little stamp holders.
When I made the place cards the other day, I had some circles and paper left over which I used to make a card. Here it is in its custom made envelope: You see, lots of fun with some every-day-paper. And that's not all. There is another post to come with security envelope projects. Soon!!!
 Interesting, what you can be inspired by. I recently went to see a funny and really entertaining Noel Coward play in the theatre. Even before the play started, the curtain was up and I could admire the beautiful stage setting. As opposed to the usual sparse stage design, here was a rather detailed 1920s art deco-inspired drawing room with a grand piano, arm chairs, a bar, shelves with books, mirrors etc. Particularly a floor lamp caught my fancy - and reminded me of a beautiful old floor lamp which my partner inherited from his grandparents. Inspired by what I had seen I decided to make a lampshade to go onto the art deco lamp stand.
When we found the lamp it still had a shade. Over the years, however, the shade somehow lost its fabric and became a battered old skeleton of its former glories. It actually ended up in the garden (see above), to be used as a wire trellis or climbing aid. I rescued it, washed it and sanded it down.

 The plan was to make one of those fantastic tulle-covered lampshades with crystals hanging inside. I had some ready-made net curtains which were exactly the right material. Except they were shiny silver coloured, not black. I tried to dye them, but the synthetic material didn't take the dye. So I had to work with silver tulle. I cut the material and then pleated it, not very neatly, as is my impatient habit.
Then came the difficult part: covering the lampshade skeleton with the fabric. I actually did that with the sewing machine, by fastening the fabric with clips and then sewing on the lower rim of the shade. The upper rim had to be hand-sewn. I used some silver thread for that and it was actually easier to sew regular stitches than I had thought.


 The real stars of the shade, however, are the crystals that hang inside and sparkle in the light. I got hold of some large plastic crystals in a German crafts shop and also used lots of small transparent beads from my eclectic bead collection. Together with my daughter I strung the beads and crystals on nylon threads.
Ready! The shade definitely looks handmade - a bit irregular and improvised. But hey, it'll do for a while. Unfortunately the old lampstand is not rewired yet, so I just took a picture of the shade on another floorlamp to show the finished project:

Back from holidays myself and my daughter couldn't wait to get our teeth into the next project. Well, not our teeth, but our fingers, really. So we sat down and made a couple of bracelets.  Nothing new, really. The idea is rather old - I had started making one of bracelets years ago and never finished it. But WARNING - it is a very fiddly business. In fact so fiddly, that in the middle of it I had this growing lump of frustrated energy inside me and I had to get up from the project, jump up and down and scream a bit, to calm down again. Me, strange? Nooooo!

 We used some small, girly pink safety pins, little beads, slightly larger beads and some elastic band. The bracelets are designed for two little girls, so we used 20 pins and about 80 larger beads as well as four 10cm lengths of elastic band for their slender wrists. First we "threaded" the little beads onto the safety pins.

After that we threaded the pins and the beads in a regular pattern onto the elastic band. For maximum effect make sure you thread the pins in such a way that the "beaded" sides are all facing the same side of the bracelet! At the end we simply tied the elastic band with two double knots.
And voilá, two little girls very happy! And a mother who was quite impressed by the patience that the otherwise impatient little daugther displayed.

 I am cheating today - no real craft-blog, but a quick note to say that I am back from my two-week holiday. It was fantastic - visiting friends, travelling from hostel to hostel, seeing new places, enjoying the gorgeous sunshine, eating nice food, drinking refreshing beer. And being inspired by the things around me.Back in town, my fingers are itching. I want to get back into craft mode, but have to organise a few things first. Plus I need to catch up with all the great crafts blogs which I follow myself.Cheerio!
 Today's project is already a good few years old. As old as my daughter, actually. And therefore please excuse the bad quality of some of the pictures. They were made in pre-digital times. Aeons ago, so to speak. But baby projects have come back to the top of my list. Noooo - don't congratulate me yet *haha*. Not me, but some of my dearest friends are in the middle of procreating. So Sonja is busy thinking up little pressies...
Back when my daughter was a tiny tot, she would lie on the bench in the kitchen and keep us company while we were having meals. But she sometimes got bored, because lying on her back there was not much to see. I eventually decided to make her a simple paper mobile which would softly move and keep her entertained. It occurred to me, though, that most mobiles are actually not very cleverly designed - they are meant to hang above baby cots or changing mats. Yet when you look up, the paper shapes hang vertically and therefore you only see a small strip of paper but not the shapes. Sonja revolutionised baby mobiles forever with her simple design.
I cut out a daisy shape from a piece of strong, white cardboard and stuck a round bit of yellow paper in the middle.  Then I made lots of butterflies from safety needles and colourful card. Thread some small beads onto the safety needles. These needles will be the butterfly bodies. And they provide a bit of weight so the butterflies can flutter prettily.
For the butterfly wings simply fold over a piece of card and cut out the shape. Important: You have to make sure that the safety needle will fit around the middle of the paper butterfly, or to be exact: around the fold line. Just put the safety needles around the butterfly shape and fold the card butterflies open. Then attach a piece of thread to the side of the needle where there are no beads. Attach the other end to the petals of the daisy. And voila - there is a 3D mobile for baby which is actually visible from below!

 For years and years I collected broken and left-over tiles because I wanted to make a mosaic tabletop sometime. I eventually forgot about my collection of mosaic pieces after I had shoved them into a cupboard and firmly shut the door on them. When redecorating our house I had to delegate my former desk into the garden. And it was then that I remembered my former mosaic plans. With the able help of my partner - who is always great when I need to do the "rougher" part of crafting - I made a lovely new tabletop which now has pride of place in the garden.
My partner built me a simple "frame" into which I was to lay the mosaic. Meanwhile I broke up the tiles into small pieces. (Take an old pillowcase or fabric tote-bag and bash it with a hammer. Or take it outside and hit the walls with the bag. Honestly - not only works but can also have a therapeutic effect on you!) Before setting the mosaic in cement, do lay the pieces on a template! I know - time-consuming and annoying. But it will give you an idea whether you have enough pieces, you can try various designs and you can move them around and experiment with the best fit.
Then set up your mosaic top. I would suggest that you lay the mosaic in stages. I had especially fast-drying cement and had to work really quickly so that the cement didn't set before I had transferred all my mosaic pieces. So cover only a bit of the table at a time with cement - thick enough to stick the pieces in. Don't push them in all the way, let them stick out a bit and create gaps between the individual pieces. That's where you will later spread the grout. Some of your tiles may have been thicker than other, so also make sure that the pieces are all flush, otherwise your tabletop will be uneven!
Once you have arranged all your pieces in the cement, you will have to wait for it to dry. Allow for as long as your cement instructions advise you. Only then mix the grout and fill the gaps with it. Again, let it dry as instructed and then clean off the surplus with a soft, wet sponge.
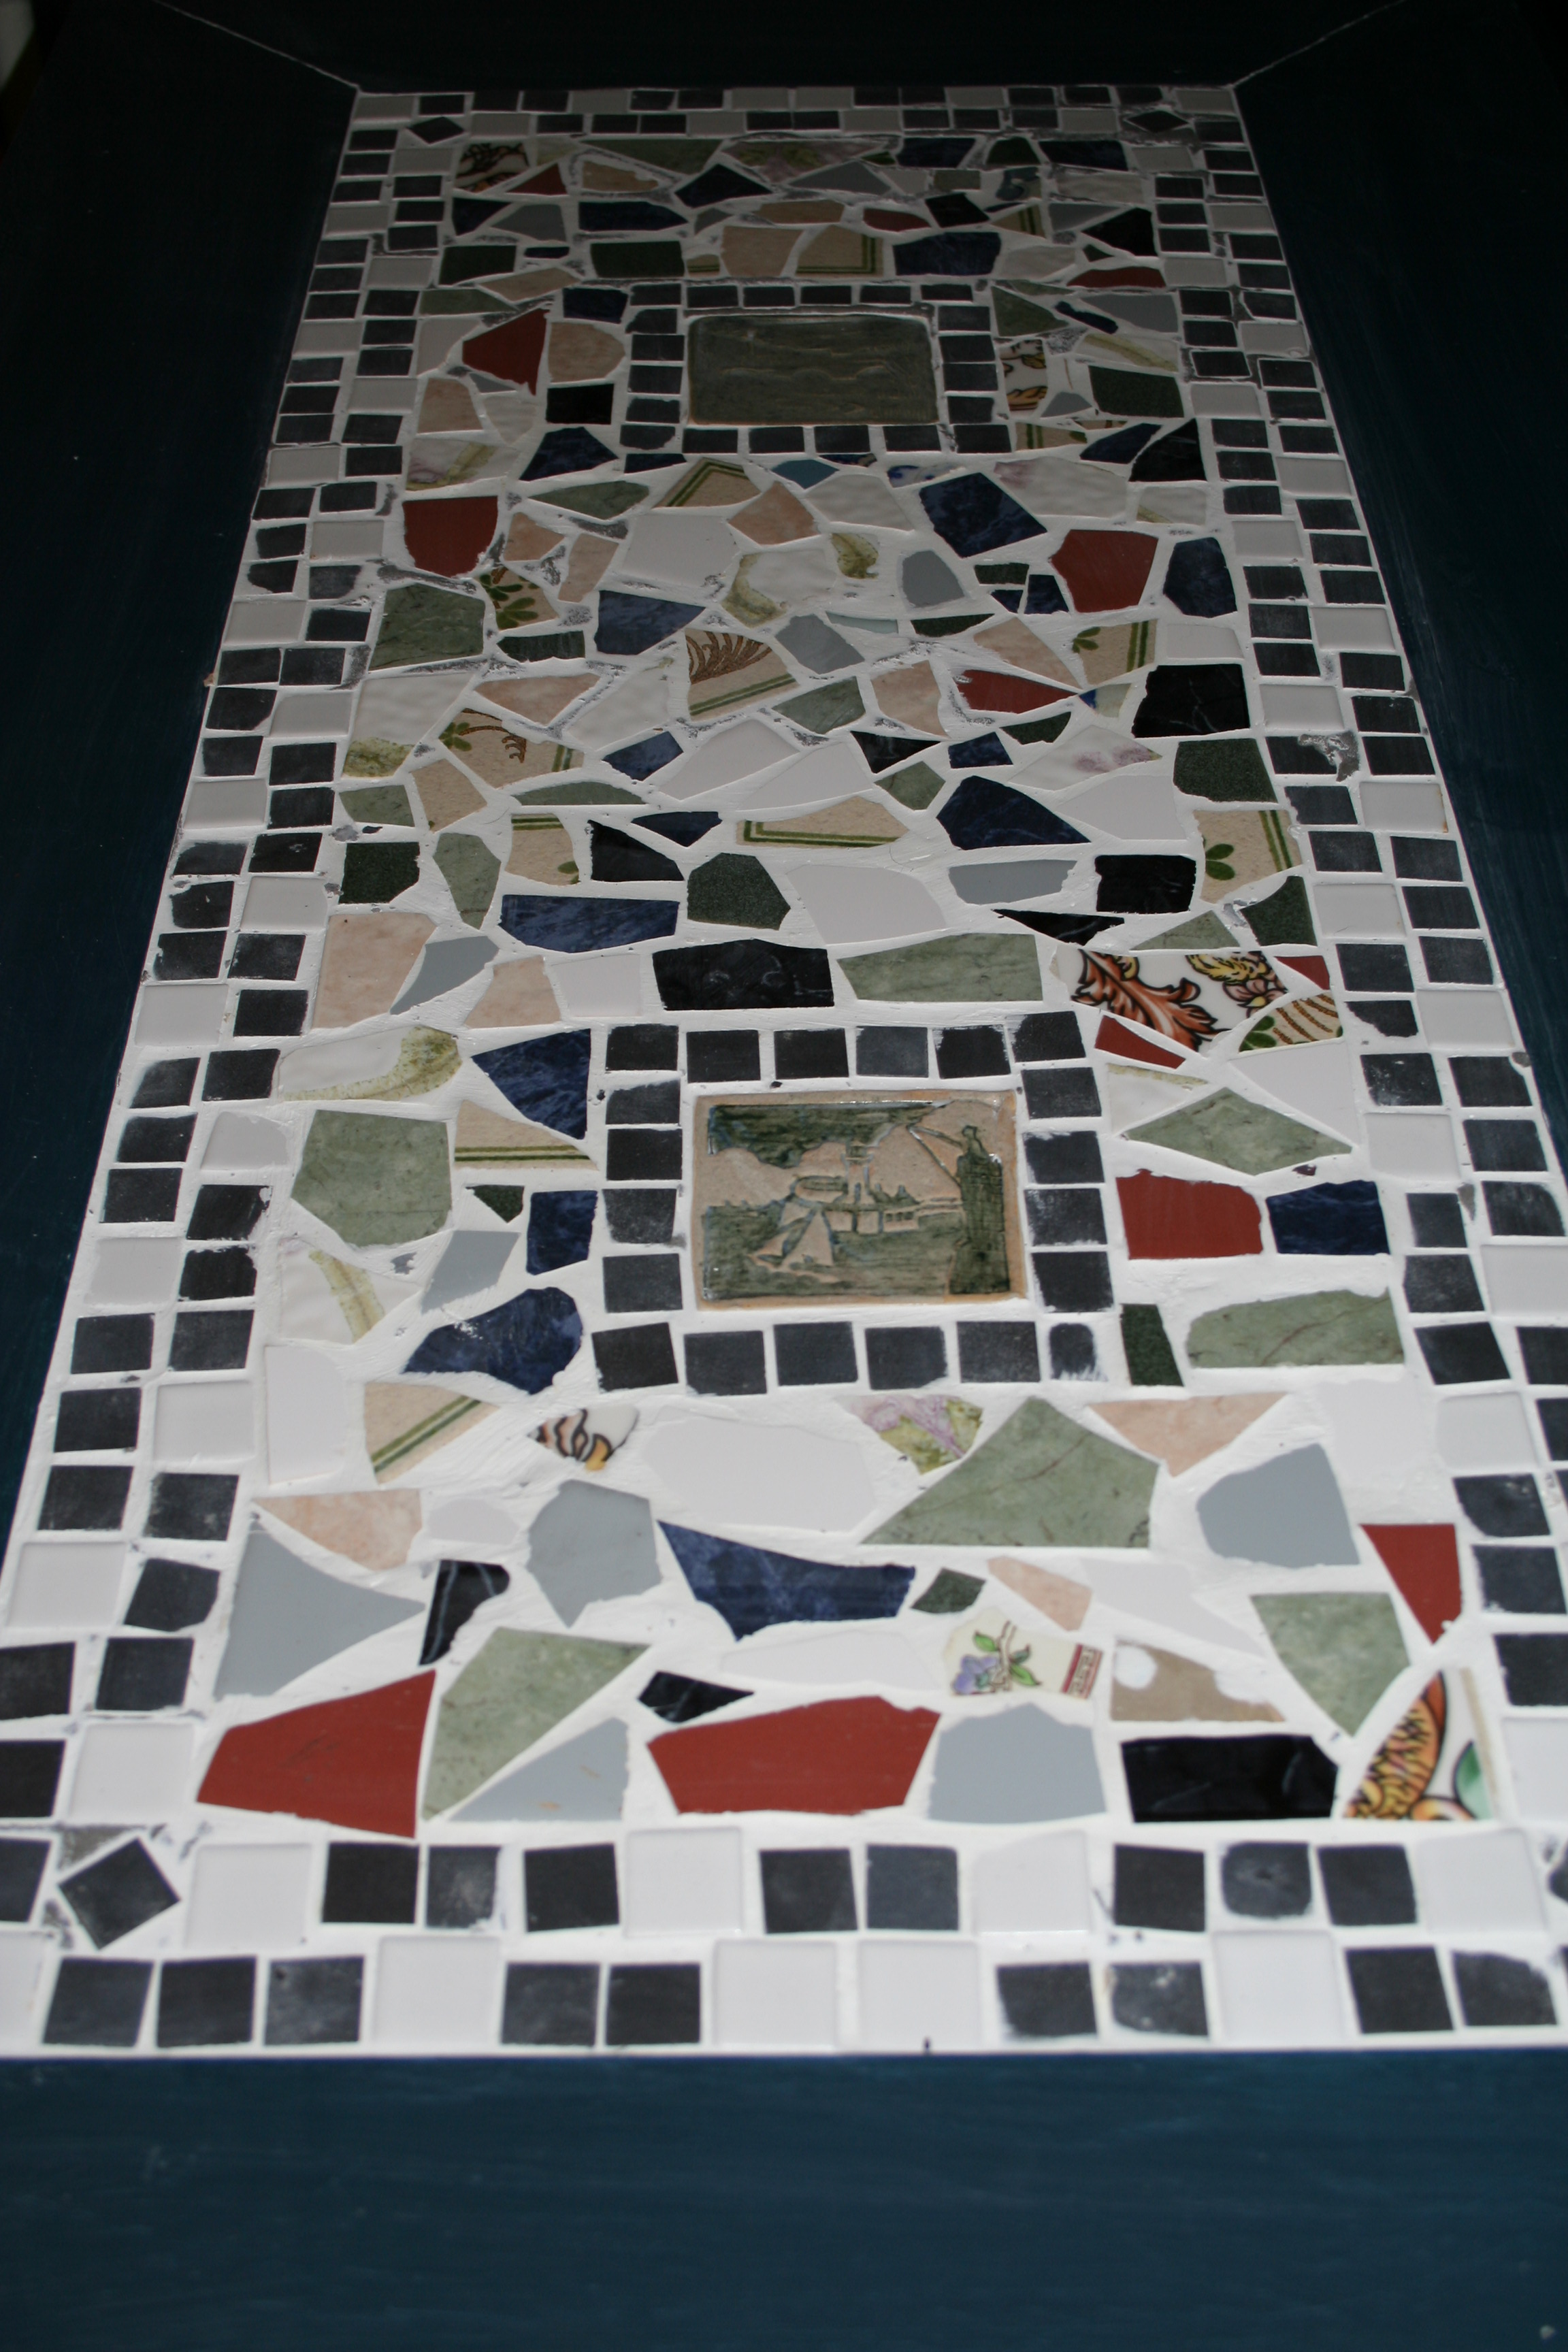
My tabletop incorporates not only bathroom tiles from my parents' house, but also broken china pieces and some handmade pottery tiles from my partner's aunt which were finally given their proper place.

 I bought a pad of tracing paper in my stationer's. The tracing paper is size A4 and 112 gsm, basically the thickest tracing paper I could get. I simply printed some of my favourite photos onto the tracing paper which I had cut to size beforehand.
 In order to make your lantern glow, just pop a nightlight into a glass votive and then carefully slide the lantern over it. Make sure the nightlight sits in the glass and there is not an open flame touching the paper. - As I didn't have enough glass votives I also used jam jars and wineglasses. Experiment with the right size votive so that
  you avoid the shadow of the glass rim on your image. (See right)