FYI


Showing posts with label star. Show all posts

Sunday, December 18, 2011

Christmas Star XXL

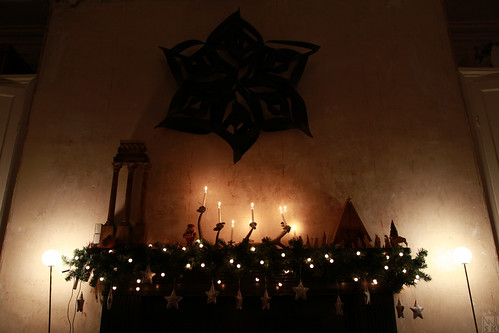
If the title makes you expect to read about some X-Factor loony - either from this side of the Atlantic or the other - who is going to torture our ears endlessly with some tackily re-recorded and Cowell-ised, jingly-belled and synthesized crap, you can stop right here. This is about what you see in the picture below:


Christmas is now less than a week away. I bet everyone is done decorating. But in case you aren't, I intend to show you a few easy, quick and cost-efficient decorating ideas in the last few remaining days until the big one. The picture is my starting point for a few posts over the next week. Yes, I intend to post every day, now that I have been released from the prison called college. And contrary to what you might have assumed, I actually have had my sitting room decorated for weeks (I just have not had the time to show any of it). The picture above shows a few things I wanted to share via my blog. And let me start with my pride and joy, the wall deco.

Wall decorations have been very much in fashion for the last couple of years. And I am not talking paint effects or fancy, shiny wall papers here. Three-dimensional wall decorations are pretty in - from starburst mirrors to quilled flowers to Christmas baubles blue-tacked to the wall. With that in mind I resurrected my favourite Christmas project - and went XXL.

Previously the starting point of the Christmas star was a sheet of A4 paper from which I cut paper squares 21x21 cm size. This time I went double that - 40x40. And used slightly thicker matt black crafting paper that you can buy in A1 size sheets in craft shops. This makes you an XXL star about 120cm long when assembled. So you need a pretty large wall for that. If you want to know how to make a Christmas star, hop over to the original blog post which I wrote a hundred two and a half years ago.

The best thing about this wall deco: It is suitably Christmassy, yet I think it will still look well on the wall when I don't take it down in January. I intend to let this sit for a while. And I don't see why not... ;-)


Best,

Wednesday, December 23, 2009

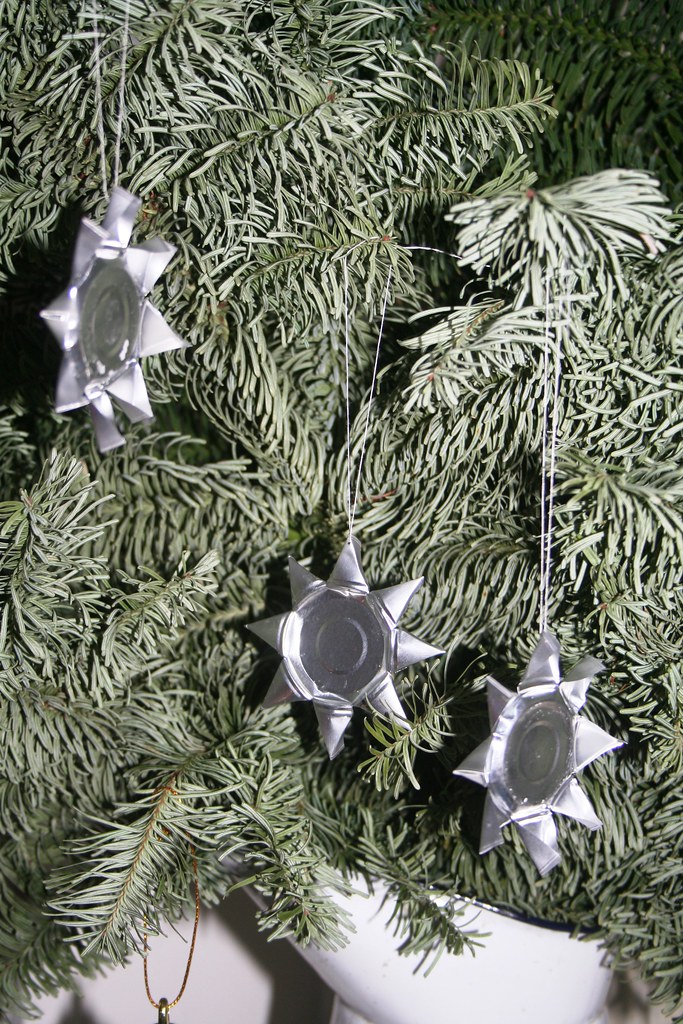
Recycled Ornaments - Nightlight Stars

It's the day before Christmas. (Well, technically Christmas is the 25th of December, but as a child German, the most important day for me is Christmas Eve when we exchange presents.) And I can't believe that I actually have the time to craft something and to post it in my blog... Am I organised or have I forgotten something??? No, presents are bought, sitting room is decorated and presents are wrapped.


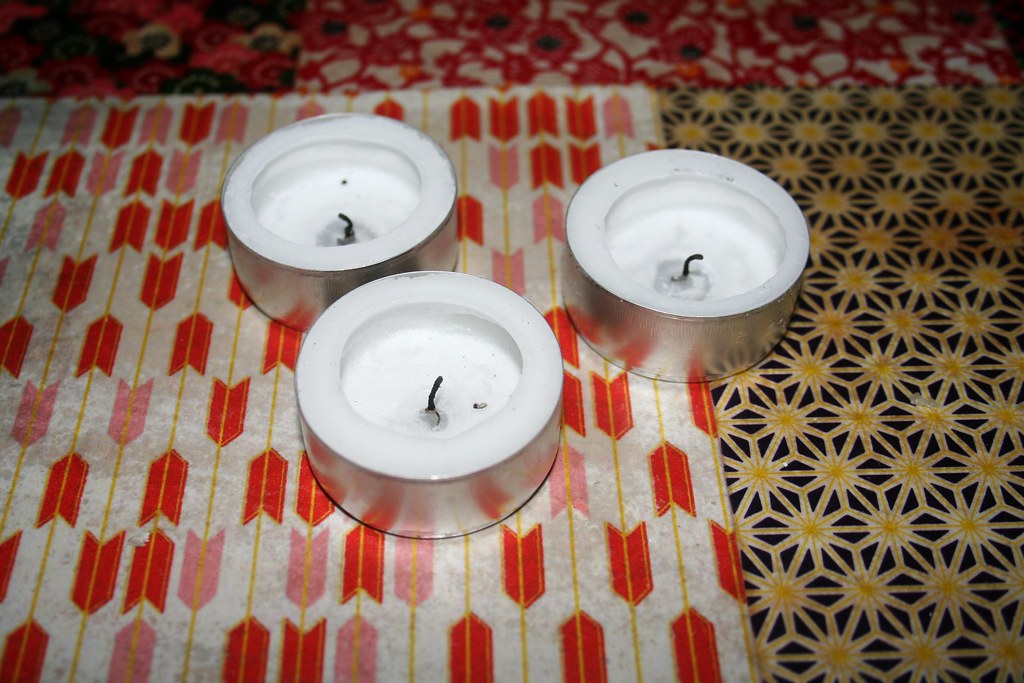
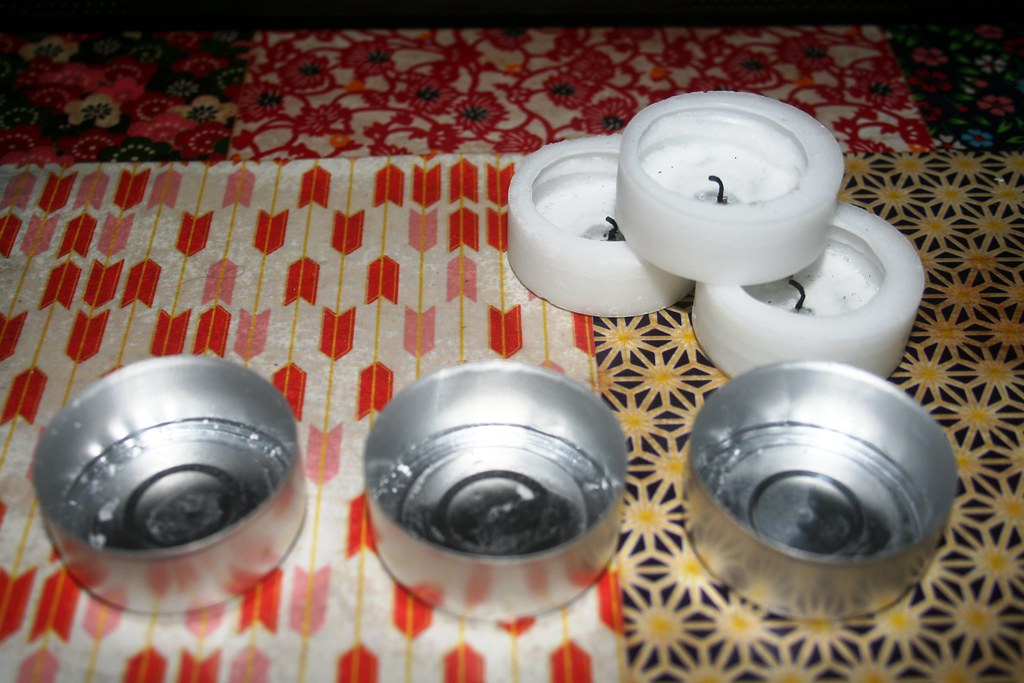
Well, my project is a small one and a quick one. I just made a few nightlight stars. You know those little metal cups that nightlights come in? I have been going through loooooooooooooooads of them recently, as my kitchen advent wreath is decorated with four nightlights. They are lit every time we sit down for a meal, and so we go through a lot of candles. Apart from the fact that my nightlights are not very efficient - they seem to burn out in the middle, leaving a lot of wax behind - it has irked me that I always have to throw out the left-over wax and the metal bits, too. So I came up with a way of turning them into Christmas ornaments.


Take out the left-over wax from the metal holder. If the wax hasn't melted too much, it should be easy to get the candle out and you won't have to clean the holder much.


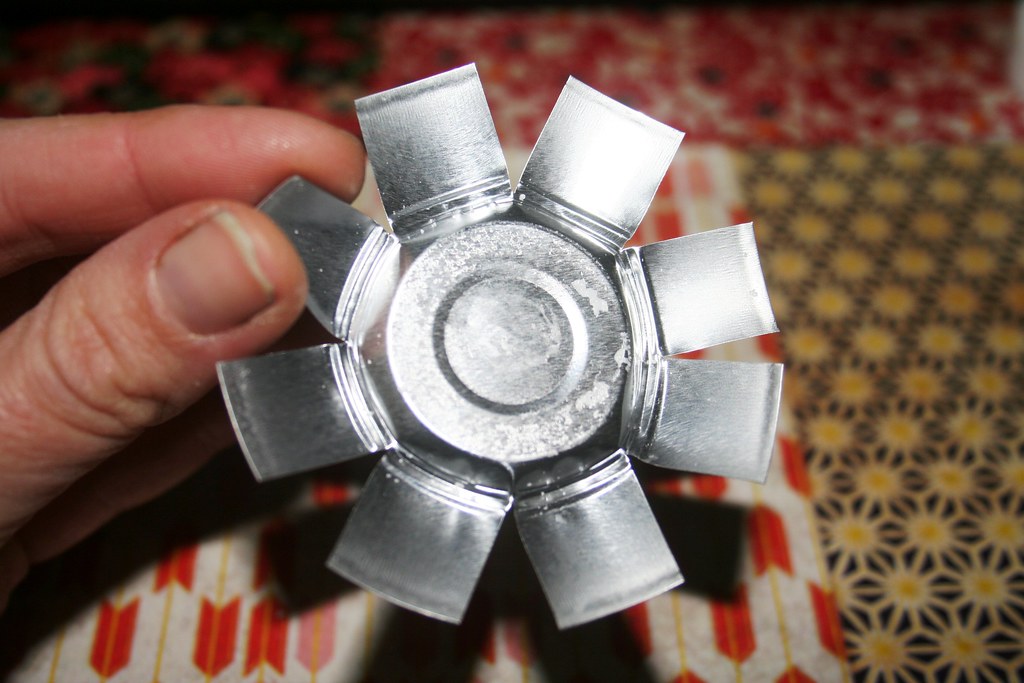
With ordinary scissors cut into the rim of the holder. It is easiest if you start with two cuts opposite each other and then cut three more times, creating eight evenly spaced strips.


Flatten out the holder carefully. You now have a vague sun-shape.


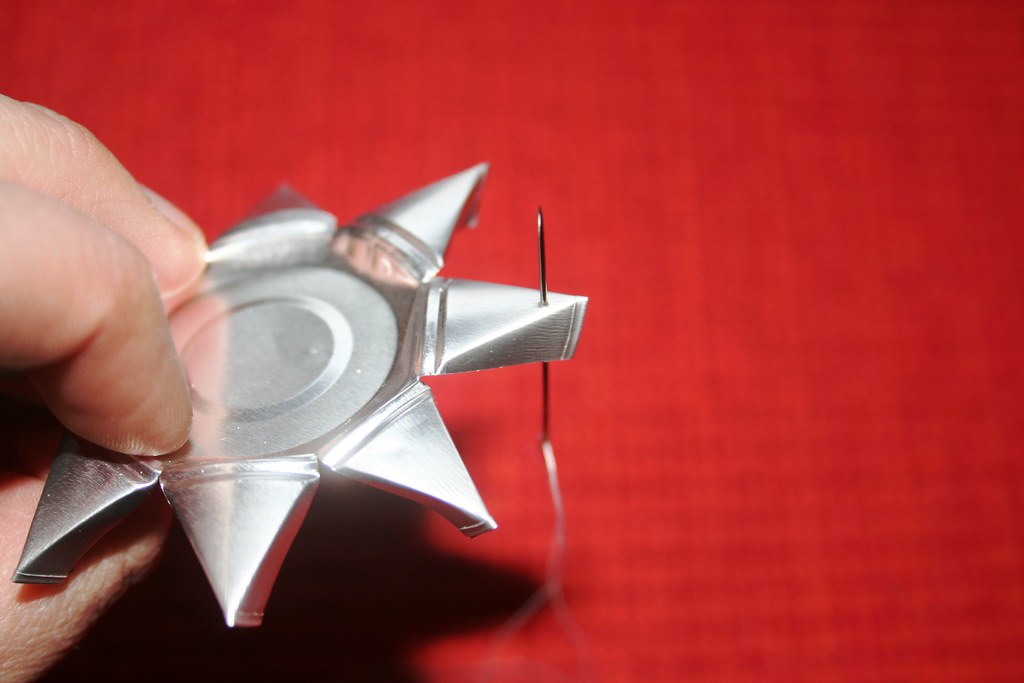
Now take one of the strips between thumb and index finger and carefully squeeze in order to fold up the two corners of the strip. Do it with all eight strips. And you are basically done.


With a needle and thread you can attach a piece of string for hanging the ornament. It pushes through the thin metal fairly easily.

These stars are really simple. And I actually like the three-dimensionality of it. When you hang a few of them together, the produce a faint little "chink" when they touch... almost like the distant bells of Santa's sleigh approaching. (Or that is what I tell my daughter...) Best of all - they are completely free and making use of recyclable material. 


I was featured on Remodelaholic

I was just checking my blog before going to bed and realized, that one of my projects was featured on another blog. And what a nice blog it is... I am very happy to recommend everyone to check out the talented Cassity's blog REMODELAHOLIC


Recycling - reusing - remodeling - all right up my street. For the past while Cassity has been trying out lots of paper Christmas projects. My paper stars fitted right into that and she has given a blog post over to it. Check it here. 

I am particularly taken by her first project in the series, but I also spent a long time reading up on her remodeling posts.

Thanks, Cassity!


Tuesday, December 22, 2009

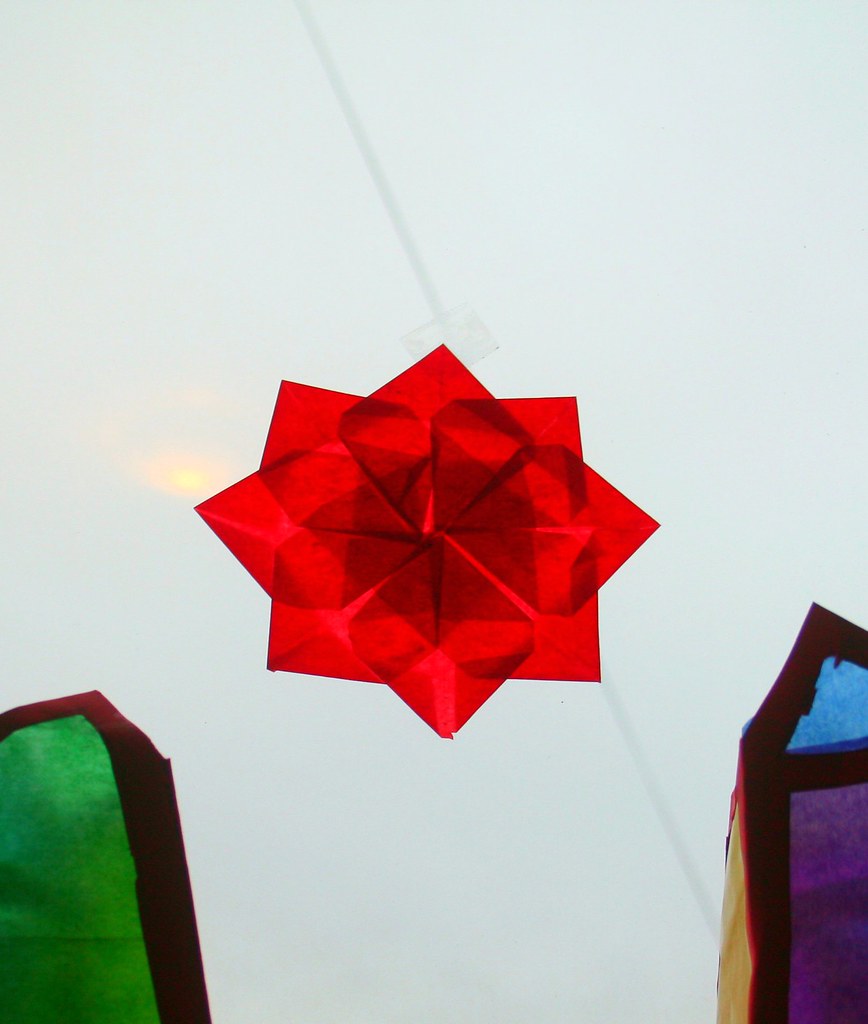
Christmas Window Decoration - Kid Proof

I really had to step away from the internet this weekend - and finally enjoy Christmas time after handing in all my assignments. So I never got round to updating the blog with the post that I uploaded some pictures for on Friday. Here we go - not too late yet for some Christmassy decorating. And you can even involve the kids in this, as it is easy-peasy. 


It was actually my 8-year-old daughter who showed me how to do this. She took some translucent paper and cut it into eight rectangular pieces. (If you want to, you can be all exact and tidy with this - she wasn't and the result was still nice - or is that just Mama's forgiving and proud eye???)


Then she folded them down over to find the middle of the paper. 

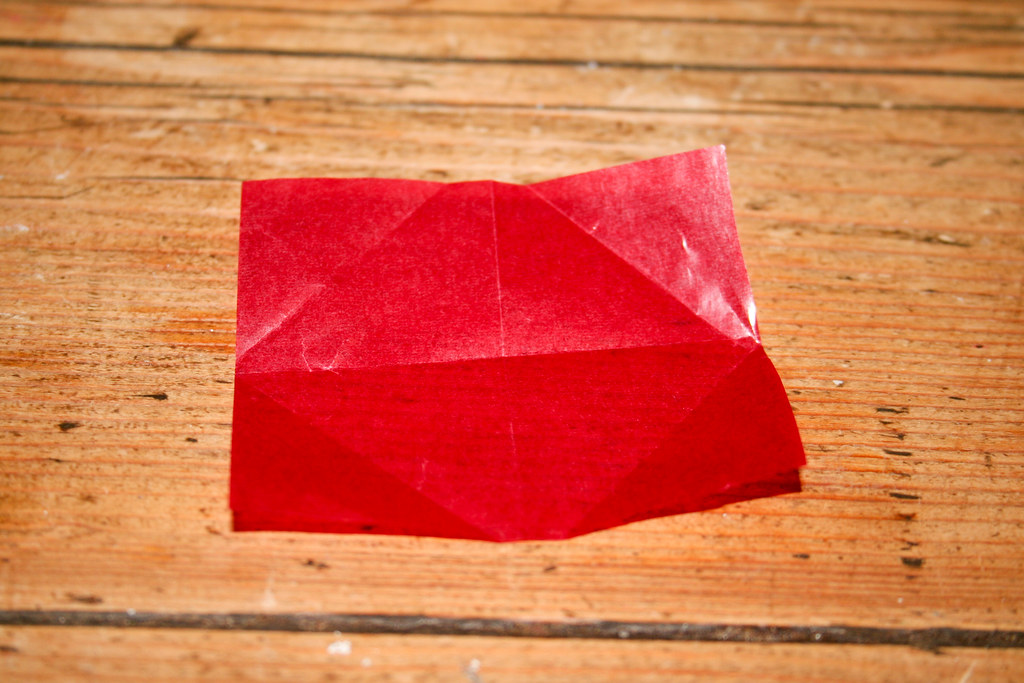
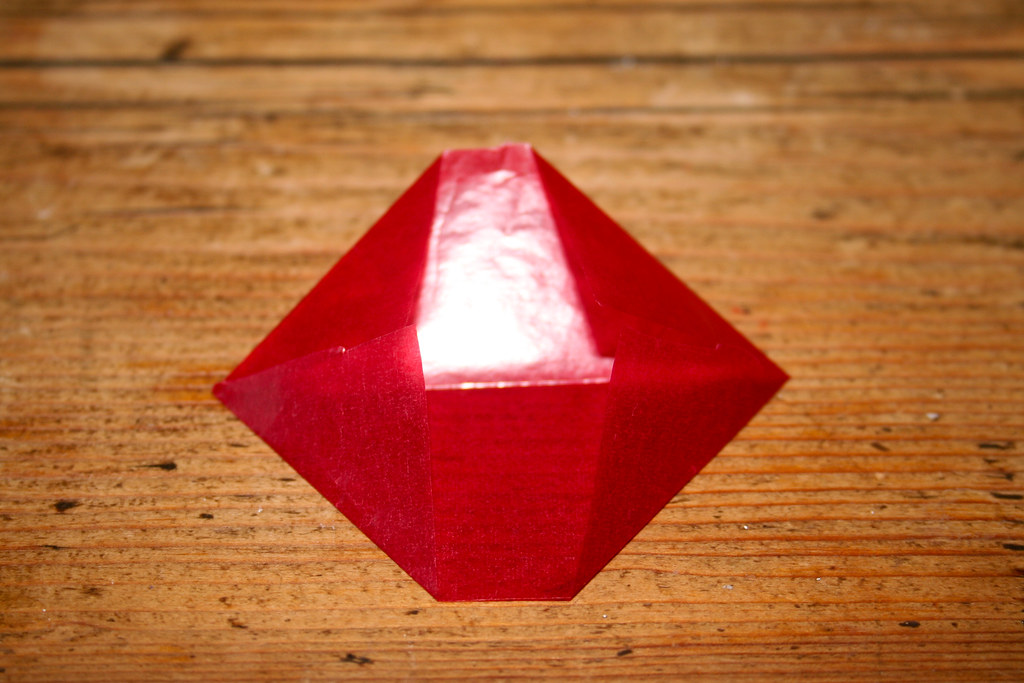
Using the fold line as a guide, she then made pointy bits. Never mind if it looks like in the picture left - the finished project still looks like a star! Fold all eight pieces of paper like this. 
Again using the first, middle fold as a reference point, stick one star piece onto another. A glue stick will work fine. Do this with all eight pieces!


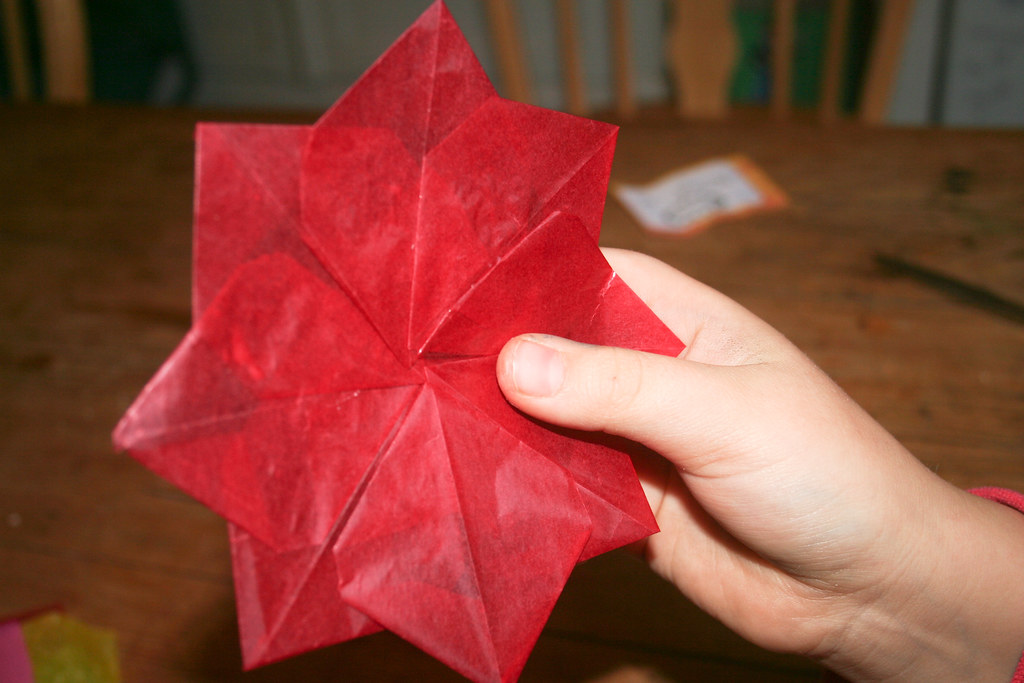
In the end you have an eight-pointed star like this:


While it looks a bit irregular, once you have stuck it against the window, it is quite pretty and the overlapping bits of translucent paper create a nice, regular pattern.


Happy Christmas, everyone!


Friday, December 11, 2009

Delicate Paper Stars


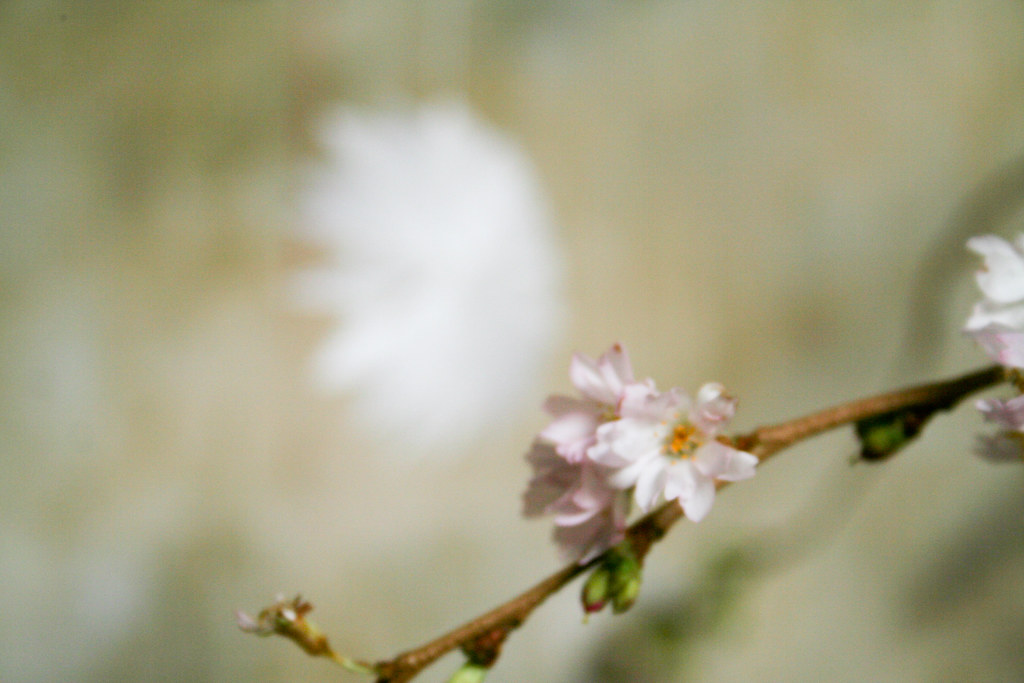
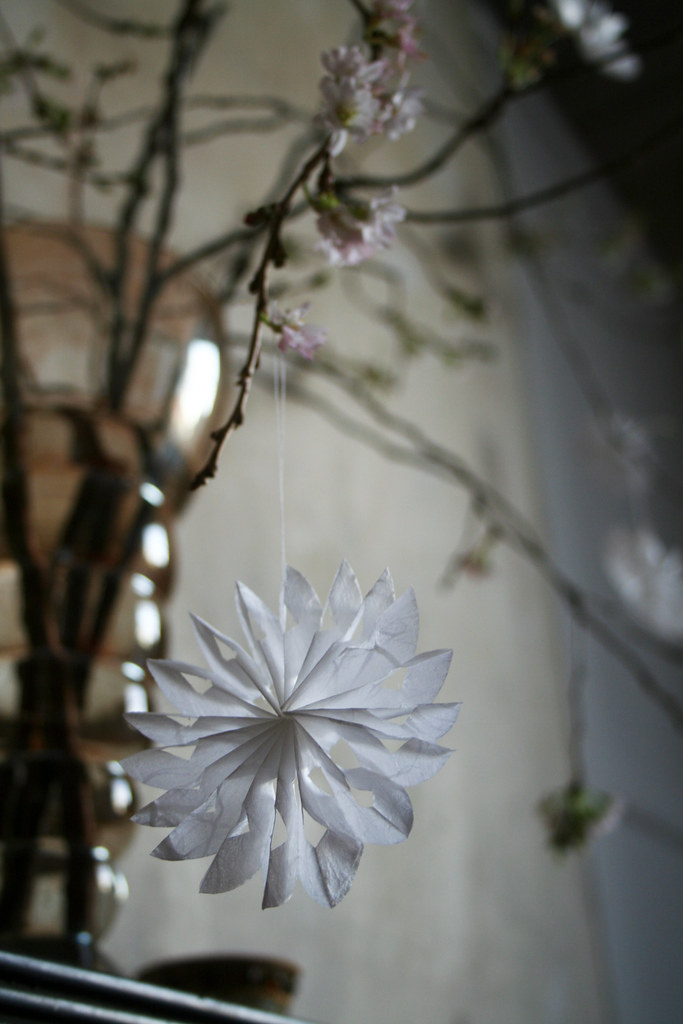
After ten years of living in Ireland, it still amazes me every year that there are plants and trees in bloom around Christmas time, here. And I mean outside, in the garden. This is due to the Gulf Stream, which causes a mild climate on the island of Ireland - or a one-season-year. I call it "sprautumn" - mild temperatures, but strong winds and much rain all year 'round. In February the lack of what I would consider proper winter weather regularly gets me down. And I have given up hope of ever having a white Christmas here. But hey, why not incorporate the blooming outdoors into the Christmas scheme? After all there is a custom we call Barbarazweige in Germany, the "Barbara branches", when you cut branches off a cherry tree on St. Barbara's Saint day, the 4th of December.


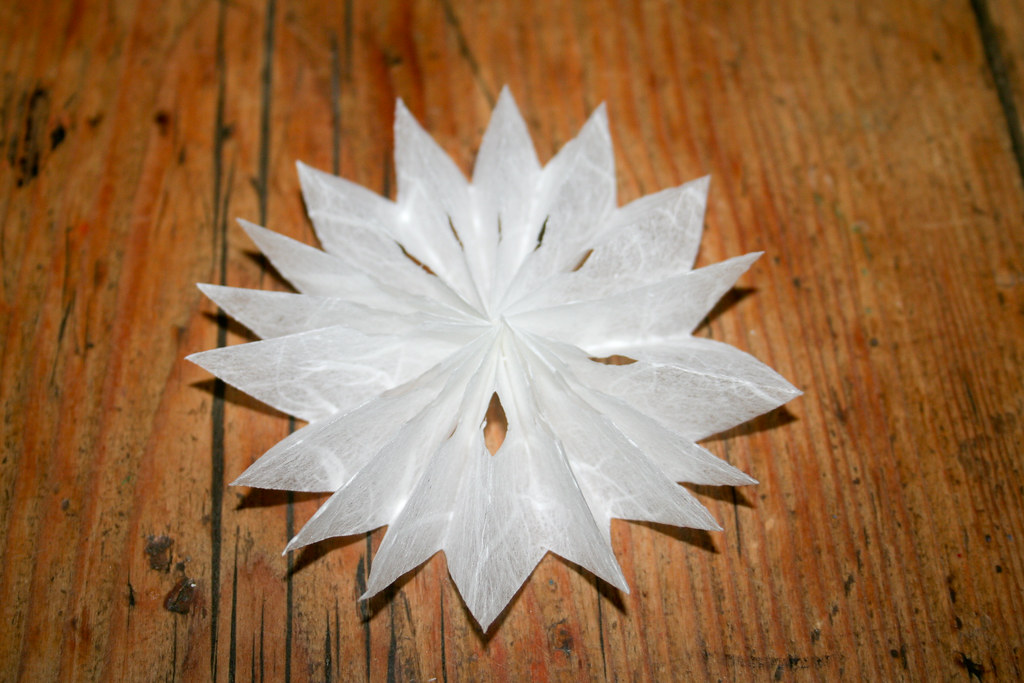
Yes, I know, I have missed that day, but I only needed a little conversation piece to introduce today's project: Making delicate paper stars. This is a last minute project when you realize on Christmas Eve that you haven't got enough decorations to hang on your Christmas tree. Or if you want something new for little money. It couldn't be easier than this.


You need strips of thin paper, scissors, needle and thread, a glue stick, and a punch. My strips of paper were about 3 cm wide and about 40 cm long, but you could theoretically use any width of paper.


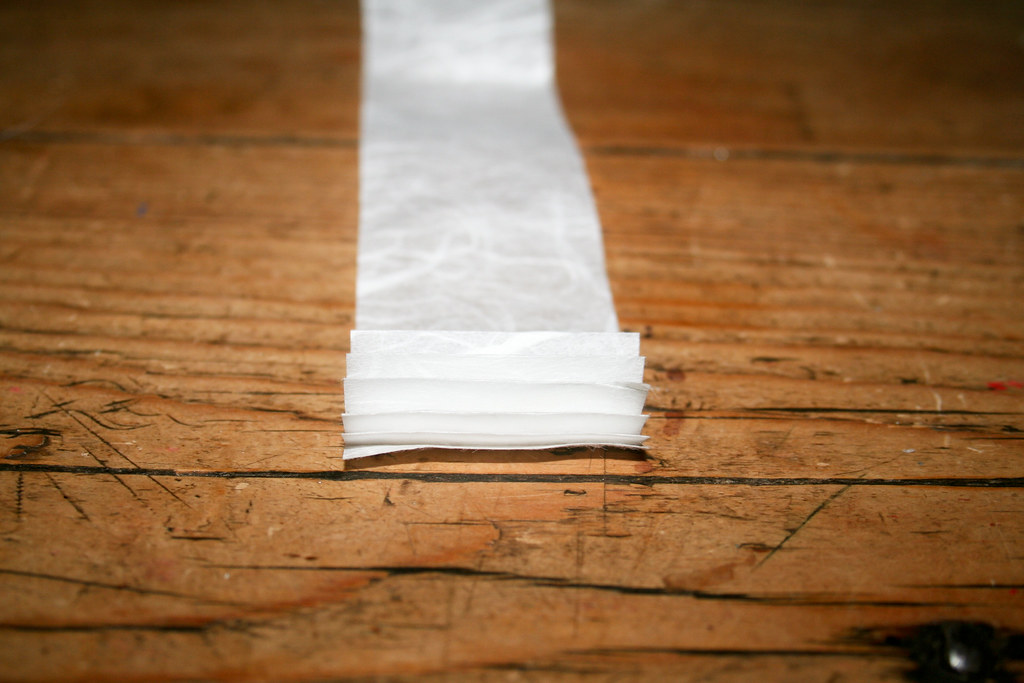
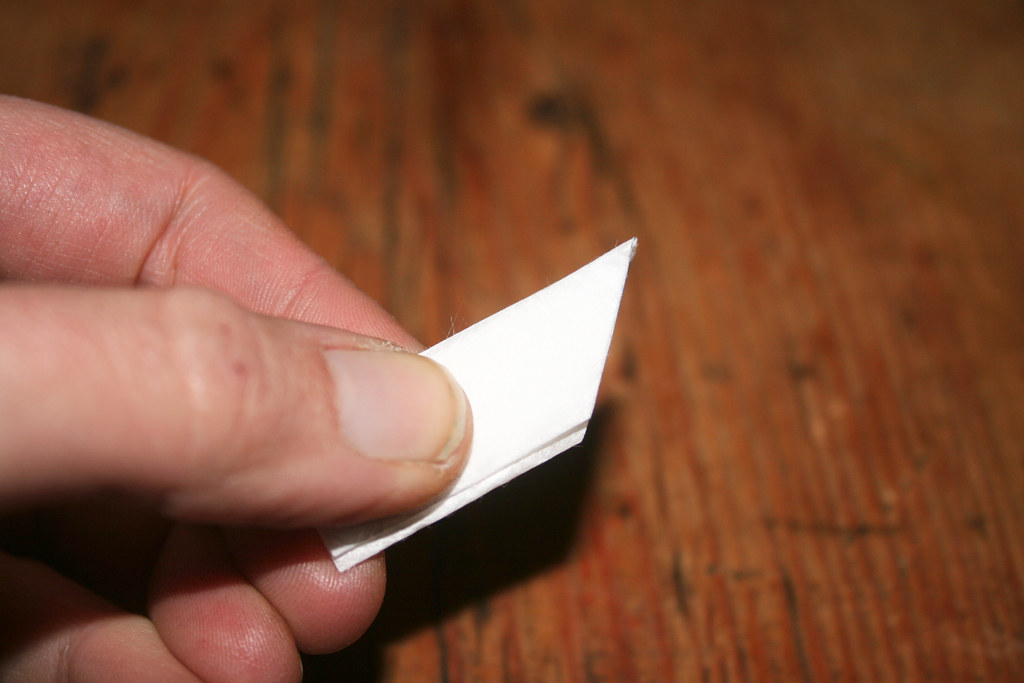
Start off by folding your strip of paper into a concertina shape. Try to fold them regularly and thinly.


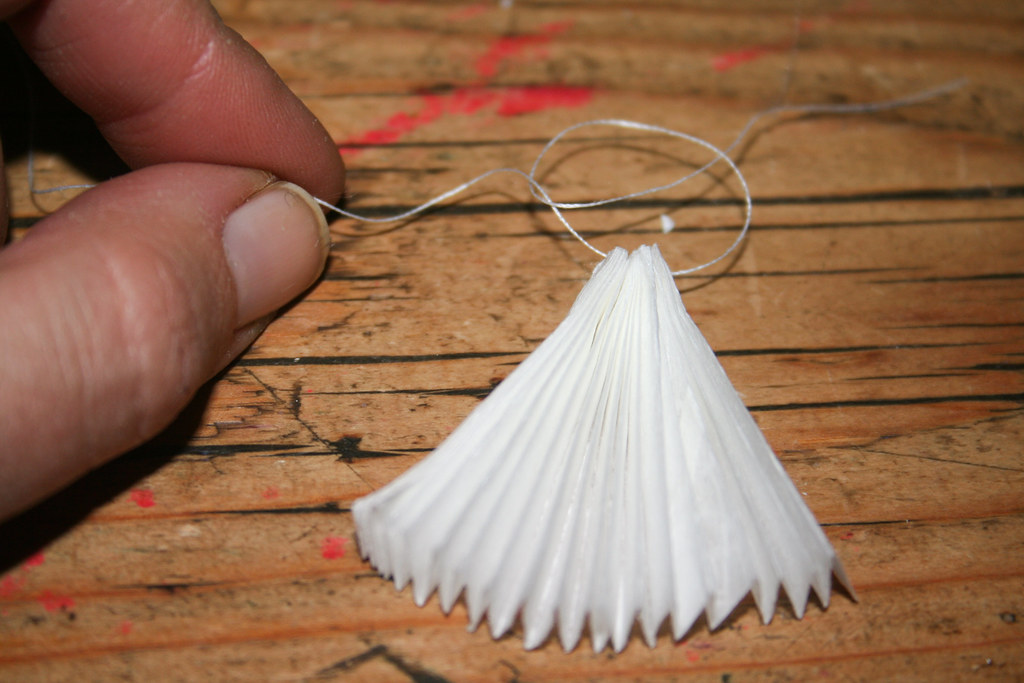
When you are done, take your needle and thread and push the needle through the bottom of the concertina. You may have to push quite hard - use a thimble to protect your thumb.


Now tie two knots. Do not tie it too tight as you will have to have enough space in the knot to later fold open the concertina and make a "rosetta".


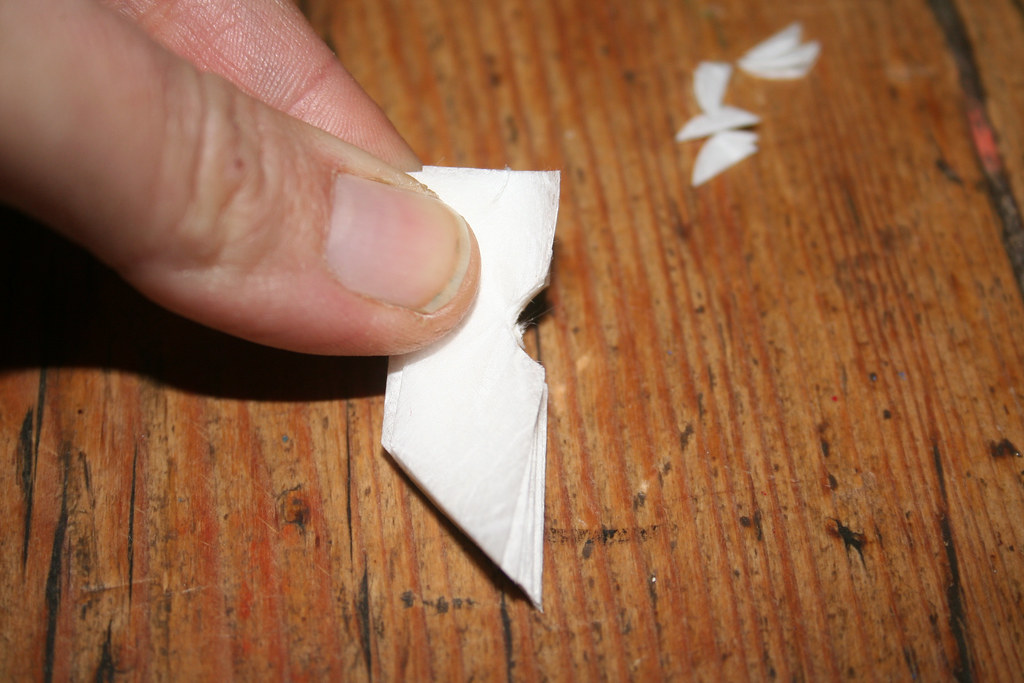
Take your scissors and cut off a triangular shape from the untied side of your concertina so that you have created a pointy shape. (You could also cut a round-y shape, actually.)


If your concertina isn't too thick you can try and cut a semicircular bit out of the concertina by pushing it half way into your punch. Or take the scissors and cut a bit out of the concertina. You have to make sure that you cut through all the layers of the concertina evenly.


Now you are ready to open up the concertina and form it into a circle. (This is why it was important not to knot too tightly - otherwise the paper hasn't got enough space to open up.) Fix the two end bits together with a bit of glue.


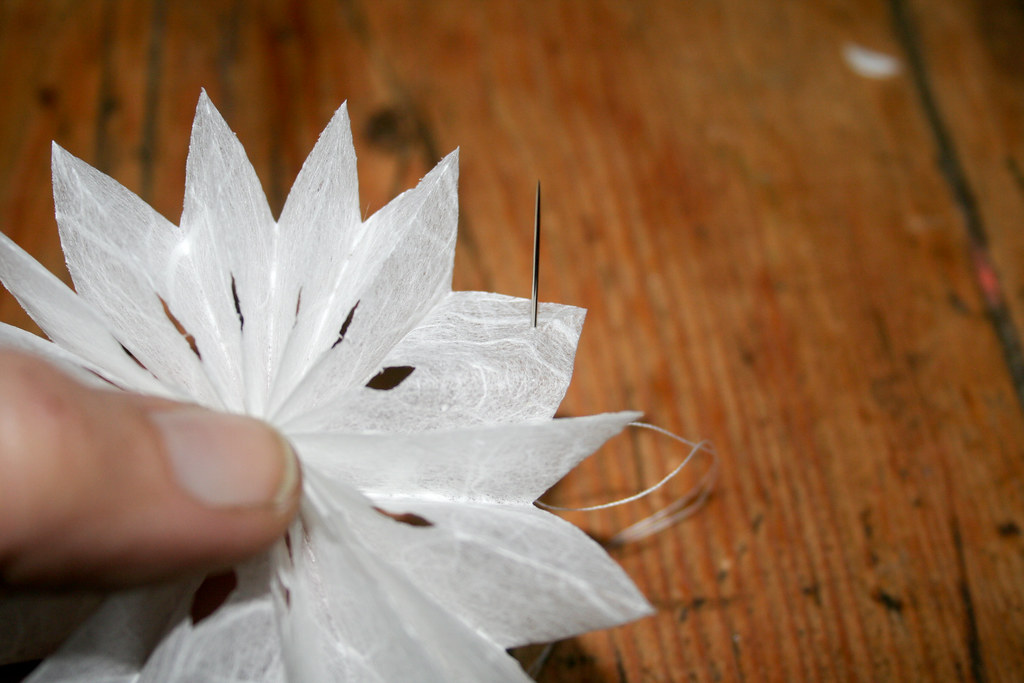
Finally create a little hanger by putting the needle through one of the points and knotting the thread. Done.


Now to get back to my introduction about the Barbara branches: I thought the delicate cherry petals would be overpowered by traditional Christmas ornaments. So I hung the branches with my Christmas stars. The translucent, delicate paper matches the frail blossoms very nicely. They create a bit of white winter, Christmas cheer on a simple flower display.


Of course you could do these also with coloured paper and in all sizes. I would love to make a really large one to hang in my window, but I doubt I can get paper 1,50 m in length... Anyone got some old fax machine paper???   


Wednesday, June 24, 2009

Christmas Star - never fails to impress

Christmas is only 6 months away *eeek*. So let's think about some crafty projects for the next Yuletide season.

Here is a beautiful Christ
mas decoration that looks gorgeous and very complicated but is very easy to make. Plus - it also costs next to nothing.

All you need to make it is A4 size paper, glue and staples.


First of all you need to cut 6 sheets of A4 paper into square 21x21cm.

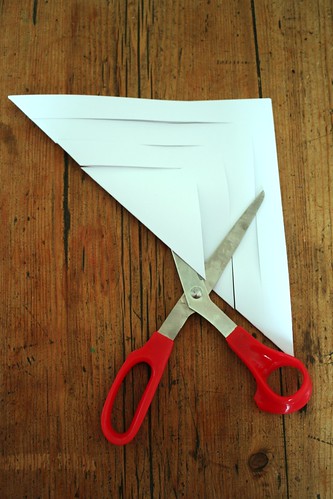
Fold over the square into a triangle and cut 3 lines with your scissors, each about 1 - 1,5 cm wide, paralllel to the short side of the triangle. The cuts should not meet at the end; there needs to be an (imaginary) 1 - 1,5 cm wide strip going down from the point of the triangle to the long side. Look at this pic:
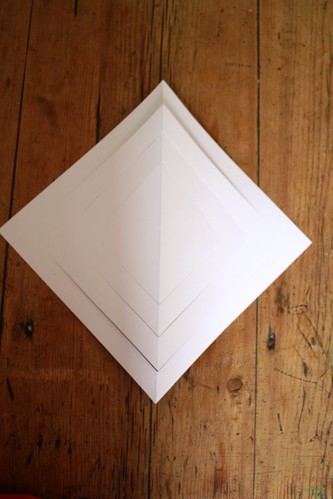
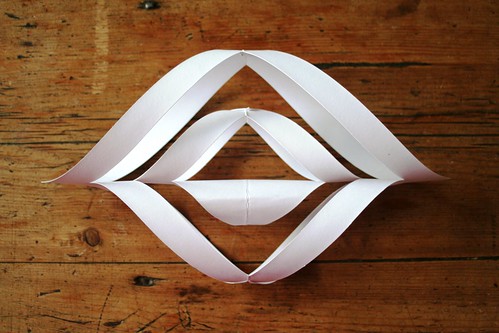
When you fold open, the piece of paper should look like this:Now you bend the cut-out strips over and glue the tips together. (If you are using card board, you probably have to staple them together, otherwise they will not stick.) You have to alternate beding them over to both sides. Difficult to explain in words, so take a good look at the next pic - it is pretty self-explanatory. I paste it in here in bigger format, so you can see properly:The last step is fastening 6 of these individual pieces together. Just place them in a line next to each other and then use a normal stapler to fix them together. Laying them onto a flat surface, form them into a circle and fix the end-pieces together. Staple the top bits in the middle together or pull a bit of thread through the tops to secure them together. And finally just out a bit of thread through one of the star's tips to hang it from.

Looks gorgeous in the window!