FYI


Showing posts with label lampshade. Show all posts

Friday, March 26, 2010

Apologies...

Another "oooops" from me - I am totally snowed under with college work and visitors at the mo. No time for crafting or for writing :-(. I hope I will have a little more time soon. In the meantime, I am resuscitating an old project that I posted in the early days of my blog. In fact, it was this project that initially made me think I should really start a blog and share my ideas with interested crafters. However, I didn't really have much of an audience back then, so I hope that some of you have not seen this project of mine before...

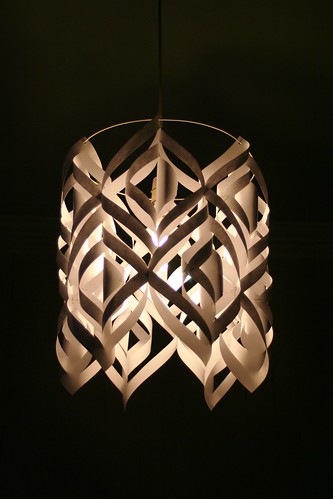
This is my designer lampshade. It has just been featured by The Frugal Designer Rayan on her fantastic website which contains a huge resource library for crafty projects, remodels, decorations, ideas and inspiration. Please pop over to her site and check it out for yourself. Submit your own projects and help build the library if you like. 

The lampshade is really easy to make - you only need some cardstock and staples to make it. It is assembled from 12 pieces which look like this:
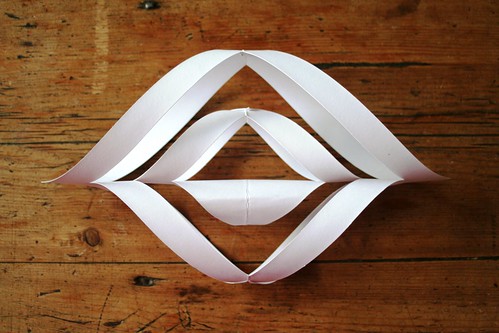

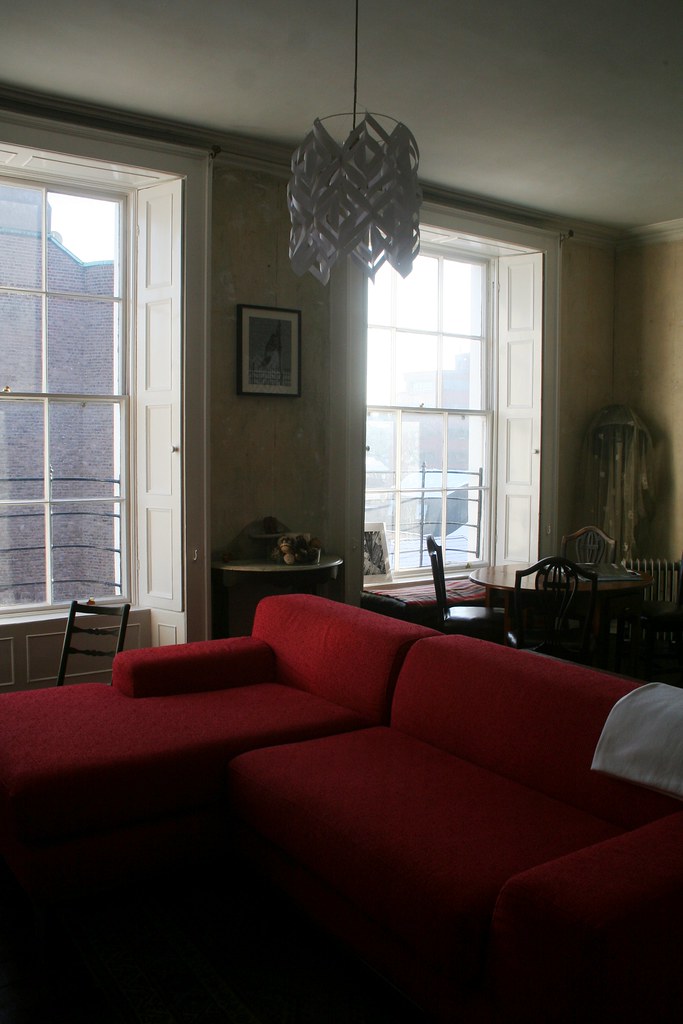
I describe how to make these here. Don't get thrown off by the fact that they are meant to make a Christmas star *hehe*. The lampshades look really nice in my sitting room. See for yourself: 
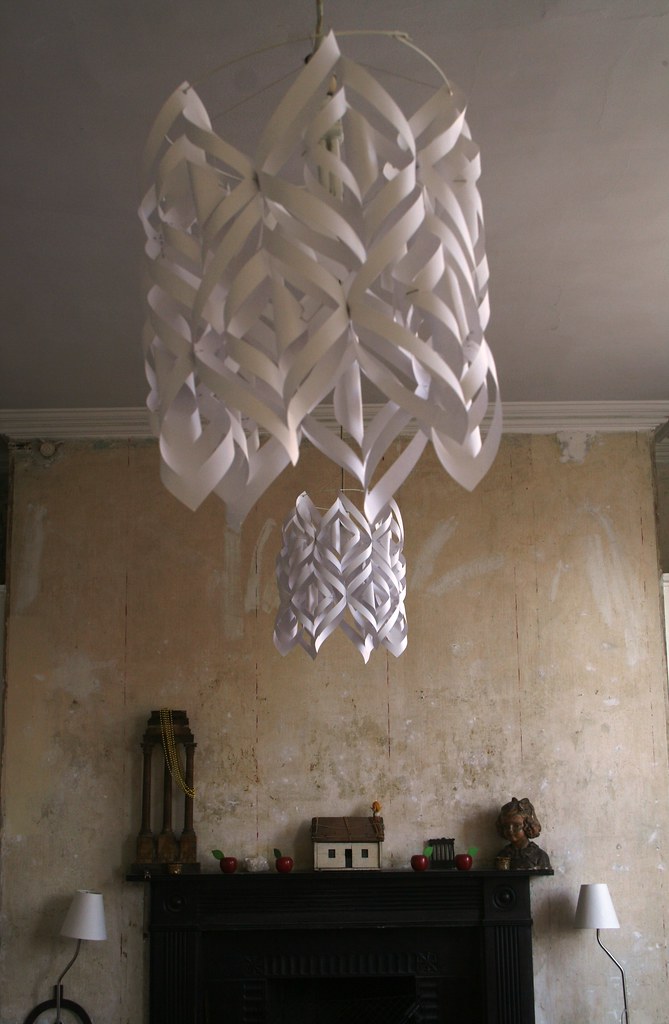

(I can't tell you how much it bugs me that the lamp on the left was not sitting straight when I took the photo *ugh*.) Please check my original post.

Right, back to work and visitors... I hope I'll be able to schedule the blog linking party for tomorrow. AND that it works properly, this time...

Best,

Tuesday, August 11, 2009

Another lampshade

Interesting, what you can be inspired by. I recently went to see a funny and really entertaining Noel Coward play in the theatre. Even before the play started, the curtain was up and I could admire the beautiful stage setting. As opposed to the usual sparse stage design, here was a rather detailed 1920s art deco-inspired drawing room with a grand piano, arm chairs, a bar, shelves with books, mirrors etc. Particularly a floor lamp caught my fancy - and reminded me of a beautiful old floor lamp which my partner inherited from his grandparents. Inspired by what I had seen I decided to make a lampshade to go onto the art deco lamp stand.

When we found the lamp it still had a shade. Over the years, however, the shade somehow lost its fabric and became a battered old skeleton of its former glories. It actually ended up in the garden (see above), to be used as a wire trellis or climbing aid. I rescued it, washed it and sanded it down.

The plan was to make one of those fantastic tulle-covered lampshades with crystals hanging inside. I had some ready-made net curtains which were exactly the right material. Except they were shiny silver coloured, not black. I tried to dye them, but the synthetic material didn't take the dye. So I had to work with silver tulle. I cut the material and then pleated it, not very neatly, as is my impatient habit.


Then came the difficult part: covering the lampshade skeleton with the fabric. I actually did that with the sewing machine, by fastening the fabric with clips and then sewing on the lower rim of the shade. The upper rim had to be hand-sewn. I used some silver thread for that and it was actually easier to sew regular stitches than I had thought.


The real stars of the shade, however, are the crystals that hang inside and sparkle in the light. I got hold of some large plastic crystals in a German crafts shop and also used lots of small transparent beads from my eclectic bead collection. Together with my daughter I strung the beads and crystals on nylon threads.

Ready! The shade definitely looks handmade - a bit irregular and improvised. But hey, it'll do for a while. Unfortunately the old lampstand is not rewired yet, so I just took a picture of the shade on another floorlamp to show the finished project:


Wednesday, July 8, 2009

Designer Lampshade

Ooooh - yesterday was a day without blogging. Even though I only started this blog recently, I already had serious withdrawal symptoms. I couldn't wait to get back to updating my blog. Especially as the following is my "star" project. I absolutely love the outcome of this experiment...

I am in the middle of decorating my sitting room in our Georgian house. There was a bit of a stand-off between my partner and me about the lamps. While he preferred bare lightbulbs (...), I was all for buying a statement lampshade.

As a compromise I eventually made my own designer lampshade. It is actually based on the same individual paper squares as the Christmas star, posted in this blog on June 24th. I wrote detailed instructions on how to make the individual pieces. For the lampshade you need 12 such pieces, a bit of strong wire (preferably white coated) and some nylon thread or thin silver wire to hang it with. You also need a stapler, a punch and some (white) electrical tape.

First follow the instructions on how to make those 12 individual paper pieces. Click here. (This will bring you to the old post.)

Then put 6 of them in a line and staple them together at their widest point, not at the tips, that is. Make sure they all face the same direction to make the lampshade look regular. Also staple the first and the last together so they form a circle. Repeat with the other set of 6.

Next just place the two circles on top of each other, slotting the upper circle into the "gaps". It is a bit fiddly, but then staple the tips of the lower circle into the "joints" of the upper circle. (By that I mean the points, where you stapled the individual paper pieces together when you made them a circle.) That way the two circles should be joined together.

Last you punch holes into the tips of the upper circle, using a punch. Thread the wire through the holes and join the wire together by sticking the electrical tape around it. To hang the shade, knot 4 lengths of nylon thread onto the wire. These 4 wires you can then attach to the cord of your pendant bulb.


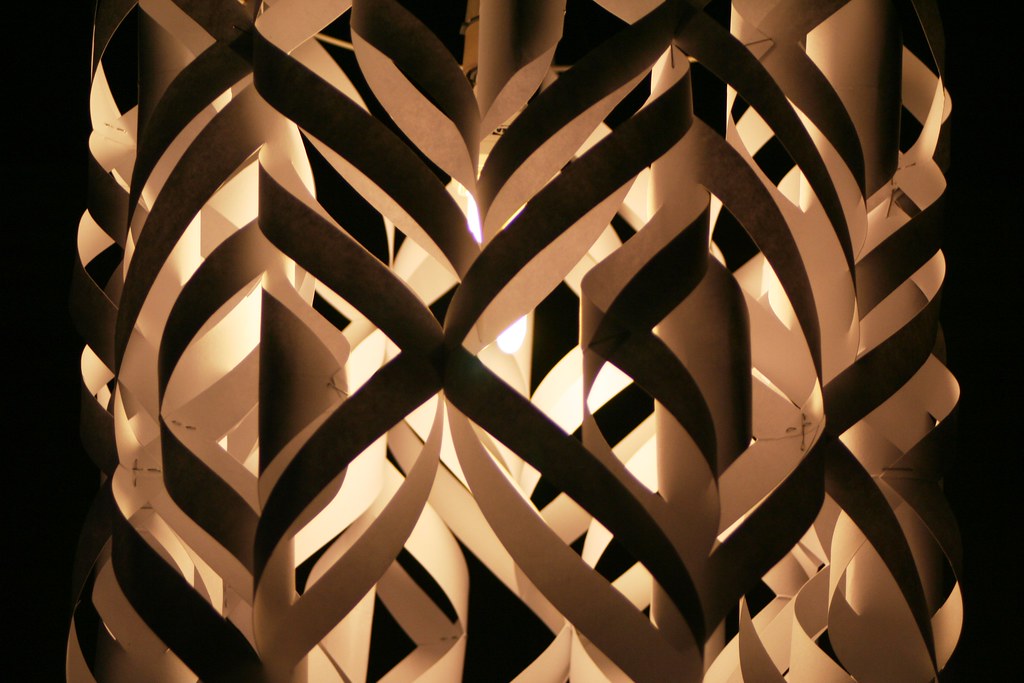
The whole project took one afternoon to make. It looks great in my living room and cost me more or less nothing. The light get's filtered nicely - it is much brighter though than in the pictures here - I took those without flash, for atmosphere's sake ;-).

You can of course customize the shade by fixing more than just 2 circles together. Make a huge floor lamp by joining 4 or 5 of the circles. Or try something else altogether - make a large paper screen by creating longer rows of the pieces. If you do - let me know. I'd love to see what other creative uses you might have for the paper squares. 


Update 9th January 2010: When I wrote this post last summer, our sitting room was in the middle of remodeling. It still hasn't been finished, but we are getting there. And parts of the room are presentable, so I thought I'd show the paper shades in context. There are two of them lighting up the room. This view is of our fireplace (*ahem* as if you didn't see that...).


Here is another view from the sitting area to the dinner table. They are working very nicely with the decor of the room, I think. And they attract a lot of attention when people come to visit. They give a nice soft light - well, the bulbs are not that highly powered, I guess. Anyway, 6 months in I am still quite pleased how they have worked out.


13th January 2010: I have linked this to the aptly named Wednesday Bragfest at bobbypins boardwalk.


1st February: Linking to