I am in the middle of decorating my sitting room in our Georgian house. There was a bit of a stand-off between my partner and me about the lamps. While he preferred bare lightbulbs (...), I was all for buying a statement lampshade.
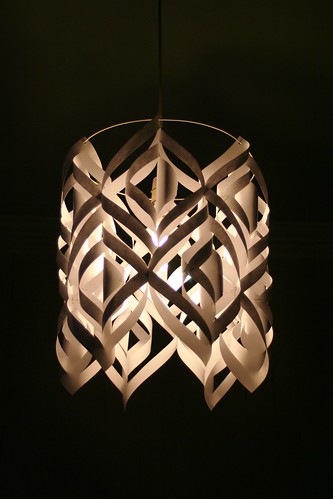 As a compromise I eventually made my own designer lampshade. It is actually based on the same individual paper squares as the Christmas star, posted in this blog on June 24th. I wrote detailed instructions on how to make the individual pieces. For the lampshade you need 12 such pieces, a bit of strong wire (preferably white coated) and some nylon thread or thin silver wire to hang it with. You also need a stapler, a punch and some (white) electrical tape.
First follow the instructions on how to make those 12 individual paper pieces. Click here. (This will bring you to the old post.)
Then put 6 of them in a line and staple them together at their widest point, not at the tips, that is. Make sure they all face the same direction to make the lampshade look regular. Also staple the first and the last together so they form a circle. Repeat with the other set of 6.
Next just place the two circles on top of each other, slotting the upper circle into the "gaps". It is a bit fiddly, but then staple the tips of the lower circle into the "joints" of the upper circle. (By that I mean the points, where you stapled the individual paper pieces together when you made them a circle.) That way the two circles should be joined together.
Last you punch holes into the tips of the upper circle, using a punch. Thread the wire through the holes and join the wire together by sticking the electrical tape around it. To hang the shade, knot 4 lengths of nylon thread onto the wire. These 4 wires you can then attach to the cord of your pendant bulb.

The whole project took one afternoon to make. It looks great in my living room and cost me more or less nothing. The light get's filtered nicely - it is much brighter though than in the pictures here - I took those without flash, for atmosphere's sake ;-).
You can of course customize the shade by fixing more than just 2 circles together. Make a huge floor lamp by joining 4 or 5 of the circles. Or try something else altogether - make a large paper screen by creating longer rows of the pieces. If you do - let me know. I'd love to see what other creative uses you might have for the paper squares.
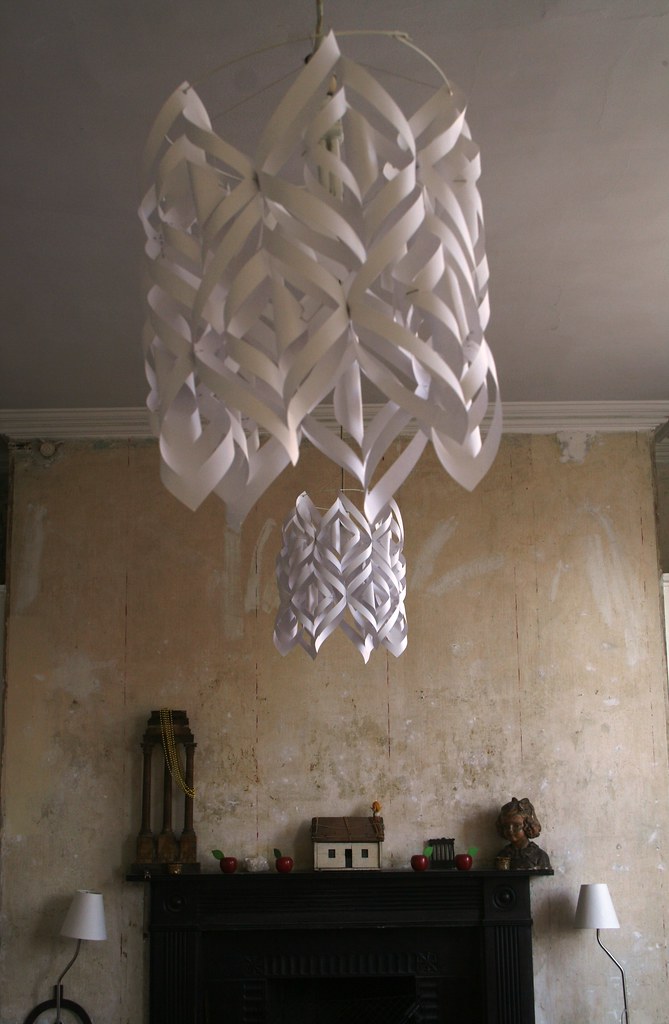 Update 9th January 2010: When I wrote this post last summer, our sitting room was in the middle of remodeling. It still hasn't been finished, but we are getting there. And parts of the room are presentable, so I thought I'd show the paper shades in context. There are two of them lighting up the room. This view is of our fireplace (*ahem* as if you didn't see that...).
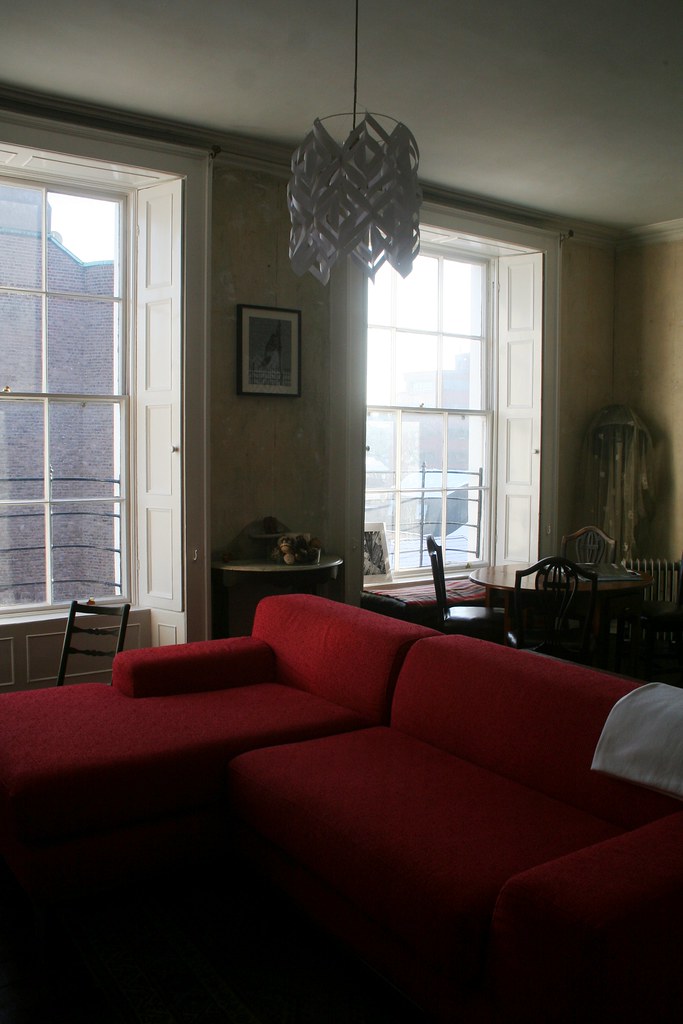


7 comments:
Lovely! And so much better than bare lightbulbs!
thanks for the comment, Jo. Totally agree with you on the bare lightbulb issue. Strange tastes, some people have *haha*
That is beautiful. And seriously much better than bare bulbs..Tell him to listen to you next time :)
tammy
Beautiful!
Kathy
Sonja, so glad I found this -- I had almost forgot and it was one of my favs. I have posted it on my blog, as wel as Boardwalk Blotter with a direct link back to your post (http://bobbypinsdesignotebook.blogspot.com/).
There is also a link to your blog for your beautiful folded snowflake.
Grab a "featured" button, if you would like. I have a feeling that I'll be featuring quite a few of your remarkable creations!
I love your style, girl.
oh, hey, Jan, another comment. Thanks! I'll get the button and display it proudly - love them ;-). And yes, would be honoured if you wanted to show more of my stuff. Cheerio!!!
Those look gorgeous!!
Post a Comment