A great day, just the way I like Sundays. I spent all day crafting. Well, that's after I got out of bed at about 11 am... *theshame*. But then it was all systems go with MDF, a circular saw and paint, as well as a sewing machine and some fancy fabric. Project MDF is not ready yet and Project Sew needs to have photos imported. But since I am impatient to get stuff out here, I'll post Project Choke. Forgive me for the bad quality pictures - the next post will be nicer to look at (because it won't feature me in it!!!)
My beadbox, as I noticed today, is littered with lots of beaded half-domes. They are the residue of a craft project I went crazy on almost three years ago. (My, is it already that long ago? I would've thought it was only last year...) You can read about that here. And here. Eh, and here. Anyway, I don't like loose ends and I wondered what I could use them for. Since I didn't have any tulle to make more of these corsage flowers, I had to think of something else.
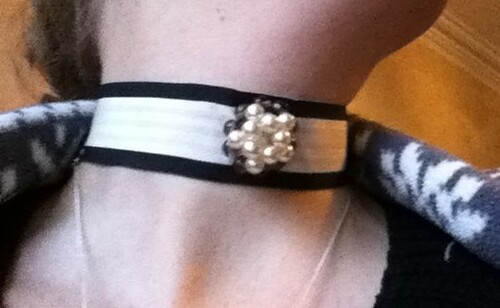
A choker, she choked. Indeed. Should I ever be invited to a Baroque-themed costume party, I am ready.
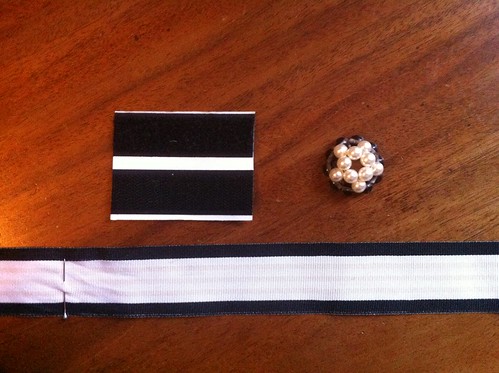
I had a bit of ribbon left hat I used for this little project. Also, I needed some velcro and the bead dome.
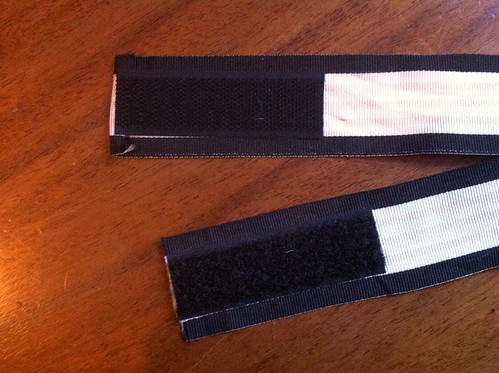
I basically stuck my velcro onto the ribbon after determining, how long the choker needed to be to fit snugly round my neck.
I quickly sewed over the velcro to keep it in place. Then I hand-sewed the bead dome onto the ribbon.
That's it. The photos aren't great, sorry, I was using my iPhone and I might try and take some better shots of it if I have time. Also, I didn't stage myself very well in this - wearing my usual fleece top instead of dressing up appropriately. But there you have it, I am too impatient to re-do the whole shoot now.
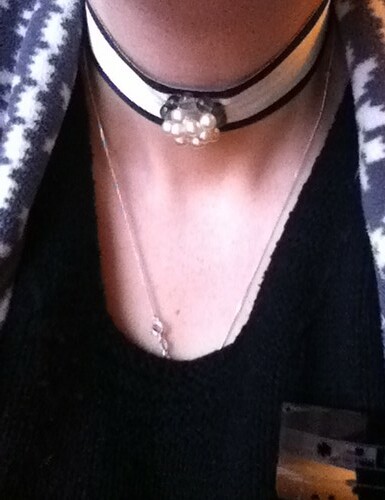
Linking to: Whatever Goes Wednesday @ Someday Crafts
FYI
Showing posts with label beads. Show all posts
Sunday, January 13, 2013
Wednesday, October 13, 2010
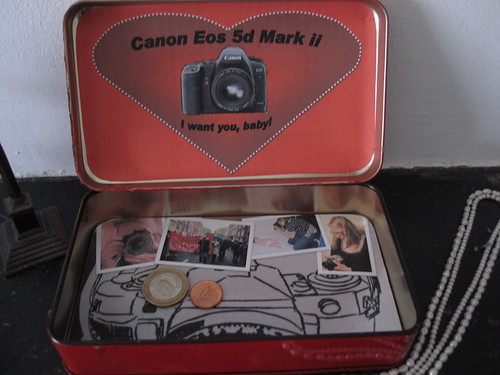
My Camera Fund Gets A Home
Are you good at saving? Well, I am good at cheapskating, but the money that I save usually then gets spent on other unnecessary must-have items. But now I have this dream of upgrading my camera kit with some truly professional gear, and that doesn't come cheap :-(. Despite wanting it very, very baaaaaaaaaaaaadly, I knew I had to give myself some extra motivation to put money aside. And so I set about making myself a money box that will be nicely and proudly displayed near my workspace, reminding me day in, day out, that I am not to buy another interior design mag, the 31st white cream jug for my collection or yet another pair of shoes.
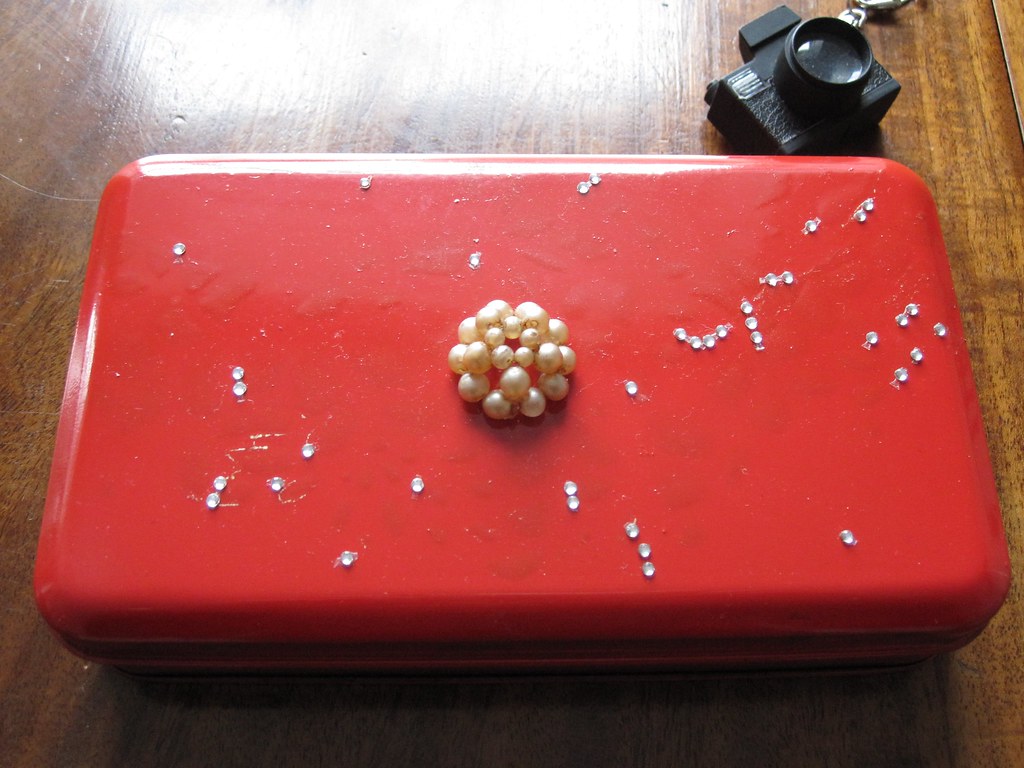
I can't resistanything but temptation nice tin boxes. This one was a filled with yummy orange flavour, dark chocolate from a classy chocolate company in my home town. Design-wise not that exciting, though, but too nice to throw out. (Hehe, in the reflection you can see me taking the picture...)
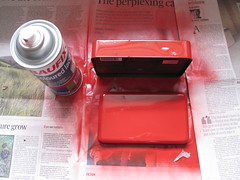
So instead I took a can of spray-paint to it, in my signature red. Gave it about four coats until the black background didn't show through anymore.
And then I set about decorating the tin. As this is a treasure box, it seemed only fitting to adorn the lid with gemstones and pearls. I stuck loads of little diamond-y stickers (from scrapbook supplies) on it to hide imperfections in the coat of paint. Centrepiece is a dome-shaped bead ball. (Read more about them here.)
I really love it when the insides of things are decorated, too - you know, wallpapered cupboards, paper-lined drawers etc. Such a nice suprise when you open it up... So I quickly threw a few photography-related images together, and cut them out.
So grow, camera fund, grow... still a couple of grand to go.
Best,

I can't resist
So instead I took a can of spray-paint to it, in my signature red. Gave it about four coats until the black background didn't show through anymore.
And then I set about decorating the tin. As this is a treasure box, it seemed only fitting to adorn the lid with gemstones and pearls. I stuck loads of little diamond-y stickers (from scrapbook supplies) on it to hide imperfections in the coat of paint. Centrepiece is a dome-shaped bead ball. (Read more about them here.)
I really love it when the insides of things are decorated, too - you know, wallpapered cupboards, paper-lined drawers etc. Such a nice suprise when you open it up... So I quickly threw a few photography-related images together, and cut them out.
So grow, camera fund, grow... still a couple of grand to go.
Best,
Wednesday, February 24, 2010
Lots of Bead Ball Objects
Candie, from whom I first got the tutorial on how to make beaded beads, had warned that making them was addictive. So true! Weeks later I am still fascinated by them and I recently went out to stock up on more beads. There is a wonderful bead shop in Dublin, so aptly named "Crown Jewels", where I found a few sachets of reduced price beads. However, I found that it was actually cheaper to buy some ready-made necklaces in another place, where they were selling jewellery for € 3.00 apiece. So I also bought a couple of necklaces there and took them apart. If you want, this is a mini jewellery-before-and-after:
I experimented with different sizes of beads in one "ball". The effect is in the shape. If you start out with five big beads, then use twenty small beads and work in five big beads again for the top, you end up with a barrel-shaped beaded object such as the one on the left. This really lends itself to a pendant. So I made a necklace from black beads, attached tassels in the form of simple chains to the bottom and strung the bead barrel onto it. Here it is:
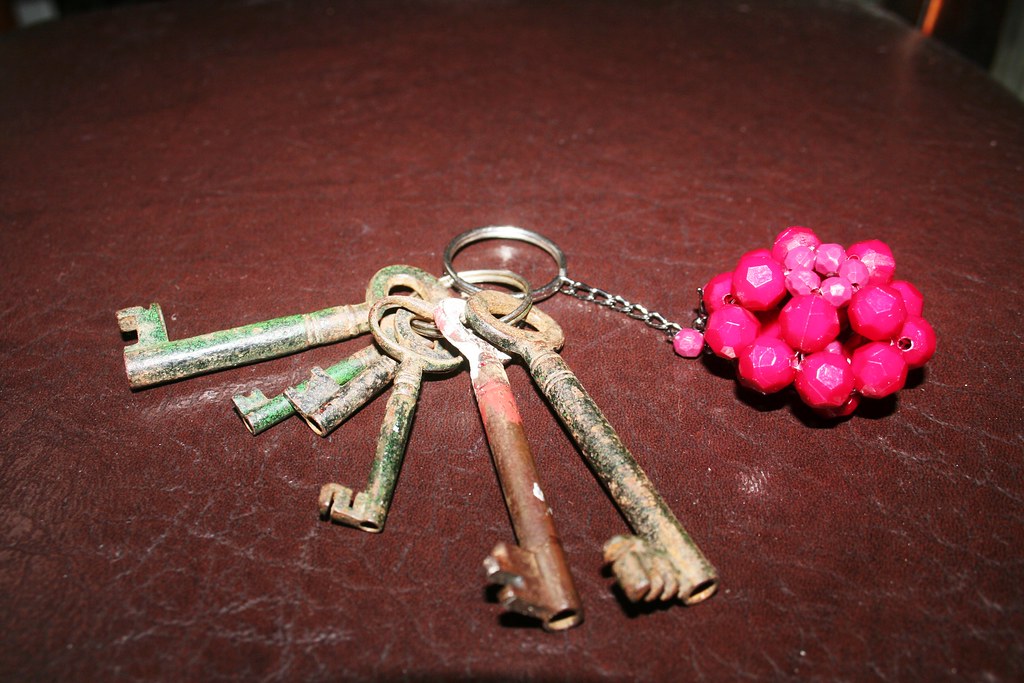
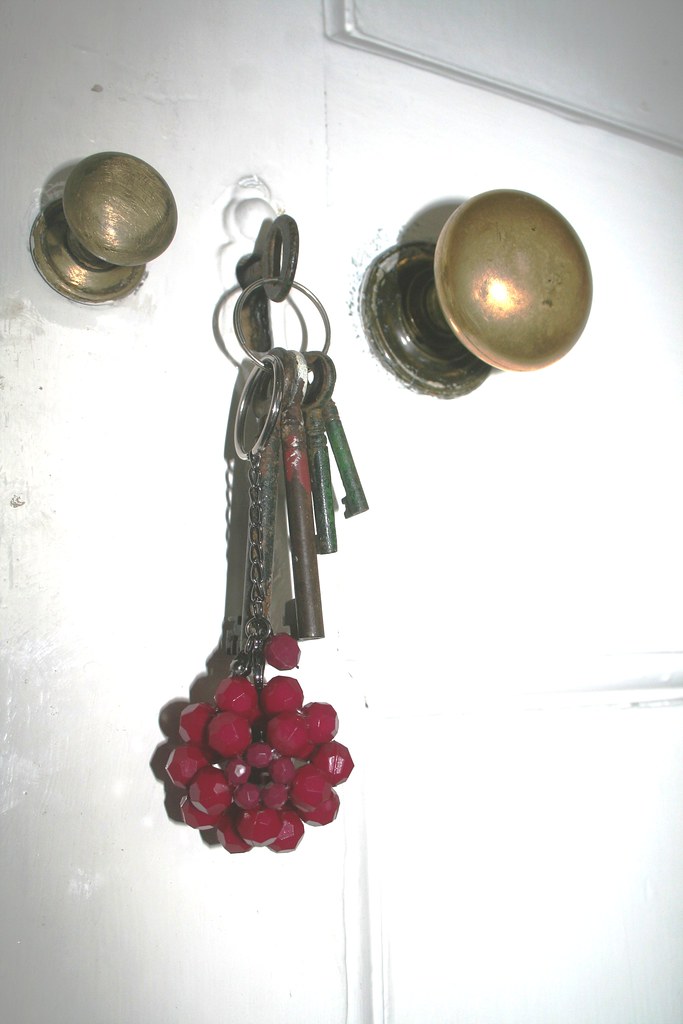
If you do the opposite, i.e. start with five small beads, then use twenty large beads and work in five small beads for the end, the result is a domed bead (see left). I really love that shape. This one I fashioned into a key ring. I simply attached a bit of chain and then put a ring onto it. It's a real "hand-pleaser", I can tell you...
My daughter had been on to me that she wanted one of those bead balls. I made a really large one for her, using beads in only one size. That way you can make a regular shaped round ball. For the fun of it, I popped a glass marble into it. It sits loosely in the middle and rattles if you shake the ball.
There is no end to experimenting. With the bead stash diminishing, I didn't have enough beads to do another one in just one colour or size - so I mixed the beads and came up with this blingy number - which I am using on one of my corsages. The whole process of making these beads is almost mathematical - with a bit of thought and applied logic you can create lovely patterns on them. If you want a "star" in the middle, then you need to start out with five beads in one colour and afterwards switch to another colour or size. If you want to have the rim stand out, you work in a different colour bead every second time after you have finished the first five beads. Sounds difficult when explaining but it is really quite logical.
Next I might experiment with using more beads in these objects...
Best,

Linking to:


I experimented with different sizes of beads in one "ball". The effect is in the shape. If you start out with five big beads, then use twenty small beads and work in five big beads again for the top, you end up with a barrel-shaped beaded object such as the one on the left. This really lends itself to a pendant. So I made a necklace from black beads, attached tassels in the form of simple chains to the bottom and strung the bead barrel onto it. Here it is:
If you do the opposite, i.e. start with five small beads, then use twenty large beads and work in five small beads for the end, the result is a domed bead (see left). I really love that shape. This one I fashioned into a key ring. I simply attached a bit of chain and then put a ring onto it. It's a real "hand-pleaser", I can tell you...
My daughter had been on to me that she wanted one of those bead balls. I made a really large one for her, using beads in only one size. That way you can make a regular shaped round ball. For the fun of it, I popped a glass marble into it. It sits loosely in the middle and rattles if you shake the ball.
There is no end to experimenting. With the bead stash diminishing, I didn't have enough beads to do another one in just one colour or size - so I mixed the beads and came up with this blingy number - which I am using on one of my corsages. The whole process of making these beads is almost mathematical - with a bit of thought and applied logic you can create lovely patterns on them. If you want a "star" in the middle, then you need to start out with five beads in one colour and afterwards switch to another colour or size. If you want to have the rim stand out, you work in a different colour bead every second time after you have finished the first five beads. Sounds difficult when explaining but it is really quite logical.
Next I might experiment with using more beads in these objects...
Best,
Linking to:

Labels:
beads,
before and after,
jewellery
Thursday, January 28, 2010
Follow me Through the Treasure Trove
Living in an old house has its drafty, cold, 18th century drawbacks, but is amazing and surprising for an old history head like myself. Come on and follow me delving into an old chest where I knew I would find some hidden gems beads, which I wanted to use for more bead balls. (A little warning - this is a loooongish post.)
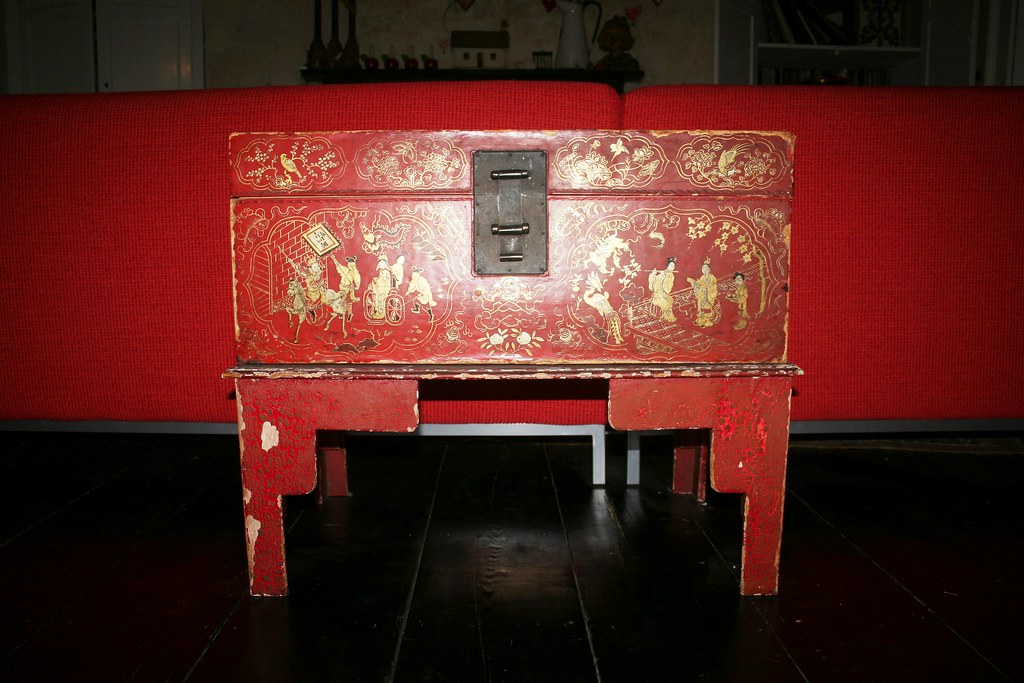
Hot on the trails of the beads I turned to this old Chinese, lacquered cardboard box. (After being battered around by my children it has finally got pride of place in our newly renovated drawing room, the before and after of which you can see here.)
There are plenty of old chests in this house, filled with treasures that I love looking through. This one houses... a lot of tissue paper, it seems. But wait, let's delve deeper.
...
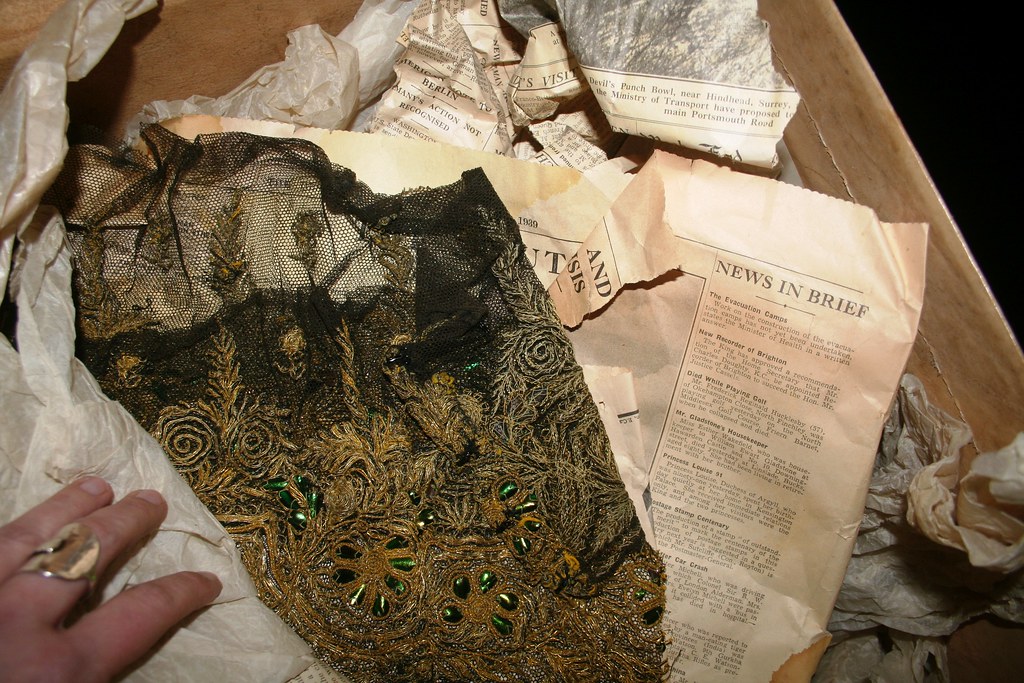
Oh, look, here is a bit of black, embroidered lace. Do you notice the green, fingernail-shaped sequins? Well, they are actually not sequins at all. A friend of mine who happens to be an expert on 19th century costumes told me this amazing fact: The green embellishments are actually the wings of a beetle which were used back then for decoration!!! Check the date on the newspaper - 1939! I'd say that was when the items were packed into the box. They must be way older than that... I know from taking out the paper that the exact date is 19th of March 1939. Little did they know that a few months later a war would start that ravaged the world for nearly six years...
Ok, deeper we dig and we find... a nice fabric covered box. Don't you love the font of "Walpole's"? Very late-1920s... And that gives us a hint about the finds in this box. They are actually peeking out under the tissue paper on the left...
Wait, let me open the lid...
We are getting closer. Something pearly, beady, some silk scraps. What is it?
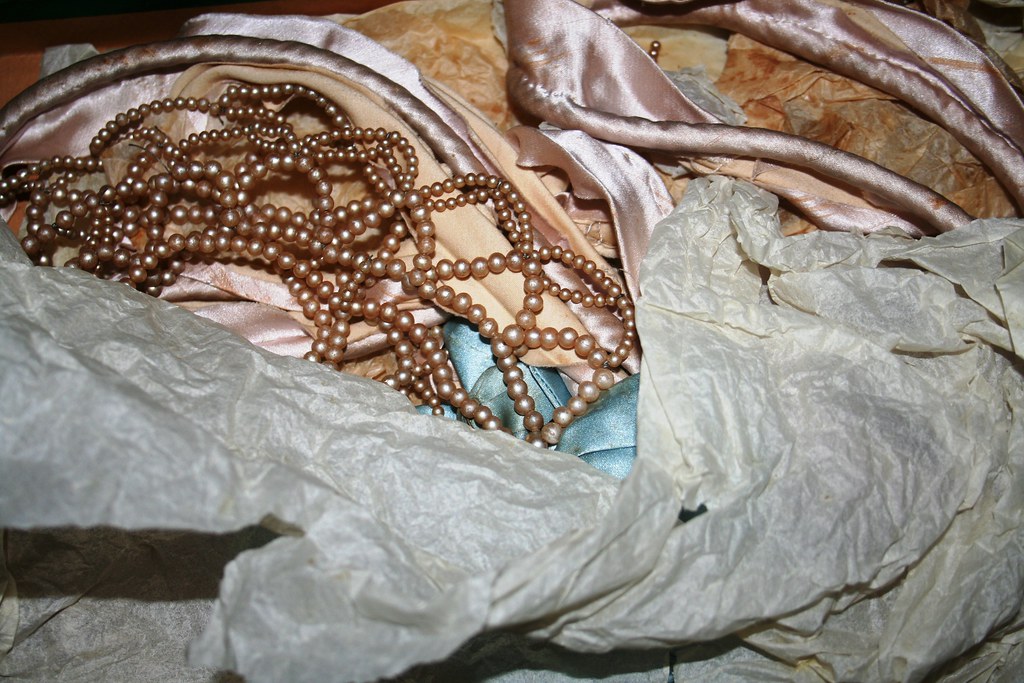
Let me show you properly. This is a headdress, made of artificial beads, strung on thin metal wire and decorated with some blue bows. As a matter of fact this is a bridesmaid's headdress. I know this because I remember seeing a newspaper clipping showing the 1929 (?) wedding of a family ancestor. The three bridesmaids all wore a headdress like this.
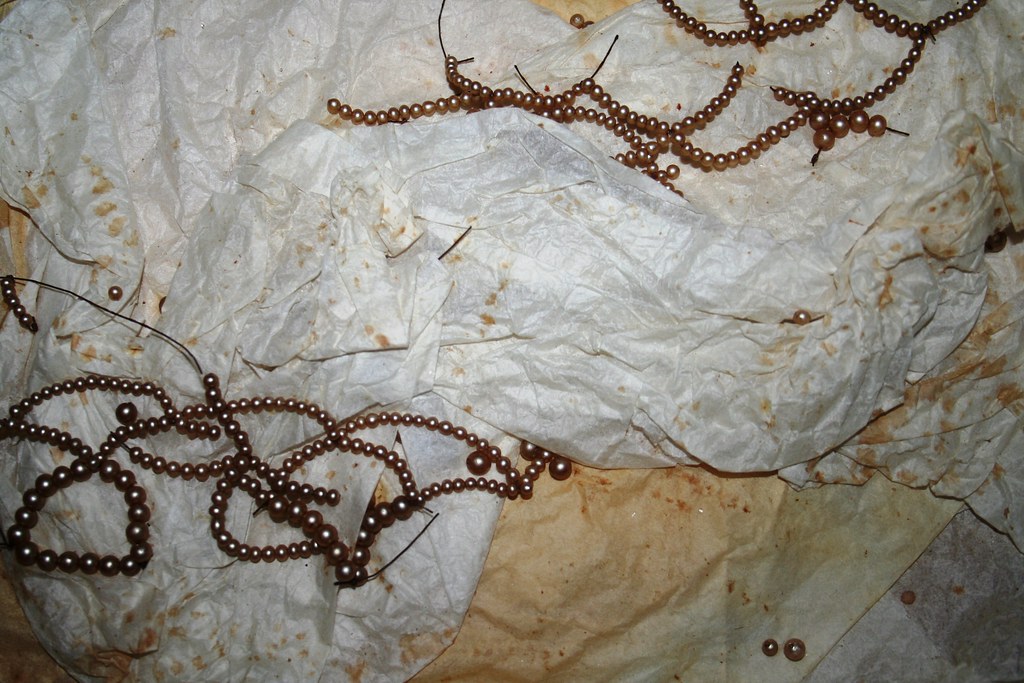
Unfortunately they have not all stood the test of time. One of the three has actually pretty much fallen apart - ehm, the headdresses, that is, not the bridesmaids... The wire has rusted and broken away, the beads have slipped off. I found them spread all over the green box and the big box, too. But I felt I could gather those beads and re-use them and therefore not destroy the other two headdresses which were still almost intact.
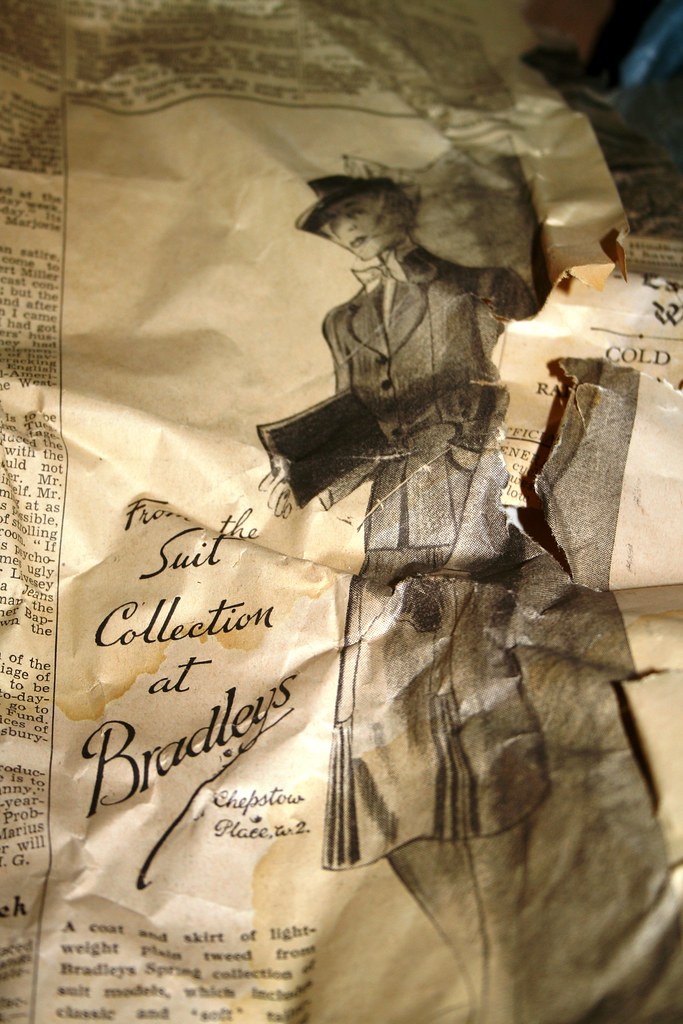
So let's carefully cover and pack everything again, now that we have had a little look at the past... Didn't they have style back then? Here is a glimpse of (slightly later) 1930s style - "the suit collection at Bradley's". Ooooh, fancy, classic, costume style. Look at the jaunty little bow and the funky hat. I can imagine myself kitted out in my tweedy suit, alighting lady-like the London-Edinburgh express, off to meet my other charitable-lady-friends in a Mayfair tea room for cream teas... "Lady Imogen, I have heard, is now living with her lover - 25 years younger than she..." "No???" "I saw them the other day. Of course they cannot attend society together." "Indeed not!" "Will poor Augusta come out this year and be presented to the king? Surely with such connections the pitiable daughter of a society pariah cannot mingle with polite society." "No, that will not do! I have already told my Prudence to sever all ties of connection to her..."

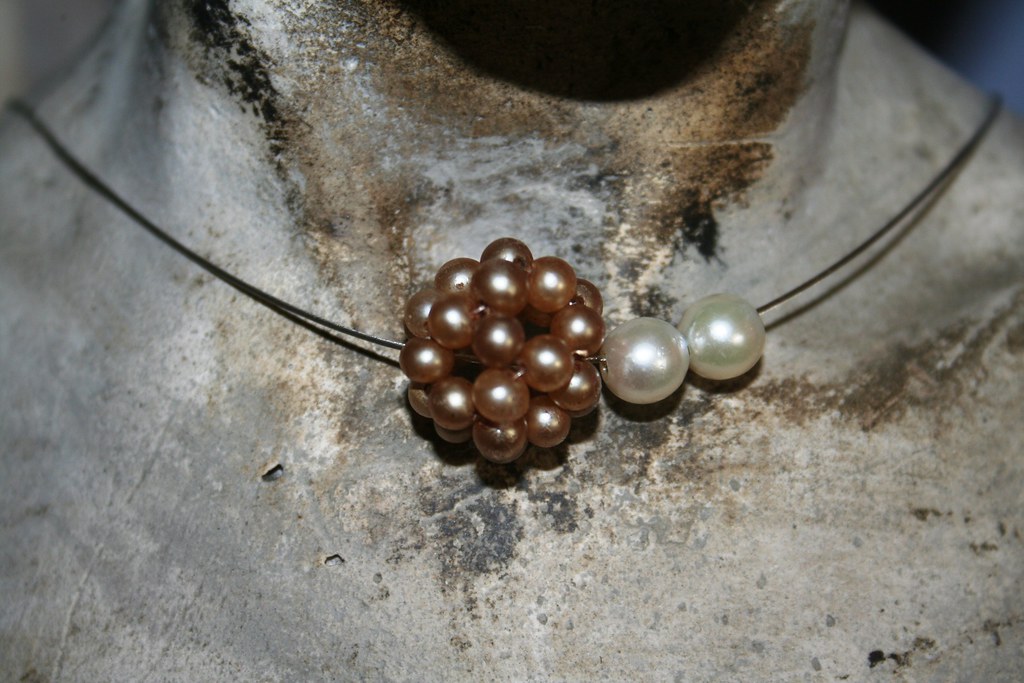
For a slightly classier look, I threaded a small bead ball on my white gold cable necklace and left two real pearls on.
Today I am wearing one small bead ball on a simple, black leather band which suits my casual look.
What do you think? I love being connected to the past through re-using finds like this. Somehow I believe that whoever's headdress this was will not mind me turning it into something new... I hope you enjoyed my little trip into the past - sorry about my lecturing, that's the history teacher in me...
Best,

Linking to

Hot on the trails of the beads I turned to this old Chinese, lacquered cardboard box. (After being battered around by my children it has finally got pride of place in our newly renovated drawing room, the before and after of which you can see here.)
There are plenty of old chests in this house, filled with treasures that I love looking through. This one houses... a lot of tissue paper, it seems. But wait, let's delve deeper.
...
Oh, look, here is a bit of black, embroidered lace. Do you notice the green, fingernail-shaped sequins? Well, they are actually not sequins at all. A friend of mine who happens to be an expert on 19th century costumes told me this amazing fact: The green embellishments are actually the wings of a beetle which were used back then for decoration!!! Check the date on the newspaper - 1939! I'd say that was when the items were packed into the box. They must be way older than that... I know from taking out the paper that the exact date is 19th of March 1939. Little did they know that a few months later a war would start that ravaged the world for nearly six years...
Ok, deeper we dig and we find... a nice fabric covered box. Don't you love the font of "Walpole's"? Very late-1920s... And that gives us a hint about the finds in this box. They are actually peeking out under the tissue paper on the left...
Wait, let me open the lid...
We are getting closer. Something pearly, beady, some silk scraps. What is it?
Let me show you properly. This is a headdress, made of artificial beads, strung on thin metal wire and decorated with some blue bows. As a matter of fact this is a bridesmaid's headdress. I know this because I remember seeing a newspaper clipping showing the 1929 (?) wedding of a family ancestor. The three bridesmaids all wore a headdress like this.
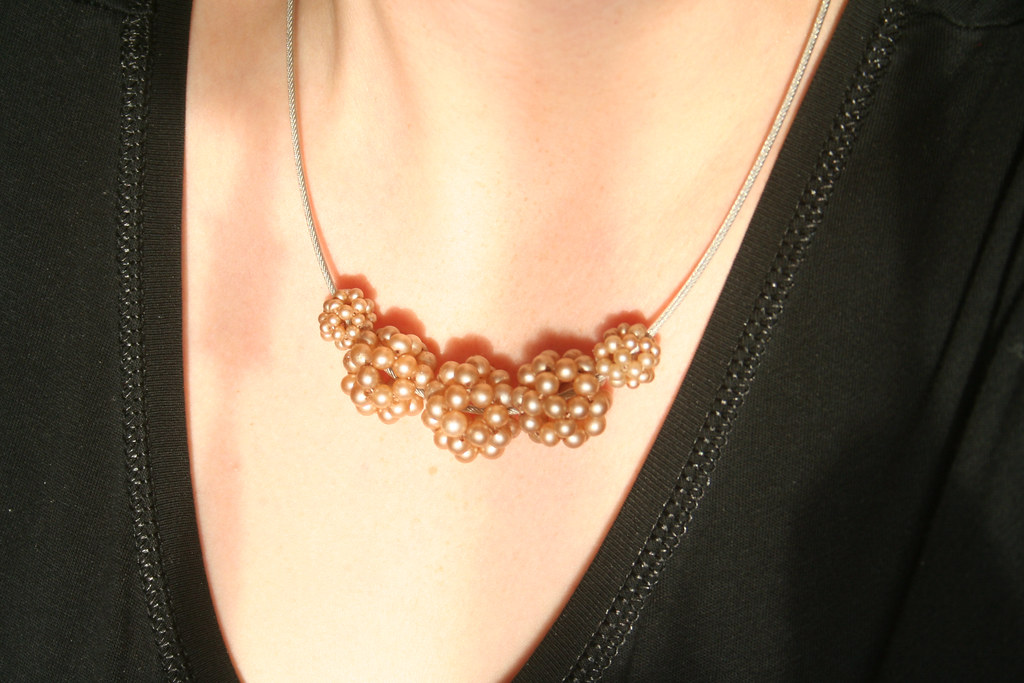
Ooops, getting a bit carried away there. Right, now - with the vintage beads I made five bead balls. It only took me the duration of Ocean's Twelve to make them. (George Clooney certainly makes the fiddliest of tasks do-able...) There were roughly two sizes of beads. I made three larger and two small ones. This time I didn't worry about attaching hoops to them, because I had thought up an easy way of displaying them - just slide them on existing necklaces. (For link to instructions and hints for making the bead balls, go here.) So here is a modern version with all five threaded on a steel cable-type of necklace.
For a slightly classier look, I threaded a small bead ball on my white gold cable necklace and left two real pearls on.
Today I am wearing one small bead ball on a simple, black leather band which suits my casual look.
What do you think? I love being connected to the past through re-using finds like this. Somehow I believe that whoever's headdress this was will not mind me turning it into something new... I hope you enjoyed my little trip into the past - sorry about my lecturing, that's the history teacher in me...
Best,
Linking to

Wednesday, January 27, 2010
Bead Ball Earrings
Sorry, this is not brandnew, but I wanted to show you what I made. The bead balls have kept me in thrall enthralled. Unfortunately I have run out of beads at this point, but I have a vague feeling that I might repurpose something from the depth of a big old trunk in my house...
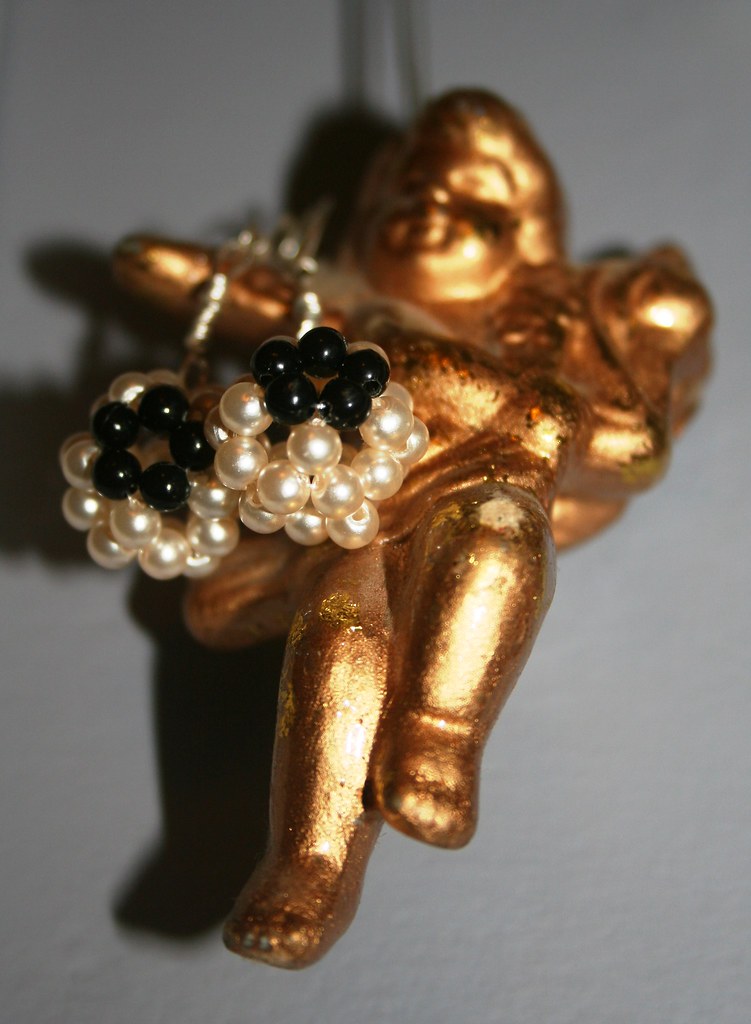
Anyway, before ran out of beads, I managed to make a pair of matching bead balls. I decided to turn them into earrings. I am not quite happy yet with the way I have attached them to the actual earring, but I like them enough to be wearing them today.
Hehe, I would have loved to show them in situ, dangling from my earlobes. But - frankly - despite being a photographer I just couldn't get a decent picture of myself with the earrings. *doh*. Well, besides - my ear doesn't make a particularly pretty sight. So you get the drift from the pic up there...
If you are new here and haven't seen how I made them, go to my blog post HERE.
Best,
Anyway, before ran out of beads, I managed to make a pair of matching bead balls. I decided to turn them into earrings. I am not quite happy yet with the way I have attached them to the actual earring, but I like them enough to be wearing them today.
Hehe, I would have loved to show them in situ, dangling from my earlobes. But - frankly - despite being a photographer I just couldn't get a decent picture of myself with the earrings. *doh*. Well, besides - my ear doesn't make a particularly pretty sight. So you get the drift from the pic up there...
If you are new here and haven't seen how I made them, go to my blog post HERE.
Best,
Monday, January 25, 2010
Bead Balls - An Exercise in Patience
Now, here is another thing I have been working on the last few days. I came across a pattern for "beaded beads" that looked straight forward enough for me to attempt it. Candie posted an extensive and clear tutorial for the bead balls with lots of photos, so I sat down with my bead box and a string of nylon thread and made this:
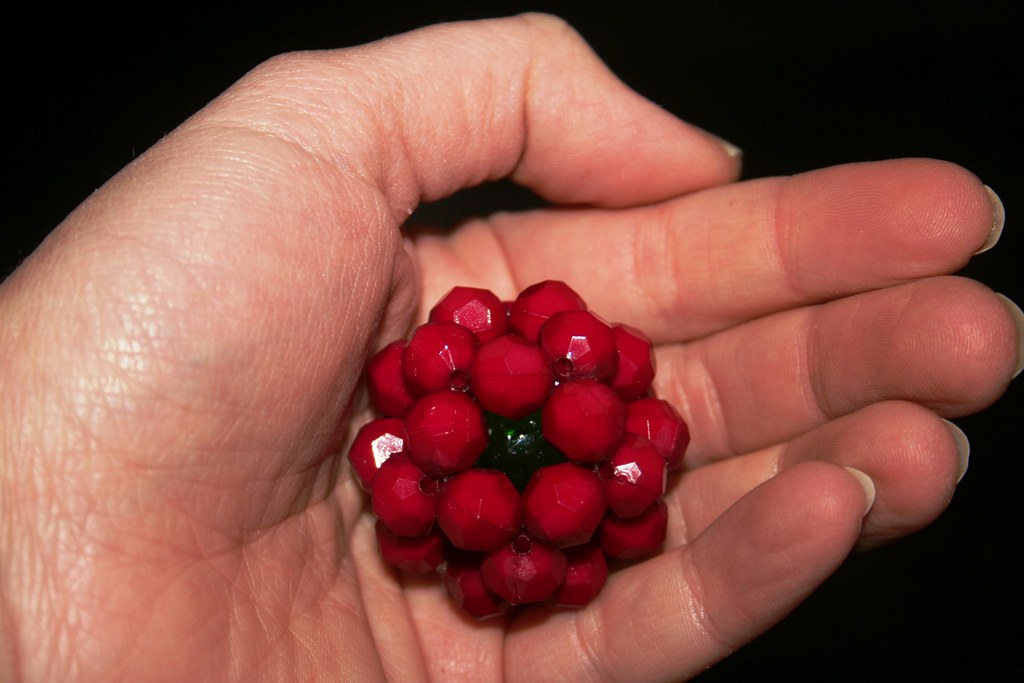
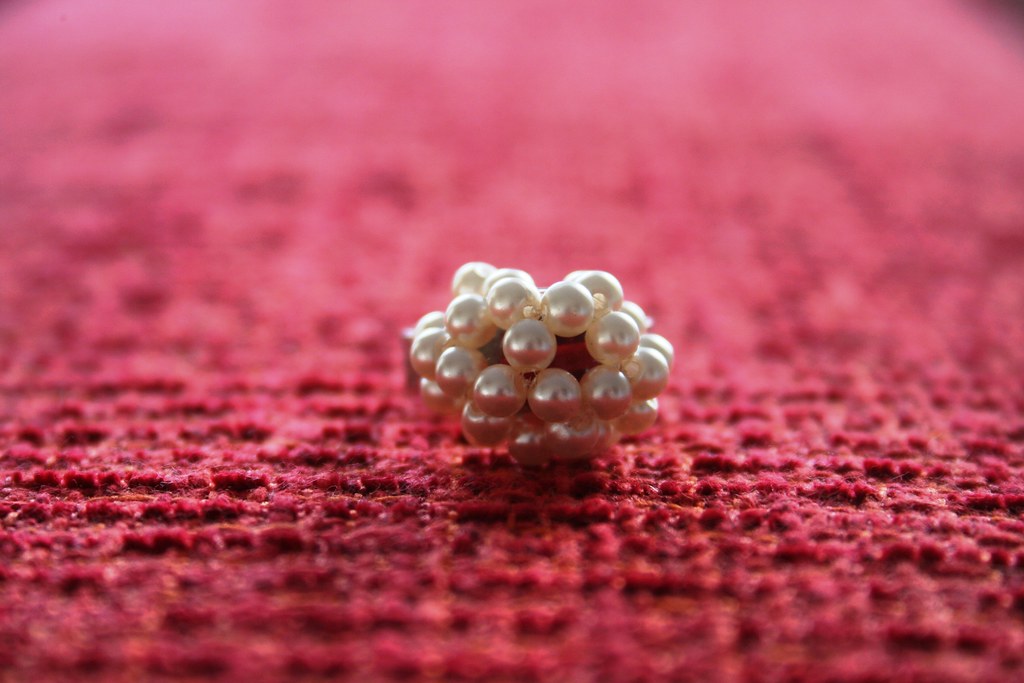
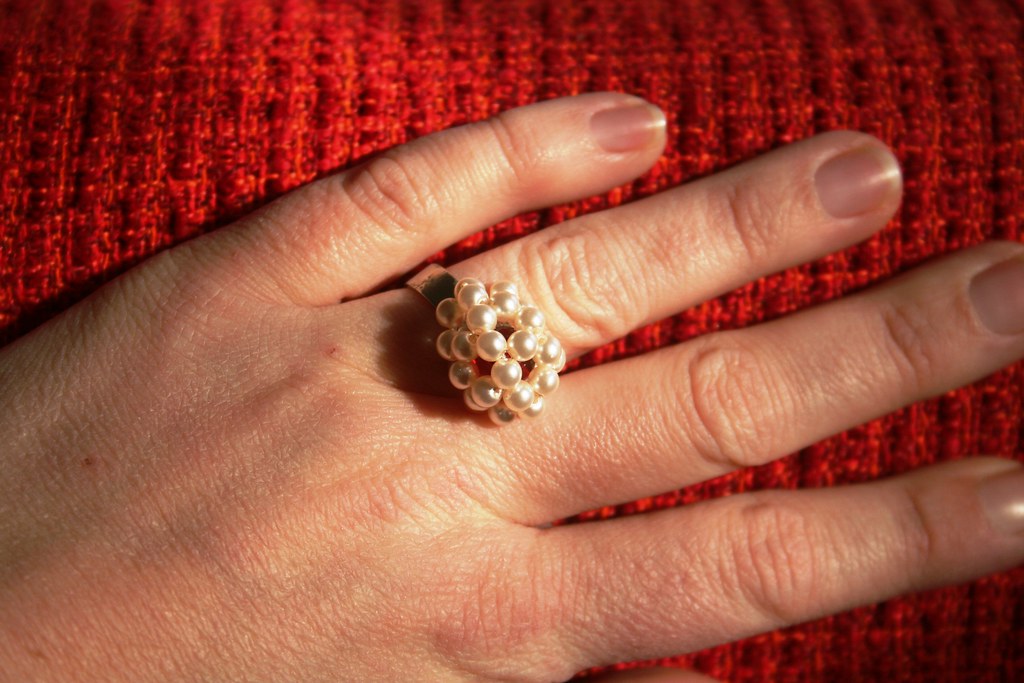
I don't want to attempt another tutorial for this as Candie's instructions are detailed, so please check them out here. But I will show you what I made and how I adapted the bead balls. If you look closely at the photo above (and disregard the horrible, piggy fleshiness that is my hand *ugh*), you will see that I enclosed a pearly bead in the bead ball. I simply popped that into the ball before I threaded the last little bead on. A little surprise, so to speak...
Without getting into a tutorial, I'll just write down a couple of observations that might help you when you are making these. My recommendation is to make a couple of these bead balls with slightly larger beads first before you start on the fiddly tiny ones. You need 30 beads of the same size, preferably round ones, and about 20 inches of nylon thread. Count out your beads and put them on a saucer on your crafting table! Making these bead balls is addictive, as Candie warned in her tutorial...
I have to admit, it took a few attempts before I got the bead balls right. But I ploughed on until I got it right. The whole process is fairly logical and regular, but I found I really understood the process of weaving them together, when I used different colour beads for the various parts. I.e. start with 5 beads of one colour. Then have 15 beads of a different colour. And for the last part have 10 beads of yet another colour. It just means you understand the pattern and the weaving better. It will help you to make your second bead ball in just one colour...
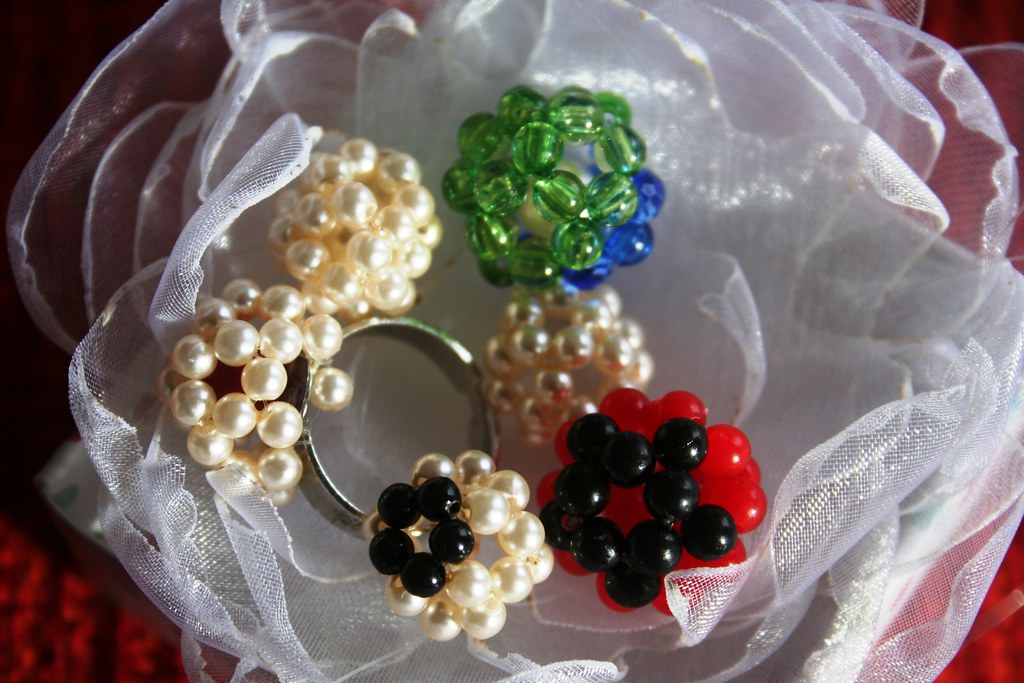
Nonetheless I got a couple of them wrong and finished before I had a regular ball shaped pendant. They were more of a three-quarter globe, with the last bit missing. I found a use for those, too, though. I popped a red bead into one and then fixed the ball onto a ring.
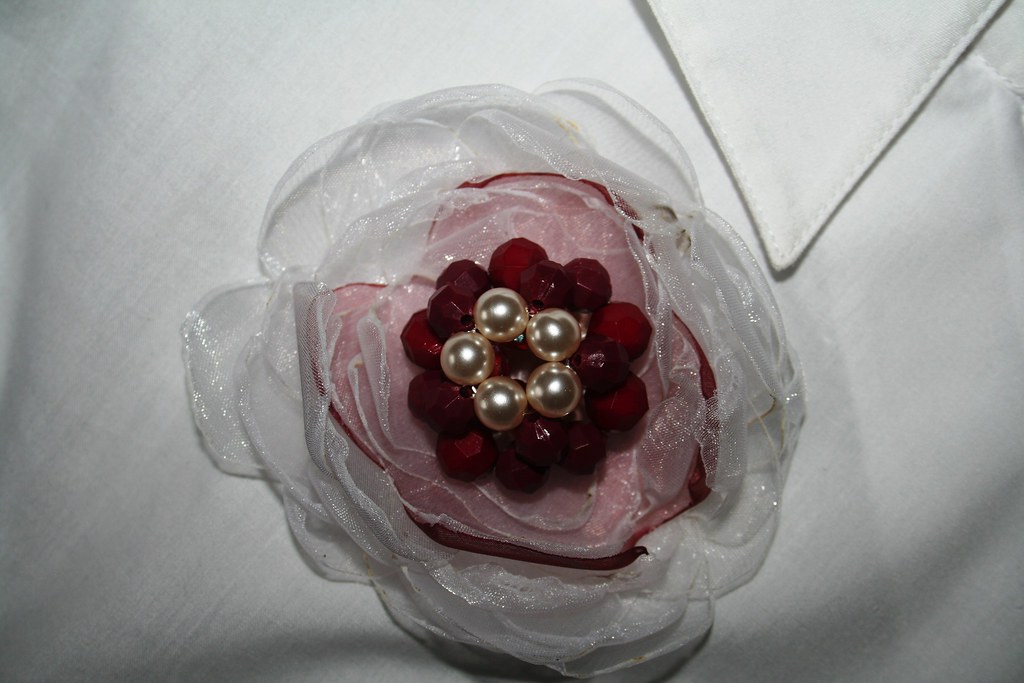
Another three-quarters finished ball became the centre of one of my corsages. It looks lovely like that and was easier to sew on than a full ball, I think.
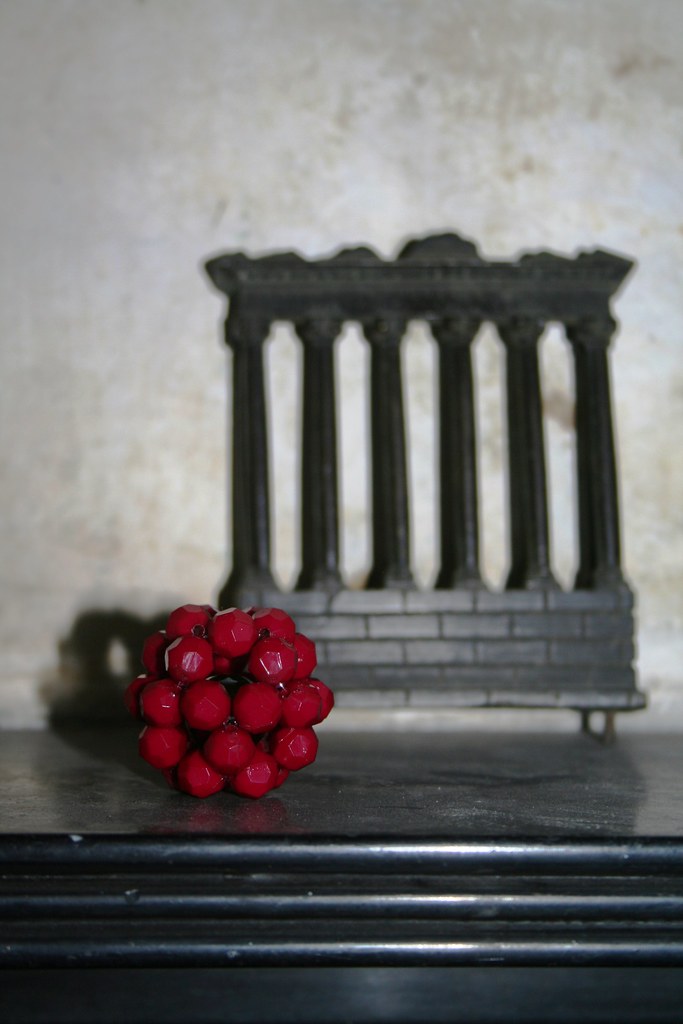
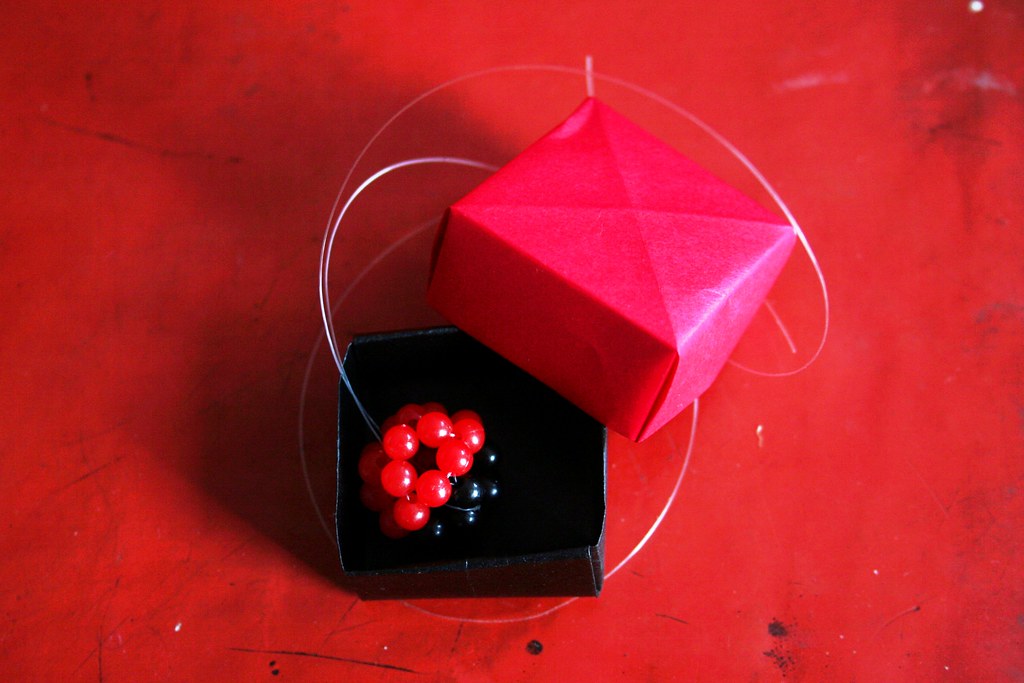
I am still wondering what to do with my green-and-blue bead ball - I think I will turn it into a pendant once I have figured out how to fix a little hoop onto it. The obvious use would be earrings - Candie shows several of hers. My daughter loves this red-and-black raspberry bead ball - not sure yet, what to do with it, but it already has a matching gift box *haha*...
Best,
I have to admit, it took a few attempts before I got the bead balls right. But I ploughed on until I got it right. The whole process is fairly logical and regular, but I found I really understood the process of weaving them together, when I used different colour beads for the various parts. I.e. start with 5 beads of one colour. Then have 15 beads of a different colour. And for the last part have 10 beads of yet another colour. It just means you understand the pattern and the weaving better. It will help you to make your second bead ball in just one colour...
Another three-quarters finished ball became the centre of one of my corsages. It looks lovely like that and was easier to sew on than a full ball, I think.
I am still wondering what to do with my green-and-blue bead ball - I think I will turn it into a pendant once I have figured out how to fix a little hoop onto it. The obvious use would be earrings - Candie shows several of hers. My daughter loves this red-and-black raspberry bead ball - not sure yet, what to do with it, but it already has a matching gift box *haha*...
Best,
Subscribe to:
Posts (Atom)