FYI


Showing posts with label plastic. Show all posts

Thursday, September 16, 2010

Spooky Silhouettes

Mid-September and I see many blogs already busy with Halloween decorating. *umph* not really my type of thing, I have to admit, even though the whole Halloween thing-a-ma-jig originates in my host country, Ireland. But well, my latest project happens to fit the season pretty well...

If you are a regular reader, you know by now that I am quite concerned obsessed with recycling. That is partly due to the fact that I once had a summer job working on a rubbish dump. (Don't ask!) The amount of trash that goes into landfill is just mindblowing! I won't bore you with statistics, but I can see from our household alone that 21st century human beings generate more rubbish than ever. While we recycle as much rubbish as possible, it still bugs me that there is so much plastic material being thrown away. Hence my interest in reusing packaging materials.

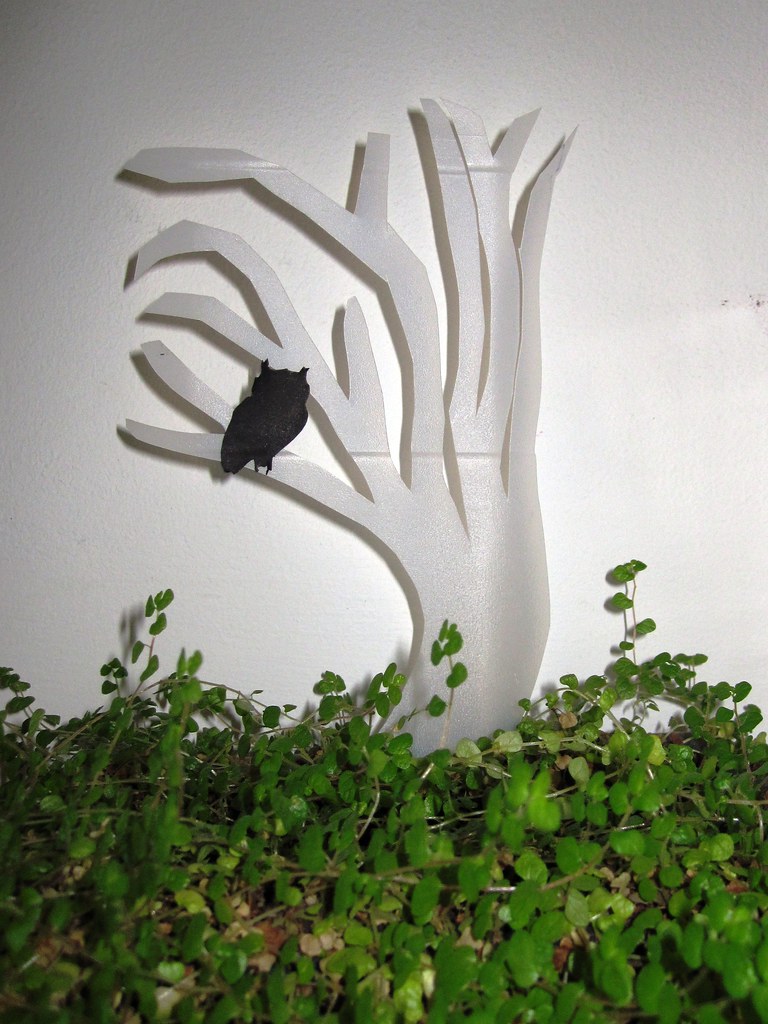
With one two-litre-bottle of milk every day, I had built up quite a stash of plastic to work with. I had great plans for a project - which unfortunately didn't turn out the way I wanted it to. I had to find a way of using the cut up pieces of plastic - and this is what I came up with: a simple spooky silhouette to stick into your flower pots.


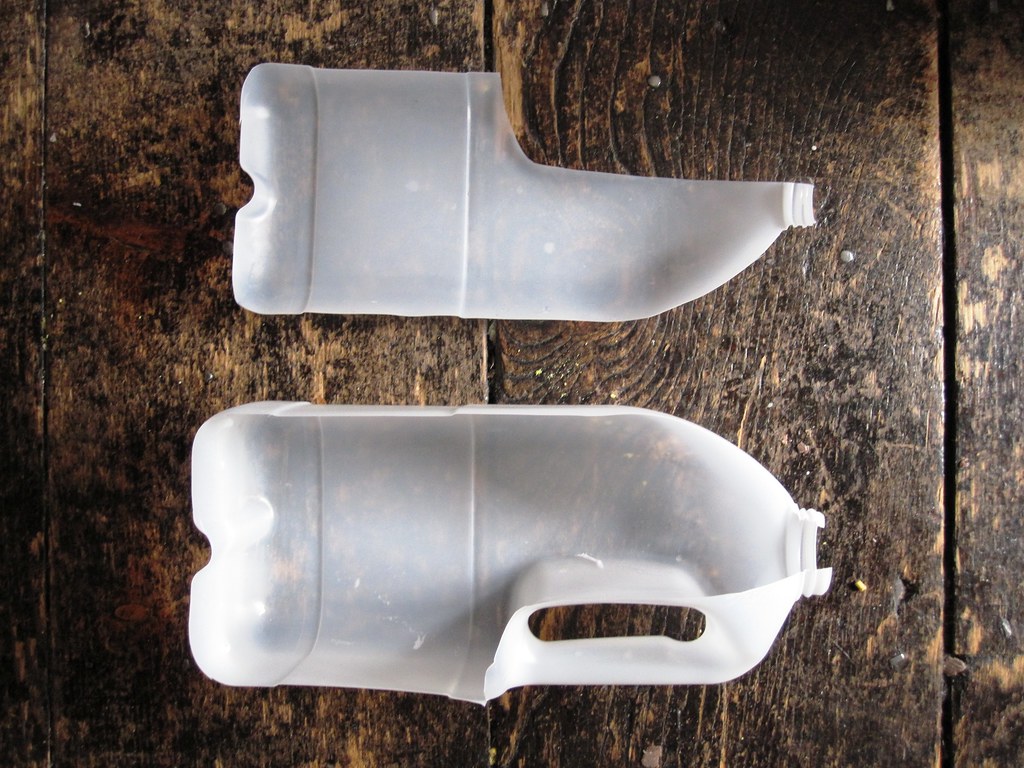
Here's what I did: First of all I cut my milk bottle to get a flat piece of plastic.


Catering for the Halloween theme, I decided on a spooky tree shape. A tree is pretty easy to cut, so I basically free-handed it. But you could always print out a tree shape from cliparts, transfer it to the plastic and then cut it out.

Note that I cut a zigzag at the bottom of the tree - that's for easier sticking the silhouette into the flower pot.


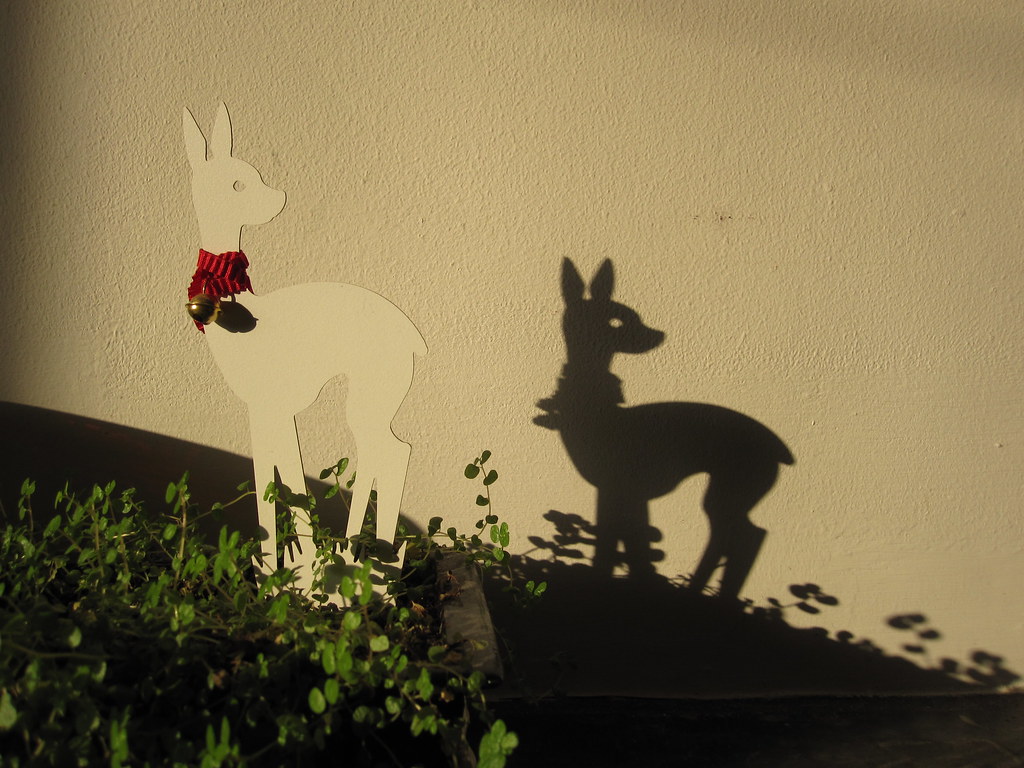
I actually quite like the silhouettes white and without further decoration. I have a beautiful shop-bought one of a little fawn that creates a beautiful shadow on the chimneybreast when the sunlight catches it on my kitchen mantlepiece. The silhouette itself pretty much blends into the white background, but the shadow it creates against the wall is really surprising and lovely.


But to make it a bit more fun and stand out a bit more for illustration purposes, I cut out an owl from black paper and stuck him onto the tree.


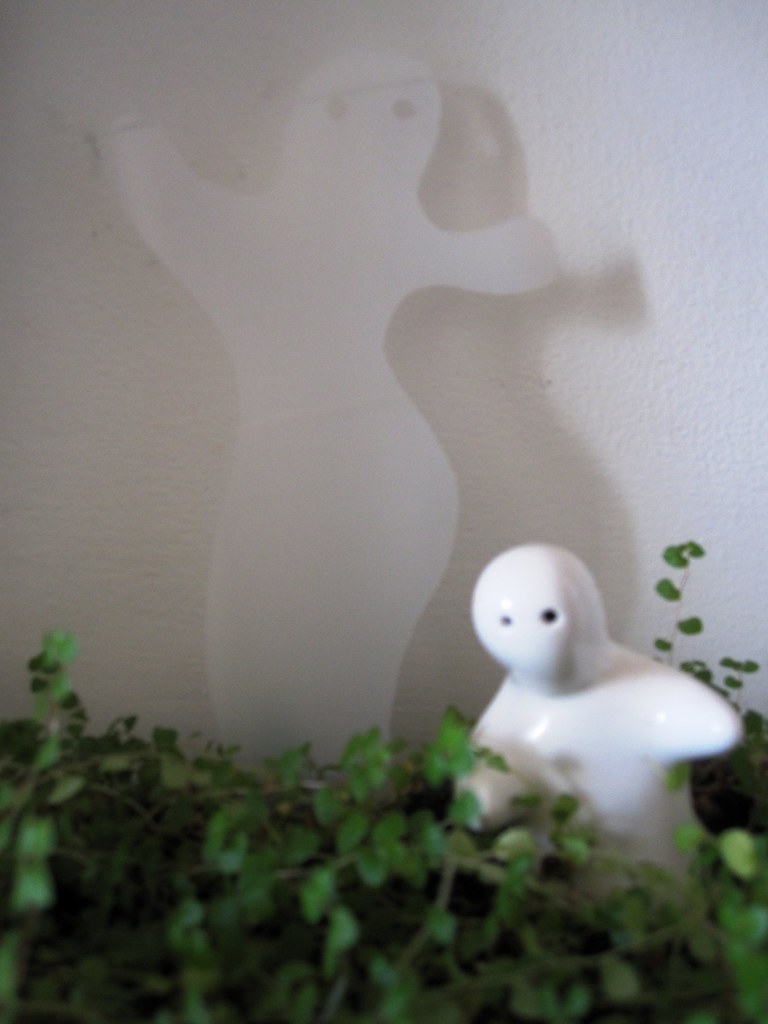
I also tried my hand at a ghost. Whoa, this looks like a curvy bombshell of a she-ghost *lol*. Dancing lambada or something... Ola!!! Again, I cut her free-hand and then used a punch to make her eyes.


Sorry, there was no bright sunlight in my kitchen this afternoon, so the silhouette and shadow do not stand out as much as they should. I guess you could always give the silhouettes a coat of black spray paint to make it fit the dark and spooky Halloween theme. But anyway, there you are - using rubbish to prettify scarify your home.


I am positively fawning over the silhouettes...

Best,


Linking to:

DIY Club
giveaways 


Get your craft on Thurs.

Tuesday, March 30, 2010

Plastic Milkbottle Recycling


Yoohooooo, I am back. Even if only for a little break between another set of visitors. I was sad to see my last visitors go home, but I used the time to do a little crafts project. This had been sitting at the back of my mind for quite a while, and I am kinda happy with the outcome. - How many bottles of milk do you go through with your family? We drink about 2 litres per day - I find that quite a lot, actually... The milk comes in these translucent 2 litre-plastic bottles in Ireland. So go through seven of them per week. Of course we put them into the recycling waste, but I would much rather make something from them... And I finally came up with a nifty little idea.


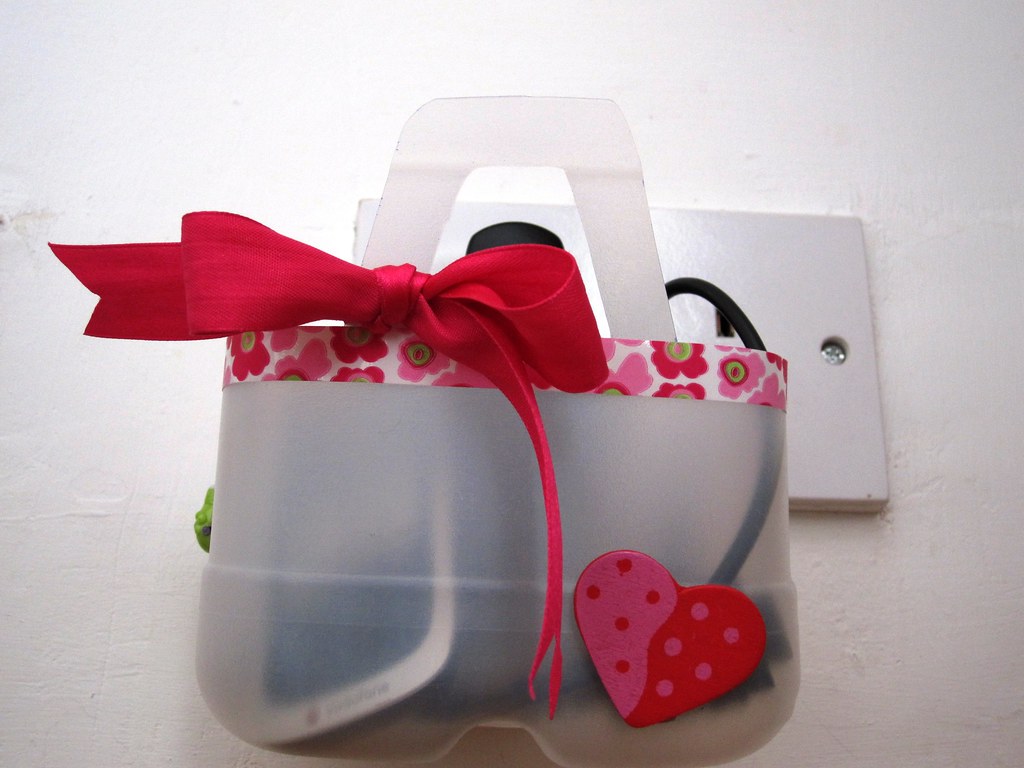
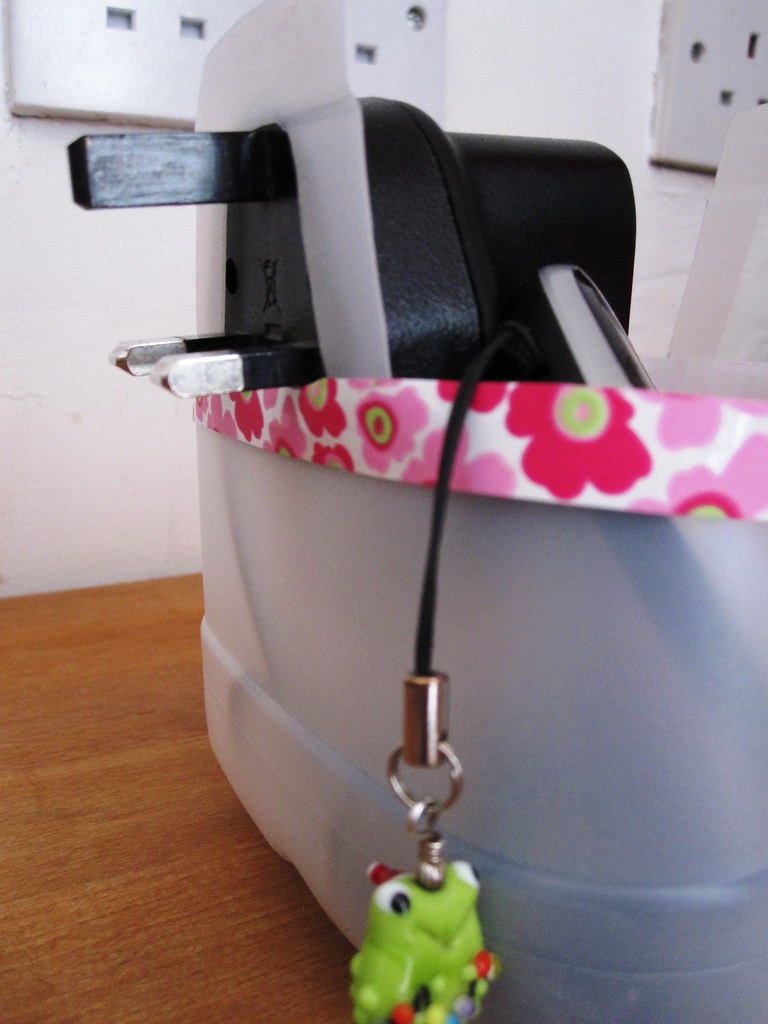
Can you see properly what I made? Yes, it is a plastic basket with little handles. But the cool thing is that the handle is big enough to put a plug through and attach it that way against the socket. So this is really a little mobile phone charging station. And here is how I made it:

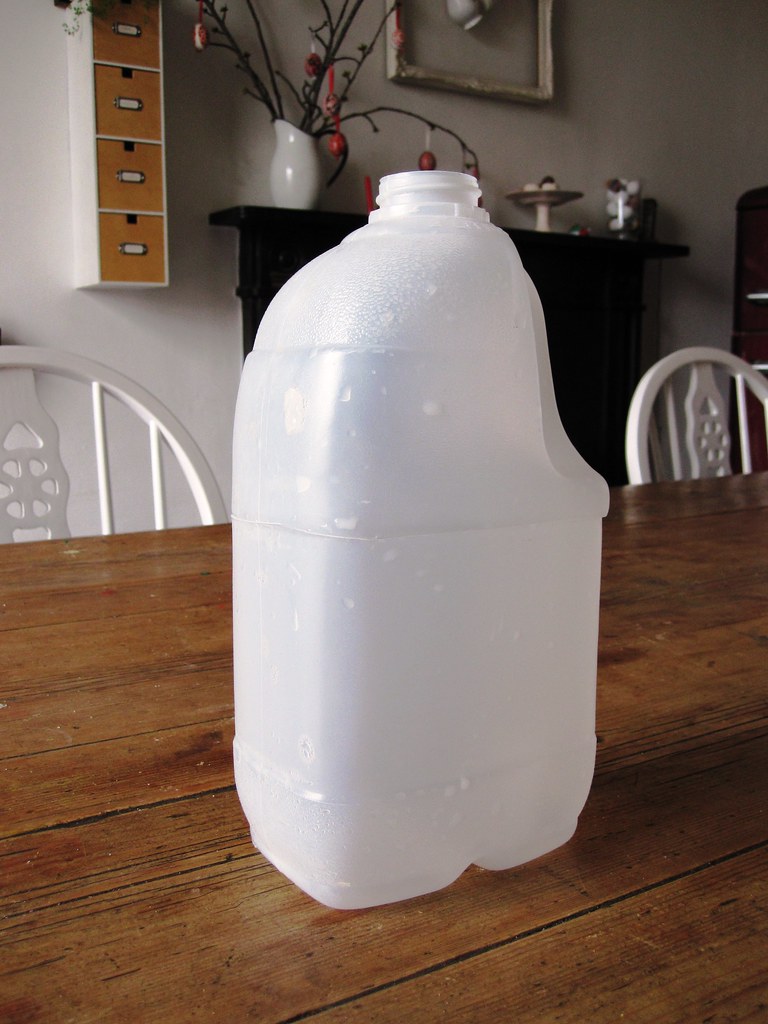
Take a plastic milk bottle - or other plastic container that is reasonable easy to cut with scissors. A bottle with a rectangular-shape bottom is easiest to use for this project. 

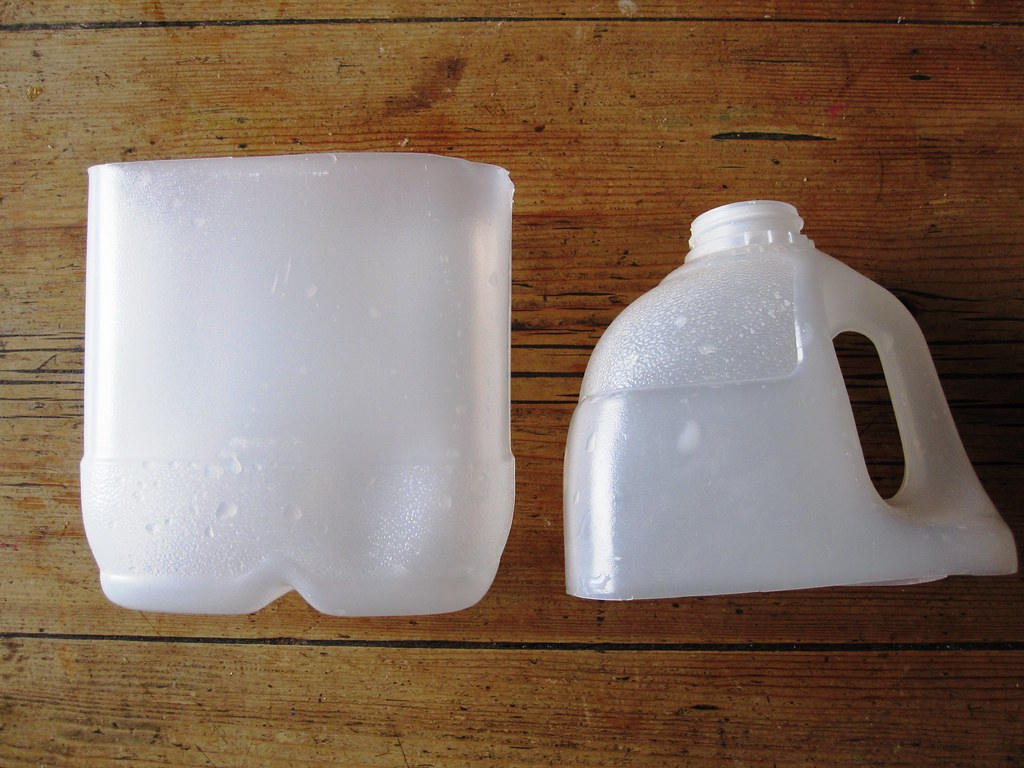
First cut the bottle in half. Make sure you have enough of the bottle left, though, to cut out little handles.

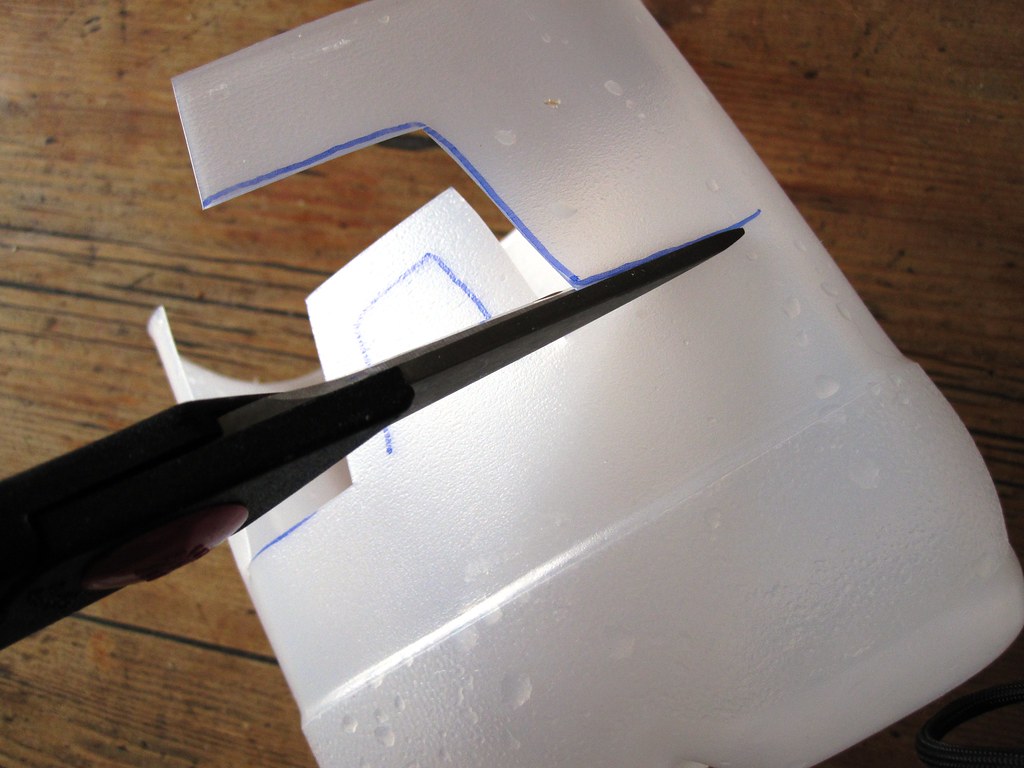
Next determine the size of your plug. The Irish plugs are really strange - hehe, I think so, having grown up with different types of plugs in Germany. They have three bits sticking out, arranged in a sort of triangular shape. Mark the shape of your handles on the plastic, either making a template or freehanding it. 

Now cut out the handles and the rim of the basket. Our bottles are fairly thin plastic, so it was very easy to do that with ordinary kitchen scissors.


Bingo - that's it. You can now push the plug of your mobile phonecharger from the inside of the basket through the handle and plug it into the socket. The handle will keep the basket hanging securely against the wall/socket. Plastic is non-electroconductive, so it is safe to attach it that way. Place your mobile in the charging station, plugged into the charger.


I glammed up my simple charging station with a length of colourful plastic ribbon which I stuck around the rim with glue dots. A matching pink bow and a little heart complete the cute look. The whole thing cost nothing and was done in a few minutes. How much better can it get???

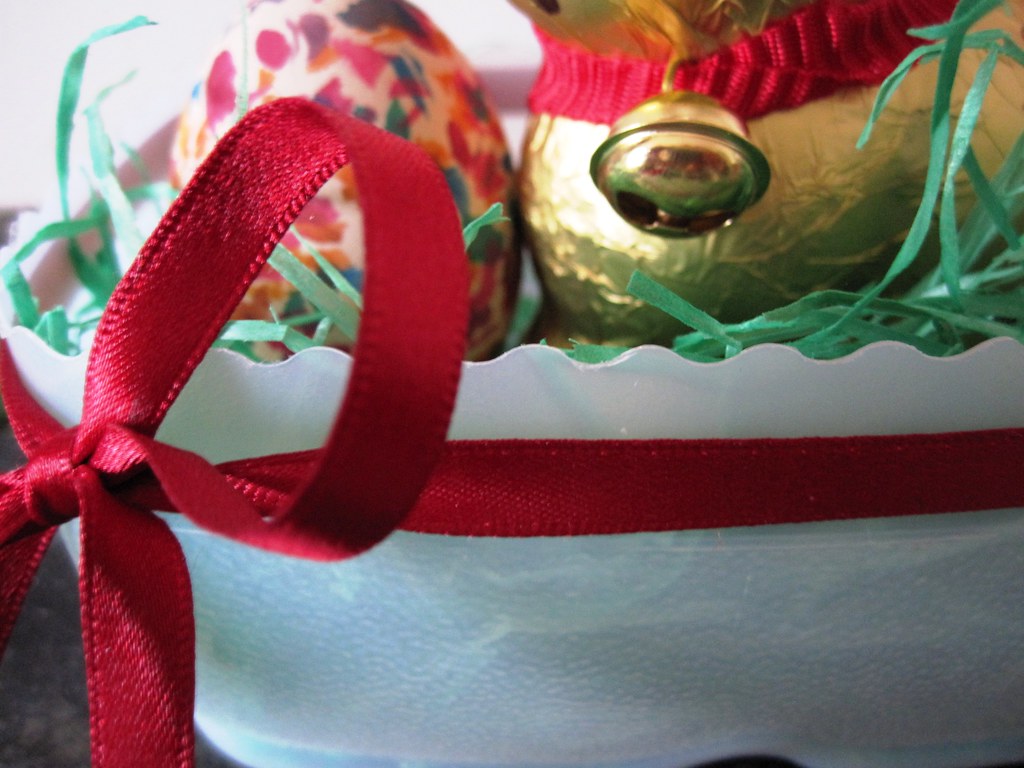
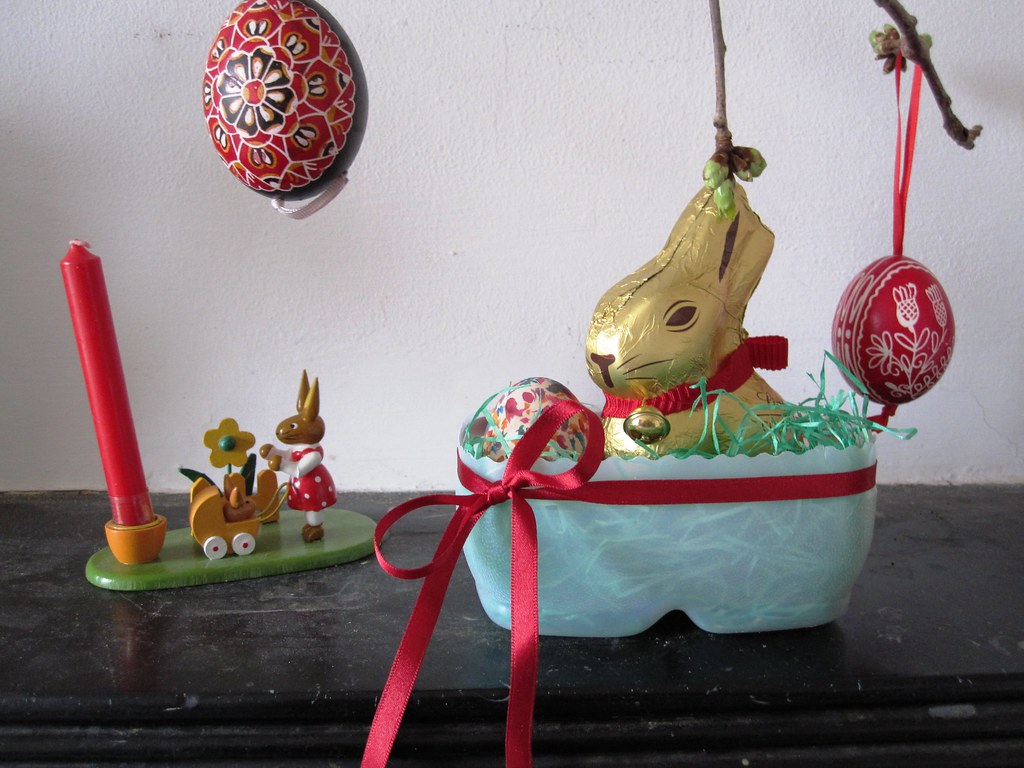
And while I was at it I made another one, trying out the wavy scissors. I just cut the bottle in half and then tied a little ribbon around it. With some Easter grass it is a cute little nest, home to a Lindt chocolate bunny which I am saving for when Lent is over and I am eating chocolate again. Can't wait...


Where do you keep your mobile phone? Have trouble finding it in the morning? Well, no more hunting for your mobile. Even when not charging it, this is a handy place to keep your phone! Make one for each member of the family, personalize the charging station with embellishments, initials, ribbons... Can you think of other uses for a milkbottle basket?

Best,

Linking to:
Photobucket


DIY Day @ ASPTL


Saturday, January 30, 2010

Bottle Bottom Creations

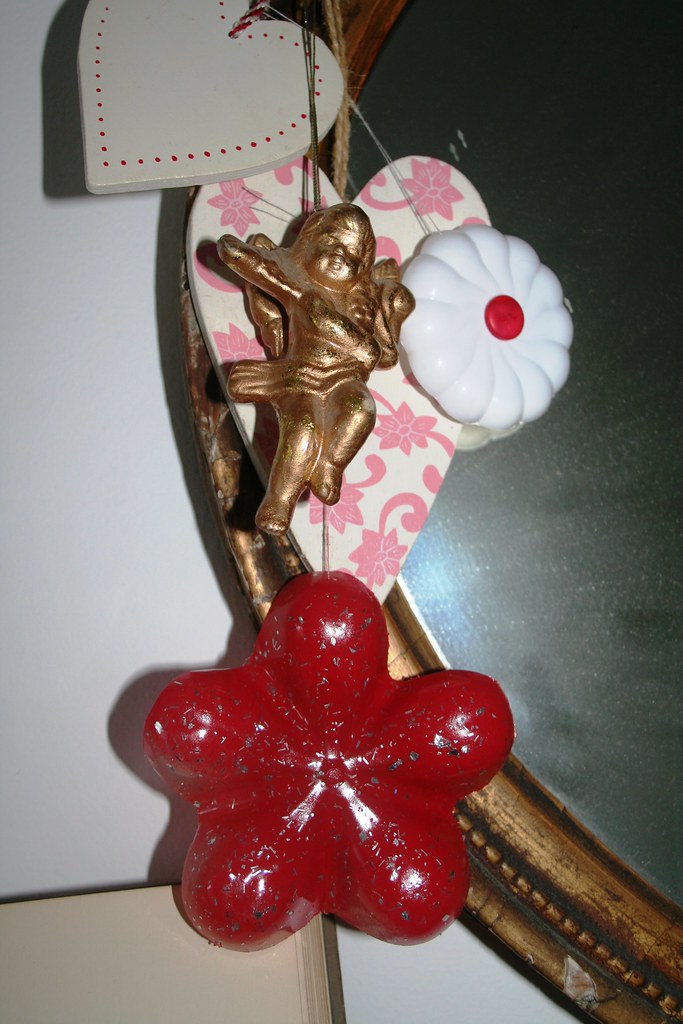
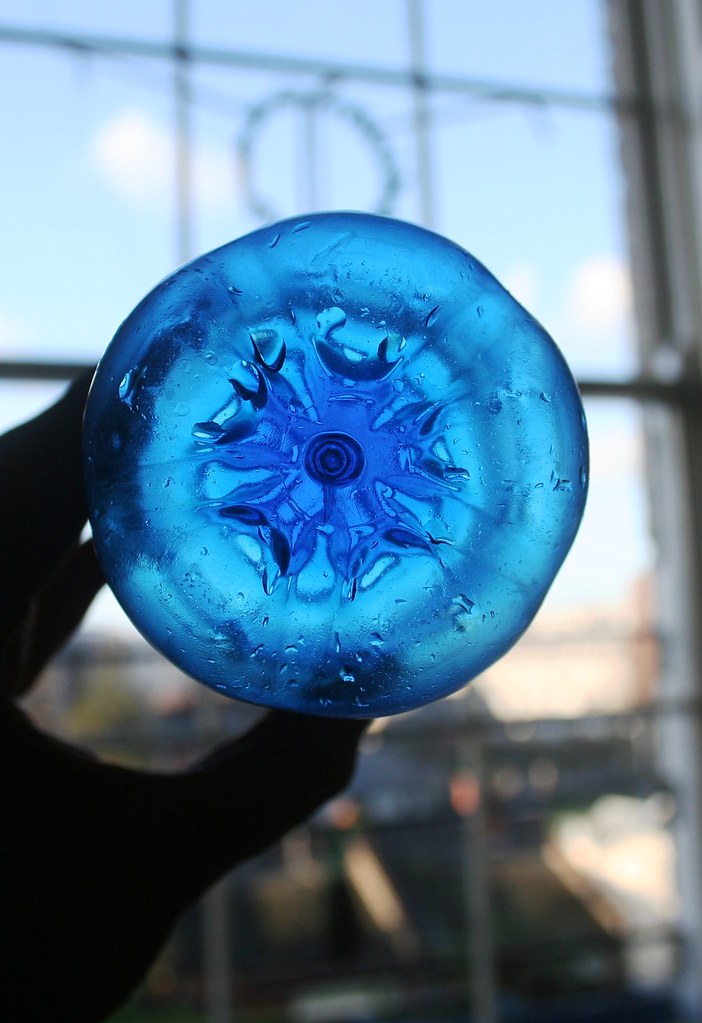
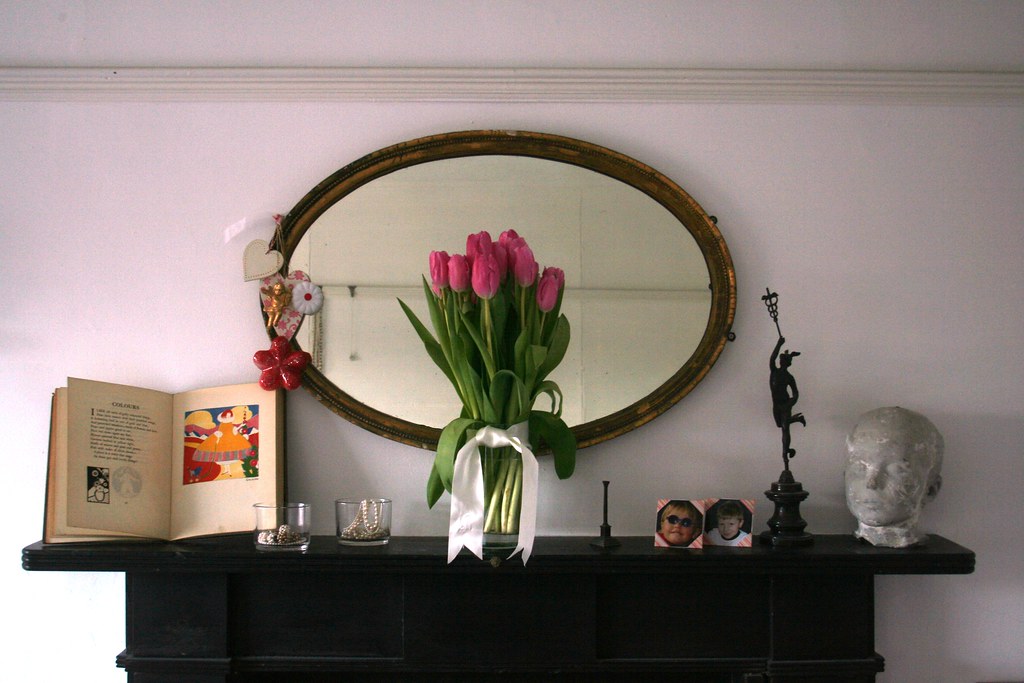
Did anyone take a closer look at the mirror decorations in yesterday's post? I had a bundle of hearts and flowers hanging on the mirror. I was in two minds about showing the flowers closer, because this is a slightly rubbishy craft project. Yes, literally. The "flowers" are made from plastic bottle bottoms! But now I have decided to show them in detail, because I just saw the most amazing chandelier made from those bottle bottoms. Jan from bobbypins boardwalk posted a whole list of inspiring chandeliers made from all sorts of things, among them one that was made from the plastic bottle bottoms. Grrrrrrrrrah, and I thought I was soooo original, creative and imaginative *hmph*...


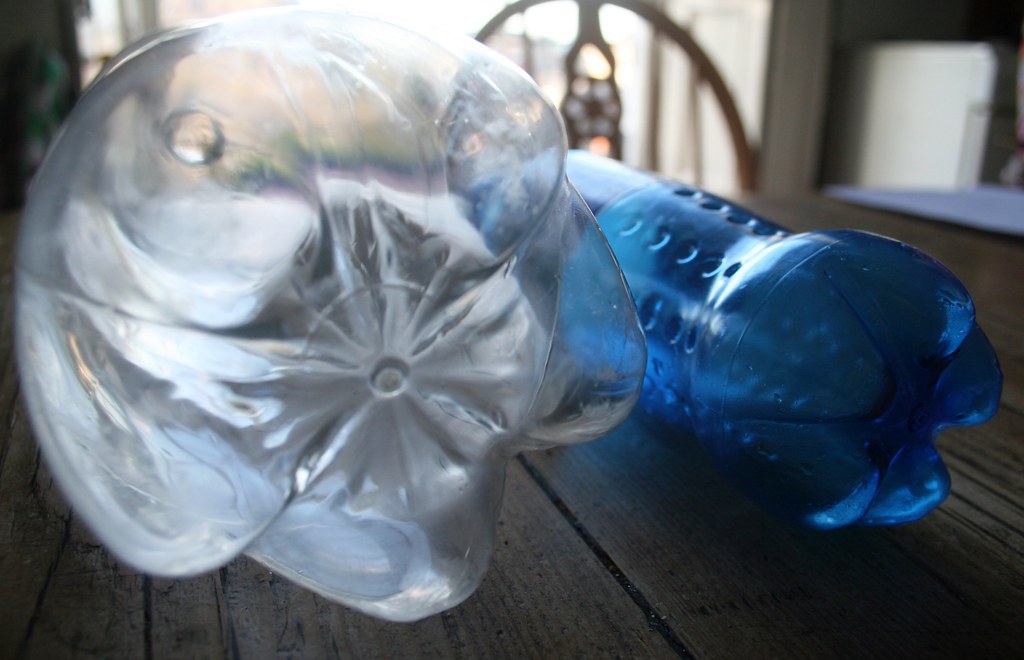
I had noticed a while ago that the bottoms of the plastic bottles had a flower shape and I wanted to make something with that, too. With spring coming, now is the time to start digging out some flowery decorations. "Spring coming", I hear you wonder? Well, in Ireland, the first day of spring is traditionally St Brigid's Day, which is the 1st of February. The day after tomorrow. Ha! Spring? It's -1°C outside!!! But a little cheerful flower decoration will certainly lift my spirits!

So, anyway, I rinsed my plastic bottles and then used a sharp, serrated bread knife to cut into the plastic. Once you have a cut about 1 cm long, you can wedge your scissors in there and continue cutting with them. If you use the knife for cutting the whole bottom off, the edges will be rather rough. You can tidy them up with your scissors, too.

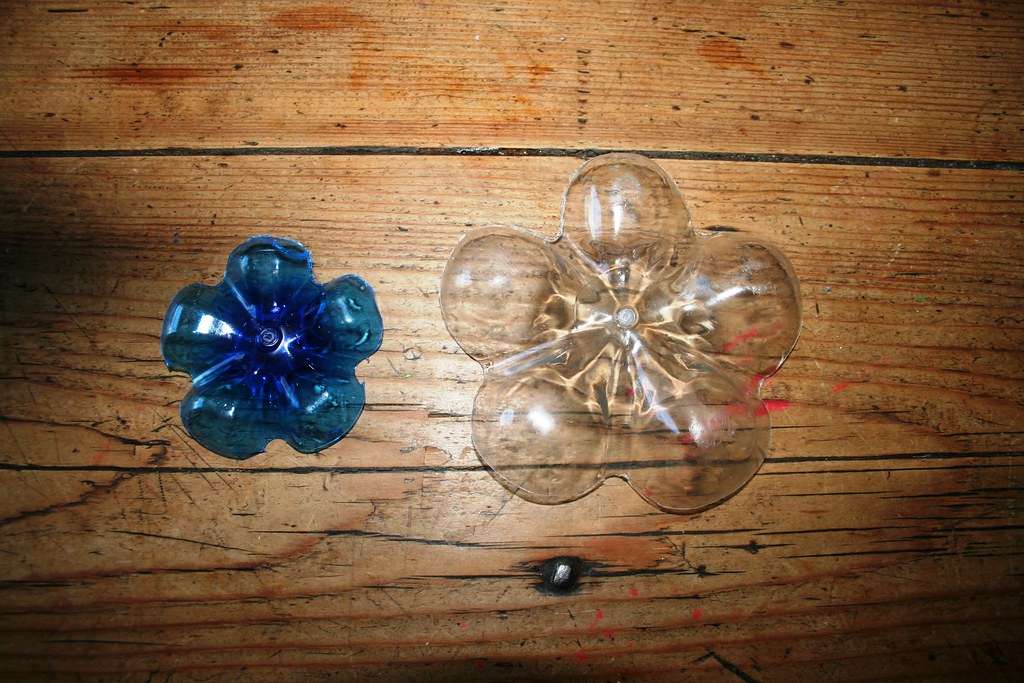
And that is it - you already have your flower shapes there. I did this with a 2 Liter Pepsi bottle (see clear, bigger flower on the right) and a smaller Sprite bottle (blue flower on the left). 

The clear flower I then sprayed with red spray paint, and while the spray paint was drying, I sprinkled some glitter on it. I am leaving the blue flower as it is, just glueing a little white button into the centre. Punch a hole in it with a needle and attach a piece of thread to hang it from.


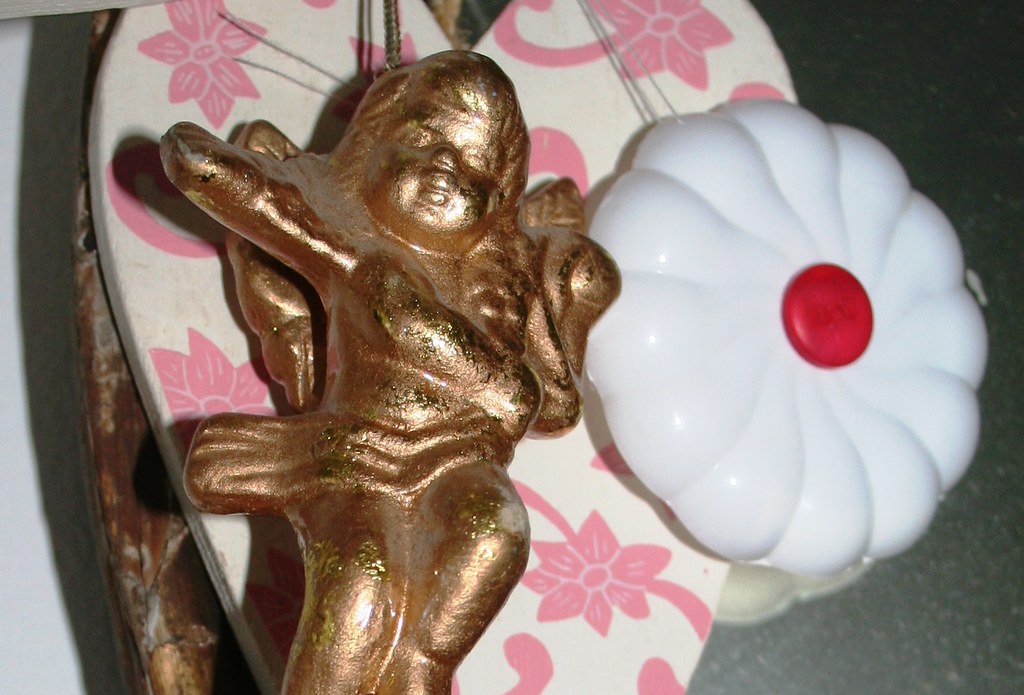
Here is another small flower. It was made from the cap of an old can of whipped cream. The plastic was a little bit thicker and slightly more difficult to cut. With a small red button in the centre it makes a cute little flower.

This is an easy project - and a fun one, too. Might look nice in the kids' room. Or just glue some skewers to the back of them and stick them into a potted plant? For the moment I kind of like them on the mirror... 


Best,


Linking to

Making and The Girl Creative

Saturday, July 11, 2009

Bottle Recycling

A quick blog entry before I am heading out tonight to a birthday party. Can't go before I have shown my latest creative project, though, which I did yesterday on the spur of the moment. The idea comes from a German craft blog, which I absolutely adore.

Hanna Charlotte Müller is an industrial designer with focus on textile design who regularly blogs on her crafts, paper and textile projects. She does this for the well-known German women's magazine Brigitte under the heading of "Selbermachen!" (do it yourself). Her projects are really unusual but always original, crafty, mostly easy and certainly not the usual pastelly-twee stuff that you find on so many blogs and crafts sites. Please check it out yourself - even if you can't speak German. Her entries have detailed descriptions, illustrated with many photos. Click here.

So after being inspired by Hanna and still being in recycling mode, I made a little multi-purpose container, fashioned from an empty shampoo bottle. All you need for this project is an empty plastic bottle (shampoo bottles, lotion containers, shower gel bottles of all shapes, colours and sizes will do) and (nail)scissors, a sharp, sturdy knife and a pencil, possibly a punch or a ticket punch or a scalpel.

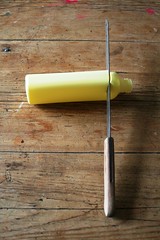
Start by cleaning the bottle and drying it. Then cut off the top. I used a sharp bread knife to give me a headstart because my little nail scissors could not cut through the thick plastic screw top of the bottle.


Then mark the design of your bottle on the plastic with a pencil. For my starter project I decided not to be too ambitous and chose an easy scallop edge design which I marked out by laying the nail scissors onto the bottle and then draw around the edges with the pencil - see the photo.


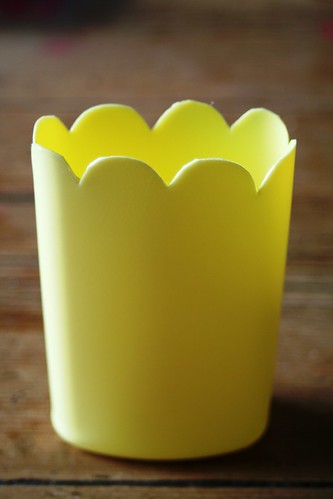
Next I cut the scallop edge with the nail scissors. It was a bit fiddly but it is not that difficult. My bottle was too small to then punch holes into the edge and I did not have my scalpel at hand, but theoretically you could make lace-y designs by using a ticket-punch or cutting out shapes with the scalpel.


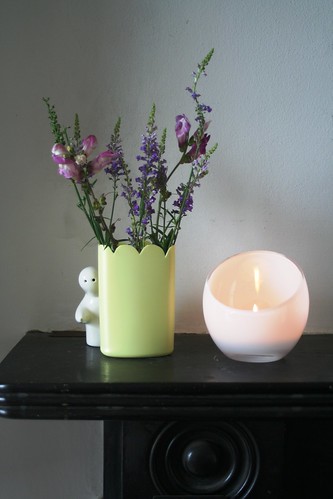
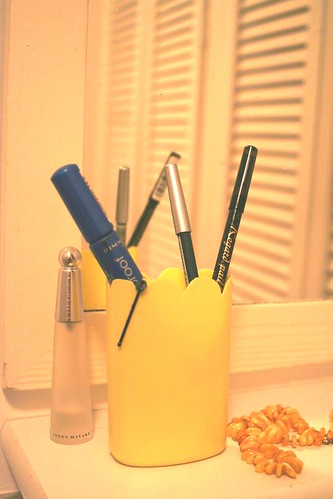
The container took half an hour to make and cost nothing! This is more a decorative object than one with a clear practical use, but I can think of various uses for my new plastic container - as vase, make-up container or pencil tidy on my desk. Here are my suggestions: