FYI


Friday, March 16, 2012

Felt Flower

The momentum was kept up today with not one but three crafty things I did. It's already late now and tomorrow is Paddy's Day, so I won't have time to write up all three, but I'll show you todays favourite piece of creativity - a felt flower.


The inspiration for this easy flower pin came from pinterest - or actually a craft blog called Homemaker in Heels. I saw the flower there and decided on a whim that I should try it out. And I did and was lucky at first go. Goes to show how easy this project really is!!!

Here's what you need: A strip of felt, scissors, a glue gun and a brooch pin.


Cut off a piece of felt, about 12" long and 4" wide. Never mind whether it is ironed or not - it won't make any difference to the outcome of the project.


Fold the strip in half.


Sew down the length of the strip and then cut the felt almost down to the seam.


Roll up the length of felt. Secure the last bit with a drop of hot glue.


Now fix the flower by putting hot glue all into the rolled up middle of the flower. Before the glue has hardened, bunch a bit of felt into the middle there to fill it in a little.


Cut a bit of felt and cover the bunched up back of the flower with it. Hot glue a brooch needle onto the back and tidy up all the glue strings.


Presto!


Look how extraordinarily pleased I am with my flower pin. I am grinning like a gingerbread horse (sorry, direct translation from German - but you get the picture... I am happy as Larry, pleased as Peter and delighted as Delilah...) You can almost hear me say tadahhhhhhhhh...


 Anyhow - if you are looking for a simple flower brooch to update an outfit, to prettify a hat or to bump up a bag, this is the project to do as you will more than likely have all ingredients at home. I think I will make many more of these - as pressies for friends, mums and goodie bag contents for the next girly birthday party. It even looks good in my tin of shamrock, planted just in time for Paddy's Day.


Best,


Linking this to:

Tickled Pink @ 504 Main
Frugalicious Friday @ Finding Fabulous

Thursday, March 15, 2012

Easter Nest

The zesty lemon has obviously revived me. My creative juices are literally boiling, it seems. Mind you, I am only doing little projects here, preferably something that is done in ten minutes. Anything else and I have a major guilty conscience because I *really* should be doing my college homework and not some nimsywhimsy crafting... But look what I made:


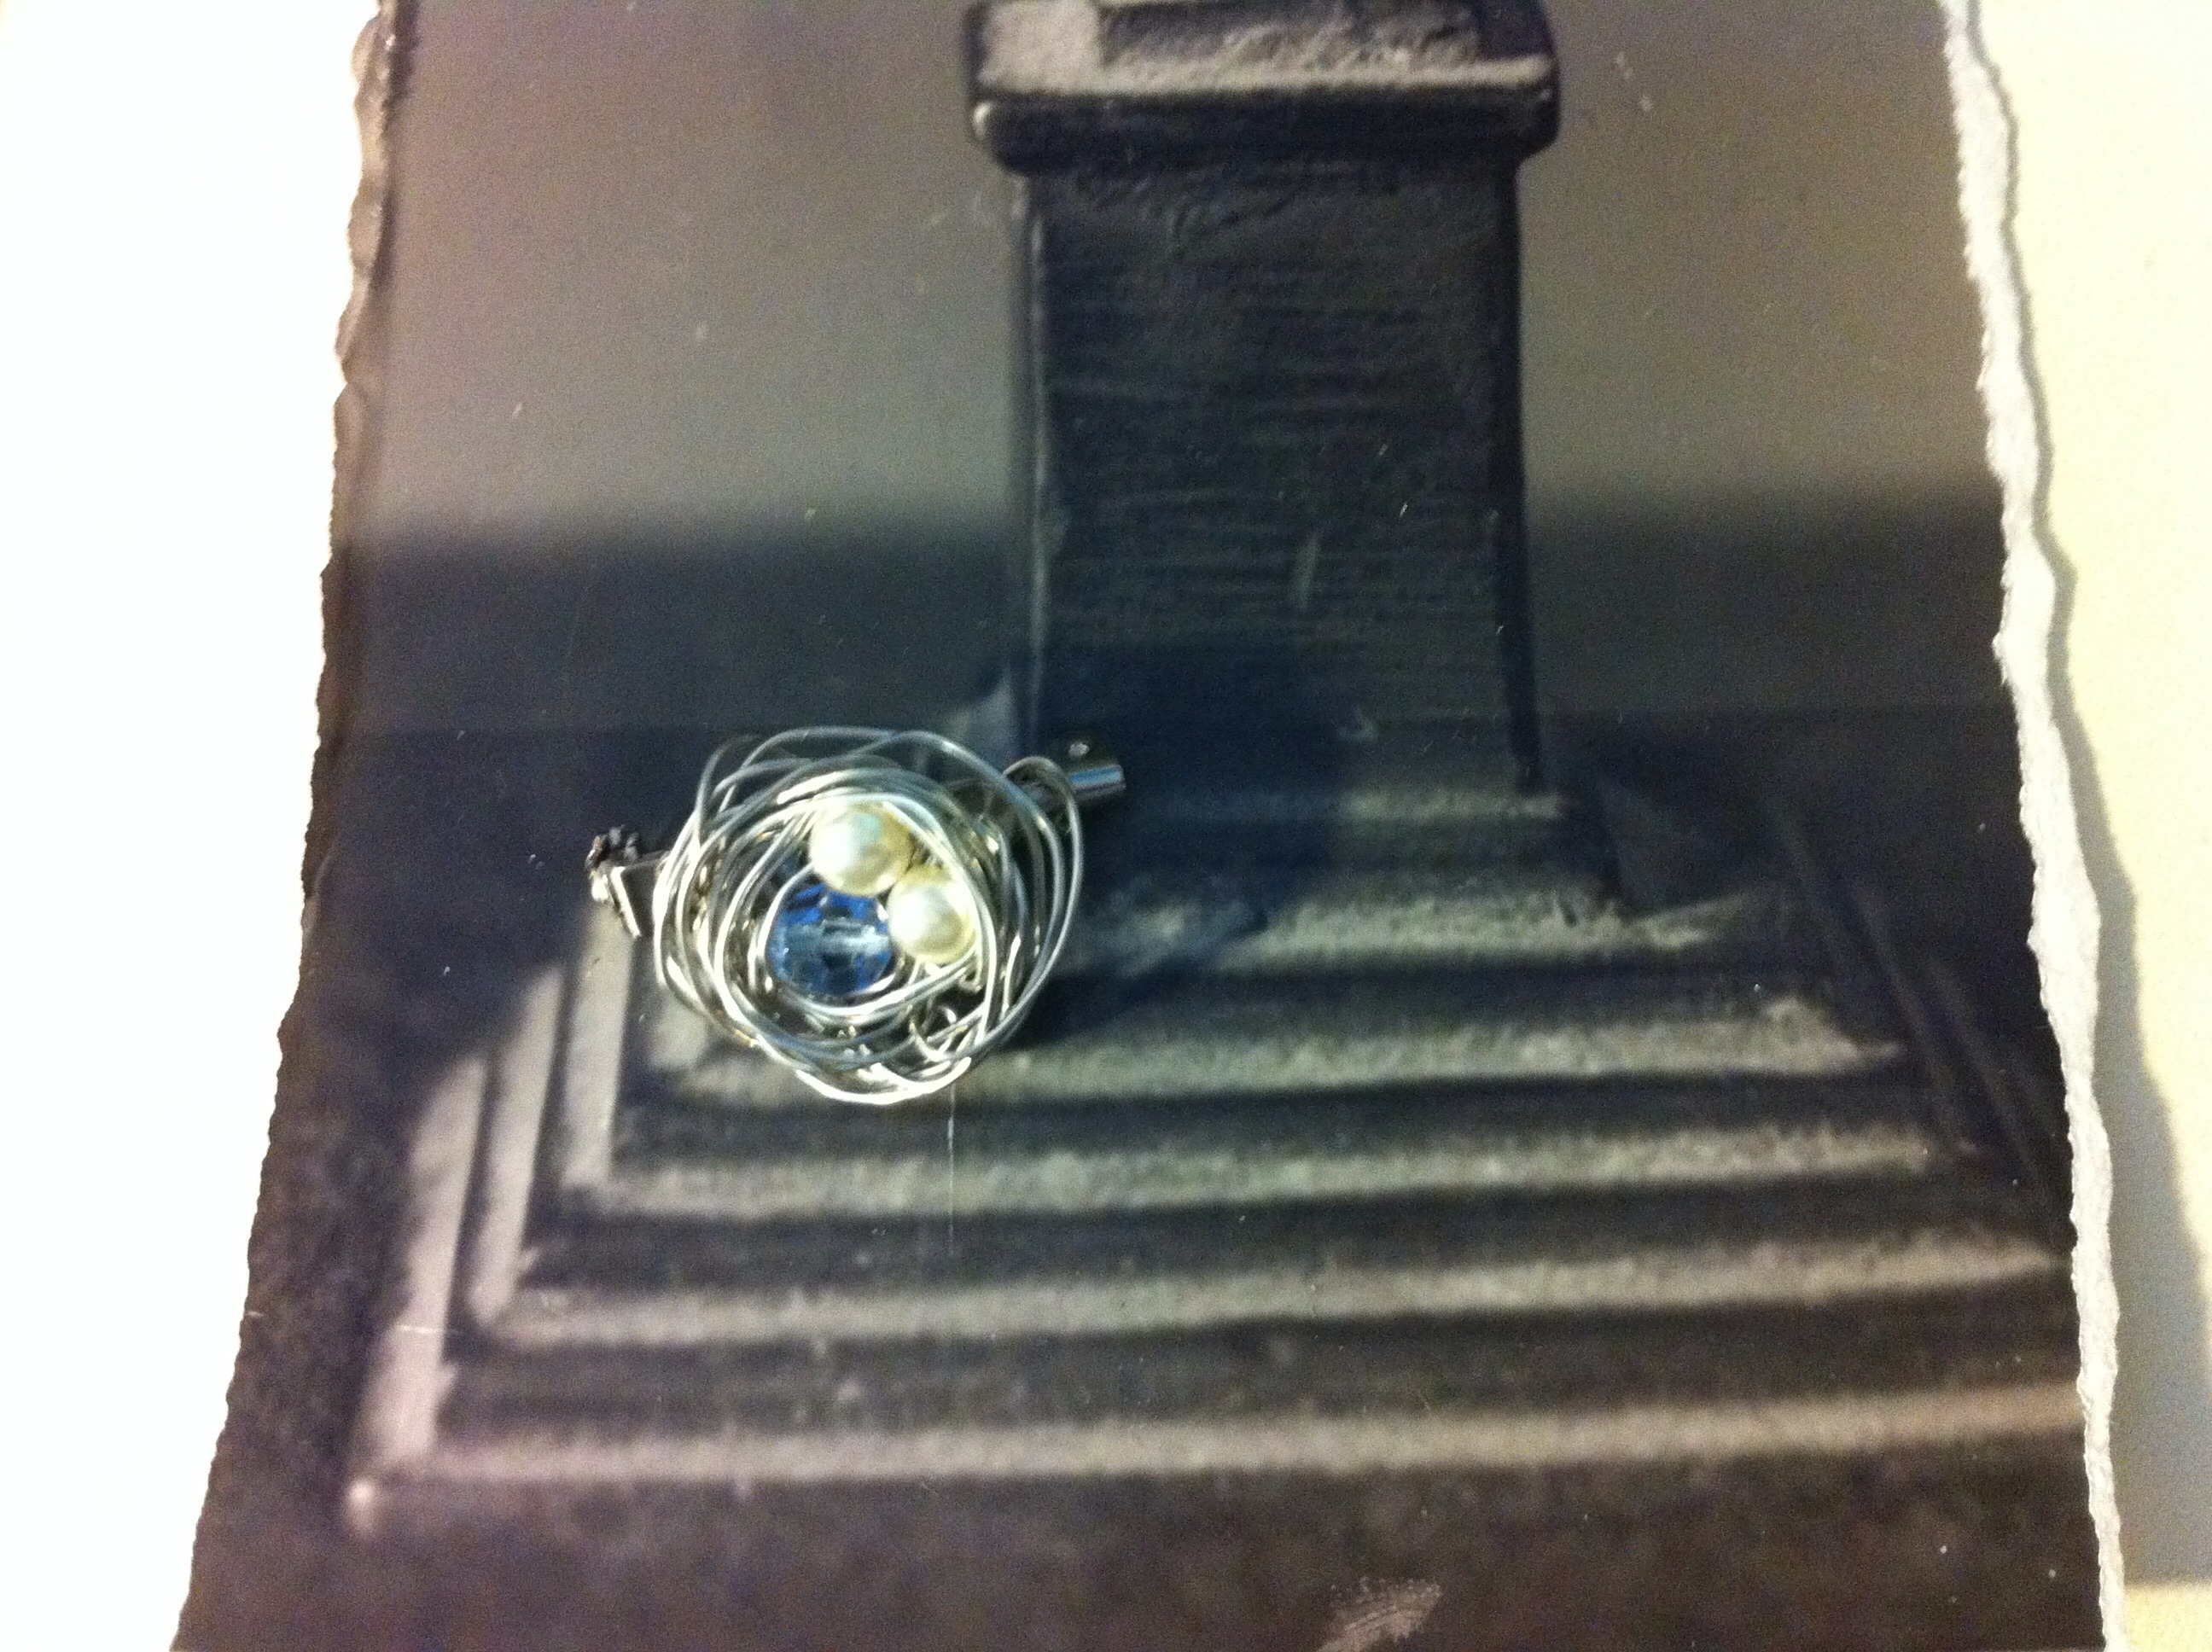
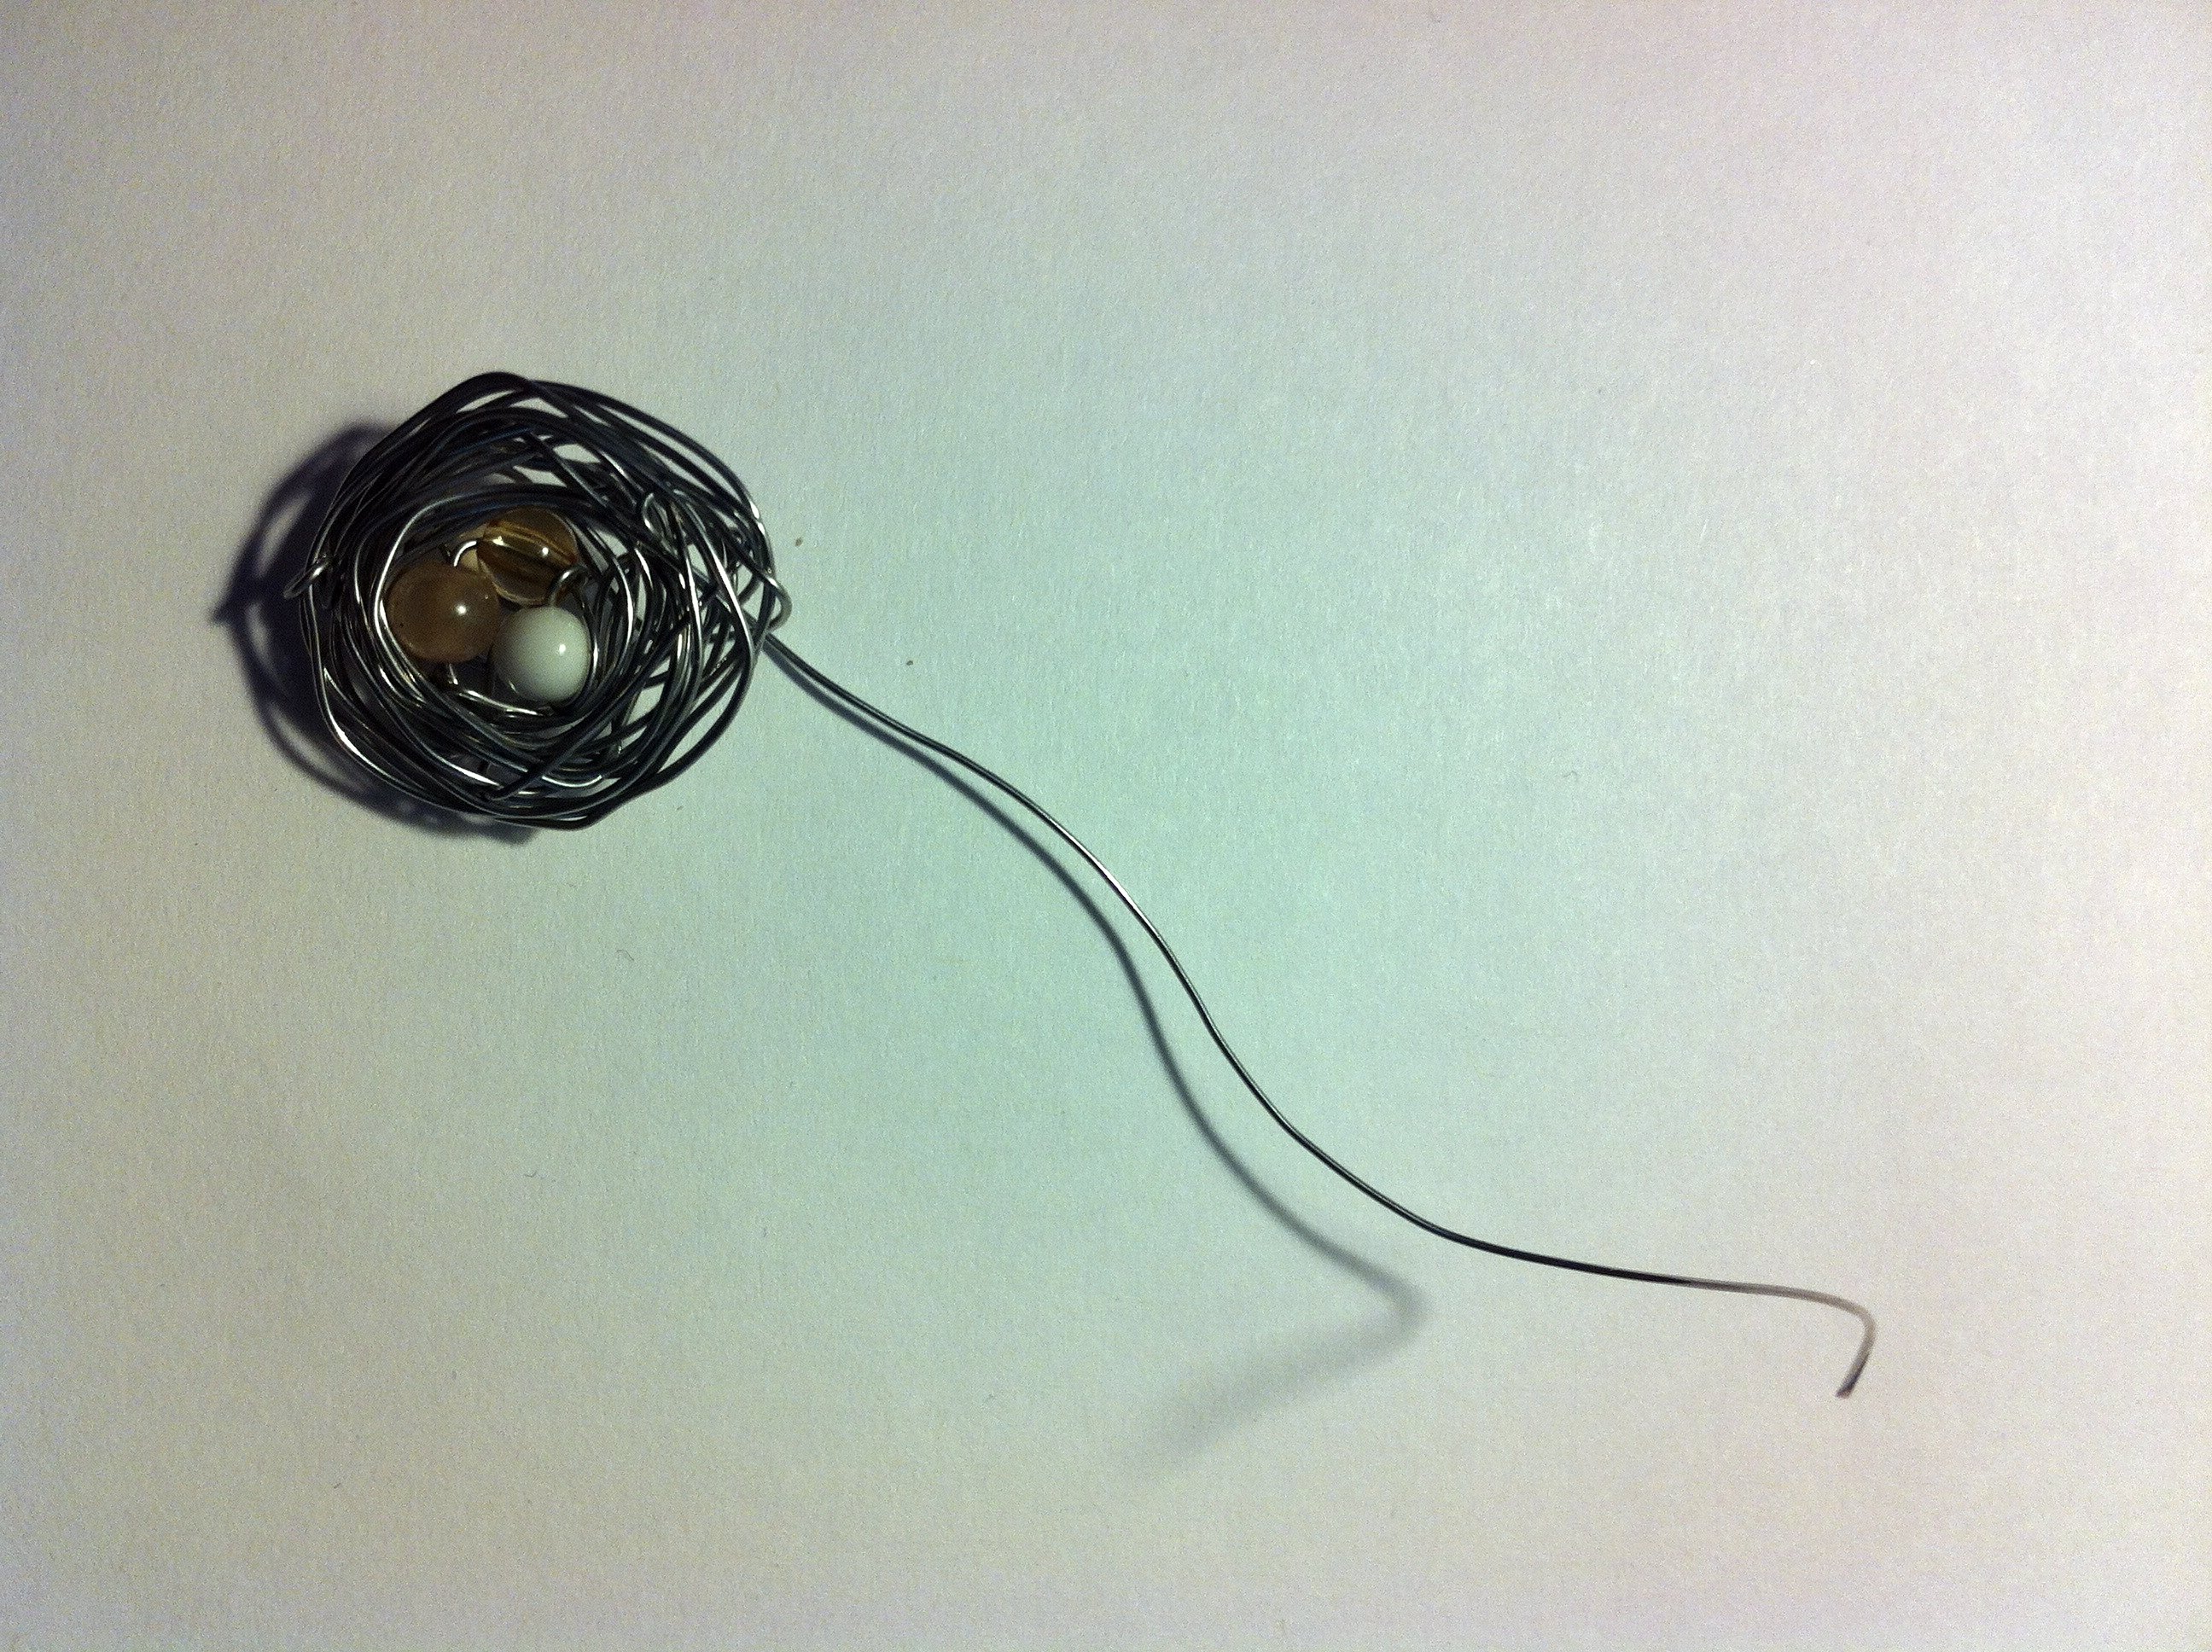
Easter doesn't get any easier than this! Took me five minutes do make this little nest. It had been on my to-do-list for at least two years. Chances are that you have everything you need for these little beauties at home, anyway: some beads and silver wire.

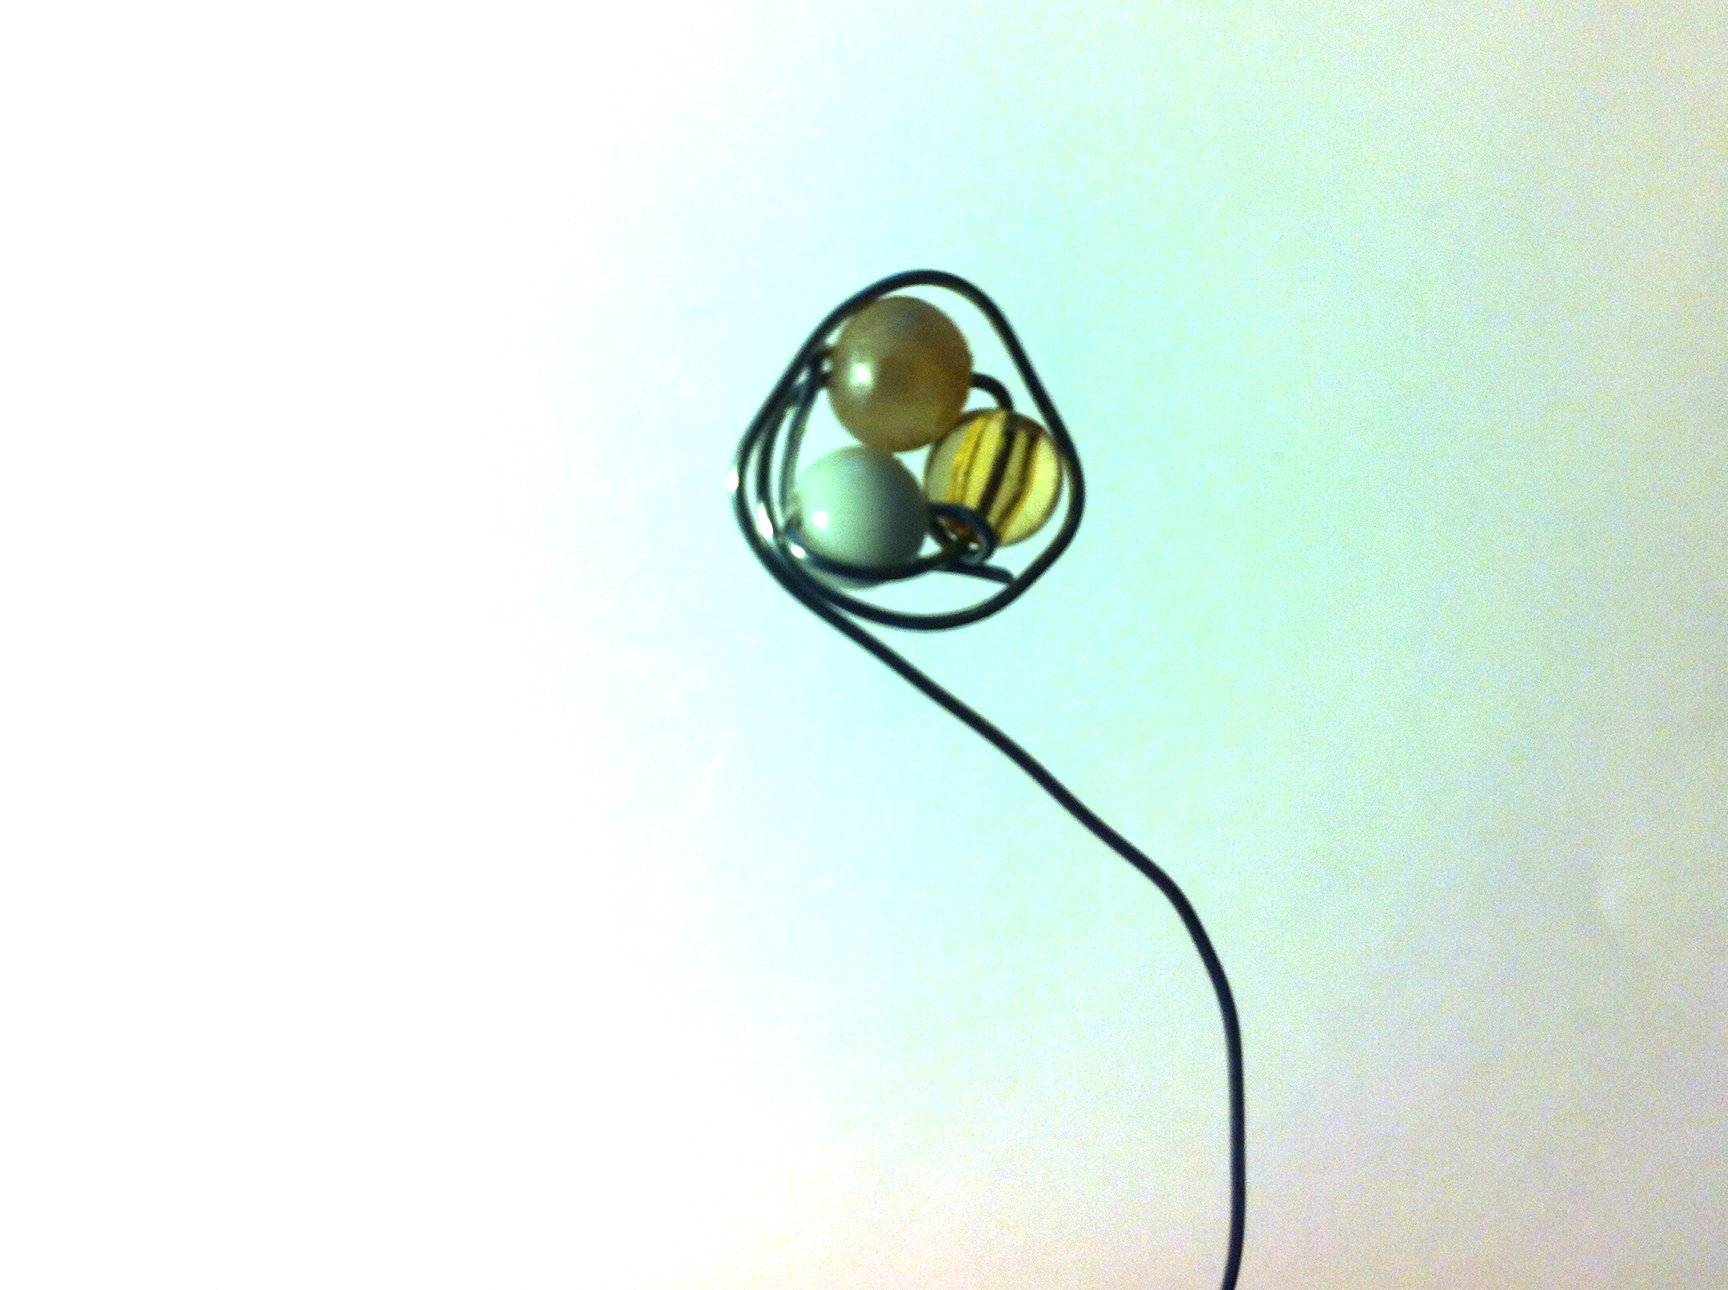
For my first little nest I didn't take any pictures, but I have created another one just to show you in a tut how these are made. Start by threading your beads onto the wire. I think that three work best, but you can use any number.

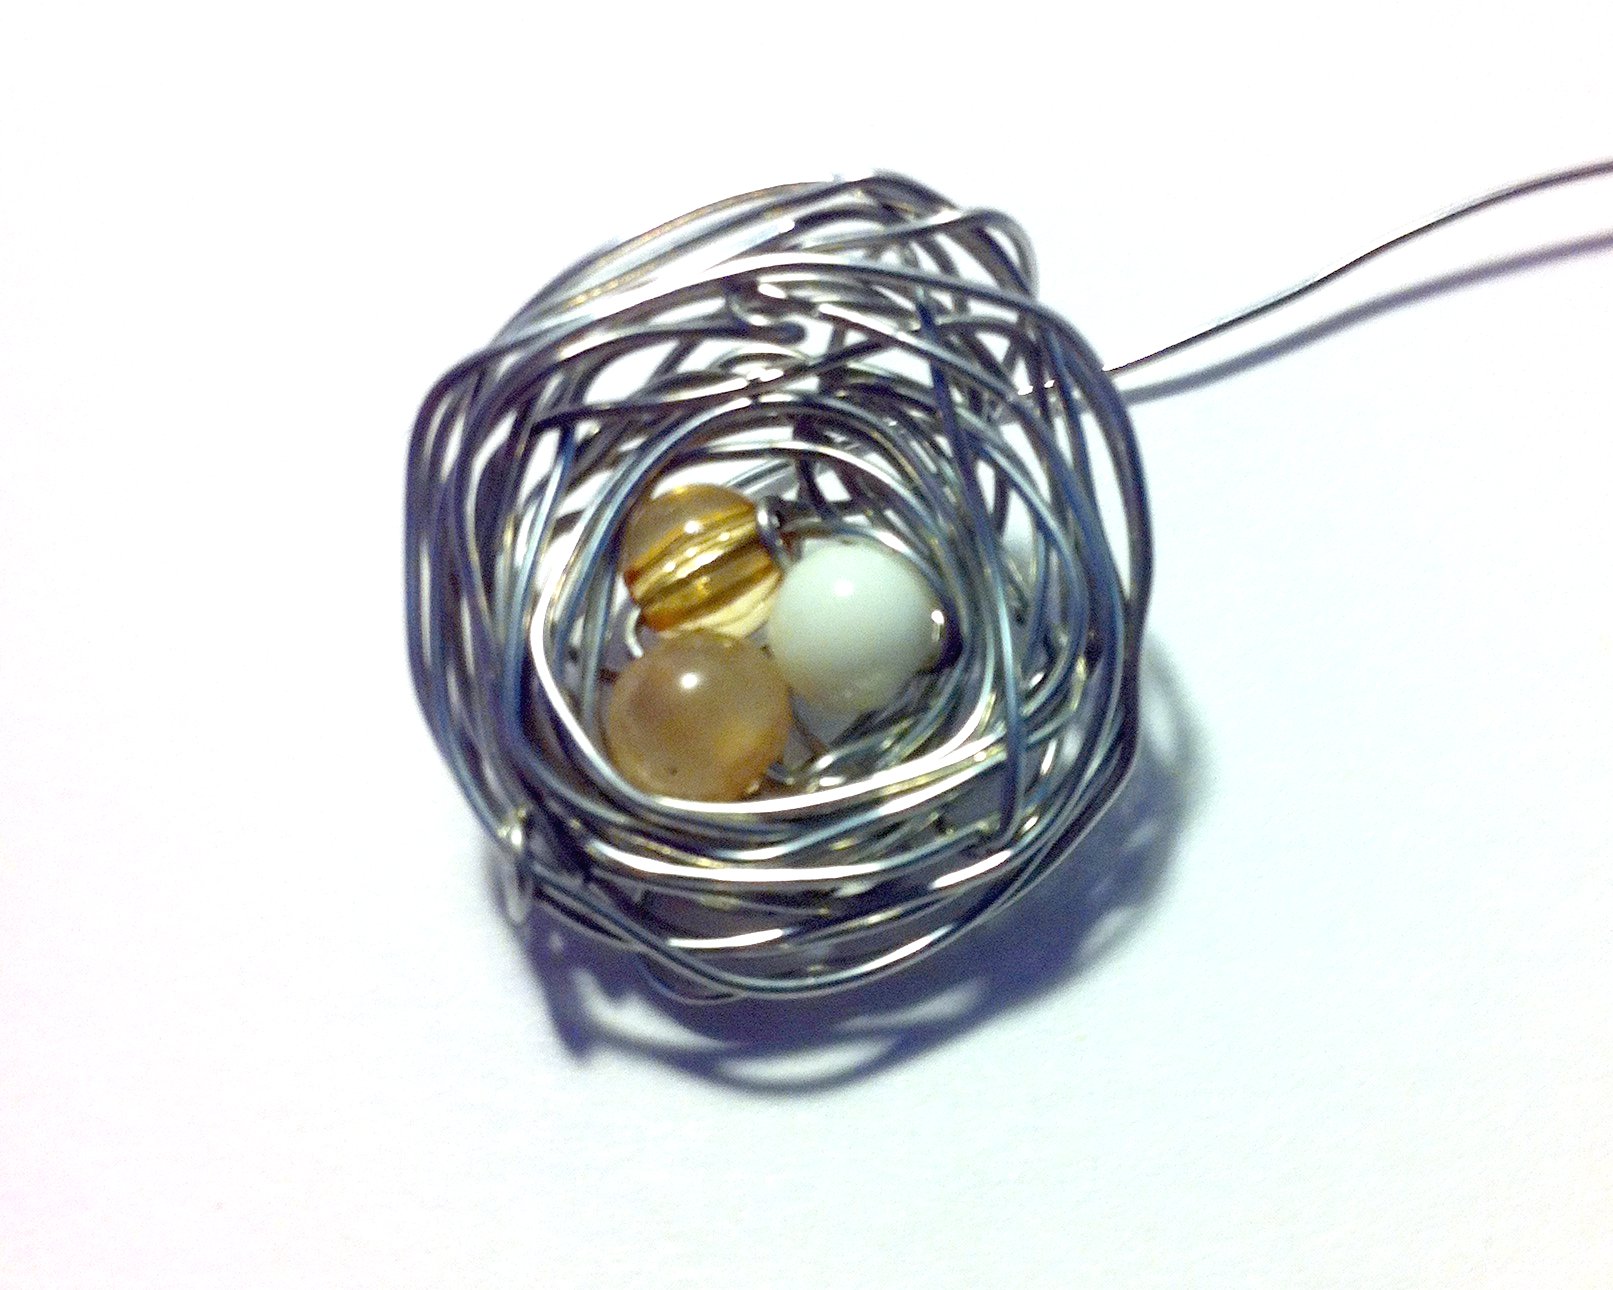
Now start winding the wire around the three  beads. Just keep going and going. Occasionally, change direction or move the wire right underneath your developing nest, just so the wire rounds become a little more irregular.

Continue until the nest looks big enough. You can fix a pin to the back of it by simply threading the wire through the holes in it. Unfortunately my nest is not really big enough to disguise the pin - I was just too impatient to finish it.


Anyhow, these are really cute. They are about the size of a thumbnail and might be suitable as pendants or earrings. I am also thinking that they could look sweet as decorations on the Easter table.


Happy Easter decorating...


Best,


Wednesday, March 14, 2012

Ch-ch-ch-changes

Hello hello - yes, I have woken up from hibernation in Hibernia. It is quite evident - not only in the fact that I have already posted a crafty project this week, but that I could not rest until I had spring-cleaned my blog.

Well, it's a bit more than a spring clean, I guess. It's a complete make-over. I just couldn't bear the bright read any longer. Inexplicably I have recently developed a "thing" for bright yellow. I have no idea why. I never particularly liked yellow - too garish, too cold, too sour. But at the moment I simply cannot get enough of yellow. I have been posting quite a bit of that on my Pinterest boards. Maybe I am craving the colour of the sun after months of winter? In any case - since I cannot really re-decorate my house in bright yellow (it would just look out of place, I think), I am revamping craft-werk instead.


Grey is pretty much on trend, too, and doesn't it look great with yellow? I couldn't resist and drag the spring-theme even to the header and reappropriate one of my earlier projects, the bird magnets, for the header illustration. Read about them here.

Oh, and one thing hasn't changed: I am still a geek. And therefore I had to change my favicon from the white scissors on red background to a sleek little factory. (If you want to know how to make your own custom favicon, here's my post.)

That, actually, is my general logo for my RLW (real life work) as a journalist and photographer. Incidentally, if you wanna have a look, check my new photography website which I am currently revamping, too (so not entirely glitch-less yet). It's called imagewerk - of course...

Anyhow, hope you like the new look. While I was at it, I had to change my blog signature, too. After all, it all has to fit together, somehow - the organic look, so to speak. So I made myself a new signature on mylivesignature.com It's dead easy - so had over there and get yourself a personal touch, too ;-)


Best,

Tuesday, March 13, 2012

Spring into Skirts

Why hello, tonight I am writing from my iPhone rather than my computer, just because I am so flippin' pleased that I can't leave my latest creative creation. I have been skirting again...

My love affair with skirts began, which was rather late for me,
Between the end of the Chatterley ban,
And 1963.

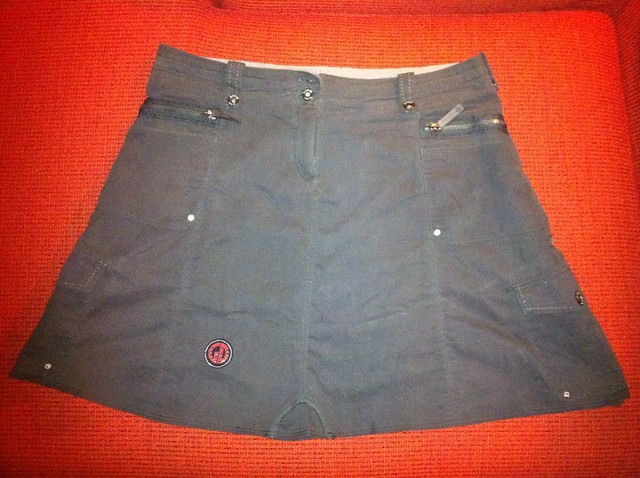
Eh, no, that's actually quoting from my second favourite poem by my favourite poet, the wonderfully laconic Philip Larkin (name of the poem: Annus Miserabilis, check it out!). My love affair began - late, admittedly - about four years ago. At the time I had lost a whole lot of weight and I suddenly discovered that maybe I wouldn't cut such a ridiculous figure in a skirt anymore... The first skirt that I bought was a tame, grey, sporty number. Lots of pockets and zips and details.
Oh dear, an iPhone photo again. Sorry, very grainy...
Sadly, I never wore the skirt that much. It was just before leggings made their big comeback, and I was just not a very "tight" girl... But I wore it occasionally, then less frequently, and for the last two years I think it just sat sadly in my wardrobe.

Until I came across it today. I had it in my hands to add it to the bag of charity clothes which is about to get another boost thanks to spring cleaning. And then a wave of nostalgia hit me and I felt that I should give poor little skirtie another try.

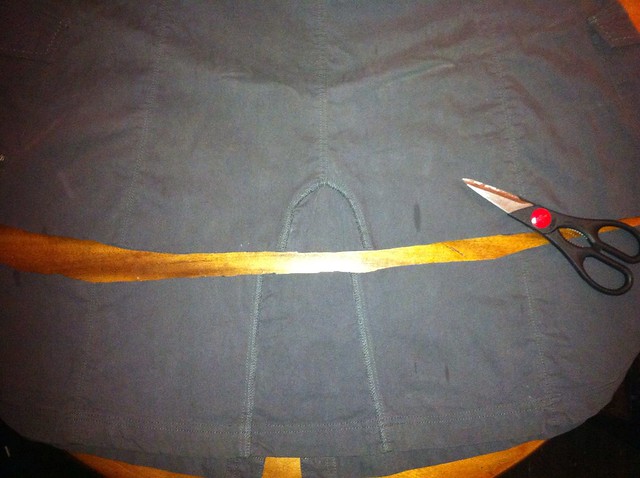
I quickly put my finger on the reason why I haven't been wearing it for so long: it is too long. It looks like a weird mix of old-fashioned mid-calf length and trendy side-pocket-style. But I decided that the trouser heroine aka moi was going to apply her clothes-saving magic to a skirt for a change. Tada! So out came the scissors and scrupulessly I cut of a good hand's width at the bottom.

Here it is, shortened but not yet hemmed. I managed to cut off the bottom rather neatly and slightly rounded. However, because there are side pockets that reach down all the way to the knee, I couldn't cut it too short.

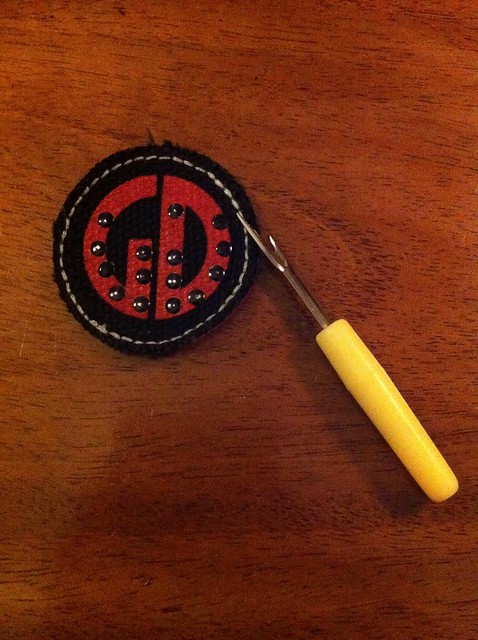
I actually even went to the lengths of removing this little badge from the cut-off bit with the intention of sewing it back onto the skirt somewhere. The little tool here in the picture is actually my favourite sewing implement: the seam unpicker is a great little thing that I couldn't live without!!!

Anyway, I turned the skirt inside out, pinned the hem up and then sewed around the skirt twice to get the kind of typical, rustiv "denim-y" seam at the bottom. It was actually not that difficult.

And here is the finished item - sorry, not modelled by anyone, since yours truly is home alone and does not have anyone to take pictures of her *awwww*.


I am actually mega-pleased with my re-used skirt. It nearly was thrown out - but now it'll get a new lease of life. And I don't have to spend money on clothes (but can spend it on photo equipment, *yay*)


Best,


- Posted on Tour, using BlogPress from my iPhone

Tuesday, February 14, 2012

Keep Calm and Craft On

*Arrrgh*, I think it's got me. I feel lethargic (not enough sunlight?), hungry (possibly caused by dieting) and at loose ends. Right, it's February, the customary late-winter depression has finally caught up with me. There are several antidotes to this: book a holiday in the sun, eat yourself happy and watch TV for hours on end. Costly and ugly solution. I'd rather just craft a bit and make myself feel better that way. So I cheered myself up with a little flower project.


Yeah, still a bit dullish-February, but that's what happens when this is all that you have at hand:

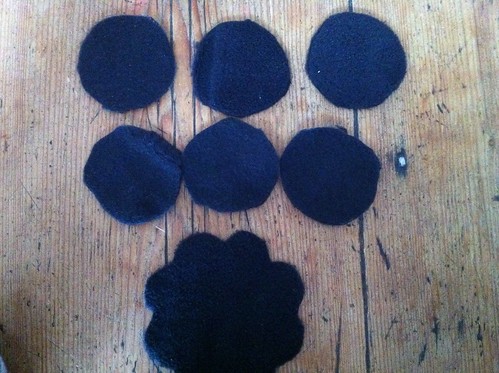
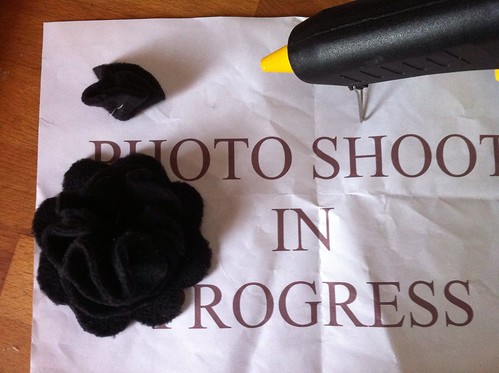
An off-cut from some black fleece and a cookie cutter. I started off by tracing the flower shape of the cookie cutter onto the fabric.

From the remaining fabric I cut six circles. (I used a shot glass to trace the circles.)

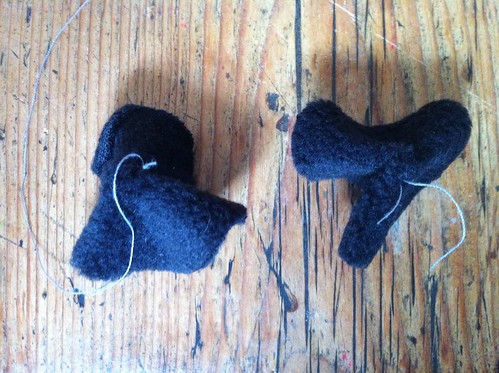
I made the circles into "hats" by gathering the middle of the circle and then sewing through it and tying a tight knot.

I did a little test run and arranged the "hats" on the large flower shape to fit them into place. The easiest is to arrange four of them in a square and after that fitting the two into the remaining gap. You can sew them into place - which is very fiddly - or you can go the easy way and use hot glue instead. There is your flower done.

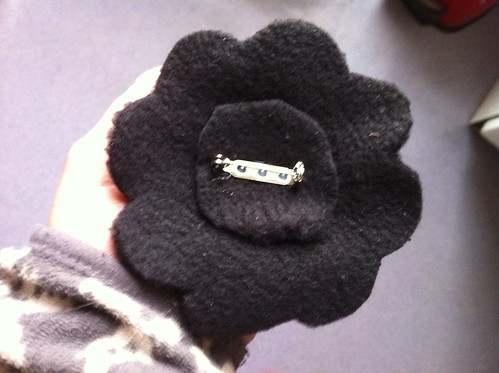
Finally, I used the hot glue to fasten a brooch needle on the back of the flower. If you think your flower needs a bit more stability, then glue the needle onto a circle of fabric first and then glue the fabric to the back of the flower.

You can see the flower is big enough to fit in my hand.


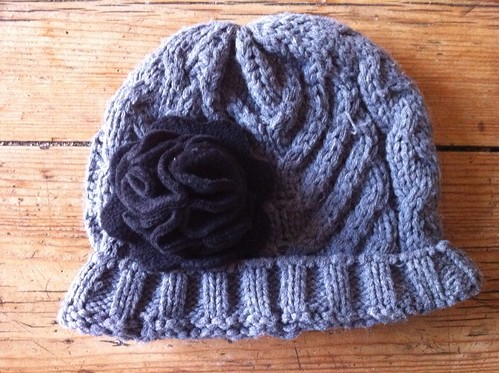
Et voilá - here is my flower brooch on my warm, woolly, winter hat:


I spare you the sight of me modelling the hat. It would plunge you into deep depression, too. Anyway, easypeasy flower brooch - after the success of number 1 I feel like trying it with some other fabric and colours, too.


Best,


PS: Posting this to...
UndertheTableandDreaming

Wednesday, January 18, 2012

Birds of Bling

Christmas is sooo last season. I have set my sights on spring now. I am determined to make it as difficult as possible for the dark, grey thoughts that usually take hold of me in February. And with a stash of blingy bits and a massive creative flash taking hold of me now that my college exam is over, I set to work. Gimme some birds of spring bling.


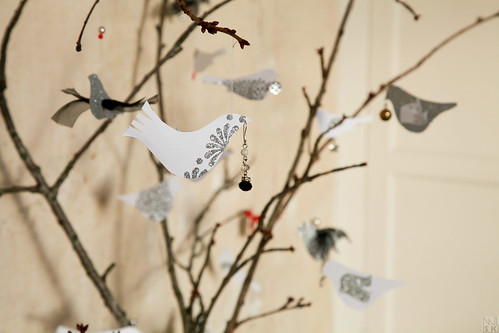
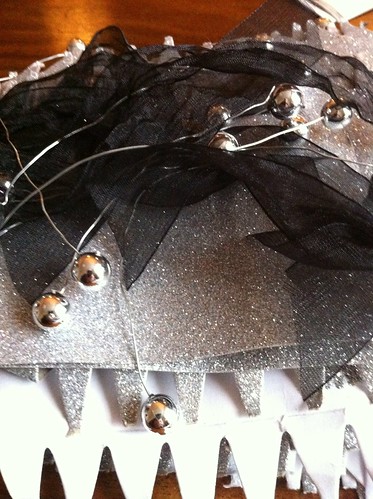
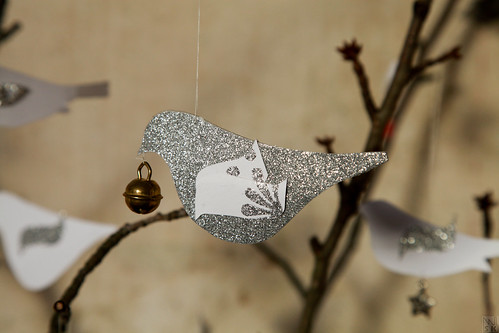
Right, these birds started life as... wait for it... Christmas crackers. Yep. Miss Cheapskate here collected the torn up bits of Christmas crackers. Actually, it was even more embarrassing than that. The crackers had been used for decoration at a party hosted by friends and so I actually took the rubbish home from their party... Reason being that I was attracted by the sparkly card board, the black ribbon and the metal tie clips. 


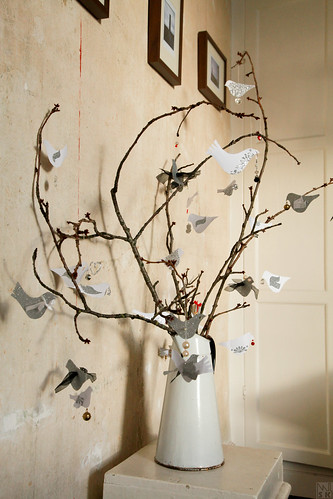
Anyway, at first I thought I might reuse this for Christmas tags, but then I realised that my drawing room was so bare after taking down the Christmas deco and I didn't want to throw out the vase of twigs. Hence the idea was born to craft some decorations for that. And instead of Christmassy shapes I eventually settled on birds - they remind me of spring time...

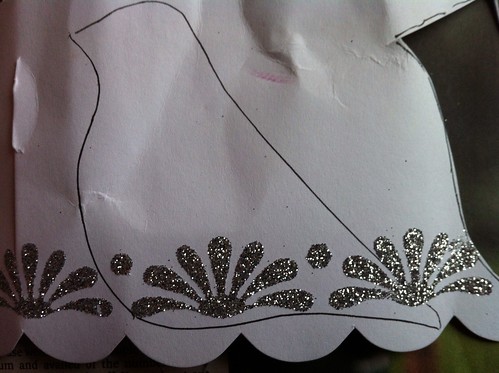
I downloaded a few bird templates from the internet - a simple Google Image search throws up plenty of designs - and printed them on some card and cut them out. Then I used those three templates for drawing the bird shape onto the cracker card.


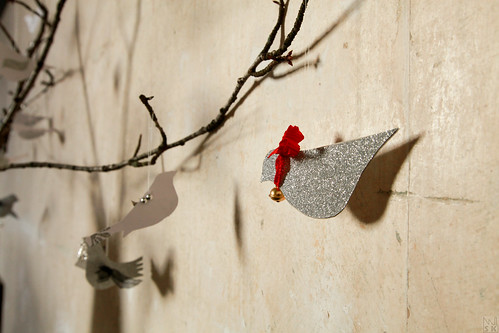
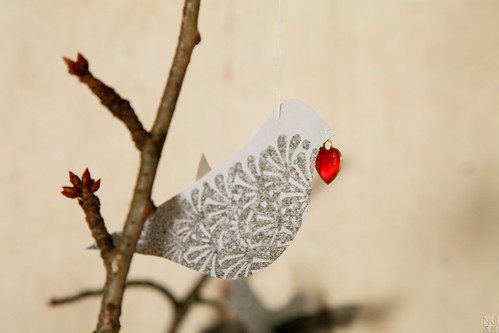
The result was not quite blingy enough. But I am one of those loonies who picks up any solitary earring lost in the street and who holds on to broken bits of jewellery and "whimsies". And from that stash I spruced up the birdies...

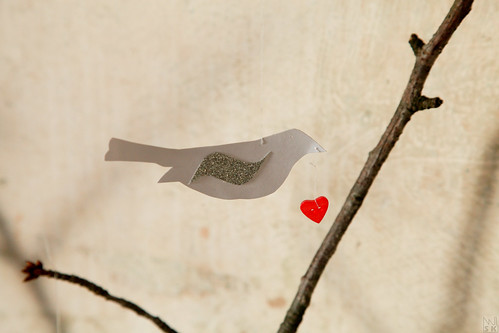
... with heart-shaped buttons...


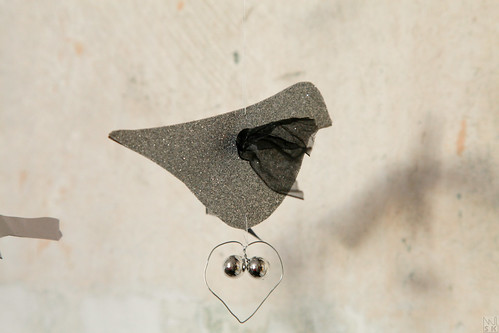
... with the wire ties twisted into a heart-shape... 


... with a little bell...


... with a little red ribbon from my Lindt chocolate bear...


... with a heart pendant...


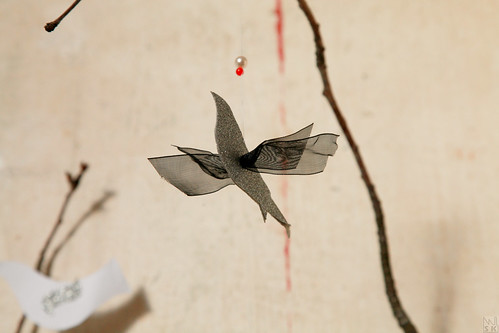
Some of the birds I gave wings by punching a hole into them and then just feeding the black ribbon through. He really looks as if he is soaring, doesn't he?


In any case, I am delighted with my blingy birds. They are happily hanging on the branches. Best thing: They are so light that every time someone passes by, they flutter in the air. Heck, they flutter at all times - this old house has a fine draft that comes in very handy for that.


A bit whimsical, I guess - and whim is not really something I usually like - but hey, I am waiting for spring time and they will remind me it is on its way.


Best,


Sunday, January 8, 2012

I Want Snow!

It's that time of year again. No, I am not talking of winter. I am talking of the run-up to an exam. You can always tell it is that time, because there is a flurry of activity on my blogs. Suddenly the crafting tools come out again and I cannot stop myself from making things. Some people call it creativity. I call it replacement activity - I'll do anything but study *ggg*. I am that kind of bird.

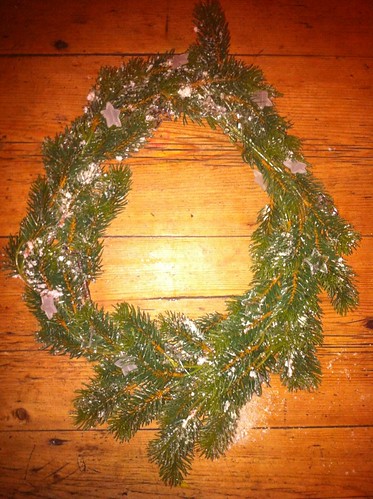
So with that in mind it was essential, no, imperative, that the Queen of Crafts got her latest post-Christmas sale bargain into crafty shape. I had picked up this garland of snowy plastic fir while over in Germany. Can you see the white specks of snow crystals on the fir? Well, I think there was much more snow on the needles when I bought this in the shop, alas, travelling in my suitcase did not do this piece of deco that good - when I took the garland out of its protective bag upon arrival at home, a handful of crystals trickled onto the kitchen table. Ah well.

Anyway, undeterred, I ploughed through the fake snow and dug out my old homemade wreath base. This thing has seen better days - and is still not a perfect circle. Ah well. It'll do.

I placed the garland on the ring and then secured it in place with some decorative wire which I had also picked up in Germany. Basically it is just some silver wire with some translucent and transparent plastic stars attached. Not too showy, not too tacky. The result you can see below:


I don't mind the easter egg shape of this, but the wreath looked a bit too irregular, so I decided to decorate it with what I had at hand.

And I always have some decorative crap stuff at hand. This, I decided, was finally the time to put some blingy silver ribbon to work which I must have picked up yeeeears ago.

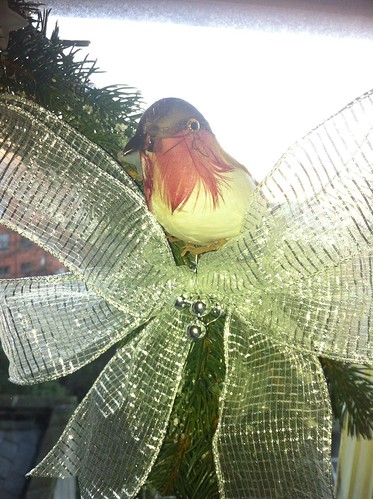
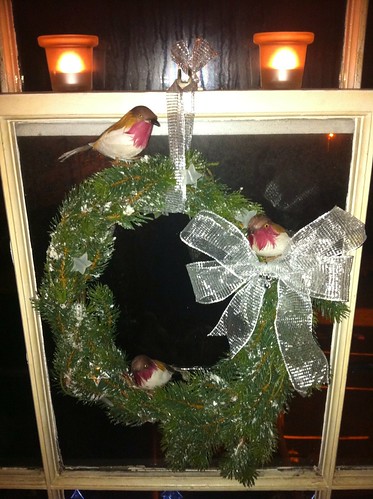
And then there were also some styrofoam birdies that I saw in a Euro-shop (the European equivalent of a Dollar Store - ooops, or is that obvious??) before Christmas. I completely forgot about them then, because I had originally intended to decorate the advent candle wreath with them. They matched the colours of the candles perfectly. But hey, now they came out.

So here is the winter wonder snow wreath:


It's currently gracing my kitchen window - our front door would beautifully suit as a canvas, but unfortunately we live literally 5 steps up from a main thoroughfare in Central Dublin and the wreath would be snatched as soon as night falls... (I am speaking from experience - I have lost a couple of wreaths to the great God of travelling pickpockets *grumbles*)

I still want snow. Really.


Best,