I am well-cushioned. Always have been, always will be. I have made my peace with that. And now I have a beautiful new cushion. No, I didn't gain another stone (6,35 kilograms for those of us who do not live in the British Empire anymore...), but I just completed a little home decor project:
a bright, red retro cushion.
This is one of the easiest sewing projects
ever. Just the right kind of project for
messy, lazy impatient crafters like yours truly. Honestly, this is so
mind-blowingly simple, you'll get this finished quicker than the time it takes to choose and buy a fancy cushion in the shops. Here's what I did:
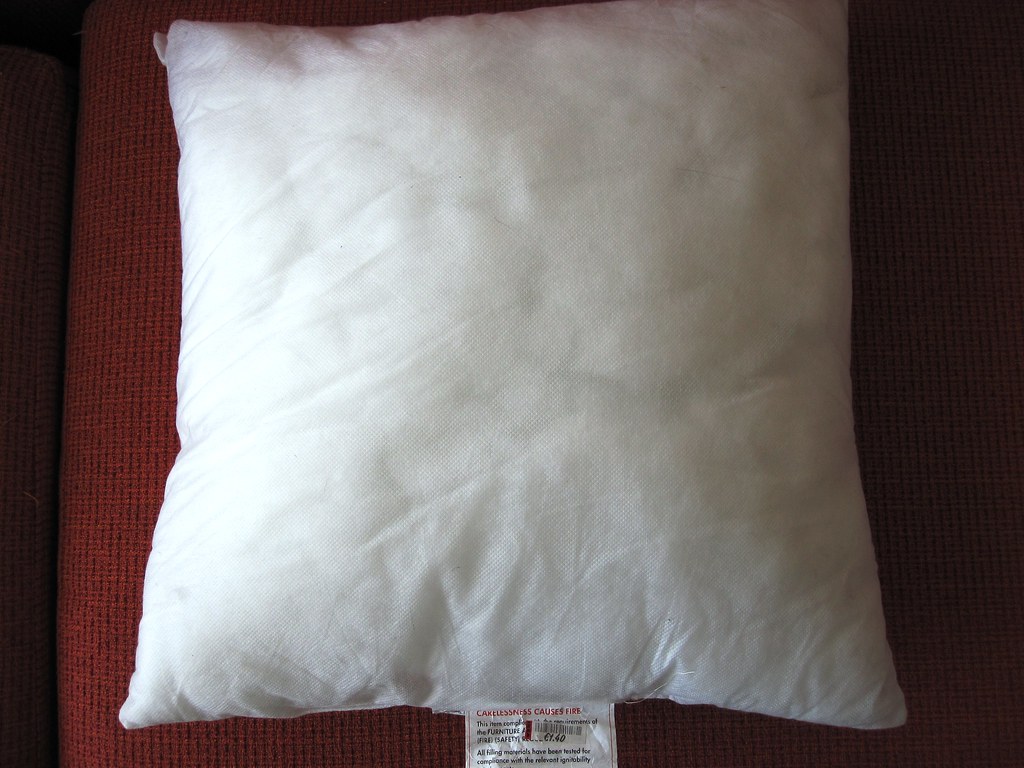
I started out
measuring my inlet cushion which I had picked up in the
Ikea bargain corner for a mere € 1.40 (price tag still visible in shot... um).
Lazy craftress that I am, I chose some
red felt as the material for my cushion. The reason: Felt
does not fray, therefore you can create all those little circles without having to hem them (unless you like the frayed look and therefore deliberately choose proper fabric...)
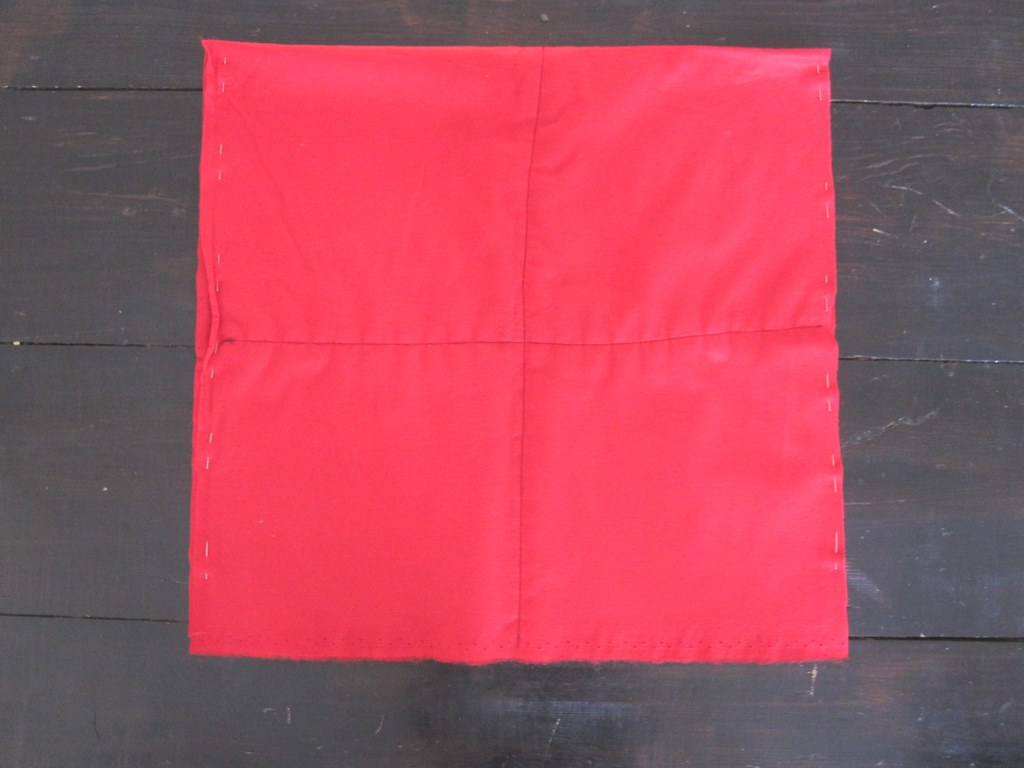
Next I
cut my
red felt to size. Again making it easiest for myself, I cut it in
rectangular shape so that the material could be folded in half and I would only have to sew along three sides... (Maybe I should have ironed the material, but hey... will get creases anyway...)
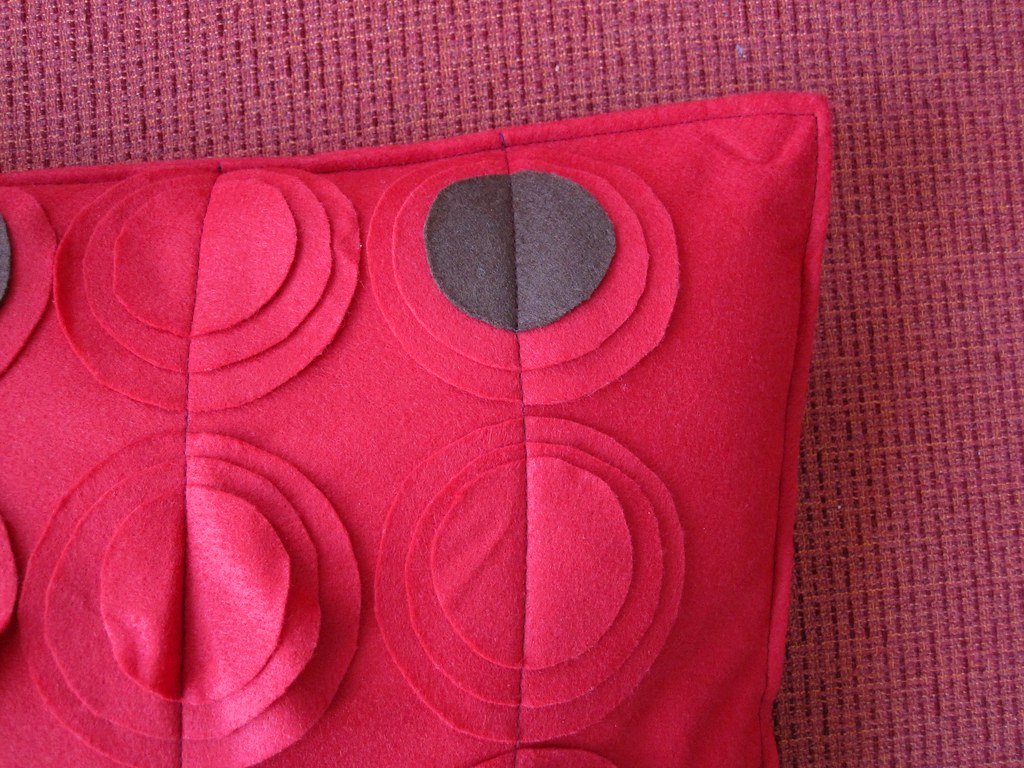
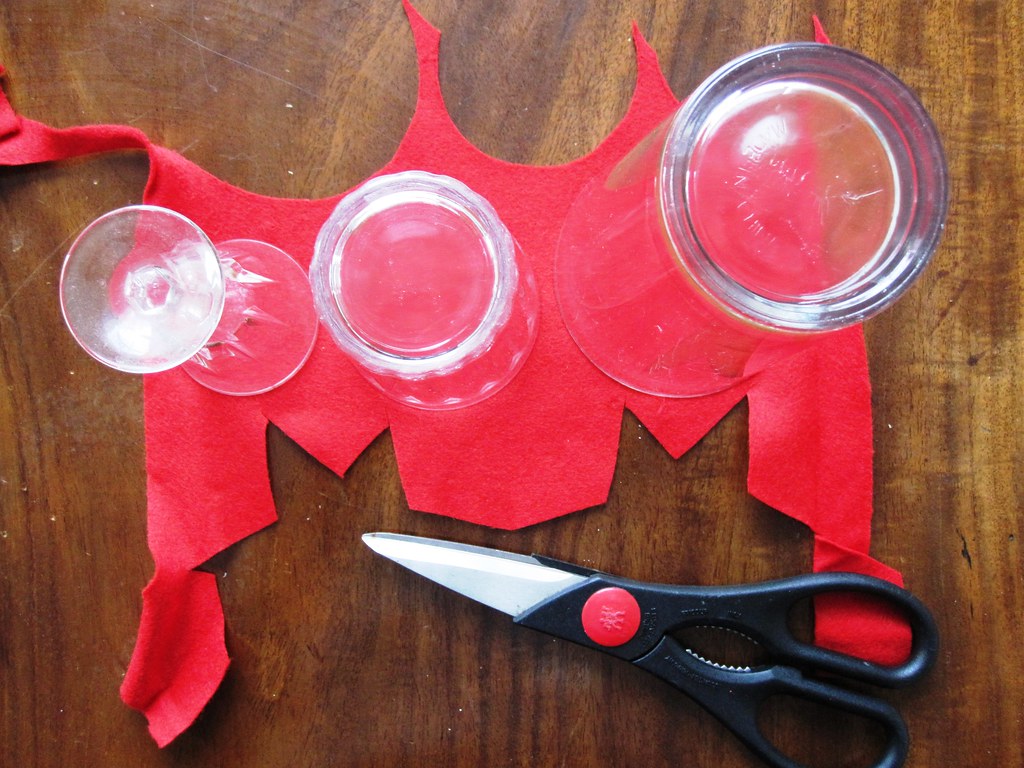
Then came the most time-consuming part:
Cutting out the shapes that will give texture and interest to the cushion. I decided on felt
circles in three sizes. I simply used three different size glasses to
trace the shapes from. Liqueur glass, whiskey glass, pint glass (- please note: no alcohol was consumed during the making of this cushion...)
In total I cut out
60 circles for my cushion - and in the process permanently damaged my right index finger. It is still completely devoid of feeling... *eek*

Some of the circles I cut from
brown felt, just to add some extra interest to the design and create a retro feel. Then I played around with the arrangement on the fabric.
I didn't bother to pin the circles onto the felt. Ok, my excuse was that I didn't want holes from the pins in the felt, but really, I was just a lazy
bum seamstress. And since laziness is a recurring theme in this
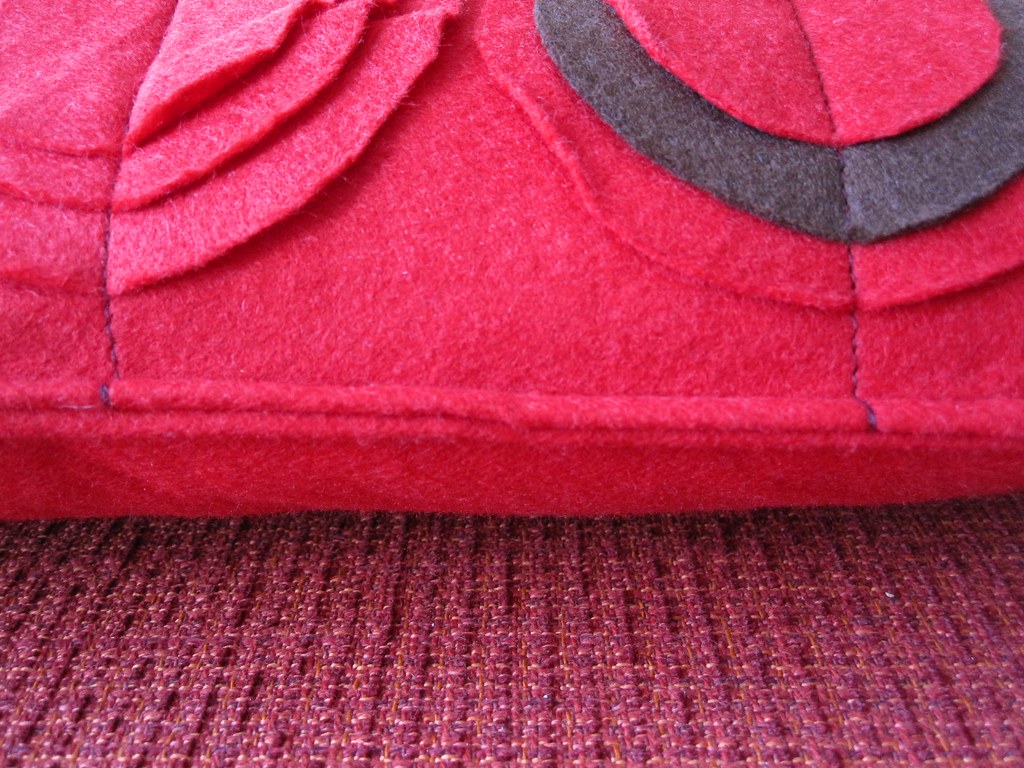
blog post, I also didn't take pictures of the sewing of the cushion. It is pretty obvious anyway: I sewed straight lines across the centre of the circles.
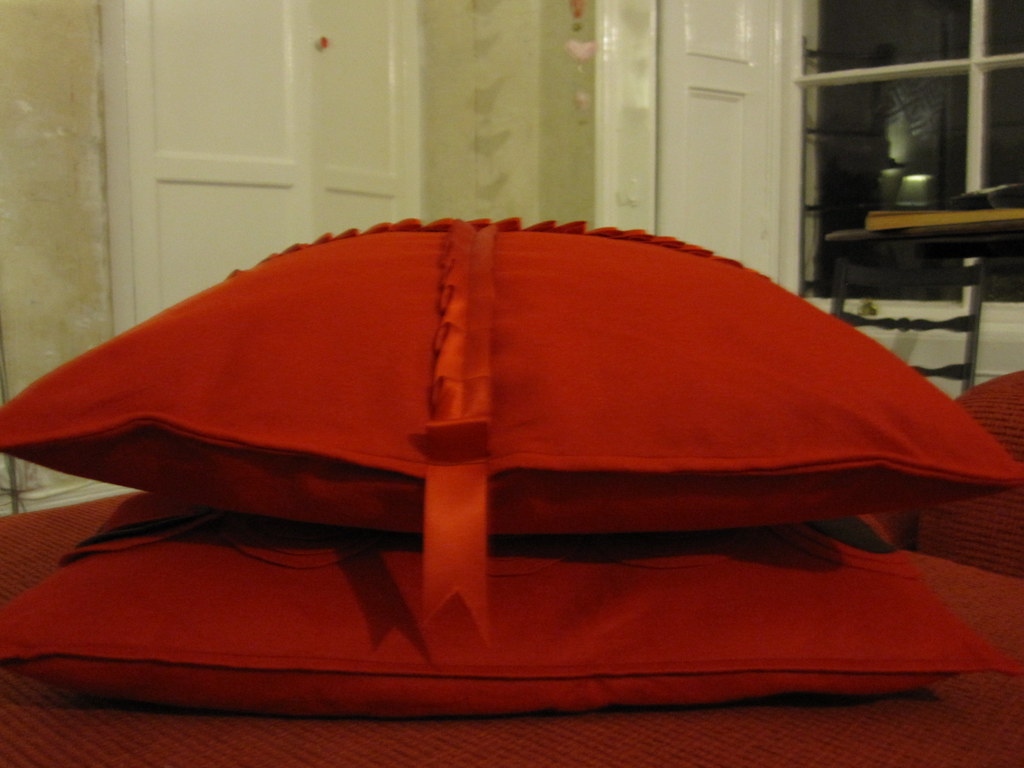
Then I
folded the material over, right on right and
sewed down the two opposite, open sides. After turning the bag-shaped cover over, I pushed the cushion inside. Then I
sewed along the remaining open side to close the cushion.
That, of course, left a visible seam, so I continued to sew along the edge of the other three sides, just to give it the
illusion of piping. Et voilá, that's it.
Added cost of this cushion: about
€ 5.00 including inlet. It has already got a new fan who likes cuddling up next to it... And I'll probably make a couple more to "dress" my couch.
Best,
 Linking to:


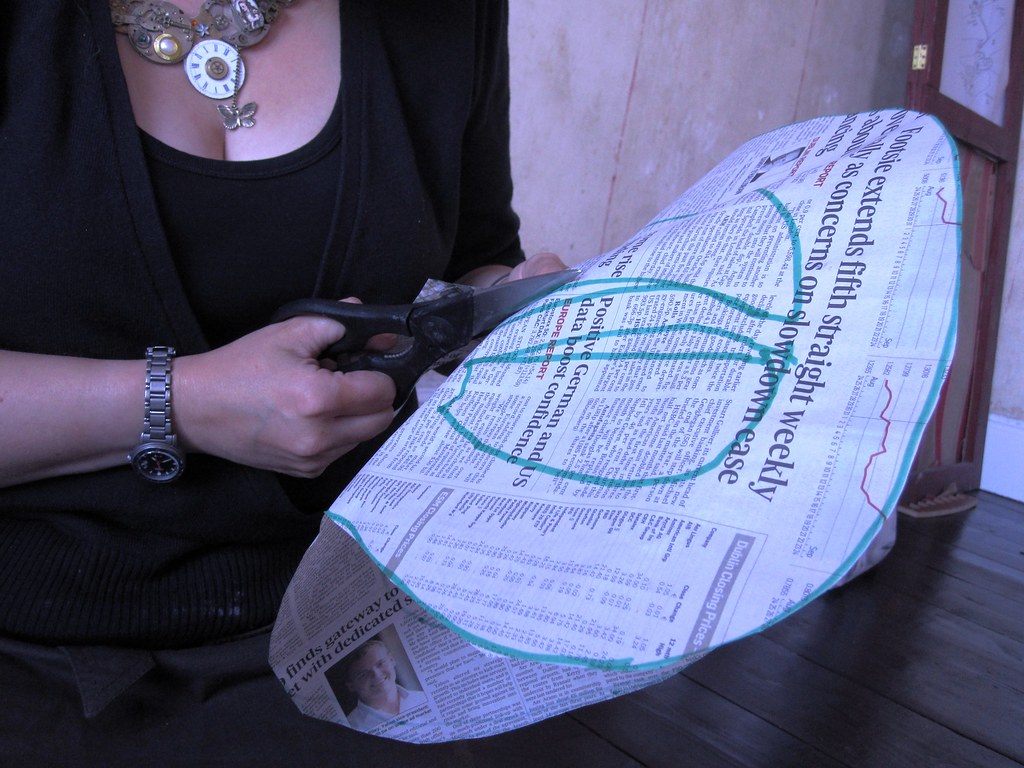
 You can't have just one cushion on a sofa. And textured cushions are a big thing at the mo. I had in fact collected a number of ideas recently from magazines. Do you also have that habit? I cut out little snippets from my mags and then duly forget about them and design my own thing. I may still copy one of them - here are the inspirations:
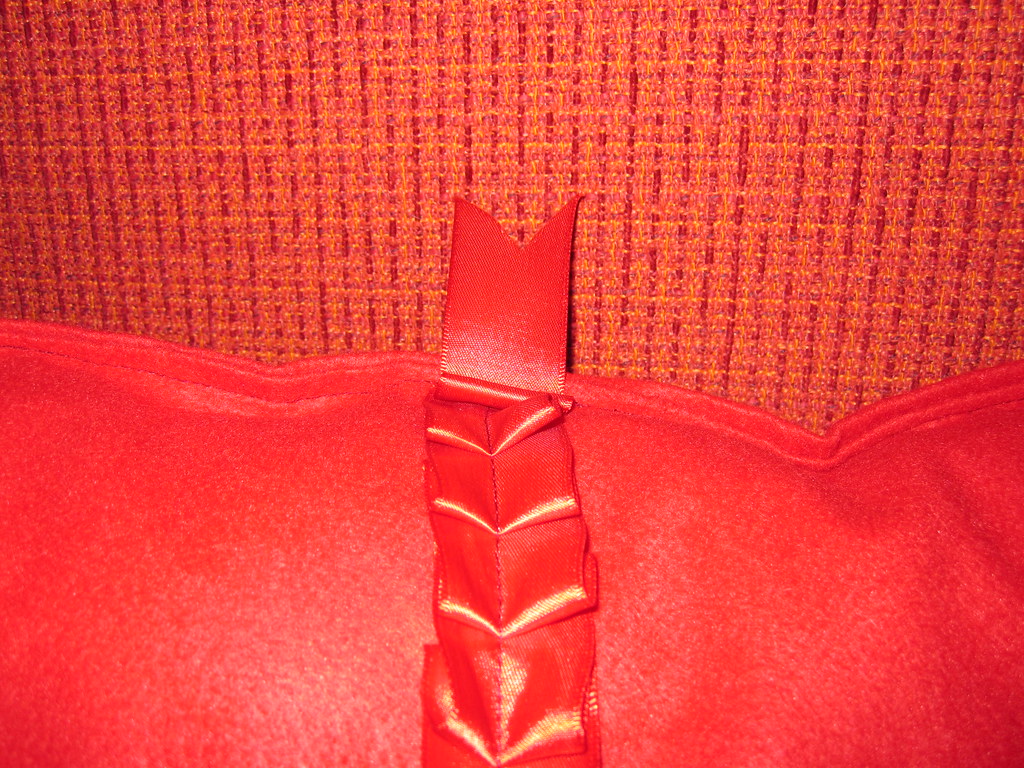
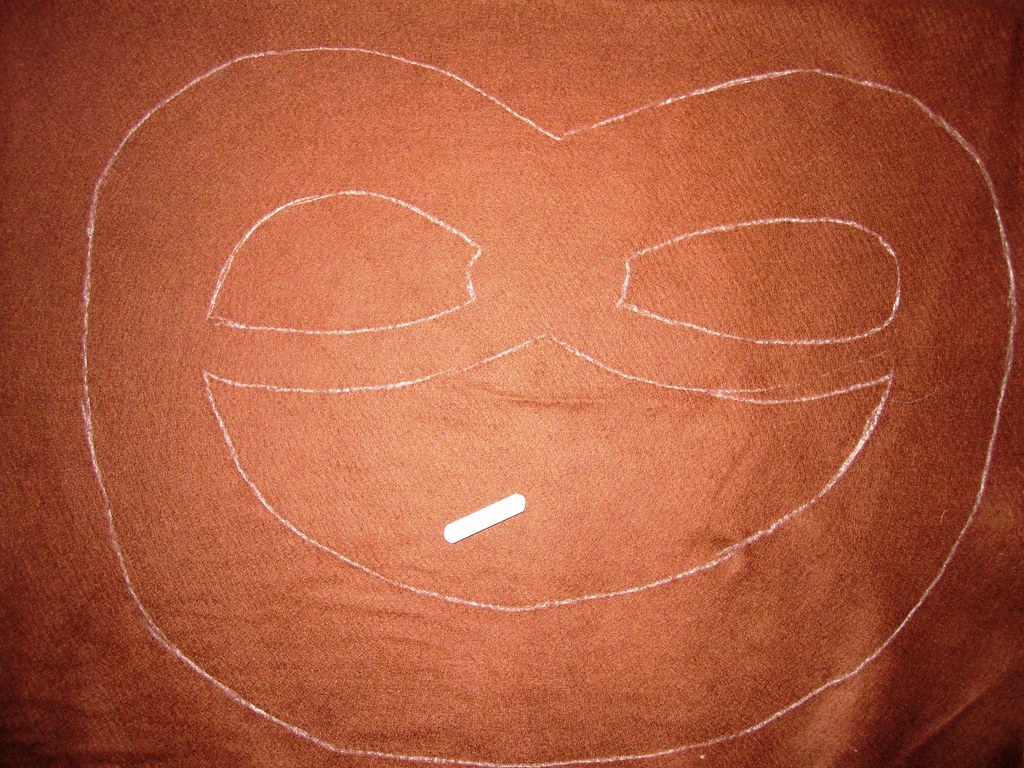
  And since another inlet cushion was at hand and I still had some red felt left over, I set about thinking up another cushion design. Does this come across slightly Christmas-sy? Looks like a pressie, doesn't it? Well, that is intentional, because I used some red satin ribbon for decoration. Like the Retro-Style Cushion from a few days ago, this is a really quick and easy sewing projects for beginners. Didn't take more than an hour to complete.


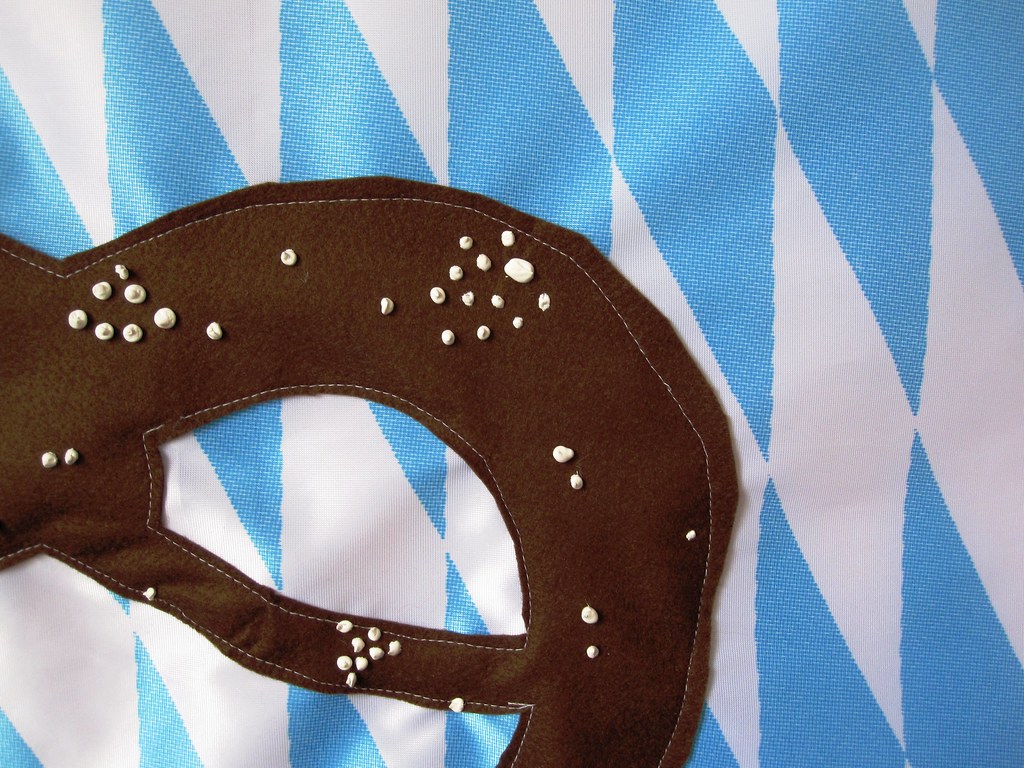

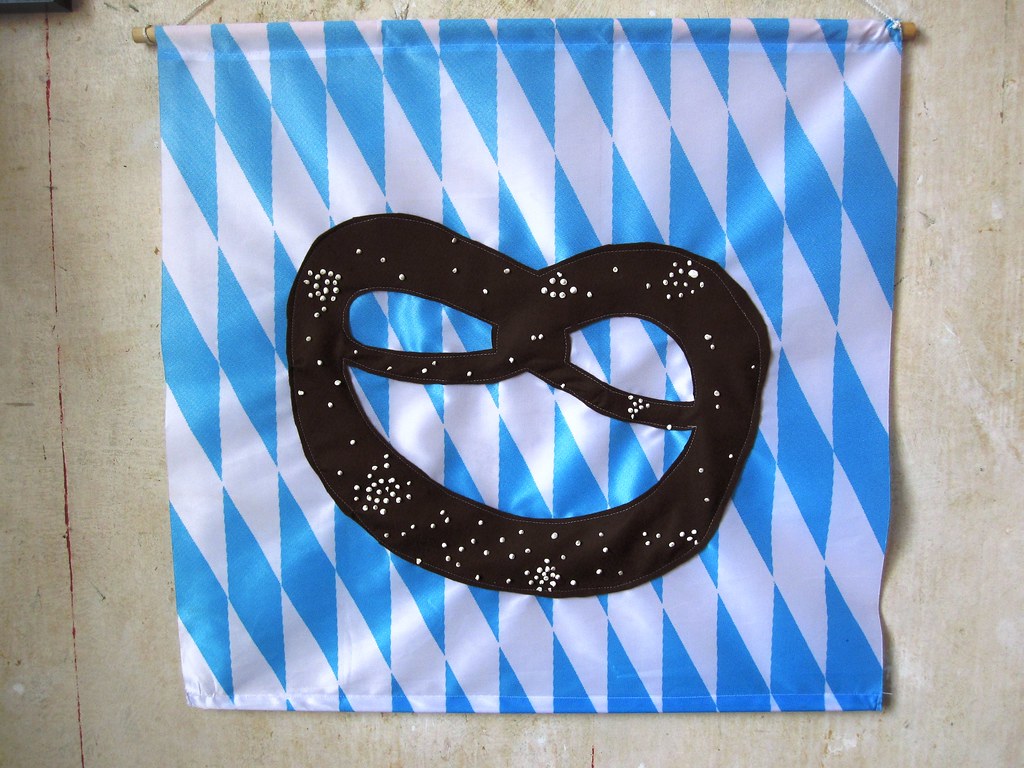
 Next morning, after fluffing the paint in the oven, came the difficult bit: Sewing the pretzel onto the flag. I am notoriously lazy - and since I didn't want to go upstairs to get more pins, I messed up my first attempt at fixing the pretzel onto the fabric. What's the proverb: "A stitch in time saves nine"? Yeah, very true! After sewing around half the pretzel, the fabric underneath was all wrinkly and scrunched because I had not used enough pins to fix the felt onto the flag and it had moved all over the place. So I had to re-do it and pin it on properly...
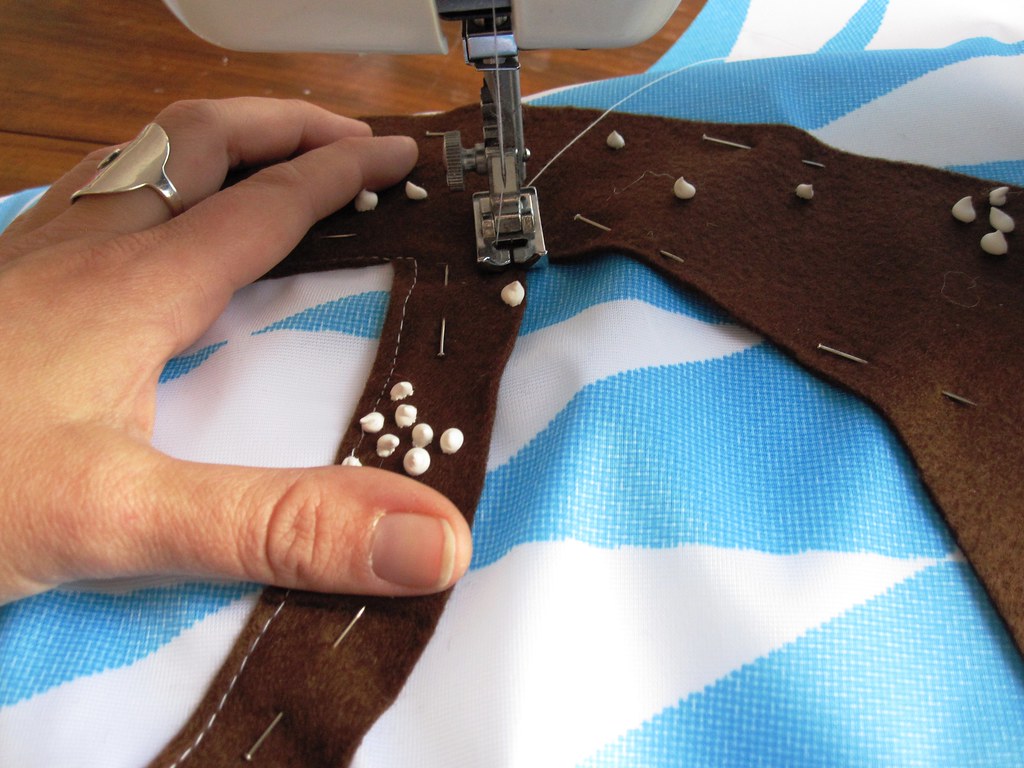
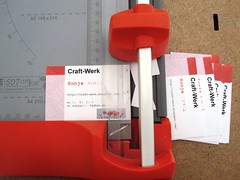
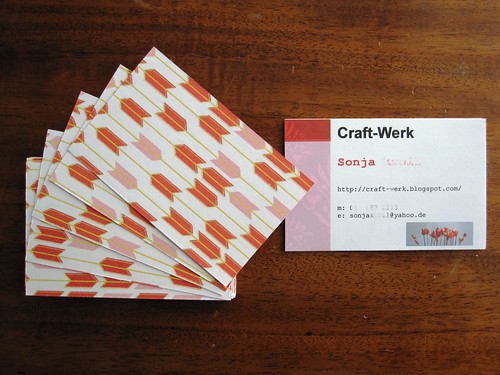