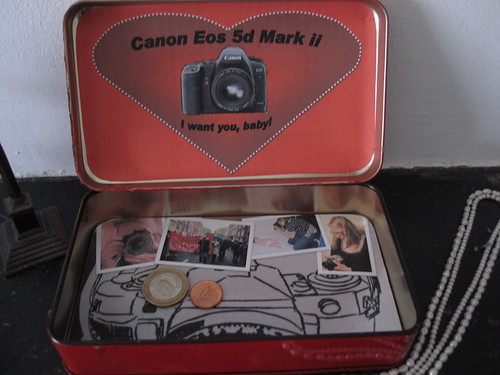
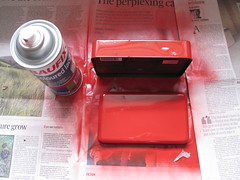


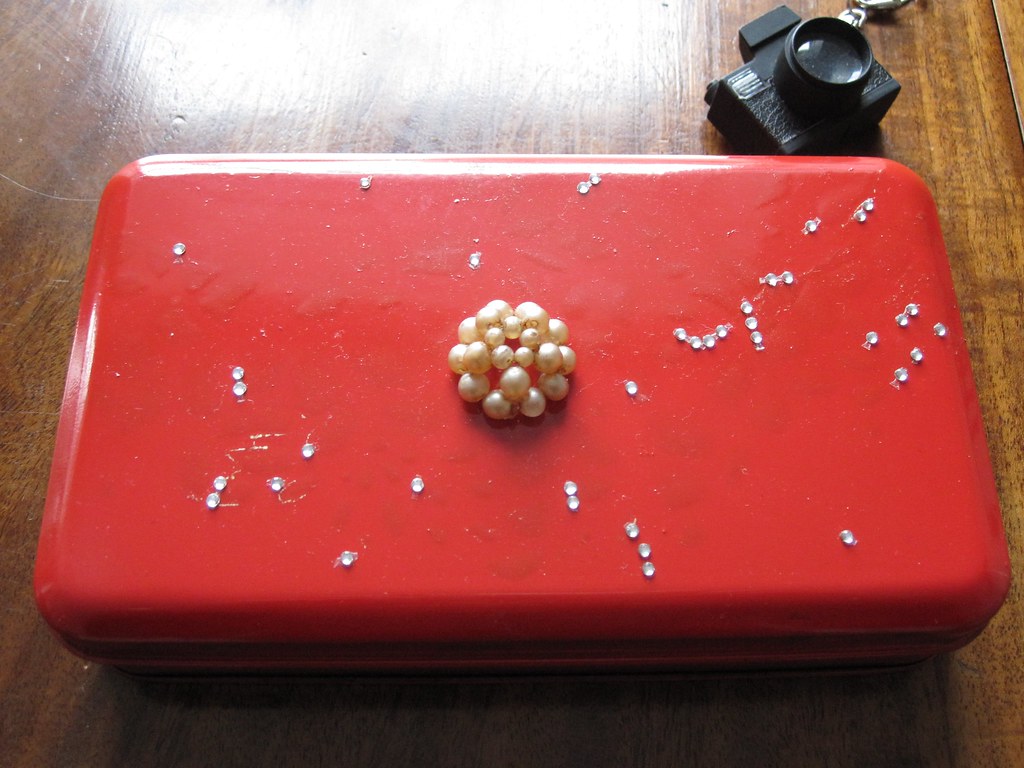
So grow, camera fund, grow... still a couple of grand to go.
Best,


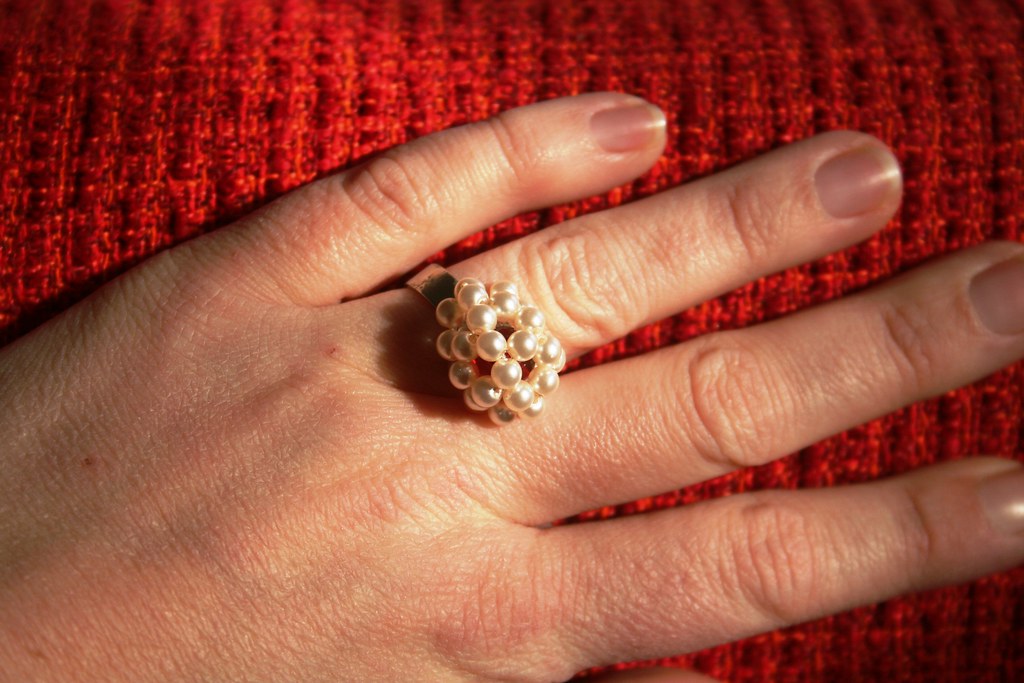
 I don't want to attempt another tutorial for this as Candie's instructions are detailed, so please check them out here. But I will show you what I made and how I adapted the bead balls. If you look closely at the photo above (and disregard the horrible, piggy fleshiness that is my hand *ugh*), you will see that I enclosed a pearly bead in the bead ball. I simply popped that into the ball before I threaded the last little bead on. A little surprise, so to speak...
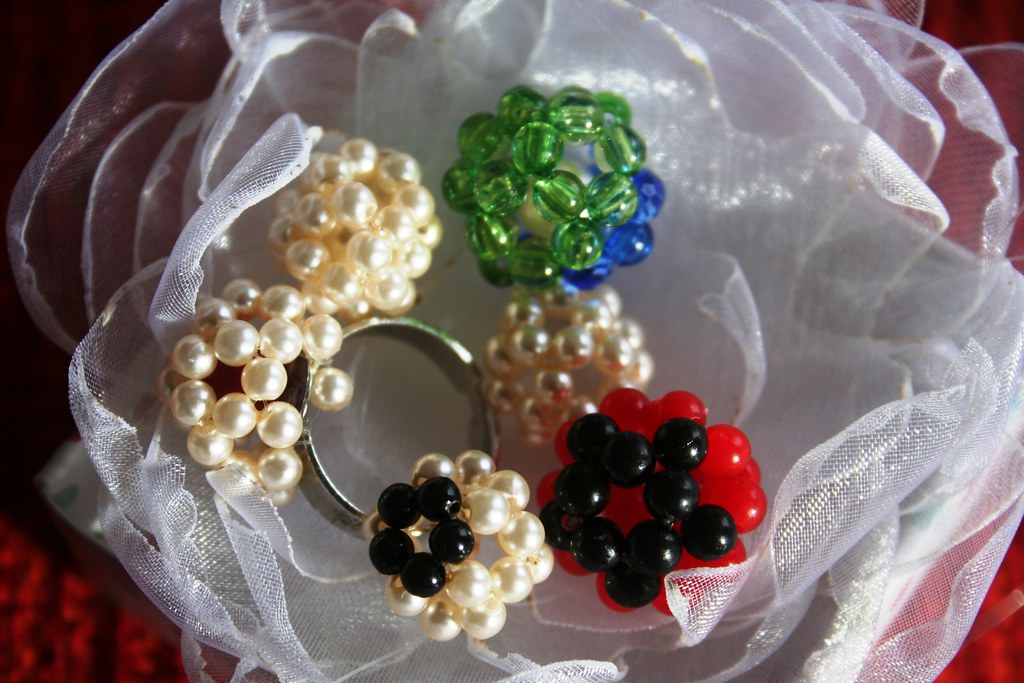 Without getting into a tutorial, I'll just write down a couple of observations that might help you when you are making these. My recommendation is to make a couple of these bead balls with slightly larger beads first before you start on the fiddly tiny ones. You need 30 beads of the same size, preferably round ones, and about 20 inches of nylon thread. Count out your beads and put them on a saucer on your crafting table! Making these bead balls is addictive, as Candie warned in her tutorial...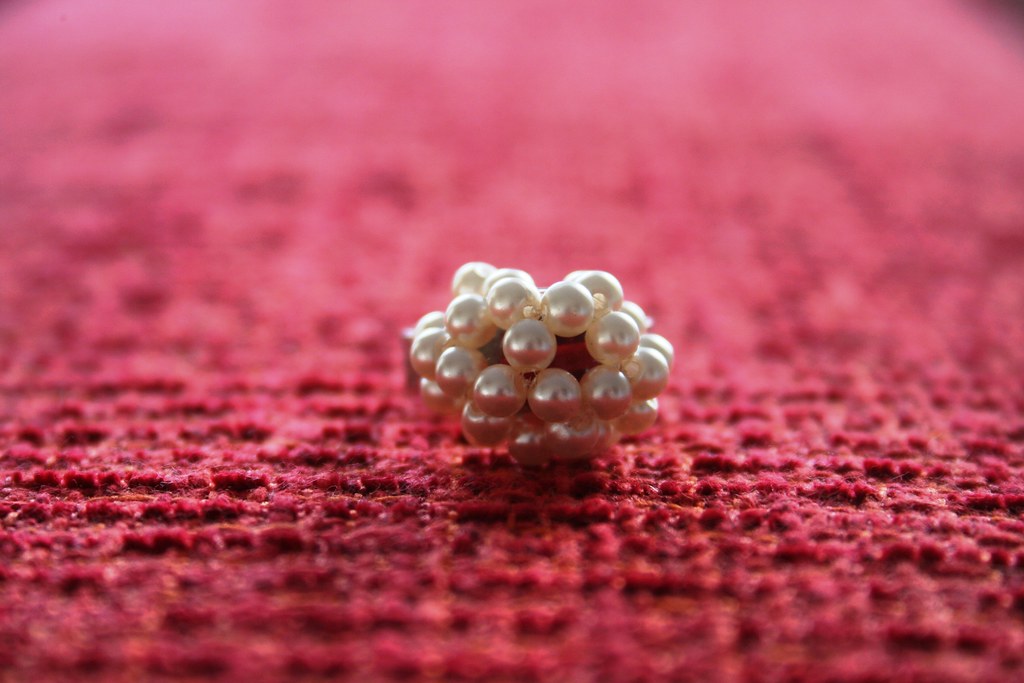
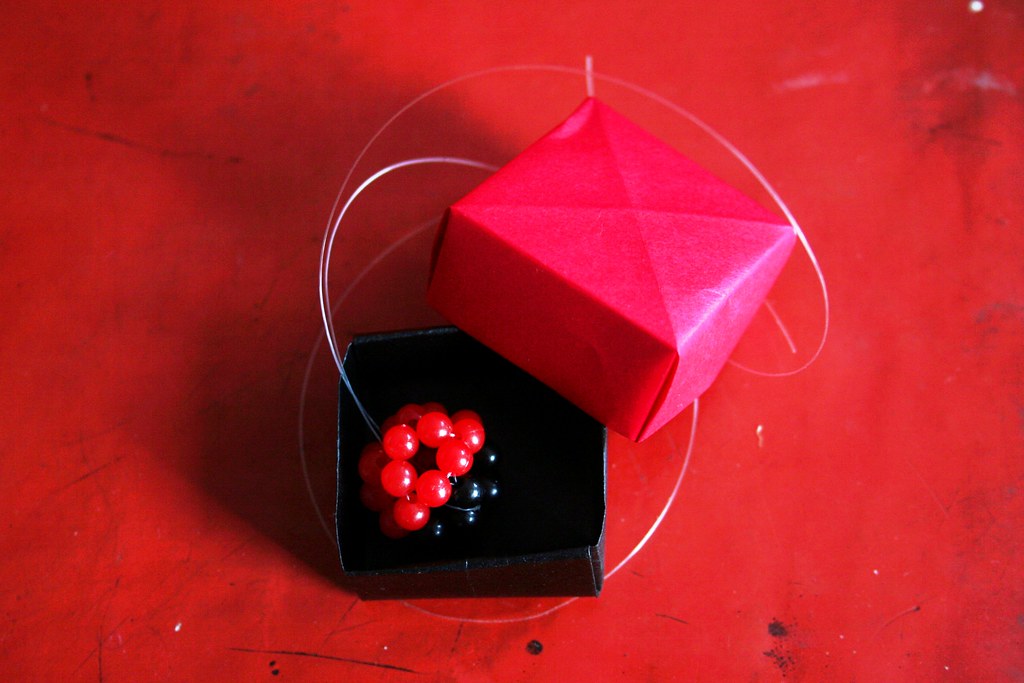
 Nonetheless I got a couple of them wrong and finished before I had a regular ball shaped pendant. They were more of a three-quarter globe, with the last bit missing. I found a use for those, too, though. I popped a red bead into one and then fixed the ball onto a ring.




 Anyway - I found her a shoe box (of which I currently have a whole stack - they are waiting to be used for parcels to my friends back home) and suggested we cover it with some blue gingham sticky cover which I had picked up for a couple of Euro a while ago in discount supermarket Lidl. Luckily blue is her favourite colour and she agreed to it but wanted it more unique - so we made a nice collage of pictures for the box and
  only used the gingham for the lid.
 continually smooth down the sticky cover. Don't worry if you notice a crease - you can pull the sticky cover off again as it only sets after a while.
 Once we had collected a number of images, I stuck the background pics onto the box, using a pritt stick. Then I cut out smaller pics and placed them on top of the blue background.
 When everything was to her liking I covered the box with clear sticky cover to make it more durable. I loved that part best - because it meant I was finally able to use up all those cut-offs that were left over from the book-covering last week. (The sticky cover is so bloody expensive, I hate it when 10 x 40cm strips of it are left over...)
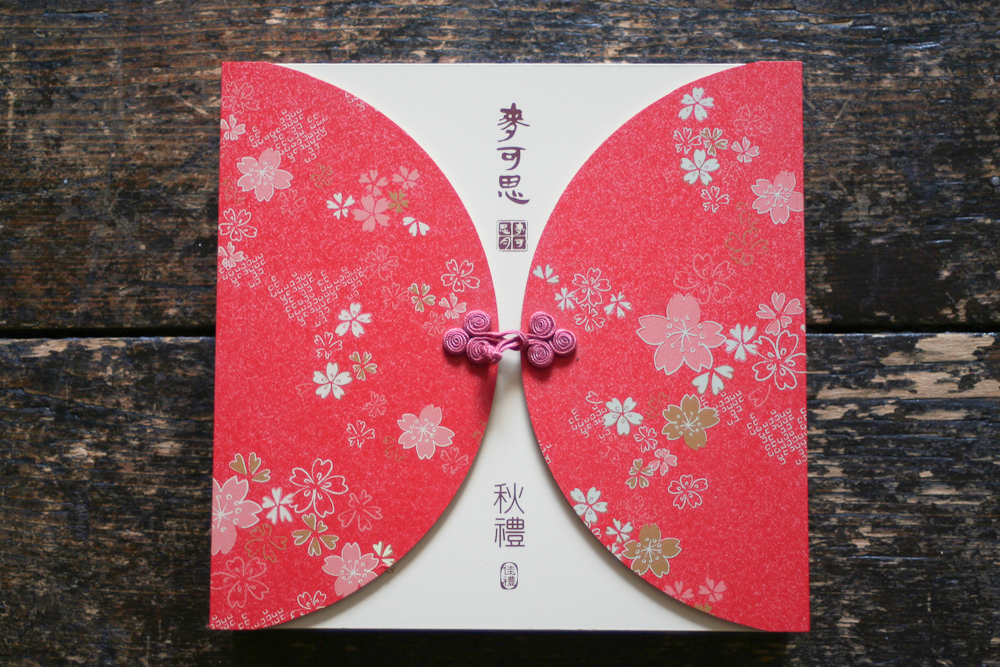 Isn't this a beautiful box? It came from my sister- and brother-in-law. When they visited us recently, they brought it back for all the family. There were little cakes in it which are traditionally given as presents in the Chinese spring festival. Very nice. Alas, against usual evidence I was not really interested in the cakes. I really only wanted the box, because I can't resist beautiful things. And lucky I was - the family was happy with the cakes, and I got my box!
 Whether you buy a lucky charm, a decorative teapot or a kite - they always came in beautiful handmade boxes with colour paper or fabric cover.
 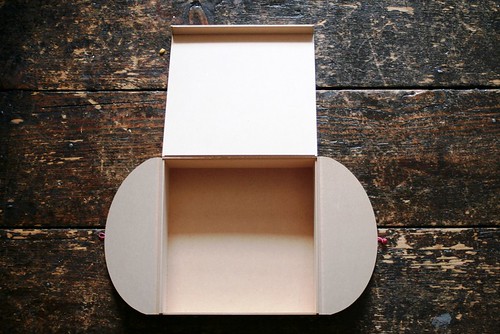 I should really take a picture of all the Chinese boxes that have been amassed in our house, also thanks to a generous friend who lived in China and often brought back pressies for us.
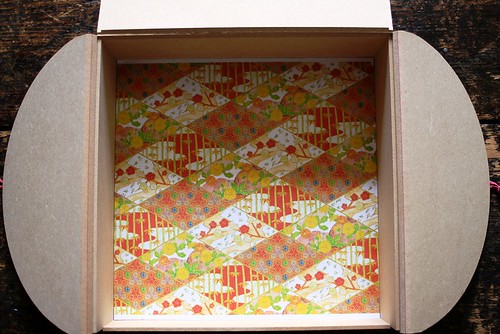 I started by pasting a Chinese-style paper onto the back of the box to make the inside more colourful. (Tommorow's blog entry will be about the source of my paper.) Then I simply glued paper mementos onto the "back wall" of my box.
  The bigger and heavier souvenirs like the Mao badge I stuck on with blu-tack. That way I can remove them should I need them. The hand-painted lucky charm is fastened with a thumb tack.
