
 I don't want to attempt another tutorial for this as Candie's instructions are detailed, so please check them out here. But I will show you what I made and how I adapted the bead balls. If you look closely at the photo above (and disregard the horrible, piggy fleshiness that is my hand *ugh*), you will see that I enclosed a pearly bead in the bead ball. I simply popped that into the ball before I threaded the last little bead on. A little surprise, so to speak...
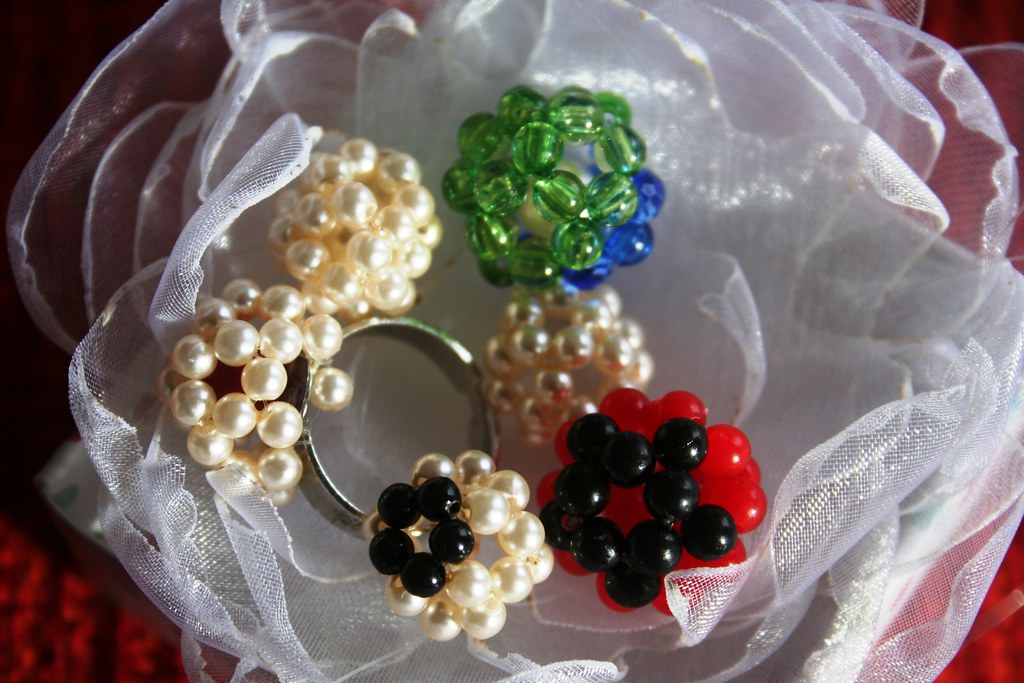 Without getting into a tutorial, I'll just write down a couple of observations that might help you when you are making these. My recommendation is to make a couple of these bead balls with slightly larger beads first before you start on the fiddly tiny ones. You need 30 beads of the same size, preferably round ones, and about 20 inches of nylon thread. Count out your beads and put them on a saucer on your crafting table! Making these bead balls is addictive, as Candie warned in her tutorial...
I have to admit, it took a few attempts before I got the bead balls right. But I ploughed on until I got it right. The whole process is fairly logical and regular, but I found I really understood the process of weaving them together, when I used different colour beads for the various parts. I.e. start with 5 beads of one colour. Then have 15 beads of a different colour. And for the last part have 10 beads of yet another colour. It just means you understand the pattern and the weaving better. It will help you to make your second bead ball in just one colour...
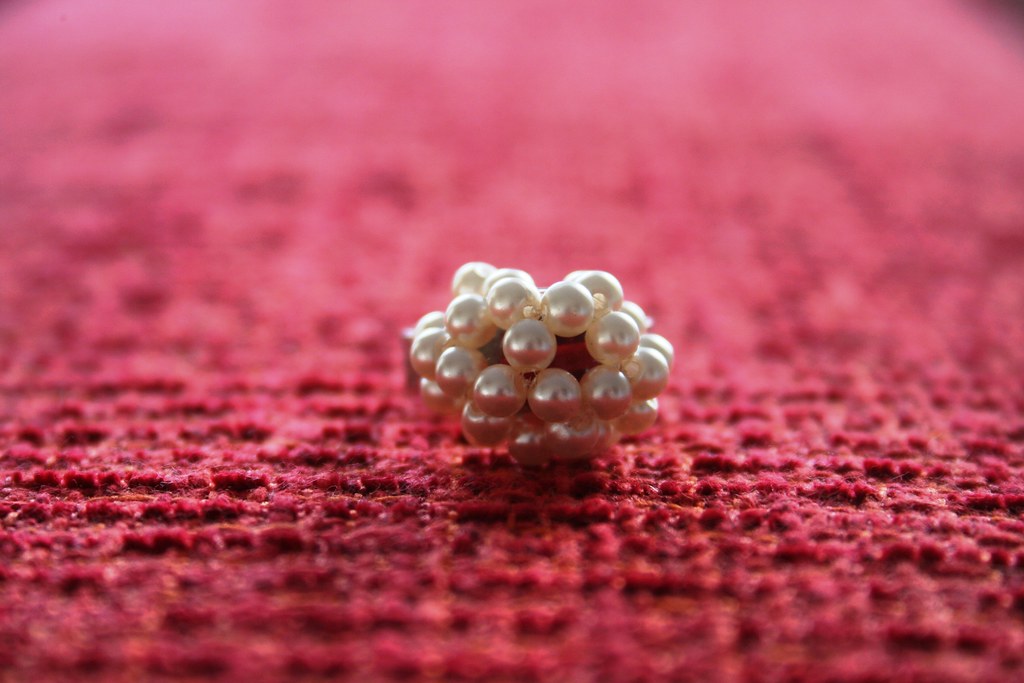
 Nonetheless I got a couple of them wrong and finished before I had a regular ball shaped pendant. They were more of a three-quarter globe, with the last bit missing. I found a use for those, too, though. I popped a red bead into one and then fixed the ball onto a ring.
Another three-quarters finished ball became the centre of one of my corsages. It looks lovely like that and was easier to sew on than a full ball, I think.

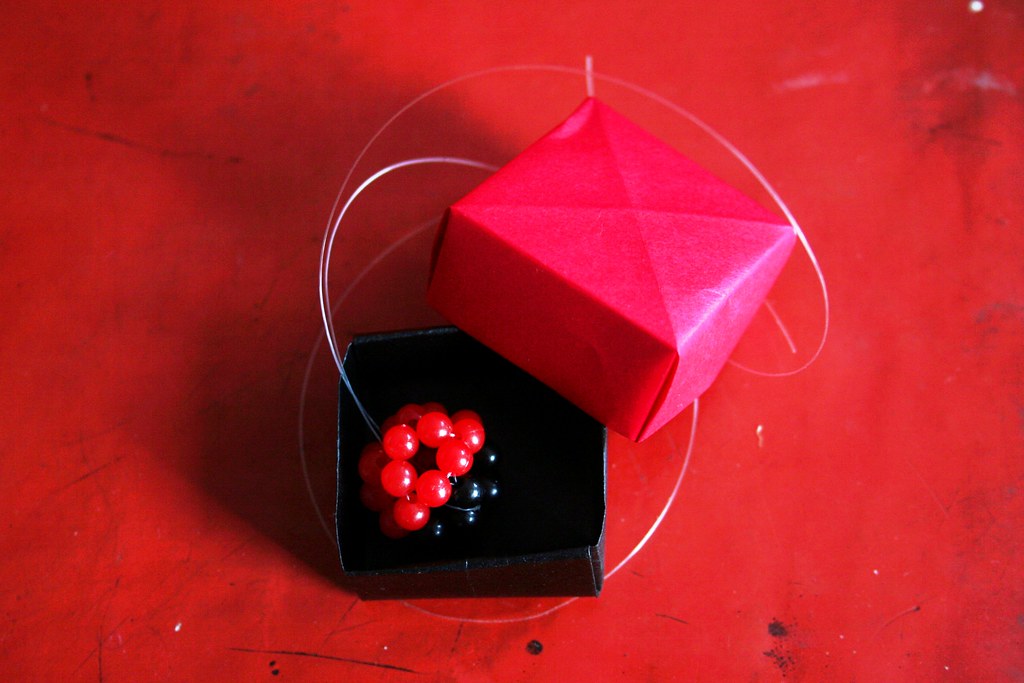
I am still wondering what to do with my green-and-blue bead ball - I think I will turn it into a pendant once I have figured out how to fix a little hoop onto it. The obvious use would be earrings - Candie shows several of hers. My daughter loves this red-and-black raspberry bead ball - not sure yet, what to do with it, but it already has a matching gift box *haha*...
Best,

Linking up to 


6 comments:
cool! cool! cool!
Those are so pretty! You did a great job.
Sieht wahnsinnig gut aus!!!!!!!
Neidische Grüße
von Olga
P.S. hoffentlich hast du mich nächstes Jahr als Wichtel zum Beschenken ;0))) Oder machen wir einfach so Tausch gegen Dresdner Stollen ;0)?
Ooooo Ahhhhh pretty little baubles! Love them. Seriously.
Glad you could Mi4M :)
Love your blog soo awesome!
Please drop by to get your award
I would like to personally thank this blogger for making my day brighter by sharing with us:
Those are really pretty. You did a great job.
I have a fun give-a-way starting tonight.
Cheri
Post a Comment