FYI


Showing posts with label pendant. Show all posts

Wednesday, March 17, 2010

Mod Podged Pendant

Ever since I started in blogland a few months ago, I kept hearing the magic words "modge podge" everywhere. Decoupage is probably a little bit too fiddly for an impatient crafter like me, but I was amazed by the versatility of Mod Podge (yes, I know how it is spelled correctly ;-)). Alas, it is an American product and I had never seen it anywhere in Europe. So no mod podging for Craft-Werk, it seemed :-(. But imagine my surprise when I came across a bottle of the magic stuff a few weeks ago in a Dublin craft store. I had to buy it - the funky psychedelic logo and colours drew me in, too... So it had been sitting around in my craft supplies for a while - and yesterday I finally found a way of trying it out. 
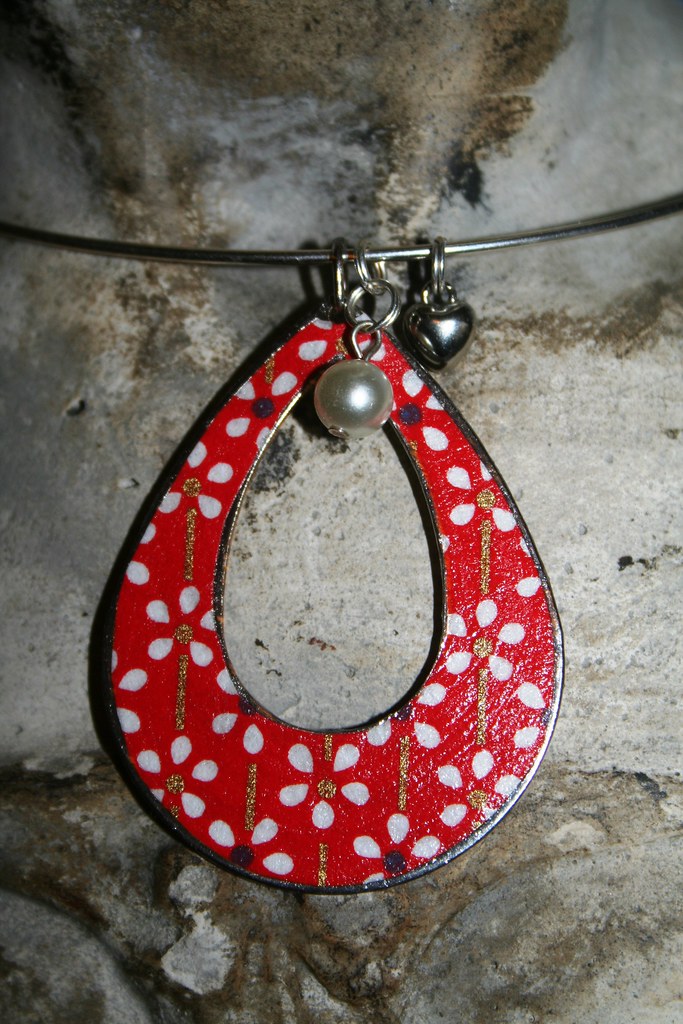

I mod podged a rather non-descript pendant into something colourful and cute. The pendant came with a neck hoop I had bought a while ago. I didn't like the metal teardrop - I just wanted the hoop to put my bead balls on it. At the same time, I hate waste, and so the teardrop pendant had to be used. Here we go:
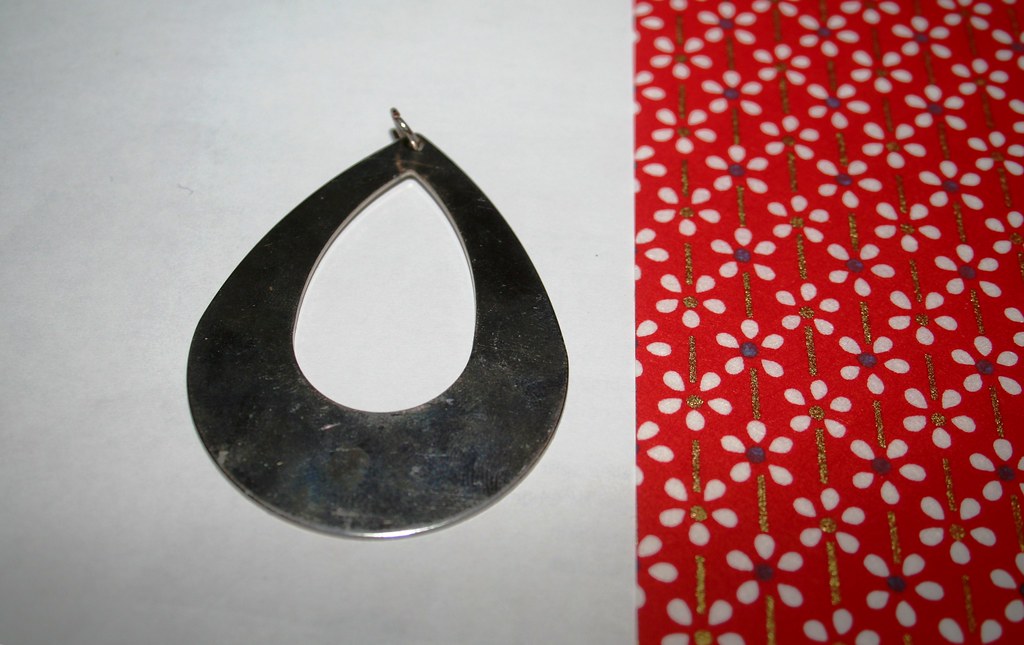
For a change I had some genuine origami paper in my stash which was both red and cute.

I traced around the pendant.
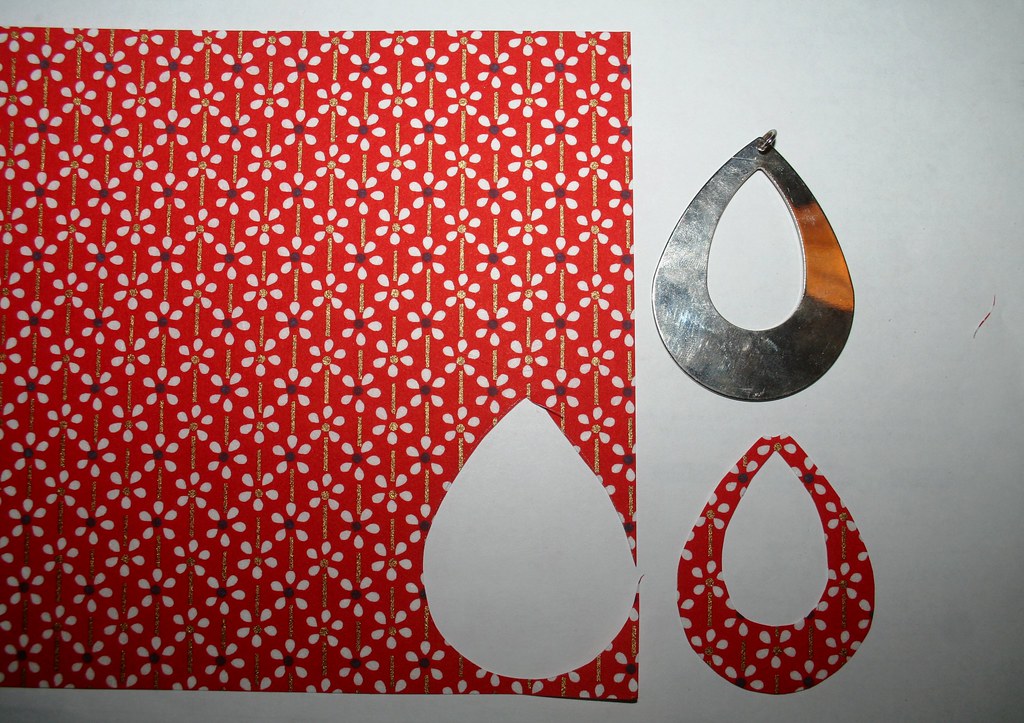
Then I cut out the outline with my craft scissors. A smaller scissors would have done a better job, but I was impatient...

I applied a coat of Mod Podge to the pendant and placed the outline on it.

After letting it dry for 15 minutes I covered it with a top coat to seal.

Tada! That was it. I let it dry for a good while. To give it a bit more interest, I added a bead and this cute little silver heart to the neck hoop. 
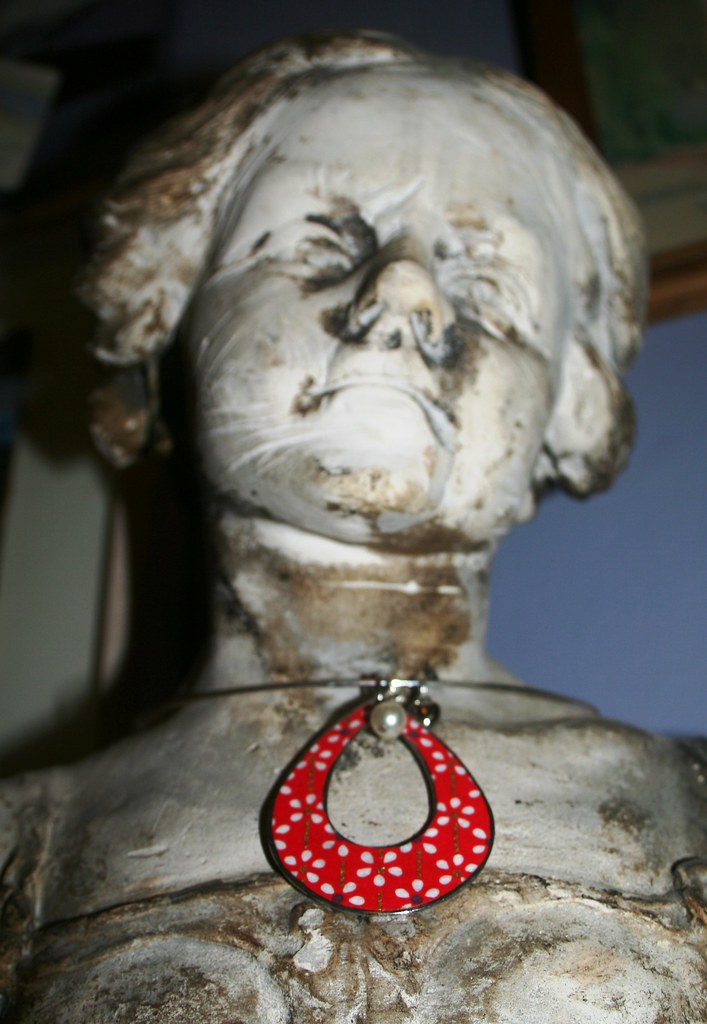

Oh, I much like the outcome - a bit of spring feeling with the little flowers. Much needed, I can tell you! Can't wait to wear this with my favourite red outfit. And the mod podging was easy-peasy - I loved it. I wonder what I can mod podge next...

Best,


Linking to


Monday, January 25, 2010

Bead Balls - An Exercise in Patience

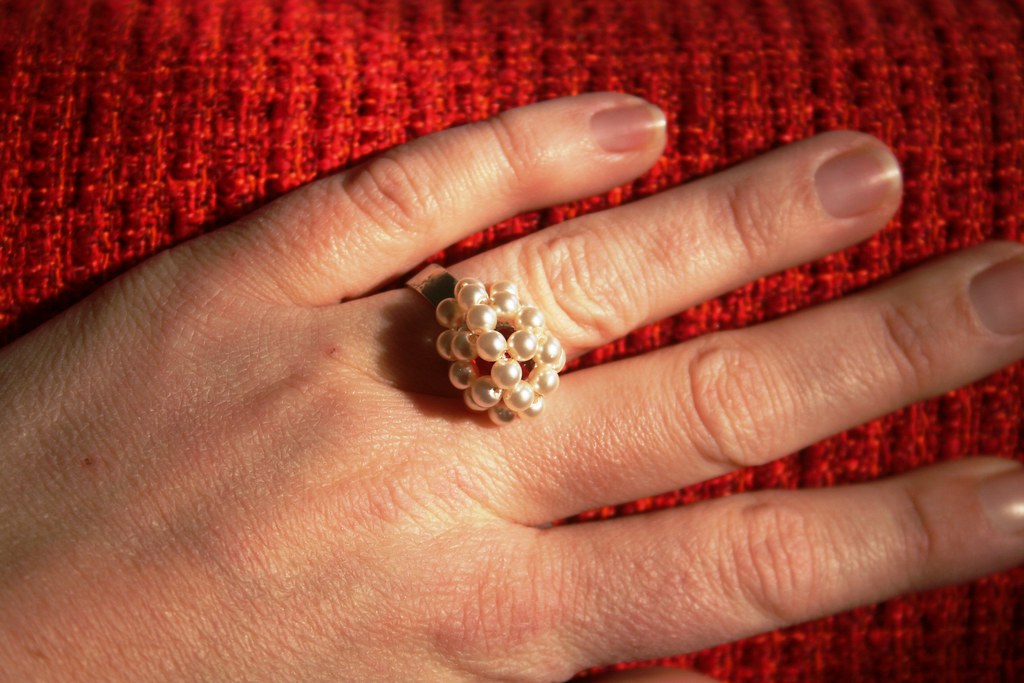
Now, here is another thing I have been working on the last few days. I came across a pattern for "beaded beads" that looked straight forward enough for me to attempt it. Candie posted an extensive and clear tutorial for the bead balls with lots of photos, so I sat down with my bead box and a string of nylon thread and made this:


I don't want to attempt another tutorial for this as Candie's instructions are detailed, so please check them out here. But I will show you what I made and how I adapted the bead balls. If you look closely at the photo above (and disregard the horrible, piggy fleshiness that is my hand *ugh*), you will see that I enclosed a pearly bead in the bead ball. I simply popped that into the ball before I threaded the last little bead on. A little surprise, so to speak...


Without getting into a tutorial, I'll just write down a couple of observations that might help you when you are making these. My recommendation is to make a couple of these bead balls with slightly larger beads first before you start on the fiddly tiny ones. You need 30 beads of the same size, preferably round ones, and about 20 inches of nylon thread. Count out your beads and put them on a saucer on your crafting table! Making these bead balls is addictive, as Candie warned in her tutorial...

I have to admit, it took a few attempts before I got the bead balls right. But  I ploughed on until I got it right. The whole process is fairly logical and regular, but I found I really understood the process of weaving them together, when I used different colour beads for the various parts. I.e. start with 5 beads of one colour. Then have 15 beads of a different colour. And for the last part have 10 beads of yet another colour. It just means you understand the pattern and the weaving better. It will help you to make your second bead ball in just one colour...


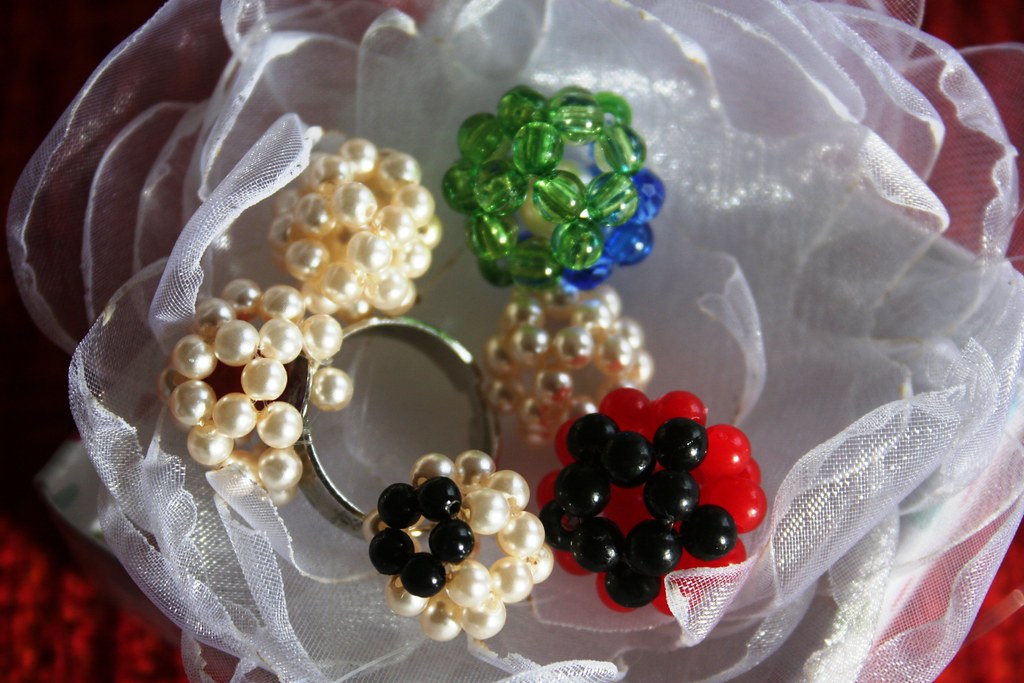
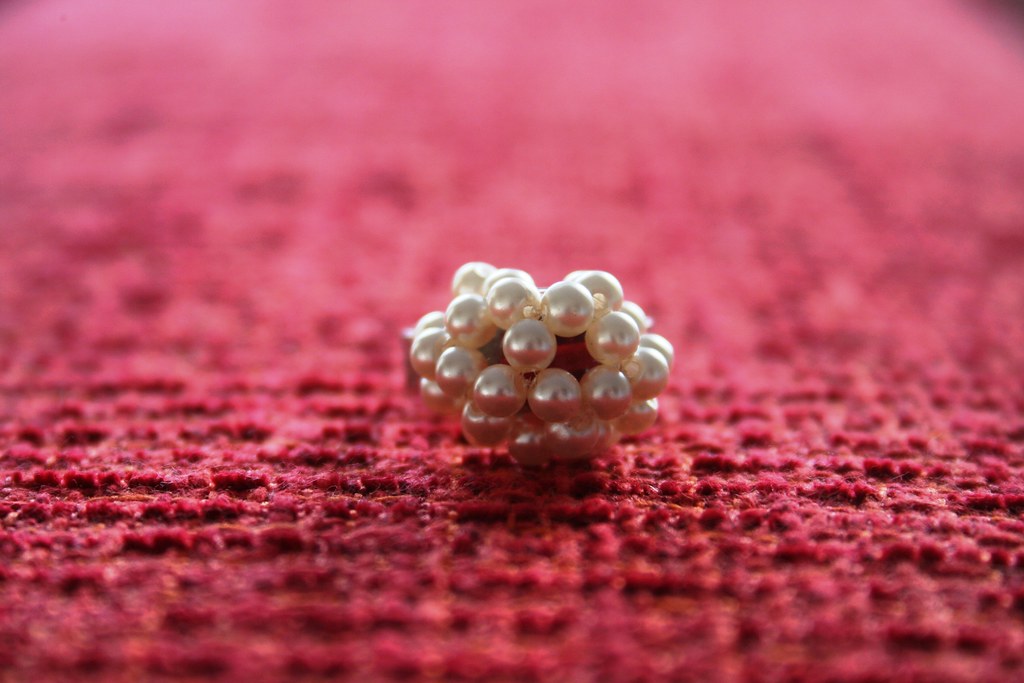
Nonetheless I got a couple of them wrong and finished before I had a regular ball shaped pendant. They were more of a three-quarter globe, with the last bit missing. I found a use for those, too, though. I popped a red bead into one and then fixed the ball onto a ring.

Another three-quarters finished ball became the centre of one of my corsages. It looks lovely like that and was easier to sew on than a full ball, I think.


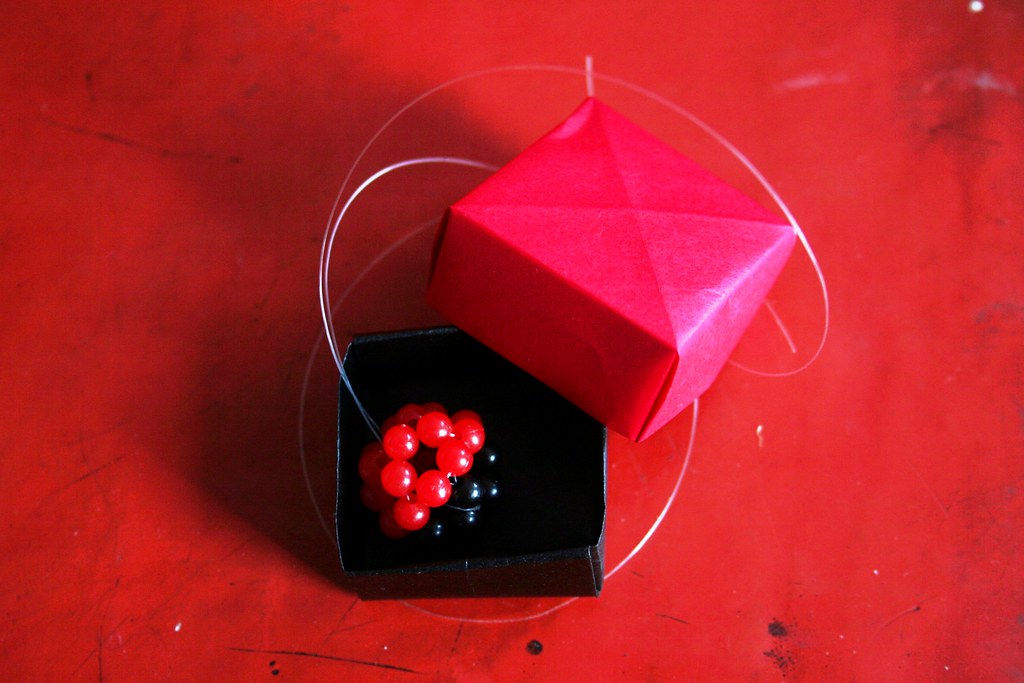
I am still wondering what to do with my green-and-blue bead ball - I think I will turn it into a pendant once I have figured out how to fix a little hoop onto it. The obvious use would be earrings - Candie shows several of hers. My daughter loves this red-and-black raspberry bead ball - not sure yet, what to do with it, but it already has a matching gift box *haha*...  

 
Best,


Linking up to
         Making


Thursday, September 17, 2009

Earring-Recycling - Make something shiny and new with those lonely single earrings...

Beware of autumn and winter, ladies - "It's Lose an Earring-Time Again"!

If I were to write a blog entry for every earring I have lost, I'd fill this blog pretty quickly. Last autumn and winter alone I lost at least four earrings. I blame the thick scarf that I was wearing - it kind of pushed the earrings out when I was briskly walking home after work. Losing my earrings really annoyed me. Ok, most of the earrings I wear are cheap costume jewellery. They didn't cost a bomb. But I liked them and some of them held special memories. And what's more: I was left with several single earrings that I had no use for because wearing just one dangly earring looks daft. It bugged me that I had all these earrings lying around but wasn't using them anymore...


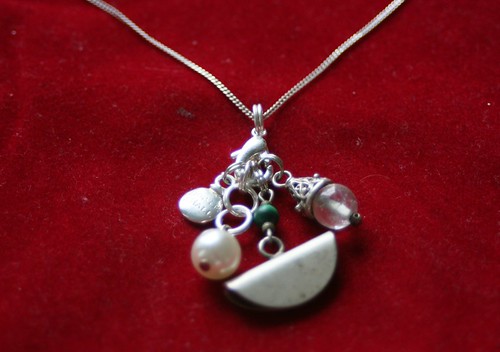
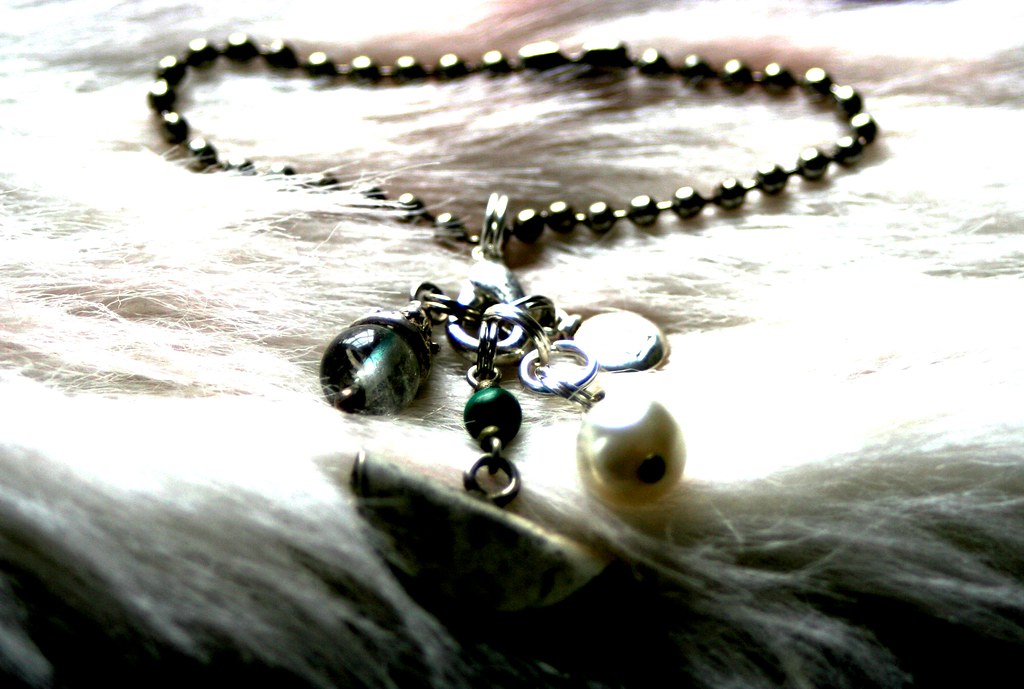
So I had to come up with a way of recycling single earrings. I toyed with the idea of going to a jeweller's and having them fitted onto a charm bracelet. But are these cheap things worth the expense of having them fitted? No. Then - Eureka! - I had the inspired idea. I decided to turn them into a charm pendant. They are all the rage right now.


Here is what I did:

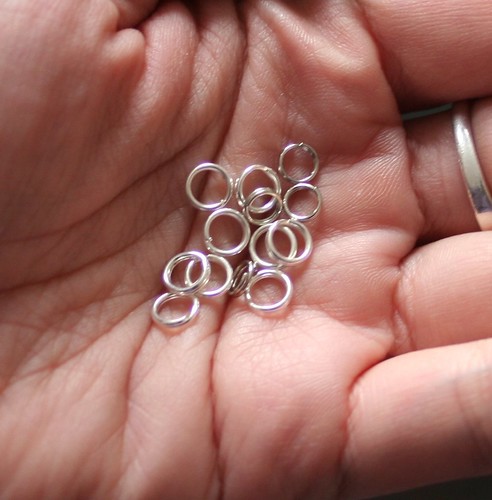
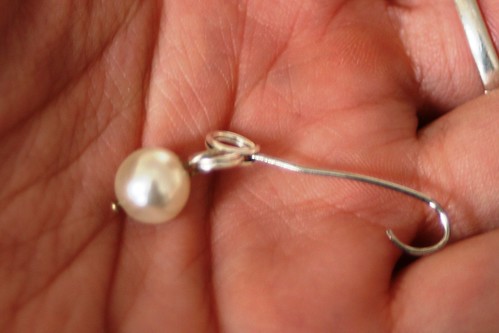
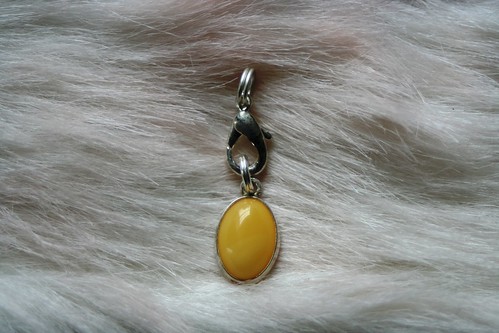
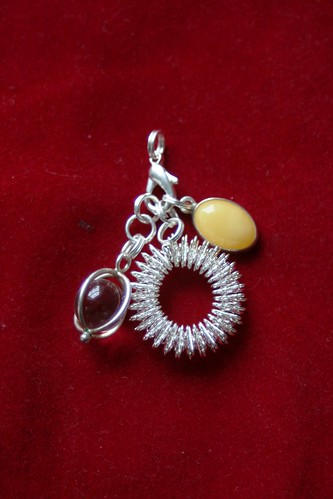
First I took the dangly bits all off the actual earring. (Keep those - you never know whether you might need them some other time...) In my bead box I had lots of silver necklace carabiners which came with little hoops. Those hoops are actually little coils, so I simply pushed the dangly bits onto the coils. That was quite fiddly, but you can use a piece of wire or simply your fingernail to push the wire of the coil apart and then squeeze your earring onto the hoop. Now the earrings are individual pendants which could already go onto a necklace.


I also put a hoop onto the fasteners in order to thread them more easily onto a necklace. The carabiners are integral to my design, because you can easily attach a number of pendants onto them for the current fashion.

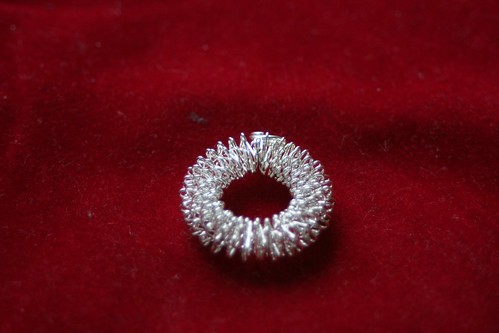
I also had this silver wire circle which is actually for massaging your fingers. I never do that - but I like the design of the thing. So I attached a hoop to that, too, and also use it as a pendant. - Some of the pendants are very small and look lost behind the wire circle, so I made a little chain of hoops to hang them from.


If this kind of pendant is too bling for you, why not use it as a key ring. I think, my key ring is very posh and I look forward to showing it off!!!