FYI


Showing posts with label card making. Show all posts

Monday, February 22, 2010

A Special Birthday Card

Hello everyone - want to know what has kept me busy at the weekend (apart from going to the movies, attending a classical concert, being locked in the studio for a photo shoot and hosting a craft afternoon - *woosh*, I get tired just reading that long list of weekend activities...)? I made a special card for my dad's upcoming birthday. (Hope he is not reading here, otherwise the surprise is spoilt...)


Yeah, right, a card that is. What's so special? Well, that is what is called an "infinity card". My scanned pictured doesn't show you what it can do. Essentially it can be opened up and folded back to reveal more pictures, all without changing the orientation of the card.


My daughter had been given an infinity card for Christmas and I was fascinated by it. I had no idea how it was made - and then I stumbled across a great clip and a template by Toymaker Marilyn Scott Waters (via one of my reader's comments - I have been trying to search and find who of you had a link to Toymaker, and give you credit for the inspiration - sorry, can't find you again, please accept my thanks this way...)


To really show you how the infinity card works, I've made a little video. Check it out, it's only a minute long and shows the magic in action:


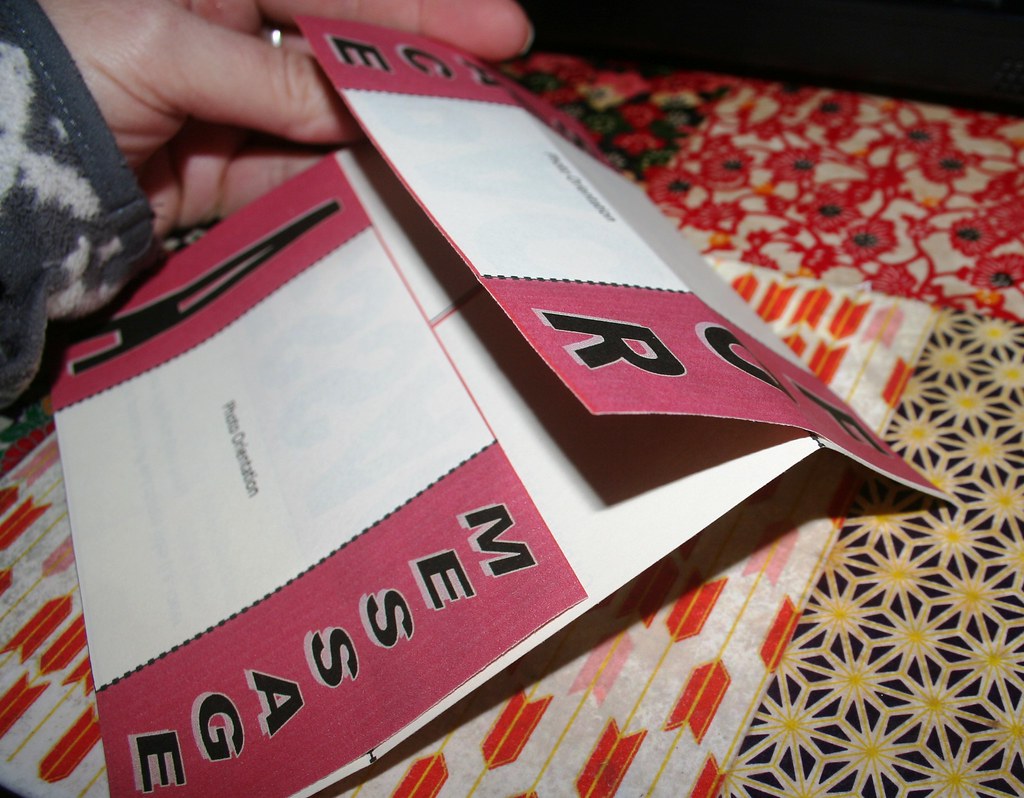
I nearly lost the plot making this card - the template I worked with had graphics, not photos, and so I had to experiment in order to get the orientation of the photos right. You see, the images get "twisted around" when you fold and turn the card. I think I printed about five drafts until I got it right. (And while writing this tutorial I also realised that I needed to take pictures to show what you need to do - words are not enough...). This is what happens:
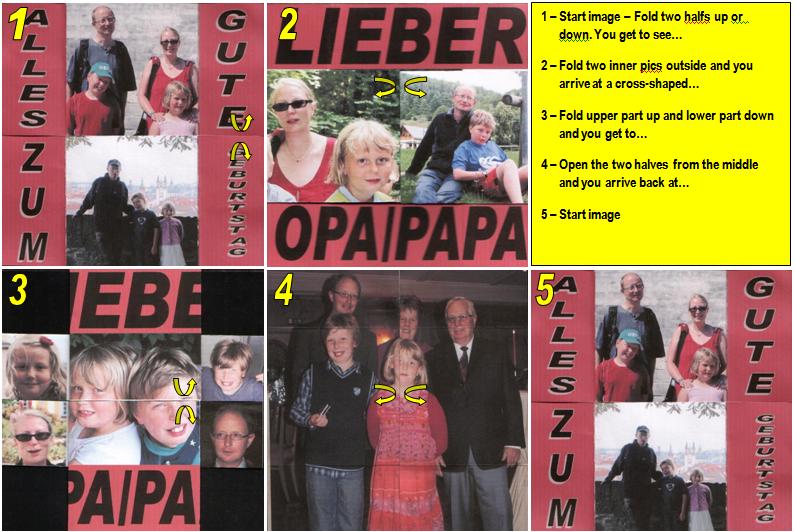


Good person that I am (...), I have decided to make a template for those of you who want to recreate this, using your own photos. You can download it (for free, of course) at the end of the post via scribd. (Aside: Wow, I am really learning so much while I am blogging - scribd is so cool for document sharing!!!)

A few notes on making the card: The template is general and allows you to adapt it with your own message and photos. The red boxes are designated for a message. Word MS will let you click onto the writing in the boxes and add your own message. The orientation of my notes in the document shows you which way up the pictures should go. You can simply copy and paste photos and place them in/on the document, sizing them as required. Note that you may have to cut photos in half and change their sides so that they show up correctly in the finished card!!! (I have indicated that in the template.)


Once you have written your message and pasted all your photos in, you can print out the pages on card. Page 2 has to be printed onto the back of page 1; page 4 goes on the back of page 3. It should all align, so that you can trim off the excess. 


Next you cut your two square print-outs in half along the red line in the middle. The black dotted lines denote the lines where you should score the card. (If you are printing on normal paper, you won't need to score!) Then fold along the score lines - both ways.


Place your square from page 3 and 4 in front of you with page 4 facing up. You should be able to see that there are four boxes on the two strips that say "Glue Point". These glue points should be in the four corners of the "square". Put a bit of glue on each of them. 


Take the two remaining strips with page 1 facing up. Page 2 also has four boxes labelled "Glue Point". Attach them to the bottom square by placing glue point onto glue point.


And you are done. You may need to fold the strips back a little more as you are trying it out, but the infinity card should work now.


Here is the template for downloading. I am not sure why, but scribd's preview shows the elements of the card scrunched together and overlapping. I have tried downloading it and the template comes out correctly on four separate pages, just the way you can work with it. I created it using MS Word 2007.

Template for Photo Infinity Card                                                            


By the way - opening and folding the card backwards does not work!! It only works seamlessly if you start with your message square first; otherwise the pictures and the text will be completely jumbled up...

Hope this wasn't too complicated? Have fun with this - it will amaze your children and is an easily made card for any occasion: next birthday? Valentine's Day? Paddy's Day? Or just for a loved one to show that you care and are willing to spend time on an original craft for them.

Best,


PS: Have you entered the giveaway? It's your last chance now - I am pulling it off tonight at 11.30 pm GMT. Just go to my celebration post and leave me a comment. Seriously, that's all!

PPS: Yay: oneprettything

Linking to:


The Girl Creative

Making


 The DIY Show Off

Wednesday, December 23, 2009

Last-Minute and Recession-Buster Gift Wrap


The countdown to Christmas is nearly there. Christmas tree chosen? *ticks* Last big shop done? *ticks* Money spent on presents? *ticks* All presents wrapped? *ti... eeeeeeeeeek* It's the day before Christmas and you haven't got any gift wrap in the house. No need to worry, there are other ways of wrapping the gifts nicely. And chances are that you have all the "trimmings" for it at home, anyway.


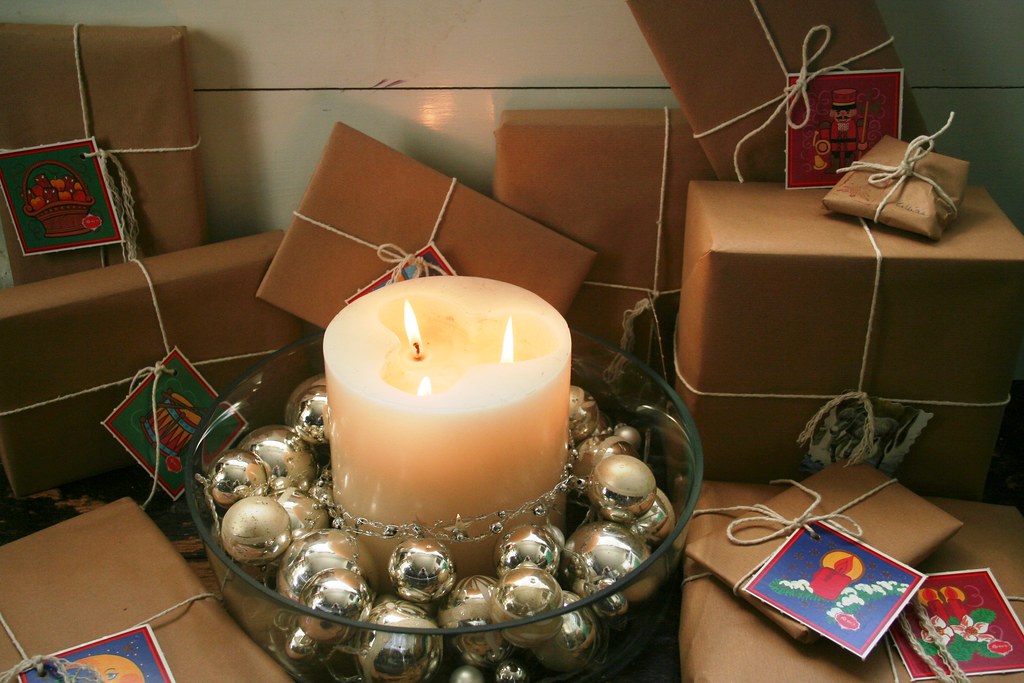
I am well in time with my gift wrapping. All done, actually. And technically I was not trying to beat the recession by choosing cheap gift wrap. It's more of a style statement than a financial decision. I just find that brown packing paper is the new burlap *grins*. Seriously - brown paper can look so nice.  And it leaves you lots of scope to decorate with string, stickers, stamps, bows and whatever you have at hand.Here is a sneak preview of the 2009 Christmas wrapping style in the Royal household:


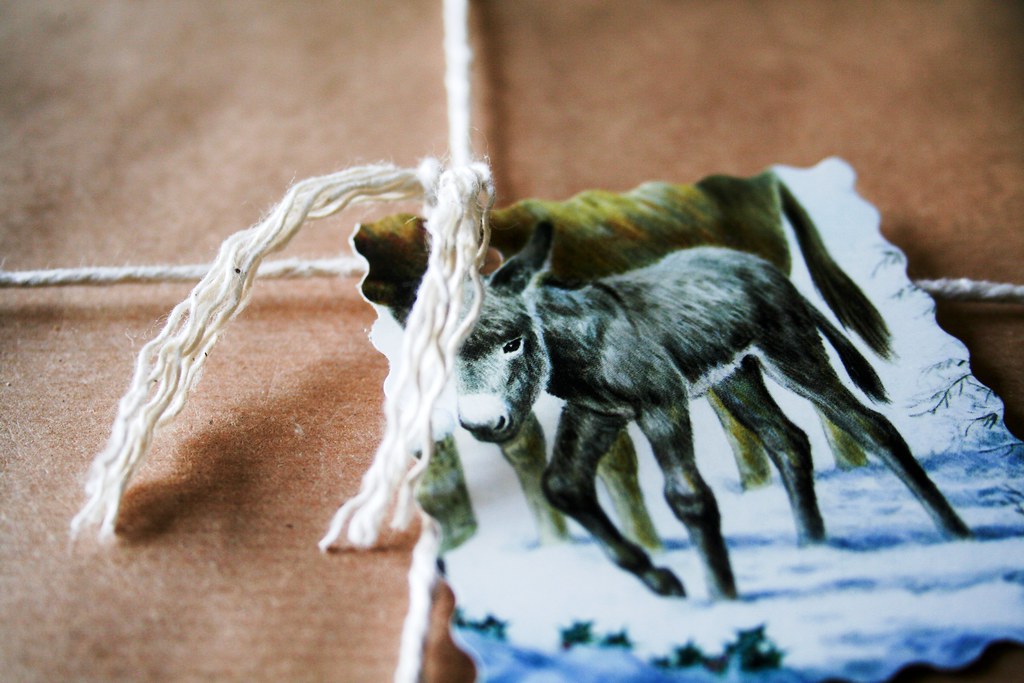
I bought a roll of packing paper for € 3.98 and some cotton twine for € 1.98. I wrapped all presents in it and put the twine around them for a rather simple, traditional, almost post-y look. The sparkle and the glamour is added by the gift tags


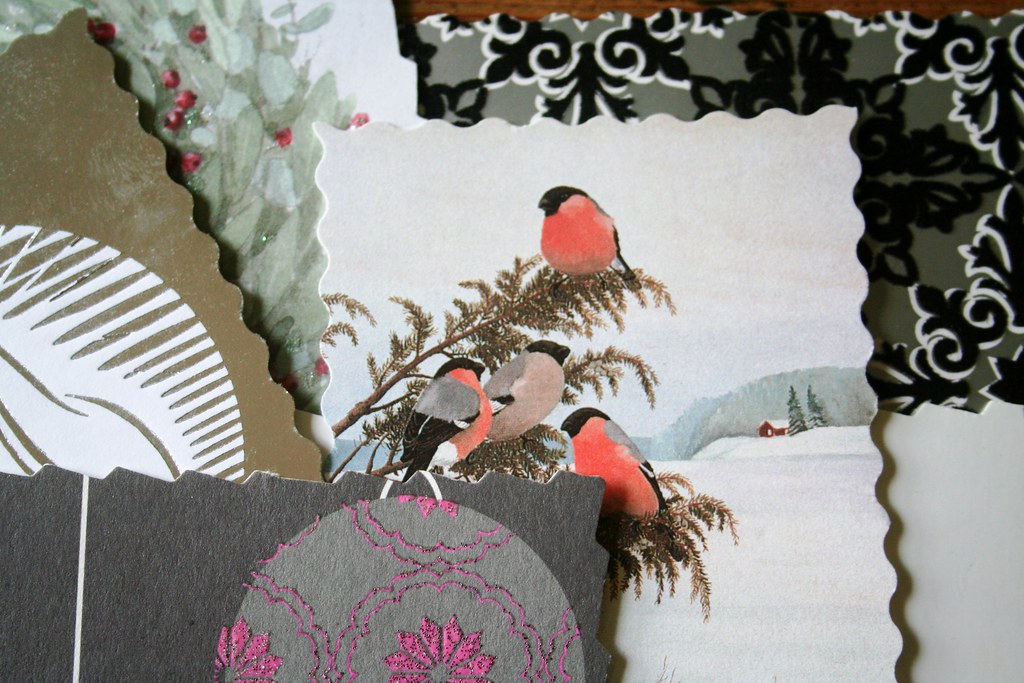
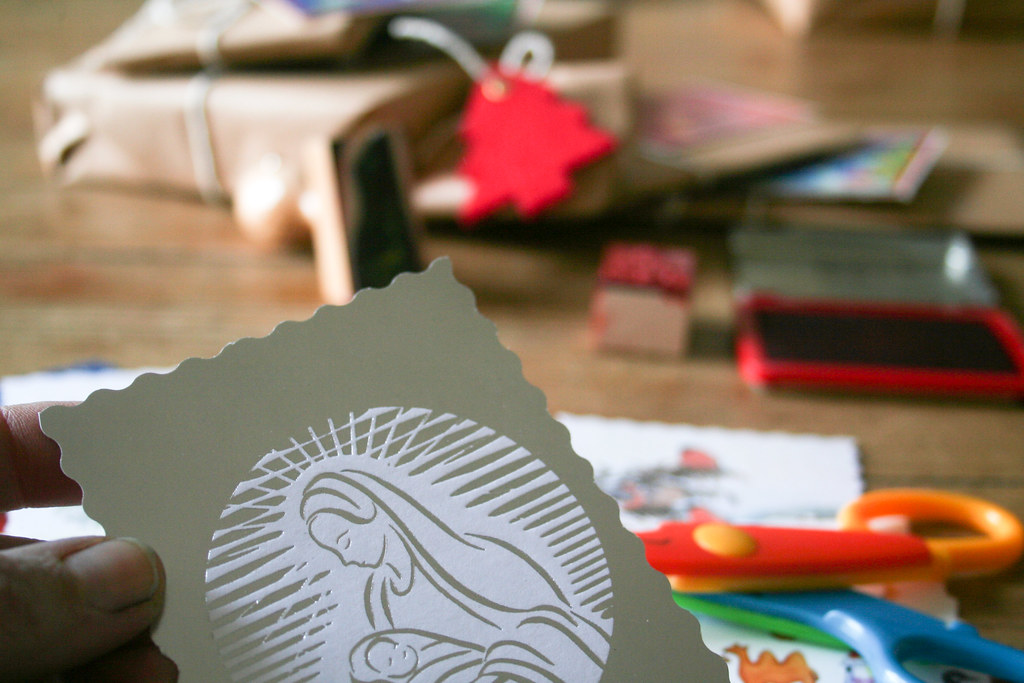
The tags were last year's Christmas cards which I saved. With scalloped scissors I cut out the pictures of the cards where the back had not been written on. They make nice tags, cost nothing and are paper recycling in the best sense! So don't forget to look through your Christmas cards this year before you throw them out... For added sparkle I stuck some self-adhesive scrapbooking crystals on the tags.


How many pressies did I wrap *thinks*. Not sure - maybe 40? It only cost me € 5.00 - and I still have lots of brown paper left to wrap parcels.

Wednesday, November 18, 2009

Little Christmas Tags - or Christmas Cards

Ok, I can't hold off any longer. Christmas is upon us, soon. Well, it has already been around since September - at least in the form of gingerbread and Christmas chocolate in the supermarkets. But as the first of Advent is in November this year, I feel totally vindicated to start Christmas preparations in mid-November. In fact, I have decided I will start decorating the house the week after next. There is plenty of traditional Christmas deco up in the attic and after a long year without them I cannot wait to bring them out and display them again.

Christmas is just such a magical time - I am a self-confessed Christmas lover. So when I was asked by my family to organise this year's Christkindl (or in Pidgin German "Kriskindle"), I took the opportunity to make little cards in which each participant was given the name of their Christkindl partner.


Hang on, you don't know what "Christkindl" is? Ok - an easy concept that is actually quite well suited for anyone who has a large circle of (grown-up) relatives to give presents to. Essentially what you do is, you draw names from a hat so that each participant in the big "Christmas Present Exchange" has to buy/make/find a present for only one person. The value of the presents can be pre-set - in our family we limit ourselves to a maximum of € 20-worth and also allow home-made gifts. (Incidentally, the latter are more valuable, anyway...)

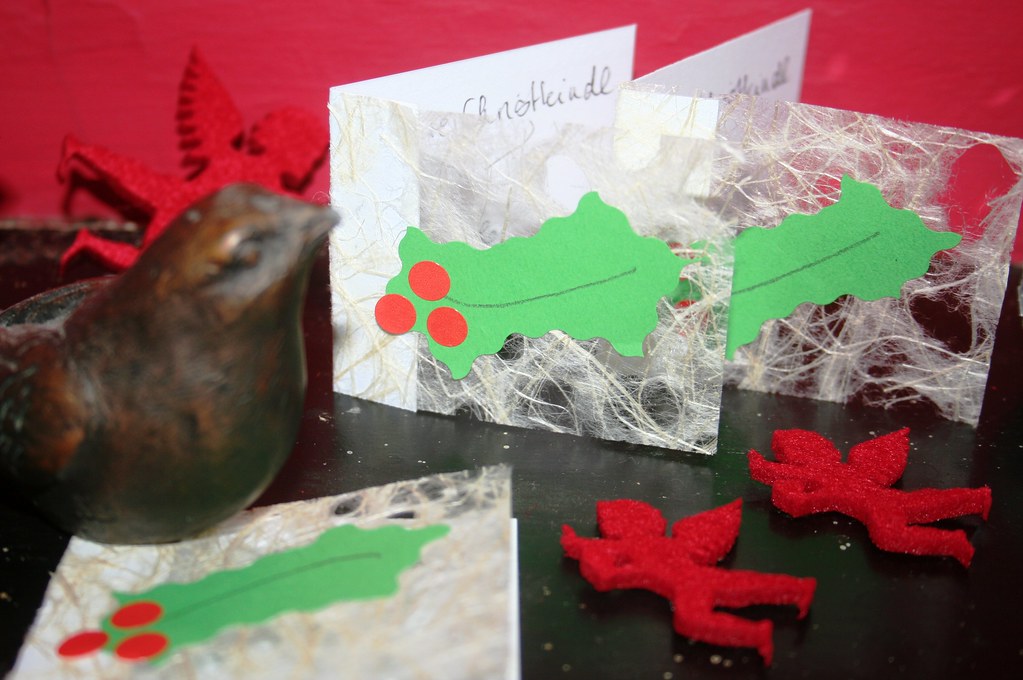
With paper from my Daintree stash I created a little card. Then I cut out some holly leaves from green carton and glued them to the card. For holly berries I used some red dot stickers which I already had.. You could also use the punch holes from your paper punch. Aren't these cute:


Something like this will work nicely as a gift tag, a thank you note or even a simply but lovely Christmas card for your kids' teachers and friends.

HoHoHo...

Thursday, October 8, 2009

A crafty card-making session...

Amazingly I was able to fit in a quick card-making session between child-minding and college. I felt the urge to be creative, so I got my loot-bag from Daintree Papers out, grabbed the spray mount and the puncher and created a few cards.


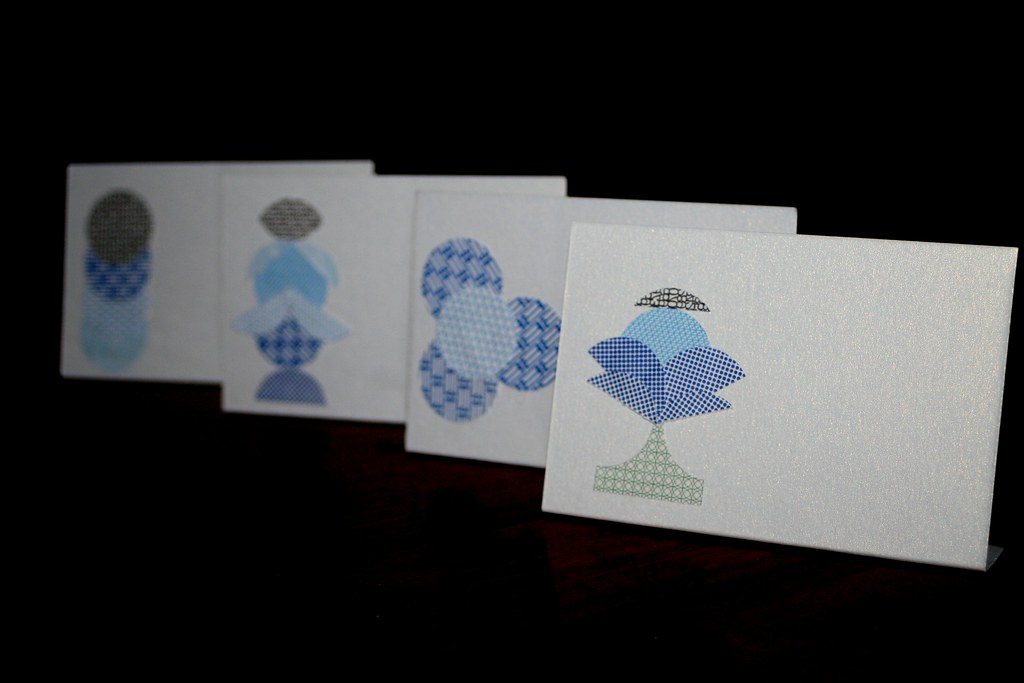
This is a scanned image, so all this is a collage of six individual cards, lazily scanned together in one go :-). They look slightly three-dimensional. That is due to the card which has a mother-of-pearl shine to it. The stripy paper is actually Japanese paper which is quite precious and expensive. So I used every bit of it - the punched out circles and the surrounding bits.

I quite like graphic designs on greeting cards - they suit every occasion and are rather easy to make. However, I felt particularly creative yesterday (...) and also made this little card for a very special occasion.


Let's hope that the receiver of this particular card is not following the blog... There are a few of them around...


Monday, August 17, 2009

Material of the Week

*Eeeeek*, Monday is nearly over - most probably will be by the time I have written this post - and I haven't yet updated the blog!!! Here we go.

This week I have decided on a new strategy. So far the blog has been quite a mixed bag of craft ideas. From notice board to Christmas star and on to bread rolls. All a bit unstructured. So I thought I should try and introduce the "material of the week". I intend to pick a particular craft material which I will then show a few different craft ideas with. This week I have settled on security envelopes.

I admit - the big security envelope-craze is already over. No idea who had that brilliant idea, but it is stunningly simple: Have you ever noticed the insides of those private/personal/confidential letters? They are usually printed with a blue/black pattern to protect the contents of the letters from shining through the envelope. I collected all my official mail over the last two weeks and was quite surprised to see how many different designs I managed to find over that time. You can see a small selection above right.

So with nine different patterns I decided to do something with the paper. First of all you have to carefully open up the envelopes. I then decided to invest in a simple circle punch (€ 7.99 from the art & hobby shop) with which I punched out lots of circles. Then I remembered my wonderful bag of paper offcuts from Daintree Papers and settled on some card which lent itself for place card-making.


All I used were the punched out circles, a guillotine for cutting my card and some pritt stick. Arrange the shapes on the card before pasting on - that way it is easier to design nice shapes.

Easy peasy craft - and I actually quite like the result. Trouble is - I have no real event for which I personally would need place cards... But hey, maybe my mum's 60th birthday?


Anyway, watch out - there will be a couple more posts in which I will work with the security envelope material.

Wednesday, July 15, 2009

My Loot

I have to show my loot from yesterday! My friend R-M told me about a little paper shop in Dublin where a friend of hers had bought a bag full of off-cuts. Sounded good - and as Camden Street is not very far from where I live, I visited the shop yesterday. What a fantastic recommendation. Daintree Paper is an absolute treasure trove! They sell handmade paper and all trimmings that you need for making your own cards, especially wedding invitations etc. I spent quite a while browsing the beautiful paper products, getting lots of inspiration. - Eventually I found the "goody bags". For a mere € 10 I bought a whole bag full of paper off-cuts. Here is the lo(o)t:

Now, I do not really have any intention of getting big into scrapbooking or card-making. Generally I think it is overrated and in my own personal experience the receivers of cards most often than not do not appreciate the time and effort that goes into making it. Let's face it - the cards are usually received and then discarded. I do like the way people in English-speaking countries display their birthday/Christmas/special occasion cards for a while. But even then they eventually land in the recycling bin.

Nonetheless I could not resist making a card today - just as an easy project to illustrate my posting with. So here is my Daintree card, with matching tag *sooooooo twee*...

I already have a few cunning ideas up my sleeve for more paper crafts, though, so watch this space!