FYI


Showing posts with label candle. Show all posts

Tuesday, December 20, 2011

Dear/Deer Candlestick

Here comes post number three of the drawing room mantle series. Yep, sorry, but you must get through this before I go on to bigger... better... different things. The remaining crafty bit is - have you guessed - the candlestick-y arrangement on the mantlepiece. Which, upon closer inspection, turns out to be... *tada*... deer antlers...


The easiest project if there ever was one. And yet I had this coming for aaaaages. The idea was born a couple of years ago. You see, my dear better half used to have an extensive skull and bone collection as a boy young man. *um* No, nothing sinister about that, just a genuine interest in all living things. Except that they were dead. *eh*.

Anyhow, his collection resided in his parents' house, but when they moved out, the time had come to transfer the precious collection to our own quarters. Was I horrified? No. Am I morbid? Emphatically no!! I love the sculptural quality of skulls and have occasionally photographed them for projects like the one on the right. (That's a marmot skull by the way...).

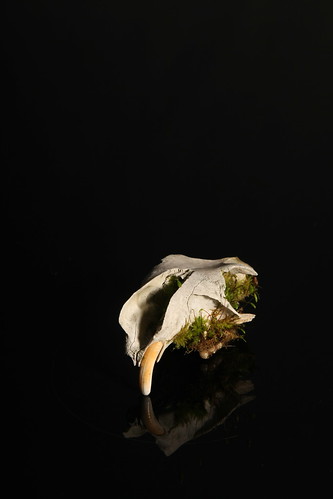
I have also previously turned a large skull into a sculpture for the drawing room - if Damien Hirst can do it, then so can I (with the help of a little silver spray paint...). Check the old post here.

Right, but to get back to the point...


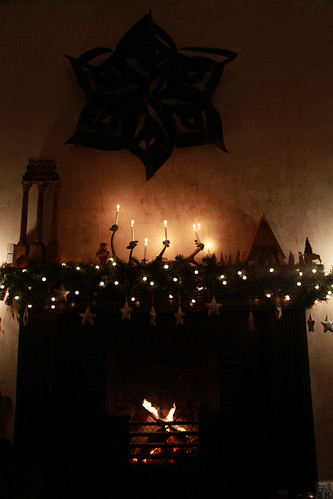
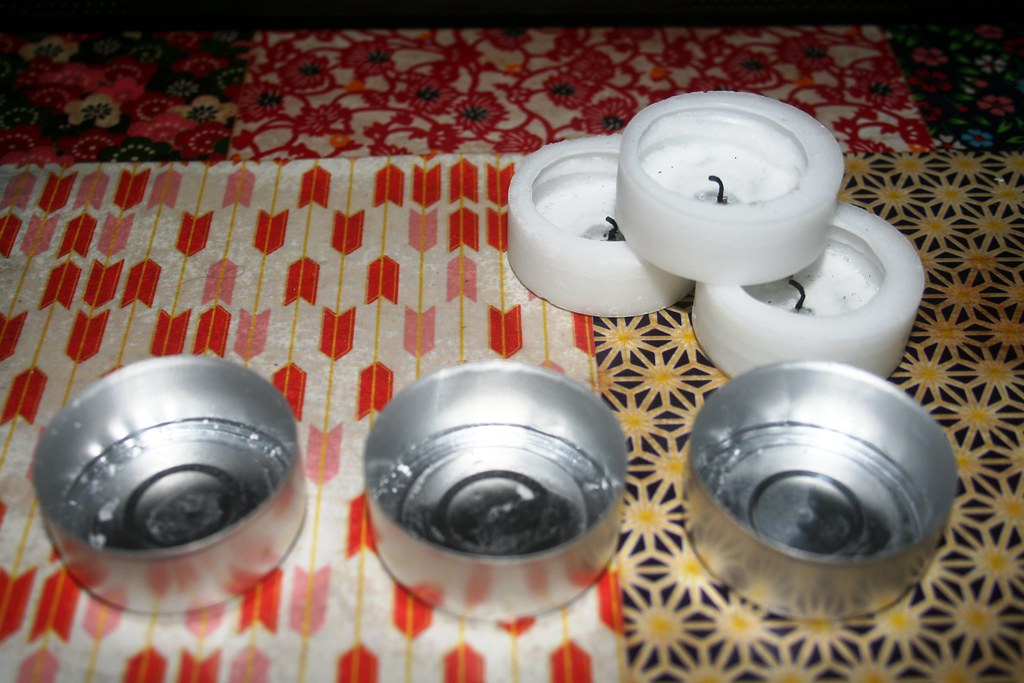
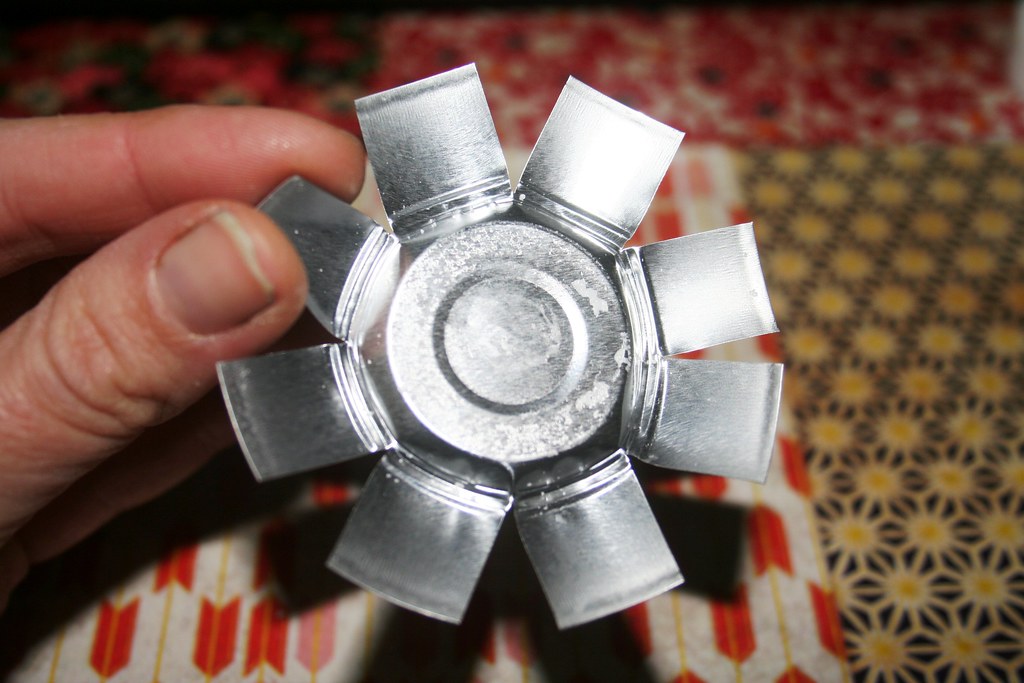
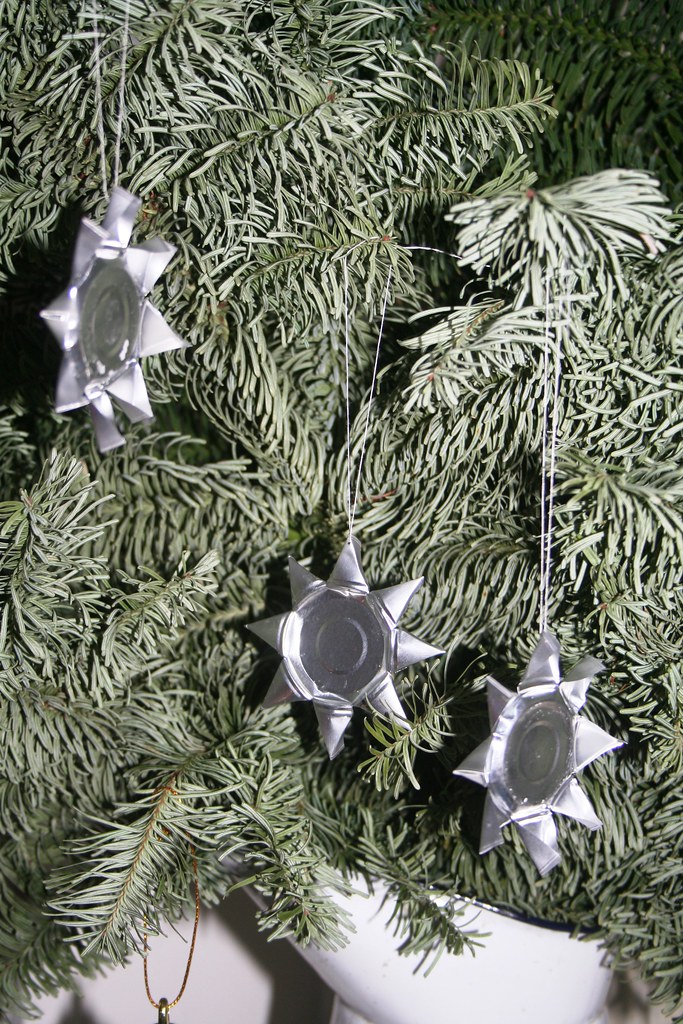
Deer antlers with their pointy points are just natural candle holders. There was only the problem of attaching the candles to the antlers. I thought about drilling holes and pushing those candle holders for wreaths into it. Then I though about simply putting nails into them to stick the candle on. And finally I realised that something from my Christmas stash would do the trick nicely - those old-fashioned clip-on candle holders for the Christmas tree:


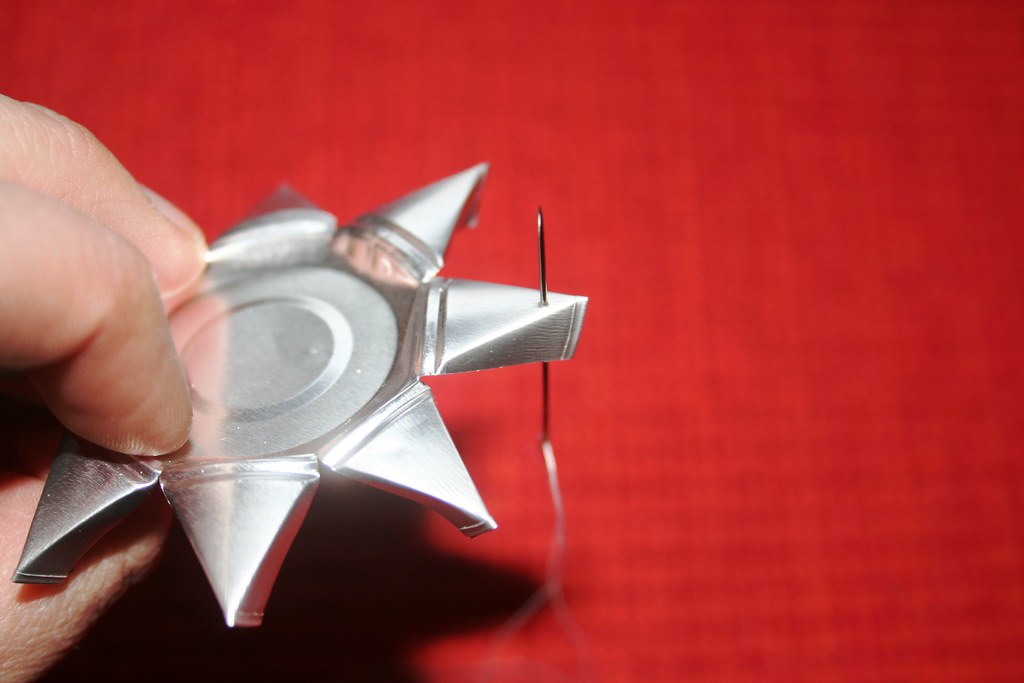
Luckily the holders come with a little swivel headed candle tray, so you can twist them in such a way that the candle will be (roughly) upright and therefore not splash wax all over the place when lit. I am delighted with it - I like the rustic feel it gives.


Dead animal parts in the house are bad for Feng Shui???


Sheeeeeeeeeeeeeeeeesh!


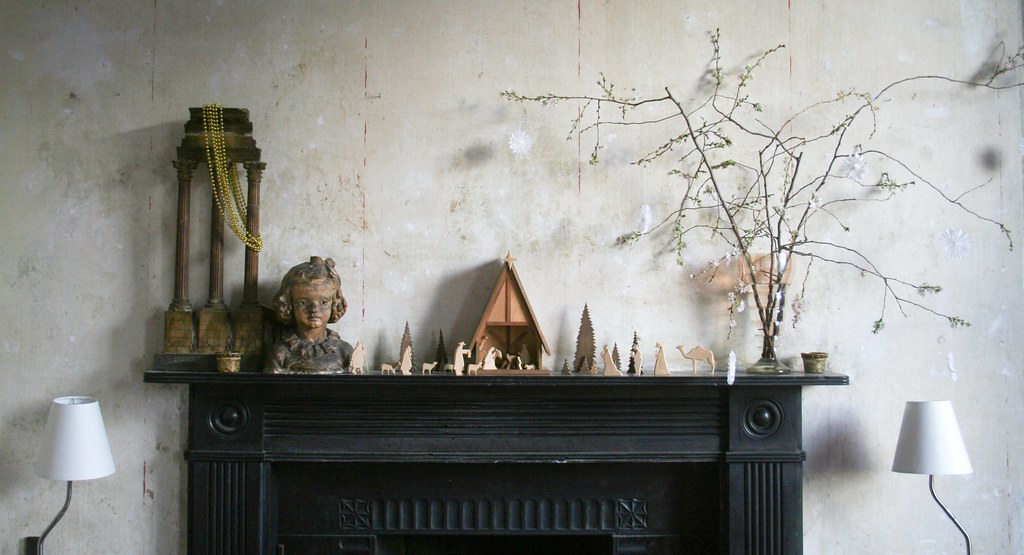
Let's cosy up at the fire, pretend we are in an Alpine hut, fresh in from a whizz on the slopes...


Best,


PS: Promise - tomorrow you won't get a view of my mantlepiece again!!!

Sunday, October 24, 2010

Halloween Mantle

Hello guys - I was out of the country for a few days and then busy settling back in, so didn't get anything crafty done. But this evening I finally managed to do what I had been meaning to do for quite a while. I was sick and tired of my jugs - and have at the same time updated my kitchen mantlepiece according to season.


Right, Halloween time it is! I dug out my nice ceramic pumpkin and set it up on my kitchen mantlepiece, flanked by those autumnal red apples. And I took down the darling jugs of January (check them in all their glory here ) and replaced them with a wreath heart.

All I did was really put a nice ribbon onto the heart, tie it and add some bells.

My blackboard-painted pebble is making an appearance again, too, this time with a Halloween "boo!"


Now that the days are getting dark again, I have put lots of candles on all mantles, whether it is in the kitchen or the drawing room. I love the warm light they give. And yet, the candle light draws some fittingly eery shadows from the frame. Almost gothic...


Happy pumpkin-carving, everyone!

Best,

Sunday, January 17, 2010

A Discovery and a Successful Shopping Excursion

While I was out shopping yesterday, I came across the cutest shop. There is a overpriced rather exclusive shopping centre in the middle of Dublin, called Powerscourt Townhouse. It is situated in a splendid Georgian townhouse, built between 1771 and 1774, with wonderful stucco and cornicing still intact. In there is a new haberdashery shop called A Rubanesque  that sells the most beautiful ribbon, buttons and bits and pieces. The proprietors clearly love their shop - it so nicely designed and decorated. I couldn't help but take a picture of the shop window. Isn't this cute:


The display has already inspired me to think about some nice crafting and decorating with ribbons and buttons. 


Anyway, finally I was successful on my Christmas bargain hunting! I had been sooo disappointed when there were no deals to be had when I ventured out immediately after Christmas. Two weeks into the new year I was successful. Yesterday I bought this:


The baubles are hand-blown and were reduced from € 7.50 to € 2.25 for four. Not quite sure, what colour exactly they are *grins* - a dark mushroom? Aubergine? Whatever - if it doesn't fit the Christmas tree, I'll spray them a different colour. Although that might be a shame for hand-blown baubles?


I also snapped up two sparkly, red hurricanes that had been reduced to € 3.00. I used to have two dark red glass hurricanes on my kitchen mantle. When I put those in the dishwasher to clean off all the candle marks, the red colour was washed off *doh* - so I am really pleased to replace them with these.


Best,

Wednesday, December 23, 2009

Recycled Ornaments - Nightlight Stars

It's the day before Christmas. (Well, technically Christmas is the 25th of December, but as a child German, the most important day for me is Christmas Eve when we exchange presents.) And I can't believe that I actually have the time to craft something and to post it in my blog... Am I organised or have I forgotten something??? No, presents are bought, sitting room is decorated and presents are wrapped.


Well, my project is a small one and a quick one. I just made a few nightlight stars. You know those little metal cups that nightlights come in? I have been going through loooooooooooooooads of them recently, as my kitchen advent wreath is decorated with four nightlights. They are lit every time we sit down for a meal, and so we go through a lot of candles. Apart from the fact that my nightlights are not very efficient - they seem to burn out in the middle, leaving a lot of wax behind - it has irked me that I always have to throw out the left-over wax and the metal bits, too. So I came up with a way of turning them into Christmas ornaments.


Take out the left-over wax from the metal holder. If the wax hasn't melted too much, it should be easy to get the candle out and you won't have to clean the holder much.


With ordinary scissors cut into the rim of the holder. It is easiest if you start with two cuts opposite each other and then cut three more times, creating eight evenly spaced strips.


Flatten out the holder carefully. You now have a vague sun-shape.


Now take one of the strips between thumb and index finger and carefully squeeze in order to fold up the two corners of the strip. Do it with all eight strips. And you are basically done.


With a needle and thread you can attach a piece of string for hanging the ornament. It pushes through the thin metal fairly easily.

These stars are really simple. And I actually like the three-dimensionality of it. When you hang a few of them together, the produce a faint little "chink" when they touch... almost like the distant bells of Santa's sleigh approaching. (Or that is what I tell my daughter...) Best of all - they are completely free and making use of recyclable material. 


Tuesday, December 1, 2009

Advent Wreath

A bit late for the first of Advent, I admit. But let me still show you what this year's advent wreath looks like in the Royal Household:


It's all very simple, not much decor. Because I believe that the warm candle glow and the beautiful fir are pretty just by themselves. Add too much to that and you risk the Tack Factor...

So my wreath - homemade, by the way, on a wire circle, with little bundles of fir and fastened on with green gardening string - is decorated with a few white beads on a silver wire. The four candles - one for each of the four Sundays before Christmas - sit on silver candle plates which have a spike underneath for poking into the wreath. That's all there is - and it is quite enough, I think.


I would love to see my subjects' readers' creations... Drop me a comment with a link to your pics!

Saturday, November 28, 2009

Decorating a Chandelier in Christmas Style

When we moved into our present house, I finally had a kitchen that I could decorate the way I wanted. And what I wanted was a chandelier with candles over our kitchen table. What I eventually bought has turned out as one of the luckiest finds - and bargains - ever! On one of my trips back to Germany I found a chandelier in Ikea which was just being discontinued and therefore was reduced in price. It was pre-Euro times, so I paid 20 Deutschmarks, which roughly translates into € 10,00. A total scoop!

Unfortunately I do not know the Ikea-name of the chandelier. It is made from galvanized steel and is a three-tiered chandelier with 6 candles on the bottom tier and 3 on the middle. It is a beautiful focal point in my kitchen and gets decorated according to the season.


 Please excuse the overexposed window - I was experimenting with fill flash for this pic. But you can see the two lower tiers in the image.

This year I went out into the park and got some holly - with red berries still attached. I wrought the holly around the bottom tier, simply resting it on the candle holders. And then I hung Christmas decorations from the leaves. I tend to decorate differently every year, so this year it is all silver with disco ball-baubles, sparkly stars and wire baubles.


 Decorating is so easy - it doesn't have to involve lots of crafts and nimble fingers. Just sticking a few twigs of holly and fir here and there is enough, the Christmas-tree decorations will do the rest. Here is an image of my kitchen - and the chandelier - in full swing, eh, full shining, Christmassy glory from last Christmas


Friday, November 20, 2009

How about a little Advent Craft Session?

Hey girls (and boys ;-) ) - weekend after this one is the beginning of advent, the official start of the Christmas season. You are possibly already in the middle of making decorations and presents for Christmas. How about calling your friends together for a Christmassy crafting session?

That is what I am doing. I have invited my crafty friends over for a mulled-wine-and-crafting-afternoon on the second of Advent. Crafters are invited to bring their projects and materials, non-crafters are welcome to provide entertainment. We will sit at my large kitchen table, munching traditional German Christmas biscuits, drinking mulled wine and crafting away. Well, the latter depending on the amount of alcohol being consumed *hehe*.

For those who are trying to opt out of the crafting - why don't you give them a little project with bits and pieces that are available in most (crafty) households around Christmas time, anyway? It is actually a very easy project that even children can do: The Zinzendorf candle.


You need oranges, wooden toothpicks, raisins, white and red tissue paper and a candle. First take off the green bit at the top of the orange and make a hole that you can later fit the candle in. Stick a raisin each on four toothpicks. Then stick the toothpicks into the orange so one toothpick points east, one west, south and north. Cut the tissue paper in thin strips, about 1 cm wide and 3 cm long. Push them into the hole and then put the candle on top of that.

At Christmas time some Germans decorate their house with this candle that I call the Zinzendorf Candle. There is a lovely story which goes with this candle.

In the first half of the 18th century some Protestant Moravians were forced to leave their homes because of their religious beliefs. Some of them made their way to the Oberlausitz, an area which is now in the East of Germany, bordering onto today's Poland. They were welcomed by Count Nicolaus von Zinzendorf, who shared their religious beliefs and put them up on his property, giving them food and shelter. - It was coming up to Christmas time and among the refugees were many children who were looking forward to a very bleak Christmas. Graf von Zinzendorf, however, surprised them on Christmas Eve with an orange - quite a generous present in a time when there were only coaches travelling between Eastern Europe and the sunny Mediterrenean where the oranges grew. The orange was to symbolize the earth. Then he stuck a candle and 4 toothpicks into the orange. The candle was given red and white paper decoration and each of the toothpicks had a raisin stuck on it. The candle is meant to represent Christ - the light that shines on earth. The 4 toothpicks represent the 4 corners of the world. The paper decorations is the blood and body of Christ and the raisins are all living things.


Even if you are not a believer, the candle is a nice decoration at this time of year. And the story is heartwarming, too...

Tuesday, November 17, 2009

Using up some scrap paper for night lights

I love candles. Ha, surprise, surprise, after my posting about the paper silhouettes... But seriously, doesn't it add instant atmosphere when you light a candle? I always have a stack of candles in my house - and I go through it pretty quickly.

I particularly like those little nightlights - very inexpensive, fit into any kind of glass or jar for an instant candle arrangement, relatively safe open light. But while they are practical in their little aluminium cups - can anyone tell me why noone has yet thought of presenting a bit more attractively so that they could stand alone? I often just pop them in a clear glass and the alu holder does slightly take away from the overall look...

So, when left with a few scraps of nice Japanese origami paper after giving my notebooks a new look, I quickly decided to make over the nightlights with a simple strip of paper. Cut them out and just secure them with a bit of glue, fix them around the nightlight and presto! They can be adapted to any kind of colour scheme or theme and are whipped up in minutes.


I used paper scraps, but also experimented with a bit of wrapping ribbon that was already the right width for the nightlight. Any piece of wrapping paper will do, too, or some colourful photo or ad. I like it...


Sunday, November 8, 2009

Candlelight and Silhouettes

I love November. After the summer and the autumn, November is finally the month when I start my retreat into the home. The long, dark evenings start early and are perfect for curling up in front of the fire with a good book, a cuddly child, a tender loved one or a glass of mulled wine (or preferably all of these at the same time... yes, I intend to get a large sofa, soon!). And then there is also the anticipation of advent and pre-Christmas which means going out to buy presents, wrapping them and spending time making presents for friends and family. I just love it and can't wait for it.

Candles are an essential part of my autumn ritual. They get lit every evening when the family sits down for dinner. And when my daughter came home from school with a silhouetted candle decoration, I decided to copy her and make my own.


Here is what I used to make it: an A4 sheet of black cardboard, different colour translucent paper, scissors, a scalpel, a ruler, a lead pencil and a glue stick. I started out by roughly designing my silhouette on a piece of paper (cheapskate I am, I used some scrap paper, hence the green dots). The buildings are all well-known sights of my home-town, Dublin.


I transferred my design onto the cardboard using the help of a ruler and a pencil. I first cut out the straight bits with my scissors. The windows had to be cut out with a scalpel. Make sure you put some newspaper underneath so you can press down hard and cut out the little windows. I did it all free hand and actually like the irregularity of the design, but you can of course draw it all with the help of ruler etc.


To make it a bit more colourful, I glued some colourful transparent paper behind some of the buildings. When you do this, make sure you do it all in one go and do not hold your silhouette up to admire it! You might mix up the front and the back of the silhouette and glue paper against the front by mistake - which is exactly what happened to me *duh*. I had to go over the glue marks with black marker to hide them...


The princess of crafts aka my daughter also got stuck in her own project and created another silhouette:


Finally, glue your silhouette on an A4 size piece of translucent paper. I used orange paper and then cut it in a semicircle shape - looks like an autumn sunset when propped against a candle lantern.


The silhouette now graces the mantlepiece until it will be taken over by Christmas decorations. Can you tell which Dublin buildings I have tried to represent??? 

Friday, August 28, 2009

Material of the Week - Tracing Paper

Apologies for delayed update. Last week of school holidays and I have been very busy with my children's social life. No time for my own projects, unfortunately, although I was dying to try my latest idea and post it here. This week's material of the week is tracing paper. It's a supereasy project and at the same time a very personal present for friends and family.

The summer is slowly coming to an end and days will be getting darker. I like all seasons, but the lack of light does get me down a bit, I have to admit. So no harm in thinking of some nice lighting ideas now. And I came up with an idea that combines my love of crafting with my passion for photography. I can now have my own images glowingly remind me of my favourite memories: Paper lanterns made from tracing paper, printed with photos.


I bought a pad of tracing paper in my stationer's. The tracing paper is size A4 and 112 gsm, basically the thickest tracing paper I could get. I simply printed some of my favourite photos onto the tracing paper which I had cut to size beforehand.

I then used my sewing machine to sew two sheets of tracing paper together. I experimented with various stitches and lengths to see what is the best design. I quite like the longish zig-zags.

In order to make your lantern glow, just pop a nightlight into a glass votive and then carefully slide the lantern over it. Make sure the nightlight sits in the glass and there is not an open flame touching the paper. - As I didn't have enough glass votives I also used jam jars and wineglasses. Experiment with the right size votive so that you avoid the shadow of the glass rim on your image. (See right)


You can experiment with images - make a photo of a candle glow with the nightlight. Or light up a sunflower from the inside. Lots of possibilities. - Almost makes me look forward to darker evenings now, curled up in front of the fire with a steaming cup of tea by my side, a good book on my lap and the photo lanterns on the mantlepiece. Awwwwwwwwwwwww...

Thursday, July 16, 2009

Easy Decorating with Paper

Now that I have got my treasure box of beautiful papers, I have to use them. And if I don't want to keep making cards, I have to use it otherwise. There is plenty of cardboard-y paper with a mother-of-pearl sheen which would look good as cards, though. I was more keen on using the almost translucent paper strips which were in the goody bag.


After browsing through my book on papercrafts and experimenting with Japanese lanterns (unsuccessfully :( ) I found a quick and easy project: decorating a simple glass votive. Amazing, what you can do with a strip of pink, a strip of white and some raffia. I just wrapped the paper around the glass and then tied it in place with some raffia. For the other candle holder I glued the white piece of paper onto the pink and put a tiny bit of glue on the paper to stick it together.


Here are the finished candle votives - think pink!