FYI


Showing posts with label before and after. Show all posts

Wednesday, February 24, 2010

Lots of Bead Ball Objects

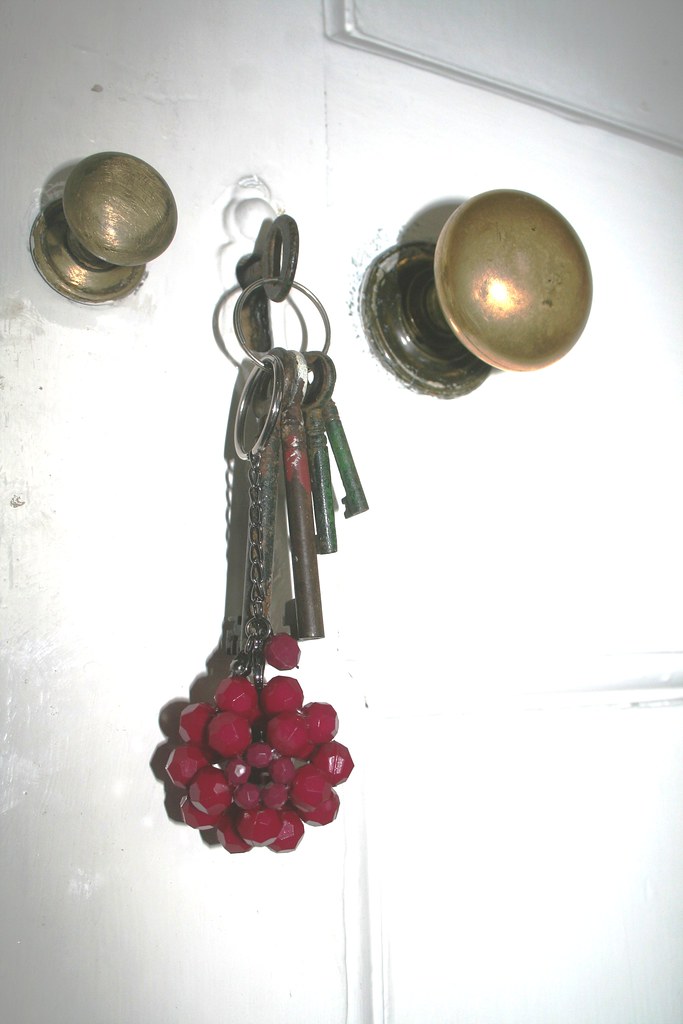
Candie, from whom I first got the tutorial on how to make beaded beads, had warned that making them was addictive. So true! Weeks later I am still fascinated by them and I recently went out to stock up on more beads. There is a wonderful bead shop in Dublin, so aptly named "Crown Jewels", where I found a few sachets of reduced price beads. However, I found that it was actually cheaper to buy some ready-made necklaces in another place, where they were selling jewellery for € 3.00 apiece. So I also bought a couple of necklaces there and took them apart. If you want, this is a mini jewellery-before-and-after:


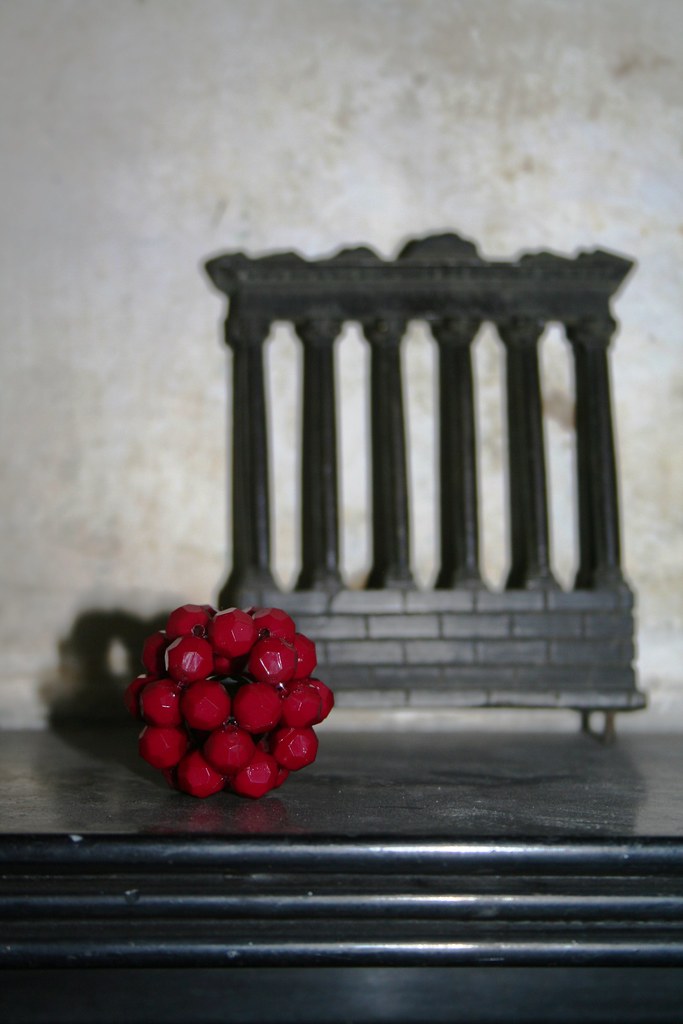
I experimented with different sizes of beads in one "ball". The effect is in the shape. If you start out with five big beads, then use twenty small beads and work in five big beads again for the top, you end up with a barrel-shaped beaded object such as the one on the left. This really lends itself to a pendant. So I made a necklace from black beads, attached tassels in the form of simple chains to the bottom and strung the bead barrel onto it. Here it is:


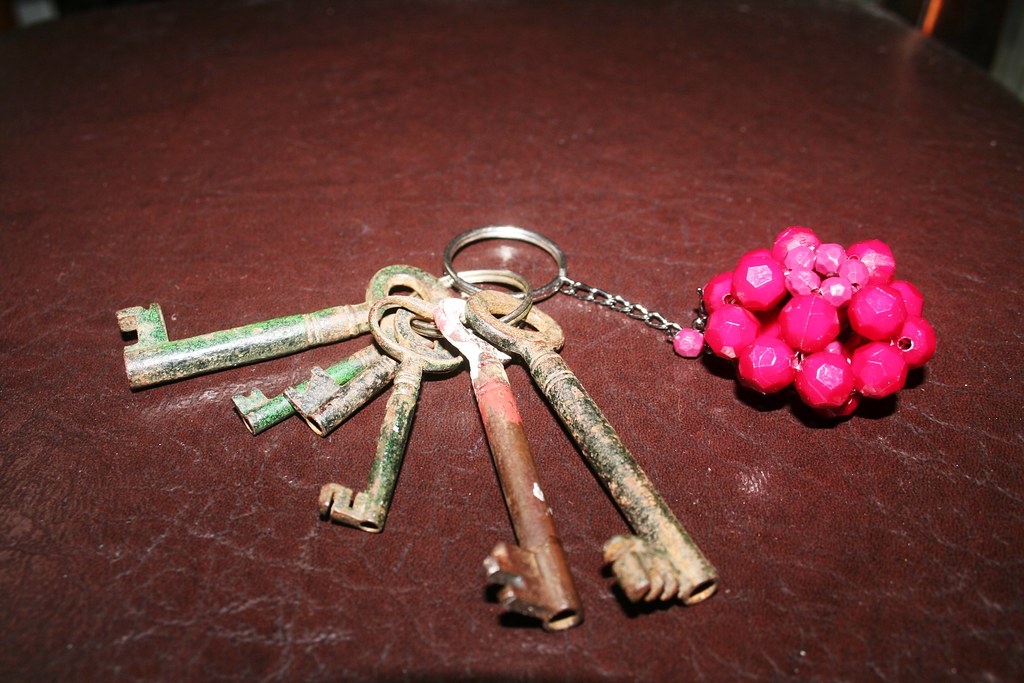
If you do the opposite, i.e. start with five small beads, then use twenty large beads and work in five small beads for the end, the result is a domed bead (see left). I really love that shape. This one I fashioned into a key ring. I simply attached a bit of chain and then put a ring onto it. It's a real "hand-pleaser", I can tell you...


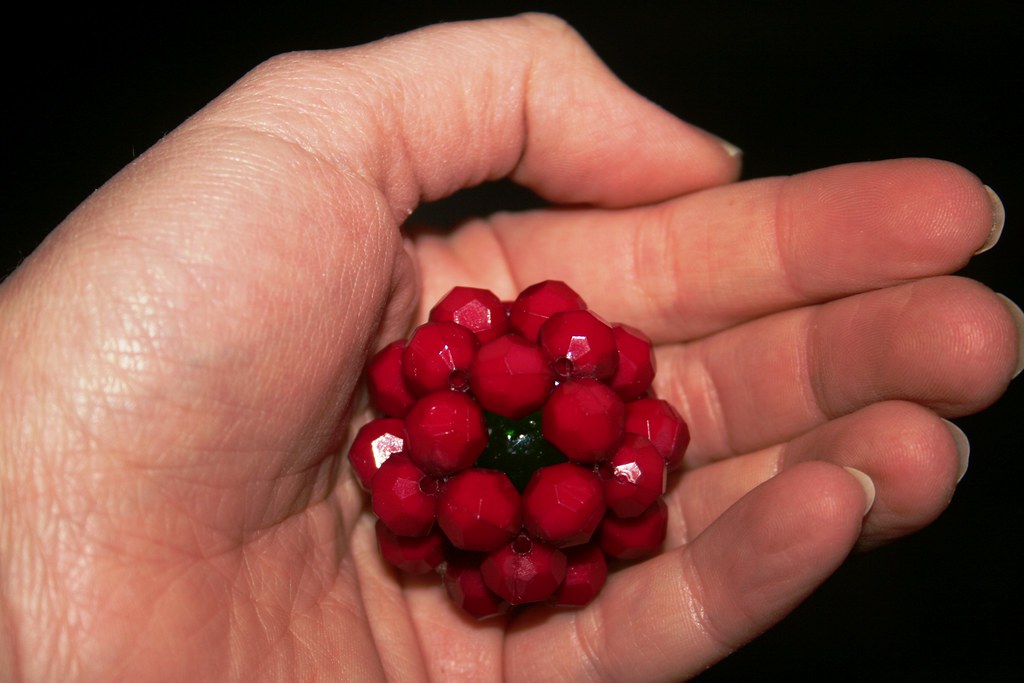
My daughter had been on to me that she wanted one of those bead balls. I made a really large one for her, using beads in only one size. That way you can make a regular shaped round ball. For the fun of it, I popped a glass marble into it. It sits loosely in the middle and rattles if you shake the ball.


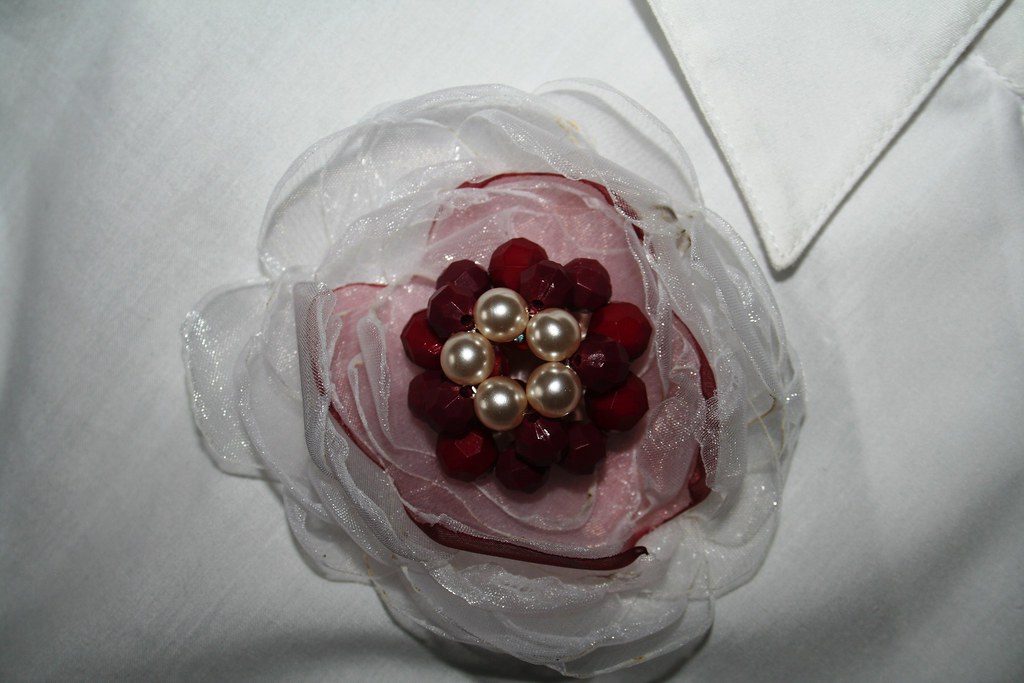
There is no end to experimenting. With the bead stash diminishing, I didn't have enough beads to do another one in just one colour or size - so I mixed the beads and came up with this blingy number - which I am using on one of my corsages. The whole process of making these beads is almost mathematical - with a bit of thought and applied logic you can create lovely patterns on them. If you want a "star" in the middle, then you need to start out with five beads in one colour and afterwards switch to another colour or size. If you want to have the rim stand out, you work in a different colour bead every second time after you have finished the first five beads. Sounds difficult when explaining but it is really quite logical.

Next I might experiment with using more beads in these objects... 

Best,


Linking to:


Thursday, February 11, 2010

Tidying up Loose Ends - Ribbon Organisation

Hi everybody. Are you still there? Sorry, I vanished for a short break to Bologna. What a beautiful country Italy is - I was so impressed by everything. The antiquities, the food, the friendliness of the people. The Italians certainly know ARS VIVENDI. If you want a couple of impressions from that beautiful place, check my flickr set "Bologna".

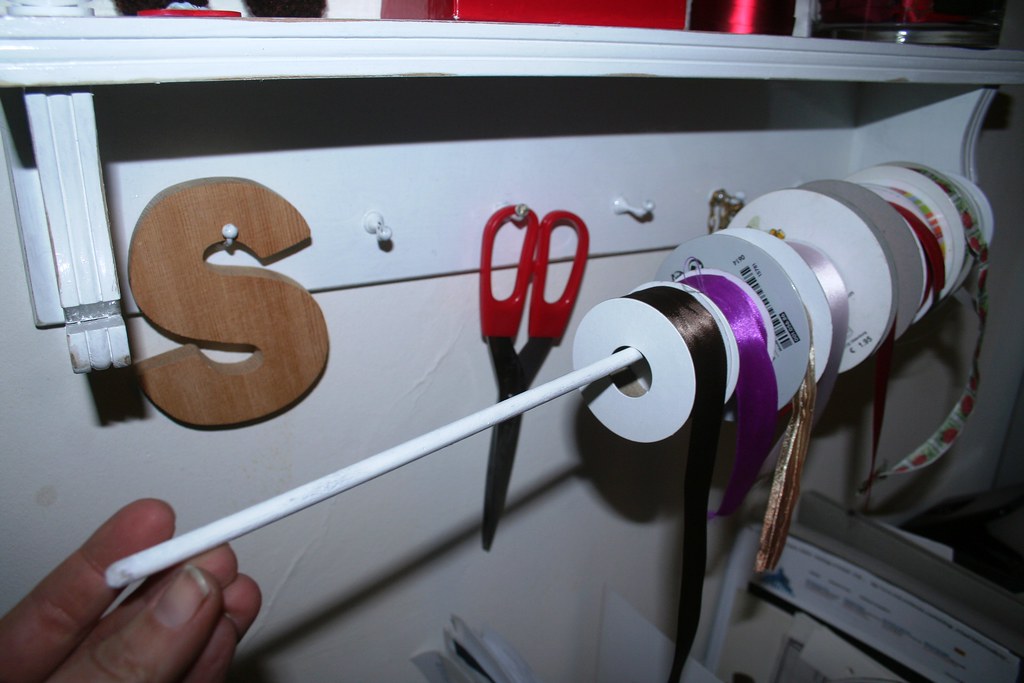
But now back to blogging and crafting. Or in reverse order - there is crafting first and then there is blogging. It's been a while in coming, but I finally managed to get rid of the mess that was my ribbon box. I forgot to take a before-picture, but believe me, it was not a pretty sight. Scrunched up ends of ribbons, bows, and bobbins all squashed into an old shoe box in my kitchen cabinet. Something had to be done. And this is what I came up with - not only a made-over shelf, but also some ribbon organiser:


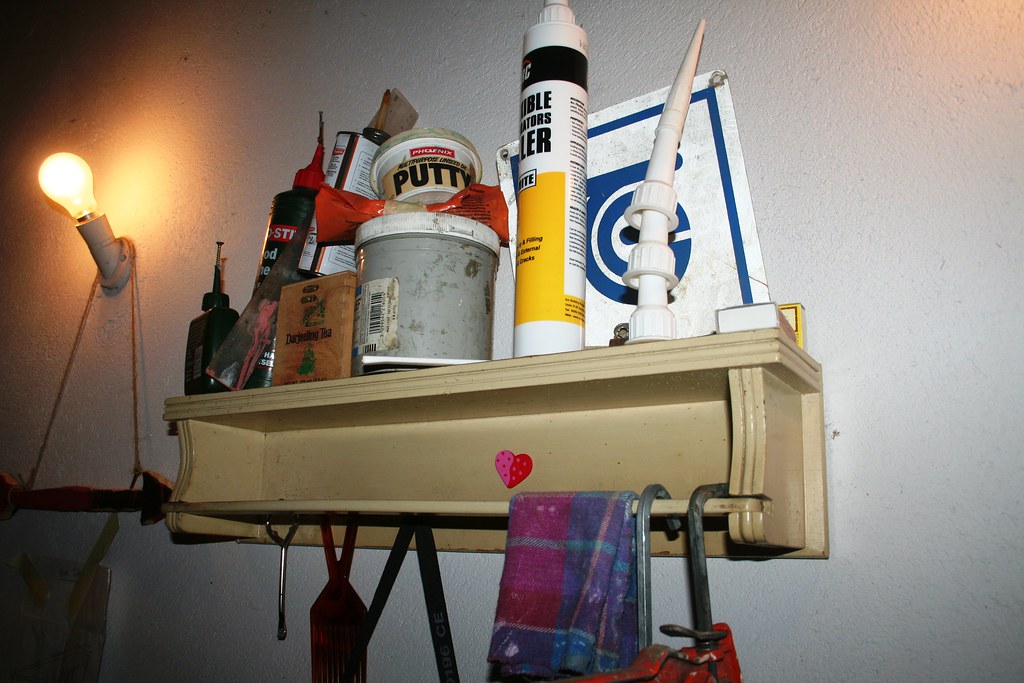
You will recognise the shelf from my earlier post about the poor little shelf I rescued from the garage. With a bit of elbow grease, care and paint, I revived the thing and finally hung it up above my desk in my study/craft room. I love that I have my ribbons all handy now, and a place for the scissors to hang. And some display space to make the room where I increasingly spend most of my time prettier. 


The bobbins feed onto what used to be the towel rail. The hooks behind it will house my scissors and assorted bits and pieces that can be hung up. On top I have placed a glass jar with short ends of ribbons. They are too pretty to be hidden in a box - and I always have an overview over the available ribbons when I am wrapping presents or crafting. 


And finally, Basil, my sweet little teddy, gets the prime spot to look down upon me from his "pedestal".


So here is a proper before-and-after. Definite improvement, I think.


 Best,

 Linking to:

giveaways

Sunday, January 31, 2010

Bedroom Re-Do

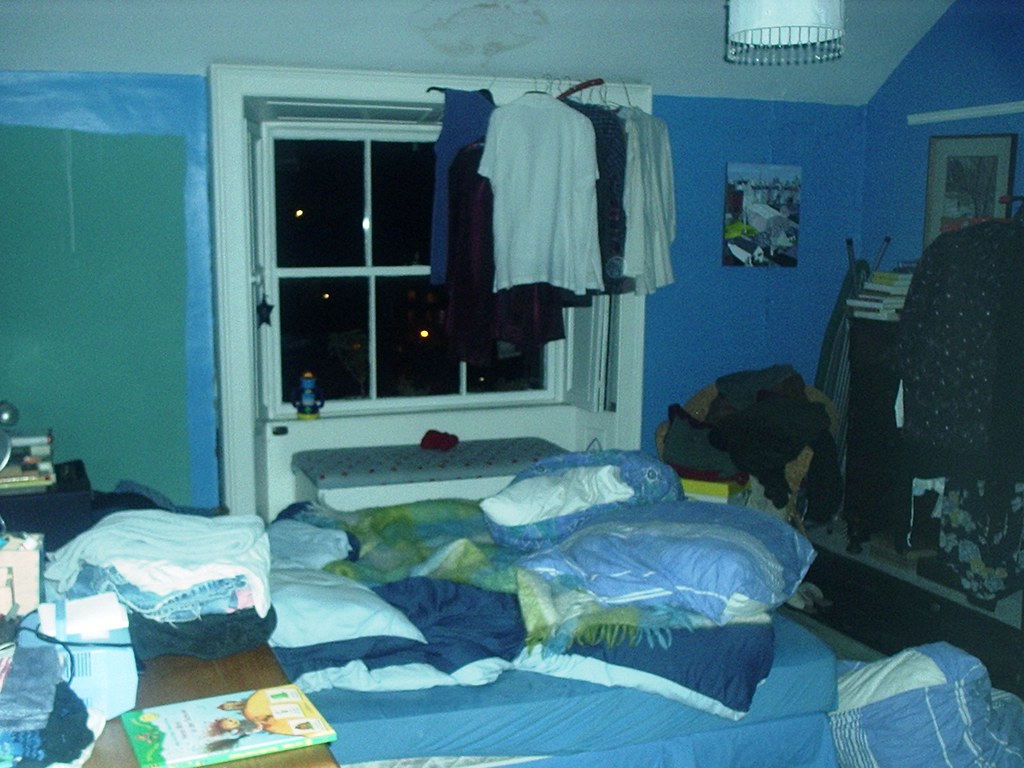
I am just in the middle of a tiny, little furniture re-do. But it isn't finished yet, so I thought instead I'll show you how a little bit of paint and some reshuffling of furniture updated our bedroom. I did this a couple of years ago, and the bedroom has evolved a little since then, but nonetheless there is already quite a difference when you compare the before and after. So without much ado, here is a picture of the bedroom as it was before.


Have you recovered from the shock? I am embarrassed to show what it looked like - and to publicly prove what we put up with. But blogging is exhibitionism bare-all, isn't it, so for the sake of showing off the impact you can have with just a bit of paint, I am including it here... So much was wrong with that room:

  • lazy painting with the original jade green visible where previously had been a wardrobe which we had painted around with the new light blue paint
  • wooden flooring that was partly stained dark brown and partly painted white
  • no proper hanging space for shirts and trousers, thus misusing the window surround as a clothes rail
  • water marks on the ceiling where the roof had leaked
  • general untidyness due to this being an unloved room
Some major changes were needed to make this a room that we like to be in - namely a proper paint job on walls and floor, wardrobe space, and easy to tidy organisation. Ten years ago I loved all the strong colours on the wall, but gradually I became really tired of all the greens and blues that I had surrounded myself with. I just wanted rest - easy-on-the-eye white. And no pictures, please, although there are tons of beautiful paintings in this house (plus a better half who is a talented painter).

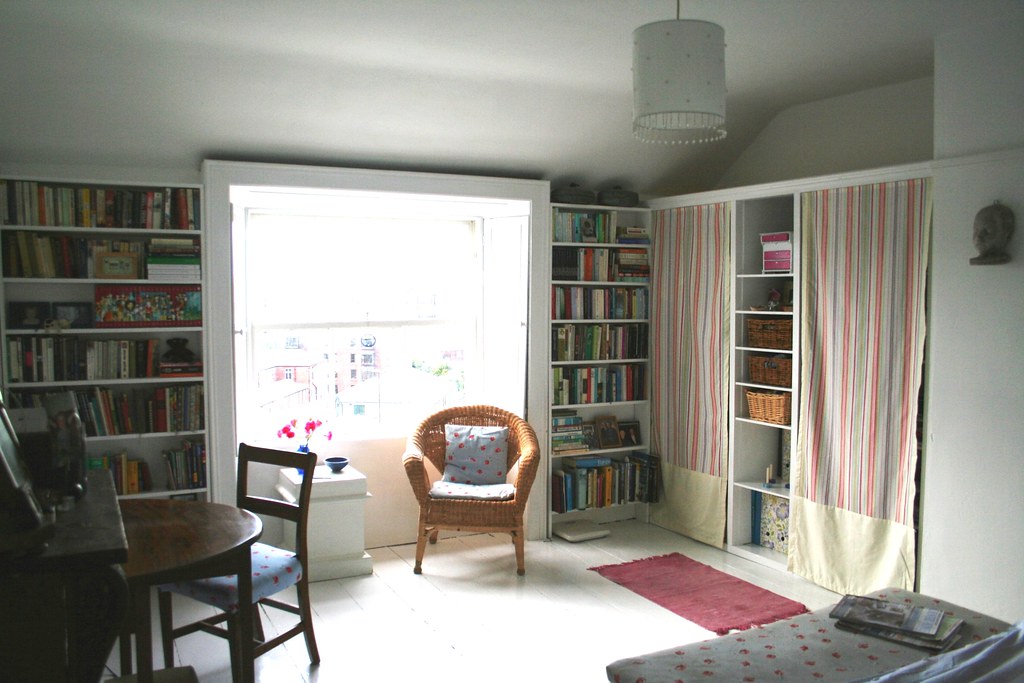
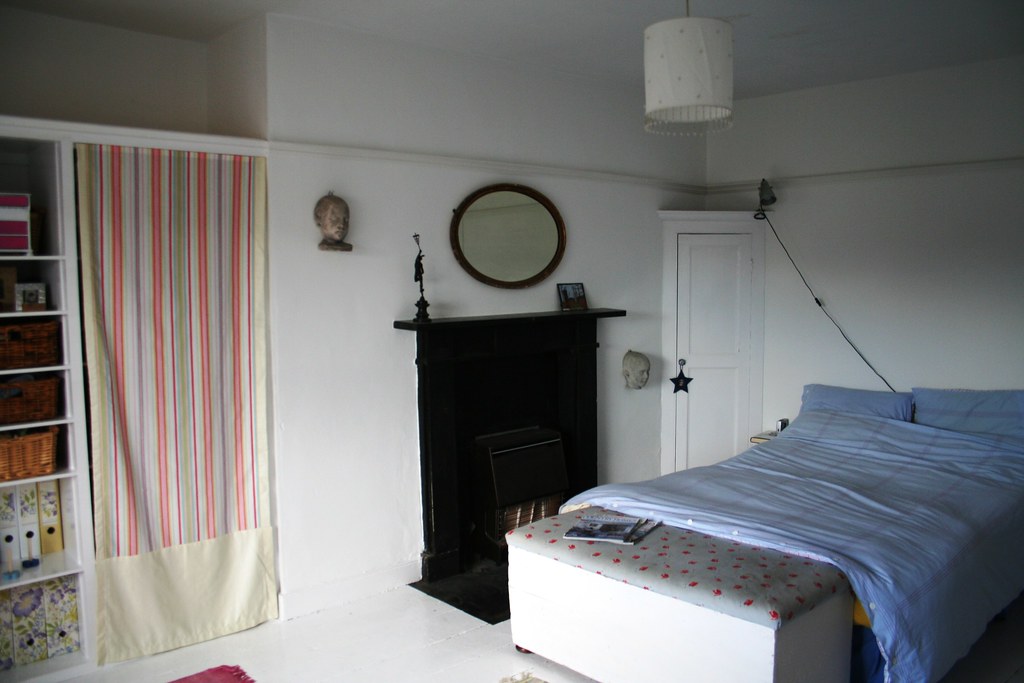
So here is what we did: After shipping off our kids to their grandparents for a few weeks, we set to work and painted the walls and the floorboards white. It immediately opened up the room and made it seem so much cleaner and bigger. Then my partner did his magic with a few planks of wood and some dowelling and created bookshelves on either side of the window to house our ever-expanding library of books. I love having a little reading corner in the privacy of my bedroom, plus the books stacked against the wall seem to be acting as extra insulation! I re-covered the chair on the left and created a small work space for my laptop with an antique, folding table on the left wall, where previously the bed had been. (That used to be where I did my writing and working for a while - luckily I now have a proper study...)


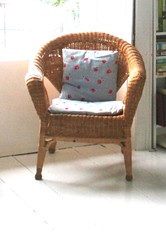
The wicker chair had been left in the house by previous tenants. I simply updated it with some cushions that I covered in the same Ikea fabric which I had used for the trunk (visible against the window in the before pic). 

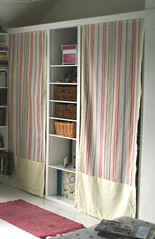
The ideal place for a wardrobe was the alcove to the left of our fireplace. We could see from marks on the walls and the floor that there must have been an inbuilt wardrobe there, before. Sadly, it had been ripped out. We re-instated it and my partner built it to our specifications - with hanging space on the left that has two rails on top of each other, eight rectangular cubbyholes in the right hand side and shelving in the middle that would provide space for folders, big books and drawers. I managed to source wicker baskets that were exactly the right size for the short shelves. Money was tight, so we did not build doors for the wardrobe, but I simply sewed some panels from Laura Ashley fabric, which I had found as off-cuts in their bargain corner.

The bed was moved to the other side of the room. At the time of taking the photo we had not yet made any bedside tables. Hence the bedside light is perched on the funny, triangular corner cupboard that was original in the room.

Wanna see a direct comparison? Here are the before and the after are side-by-side.   


The greatest investment in this re-do was the time we put in - and the effort of motivating ourselves to get off our arses do it. I really like being in this room, even though it is not always as tidy as in the pictures.  

 Best,


Linking to 
DIY Day @ ASPTL


Monday, January 11, 2010

Guestroom turned Drawing Room: Before and After

Strictly speaking, decorating is not crafting. However, when decorating, crafting often comes into play. I have noticed that a lot of rather crafty blogs which I follow, very often include posts on their remodeled/redecorated/renovated rooms. So I hope my esteemed readers do not mind me posting a "before and after" here which refers to the (ongoing) remodeling of my drawing room. It's a longish saga, so bear with me, please ;-)


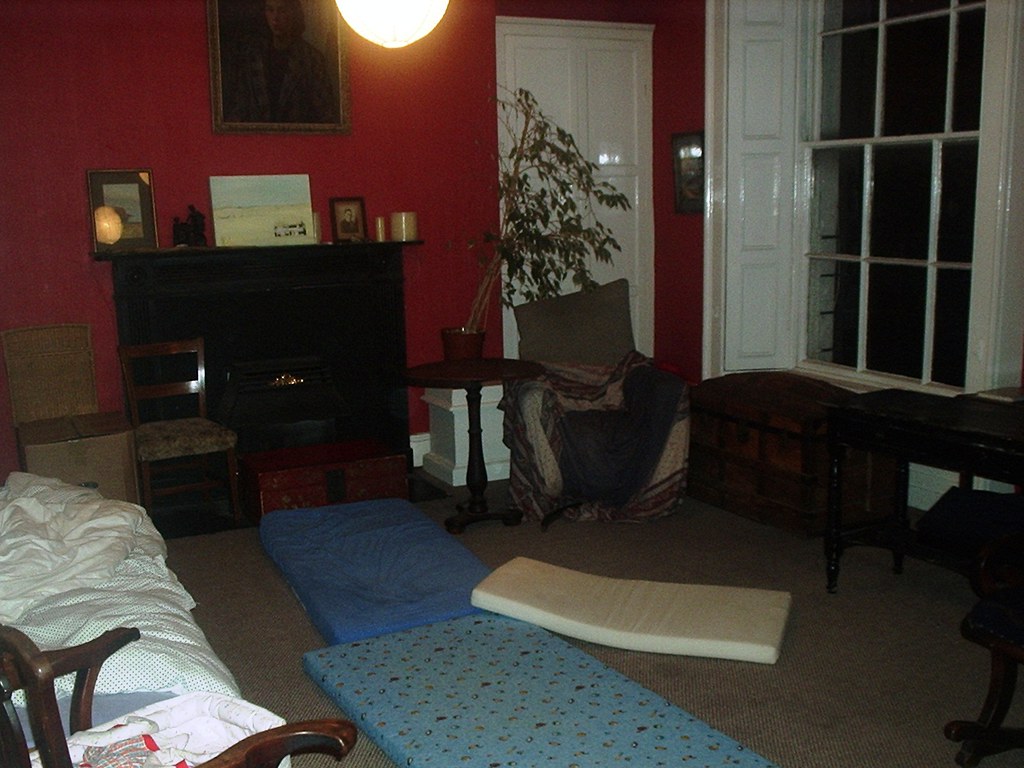
What is now our drawing room started out as our guestroom. (Historically, however, the room was the master bedroom of our 200-year-old house and then had been used as an office before we moved in... what a journey!) I have I only got one picture of it - it just was never nice enough to merit the taking of photographs... Here it is before:


The deep burgundy on the wall was our choice *eeek* - well, it was the late 90s... The room housed a merry mixture of all the old furniture in the house. Some rather tatty, some nice antiques but all mismatched. It had nasty light brownish carpet in it and the walls were papered with structural wallpaper. As you can see it was also used as the kids' playroom, hence the mattresses on the floor (must have been some gymnastics session going on there...).

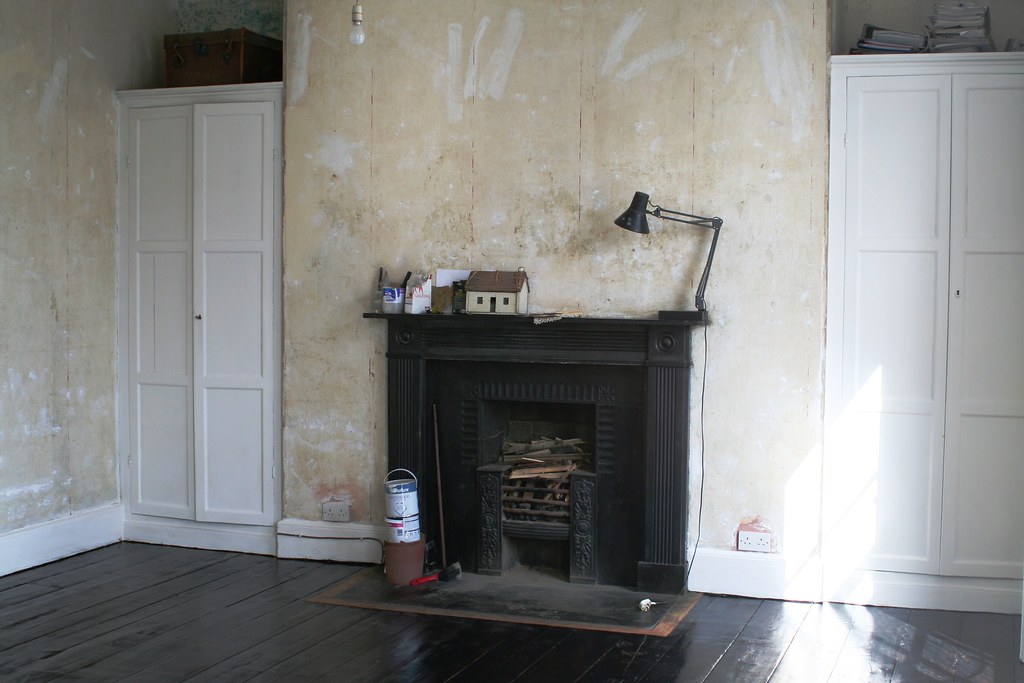
Anyway, I always thought it was the nicest room in the whole house: Very large, 2 really tall windows which look out onto a park, and always warmer than all other rooms because it caught the morning sun and heated up nicely. In short: It was a shame and a waste to use it as an occasionally used guestroom and not for continuous use. So the decision was made to turn this space into our drawing room. But oh, how long it has taking us to remodel this room *siiiiiiighs*. Finally about a year ago we tackled the project. The Royal spouse is a hands-on man, so he ripped off the wallpaper one day when I was at work and on my return I was met with this frightening sight:


The most difficult part of the whole project was actually reshuffling all the furniture, paintings and bits and pieces that had accumulated in the room over the years. But since we were working towards a particular date (an exhibition of my photographs that was due to take place in this space), we had to plow on.

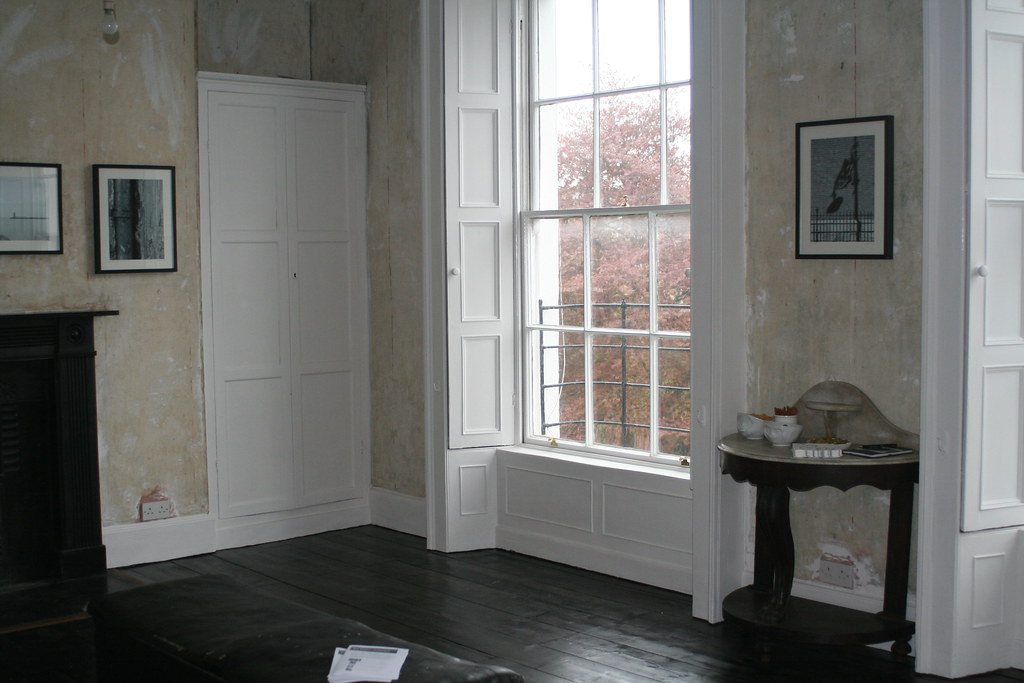
Once emptied, the room was even nicer than we had thought. The floor badly needed some kind of treatment although it consisted of beautiful, wide planks (I think it is spruce???) and was in very good condition. As is traditional in old houses like this, it was only stained around the edges. Most of the floor would have been covered by a large rug, so even the Georgians cut corners and only stained that part of the floorboards that was visible. There was no option but to sand the whole floorspace. We rented a sander and did it in an afternoon. The result already enhanced the room.


We thought the colour of the floor was too light, though, and also wanted to stain it for protection. The colour of choice was something resembling cherrywood. We stained the floor - and were disgusted with the vibrant, orange floor that we achieved. So disgusted in fact, that I did not document that detour on our road to the perfect drawing room... The only efficient way of dealing with this desaster was staining over the orange stain. And that meant a really dark brown stain, something we initially had not considered. So we stained again and this time the result was satisfactory:
 

Here is another image with less reflections, looking towards the fireplace: 


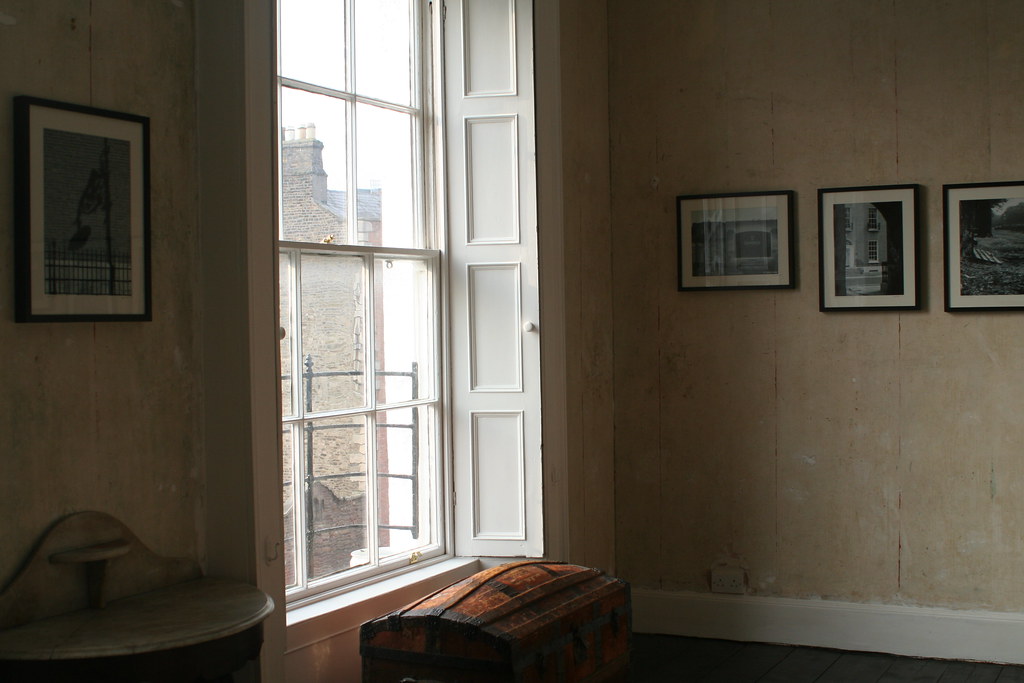
With the floor finished the room was ready for the exhibition. The neutral walls, the pristine floor and the high ceilings certainly enhanced the displayed images - it was a successful enterprise, I must say... See for yourself:


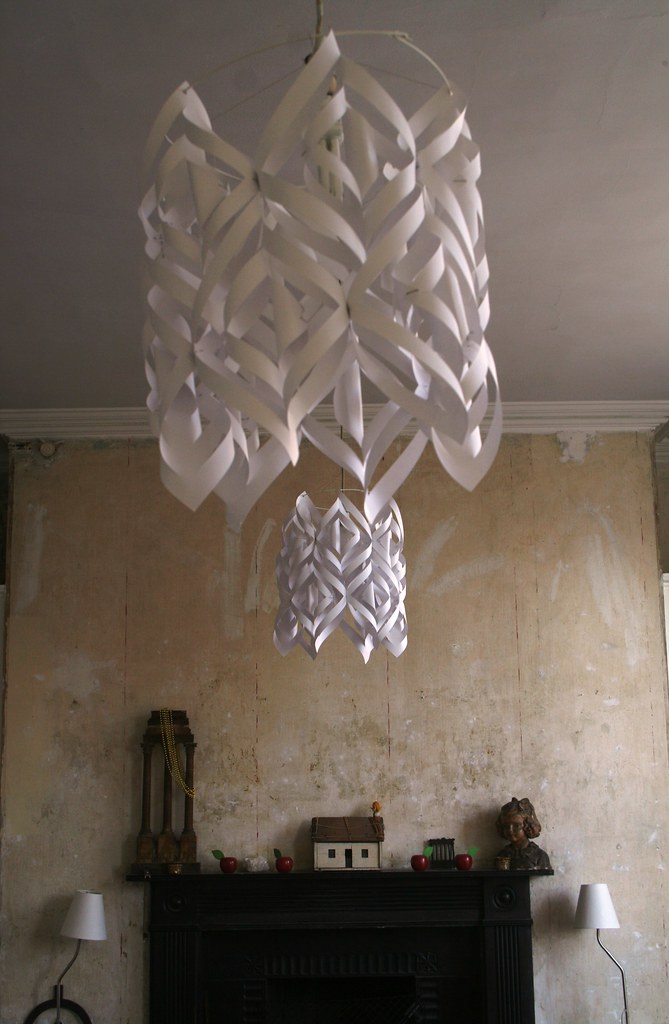
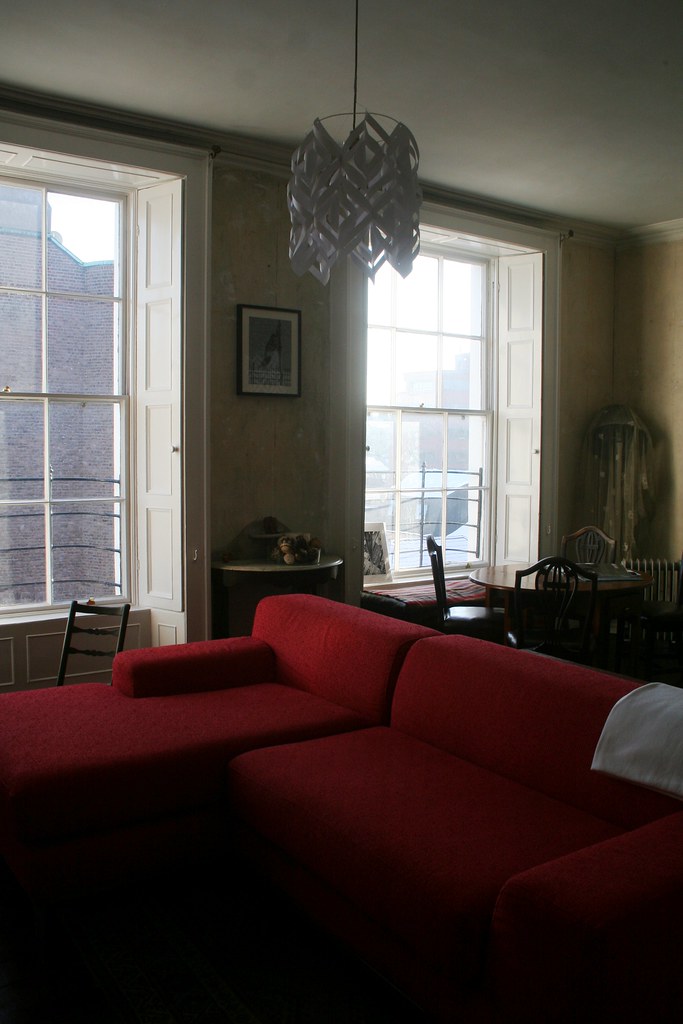
Now we were ready to furnish the room. But the reshuffling game was so daunting, that the room languished several rooms until we made the last push. With a nice sofa ordered, some lampshades crafted (check my blog post here!)and assorted pieces of furniture approved for and placed in the room, the drawing room is now my favourite room in the house! 


We thought long and hard about the wall decoration - and decided to leave the untreated wall as it is. We washed it down with sugar soap and dusted it. What appears as very obvious paint brushstrokes on the walls, does not stand out nearly as much when you look at it. It's a bit of a statement that not everyone likes. (As in the inimitable words that only a mother could surreptitiously comment: "Oh, so you are not going to paint the walls..." NO, mum!!!)


It is not quite finished yet - we have plans for a large bookcase on the wall opposite the fireplace and I would also like to rehang pictures (they are still hanging on the nails we hammered in for the exhibition...), but it's a space that I do invite guests to sit in. But no more sleeping in here - it's not a guestroom anymore *yay*.


I am linking this to the DIY Show Off Show & Tell.


21 January 2010: Linking this to Transformation Thursday .