FYI


Showing posts with label advent calendar. Show all posts

Wednesday, November 23, 2011

We are off


My favourite time of year has just started. With Rememberance Sunday (and Thanksgiving, for those of you who are living in the US) over, I can start turning Casa Craft-Werk into the Christmas Grotto I like it to be.


Well, I wish I could, but there is one little problem: Mister Craft-Werk is not into Christmas. Not one little bit. A bit of a clash of cultures here. Poor, poor Irish man - he just doesn't know what he is missing. And in any case, little do I care, Queen of Christmas Crafts - except I need him to hoist my two tons of Christmas gear down from the attic. And with cooperation not forth-coming, the Queen of Crafts had to think on her feet. Christmas deco, kitchen-style, so to speak.

My wonderful friend D___ had recently visited me from back home. And she came laden with a present that will now double up as the first bit of Christmas deco in our house. She made me and my family an advent calendar. (You probably know this bit of Christmas tradition that originated in Germany. Here is the advent calendar I made for my kids a couple of years ago.) D___'s advent calendar didn't come in a specific mode of presentation but consisted of 24 individually wrapped presents. In previous years I have attached ribbons to them and hung them on a wreath. This year, I decided to simply display them on the kitchen mantlepiece. They look colourfully Christmassy there and were the easiest bit of decorating I have ever done :-)


Oooops, just noticed that a Whiskey bottle has sneaked into the picture. Ah well, all there for Santa when he comes down the chimney.  As we will start opening the pressies, one a day, and there will be more space on the mantlepiece, I will replace the empty spaces with bits and stuff from the deco boxes. But for the moment, we have this to remind us that Christmas is coming - and to remind us of the friend who so thoughtfully is spoiling us with a surprise that lasts 24 days.


Best,


Wednesday, January 20, 2010

More good news: Featured on One Pretty Thing

What a great day today was. Ehm, or yesterday, at this point. Not only did my donated hand-crafted flower corsage get sold for Craft Hope for Haiti (see previous post), but one of my projects has been featured on One Pretty Thing.

oneprettything


Rachel posts several daily updates on the coolest crafts on the web. It is thematically categorized according to season and other topics. My recycled calendar was featured in the Daily DIY section, alongside some fantastic other crafts projects. You can check it out here. Yay - and I am proudly sporting a new "featured" button on the left!!!


Thanks, Rachel, for including me in yesterday's illustrious highlights!!!

Saturday, January 9, 2010

Recycle an Old Calendar

Guess what - no more wreath re-dos!!! I am done with that *grins*. Instead I have been inspired by the calendar recycling that has been going on Claire's fantastic website blah to TADA! The past week she has come up with the most ingenious ways of recycling last year's calendars. She made an everlasting birthday calendar , monthly journals , and a nifty little recipe stand. Please check out her blog - it is full of brilliant ideas!

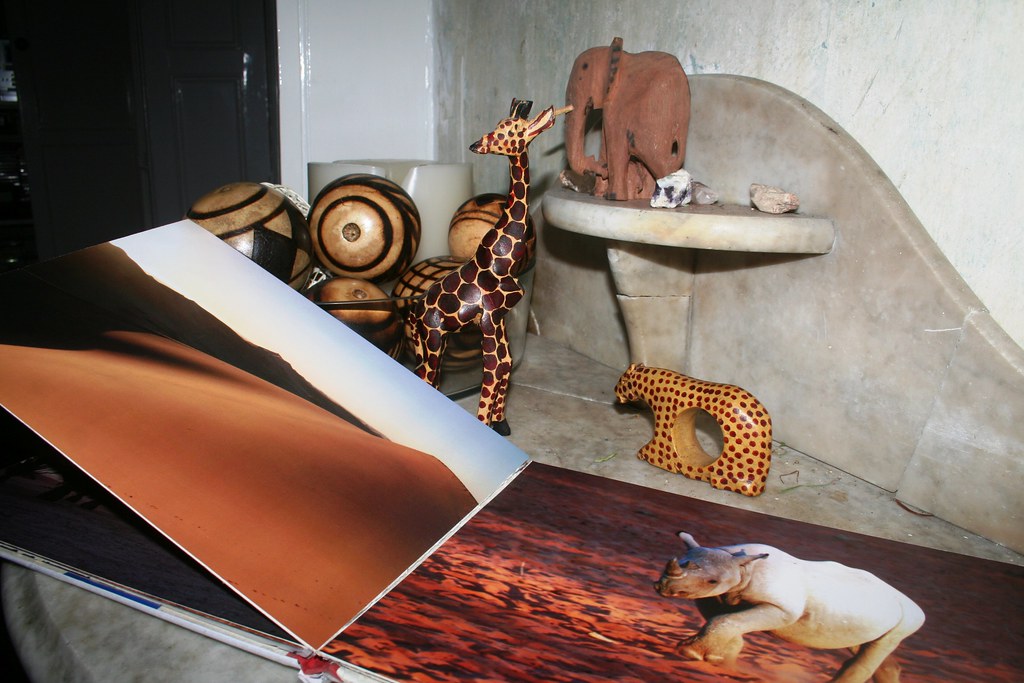
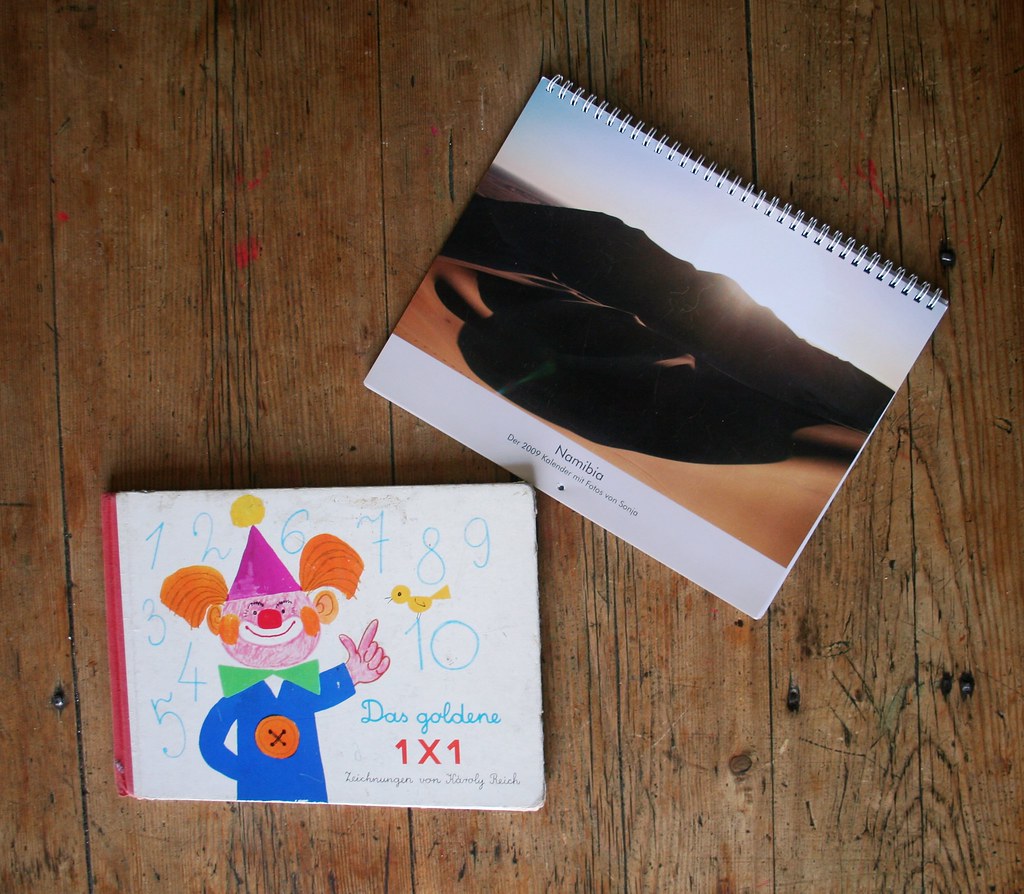
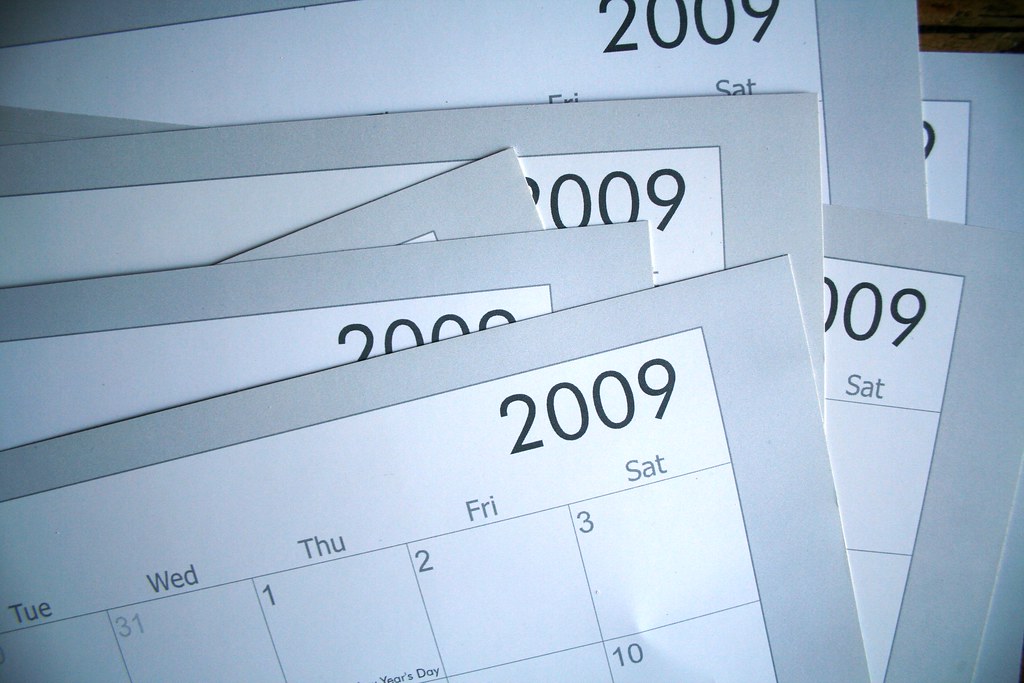
The phrase "blah to tada" has crept into my vocabulary, too, and yesterday I had my own inspired idea, how I could recycle my own 2009 calendar. I hadn't thrown it out yet, but it was tucked away with my photo books because the calendar showcases my favourite photos from my holiday in Namibia in 2008. (If you want to see more photos of Namibia, you can also check out my flickr set "Namibia".) I decided to make my own photobook by recycling both the calendar and an old children's picture book. 


So how did I make this? Easy: I went through my daughter's bookcase and found an old, raggedy picture book that she wasn't looking at anymore. Then I essentially stuck my photos from the calendar onto the pages and gave it a new cover. But let me show you step by step. 


Having 12 calendar pages meant that I had to rip out some pages from the picture book. Since you will be sticking the images back to back, you need 6 "sheets" of paper in your book. Carefully rip the superfluous pages out in twos, the way they are sewed into the book.


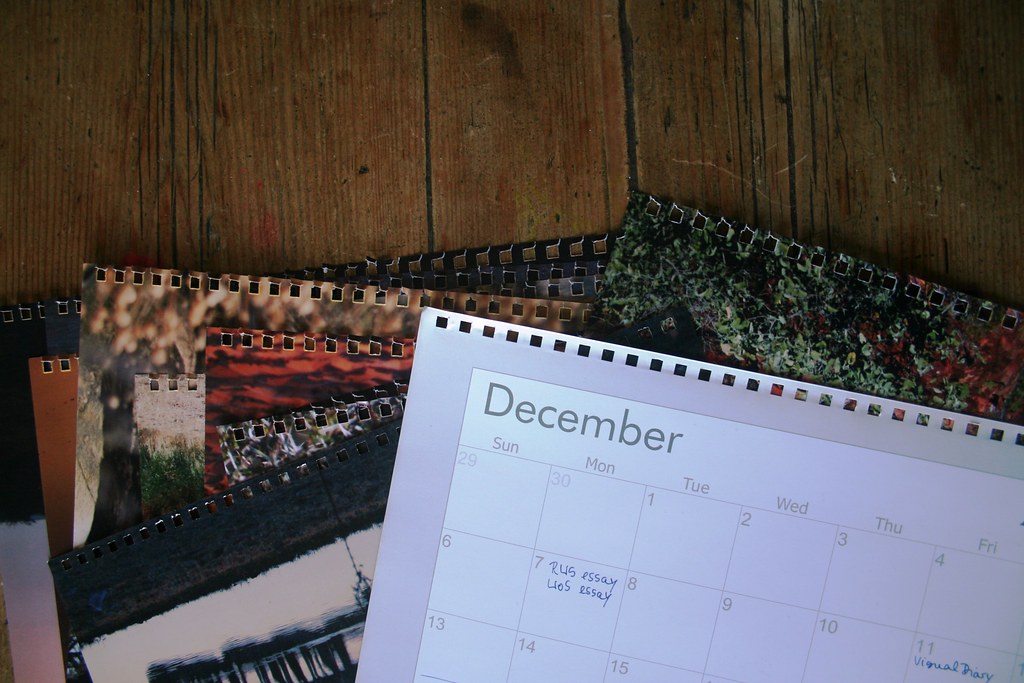
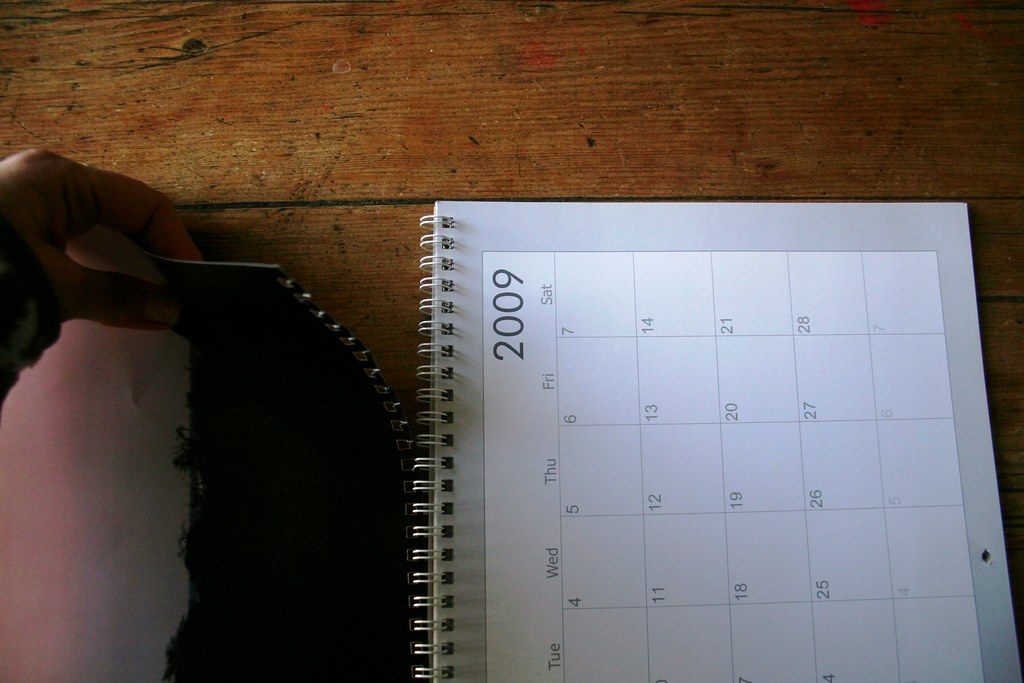
Next prepare your calendar images. First you need to carefully rip them off the spiral binding.


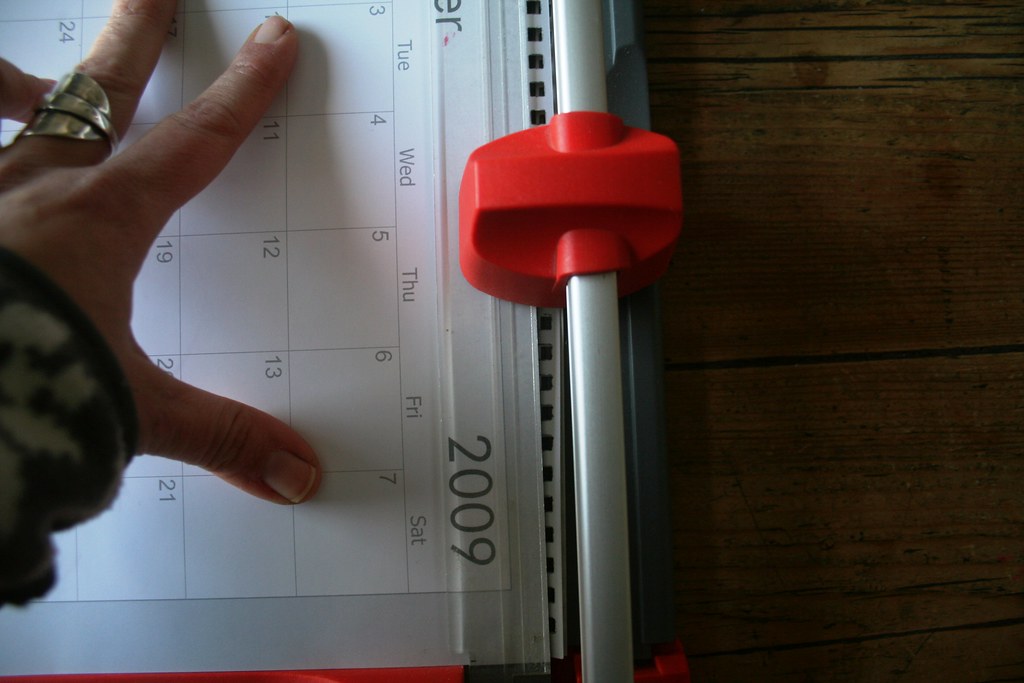
Then trim the rugged edge with a paper trimmer. Try to trim as close to the edges as possible - you can always trim off more if you have too large a sheet.


Now establish the size of your pages. Put all your calendar pages in a stack. Lay one of the discarded, ripped out pages onto the stacked images and mark the cut off point with a pen at the side of the pages. Do it all in one go, to make sure you have marked them all the same size.


Trim again so you get the right size of pages. Then start sticking them onto the pages in your book. (I didn't take pictures here - well, it's self-explanatory.) I used spray-mount to stick them in and I found the best way of doing it, was spraying the back of the calendar images, letting the spray get tacky and then sticking it onto the book pages. Try to get the calendar image  as close to the binding/middle of the book as possible, and align it with the edges of the pages. Flip over your first page and stick the second image onto the back of the first page. Continue until you have stuck all images into your book.


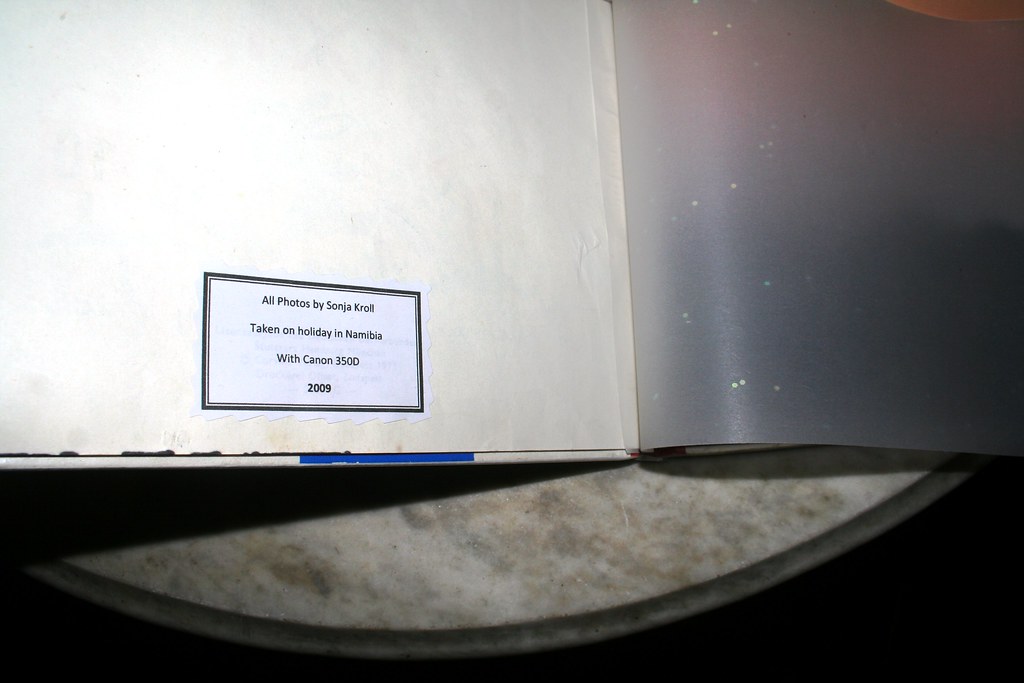
The cover and inside of my picture book were very tatty and had been drawn on by my daughter *tuttut*, so I had to prettify those, too. For a nice, "precious" look a first stuck a sheet of translucent paper (which actually came from my Daintree stash ) between page 1 and the covering page. As there were the bibliographical details printed on the covering page, I quickly printed out a little label with my own "details" and stuck that over the publisher's details.  


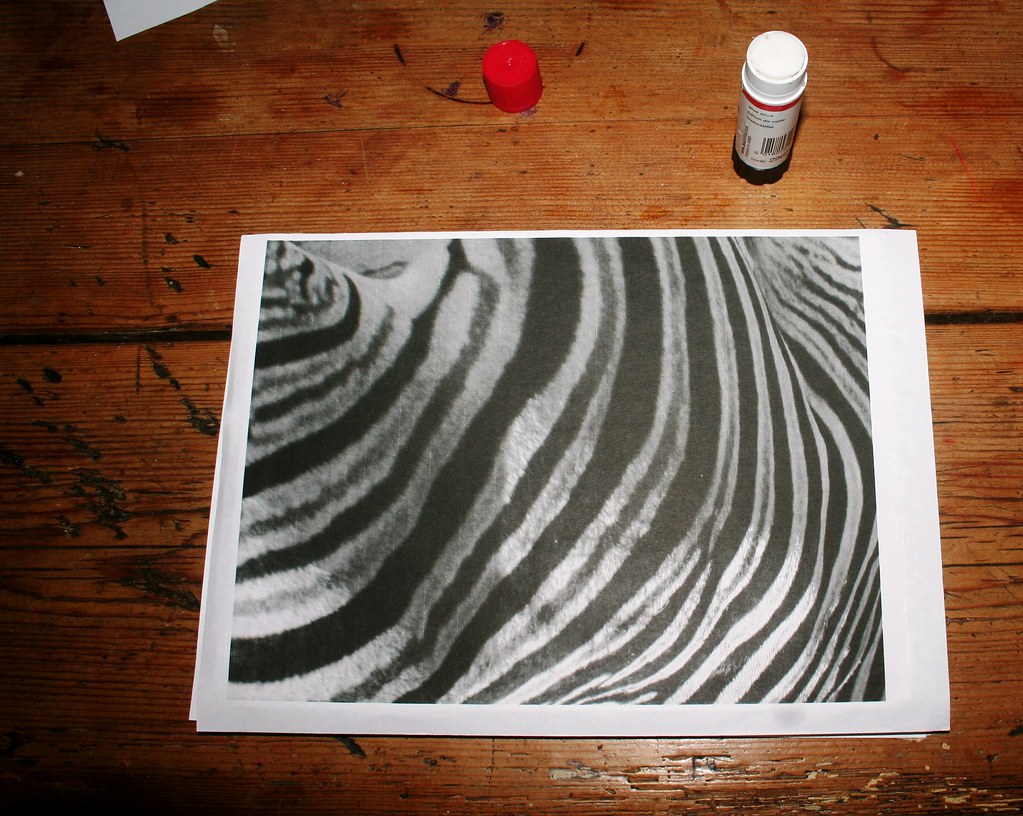
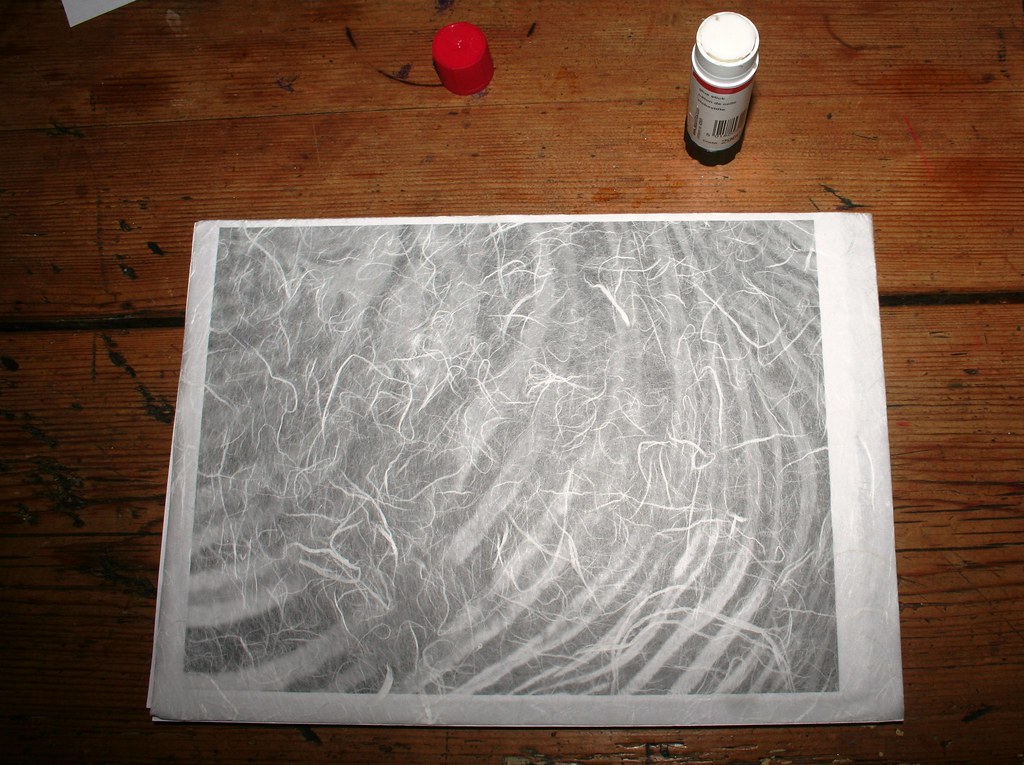
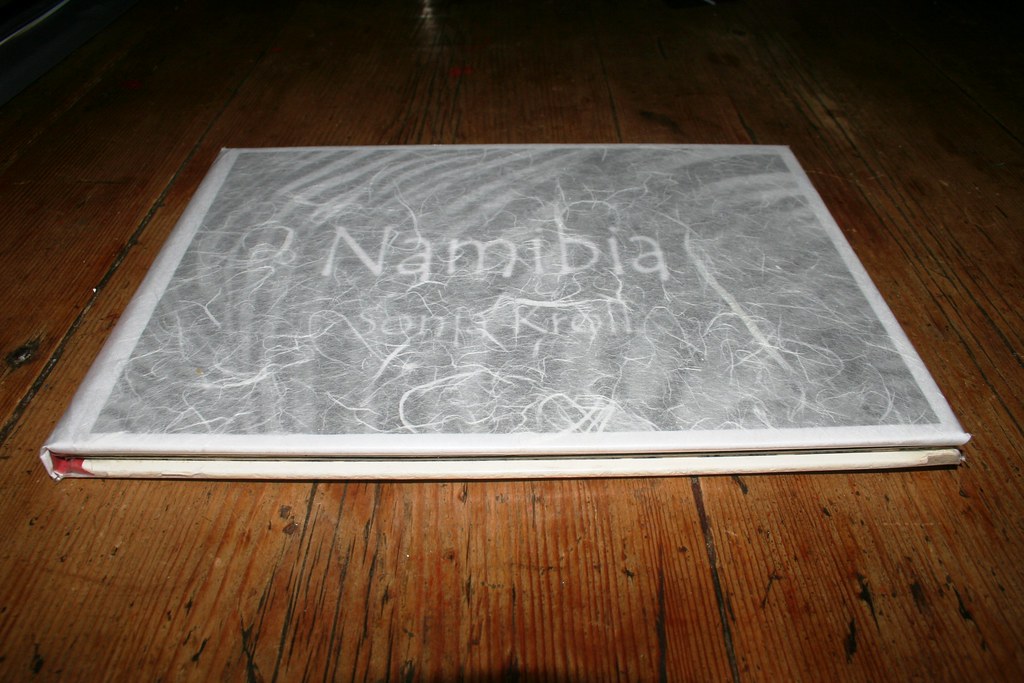
The cover of the book had to be customized, too. I designed a cover on the computer, simply using a close-up of zebra stripes as a background with my booktitle and name emblazoned on top. I printed another close-up without the title for the back cover. Using a glue stick this time, I stuck the cover images onto the book. The white borders don't matter - they will be folded over the edges later.


I decided to put another layer onto the cover image to disguise a few smudges on the print-outs. Textured, translucent paper did the trick nicely, as it still shows the image and title underneath. I only put glue on the white borders, because I actually like the softer feel of the cover when there is a bit of air trapped underneath the clear wrap...


The last step was covering the book with clear self-adhesive wrap. Use a soft cloth to carefully smooth it onto the cover, pushing out any trapped air bubbles. Cover only one side first, turn the book over and then fold the clear wrap over the edges to secure them.  And there you have it:


I am really pleased with my own, customized coffeetable book. A great way of recycling a beautiful calendar - and an old book that was otherwise going to be thrown out.


Jan 12, 2010: Linking this to


Friday, December 18, 2009

Recommended: Ikea Hacker

Whoa - finally I can relax and enjoy Christmas. My first semester is over and all projects and assignments have been handed in as of yesterday. So time to update the blog a bit because Craft-Werk has suffered badly in the last while.

While I am uploading pictures of a little project on flickr, let me give you a recommendation here today. One of my regular blog stops is this fantastic blog called Ikeahacker. Well, it does what it says on the tin: It shows crafty re-purpusing of Ikea items. These can be big projects like a cat litter in a cupboard or just a simple advent calendar made from a tab-top curtain. Yep - that sounds familiar, because yours truly has submitted her project for fellow Ikea hackers.

Go on, check the site - it's really cool what people come up with. Ikea is just fantastic. Not only has it good design at great prices, but the items there can be used in such versatile ways... 

Monday, November 30, 2009

Another Quick and Easy Adventcalendar

It's still time to make an advent calendar! Here is a quick and easy idea. 


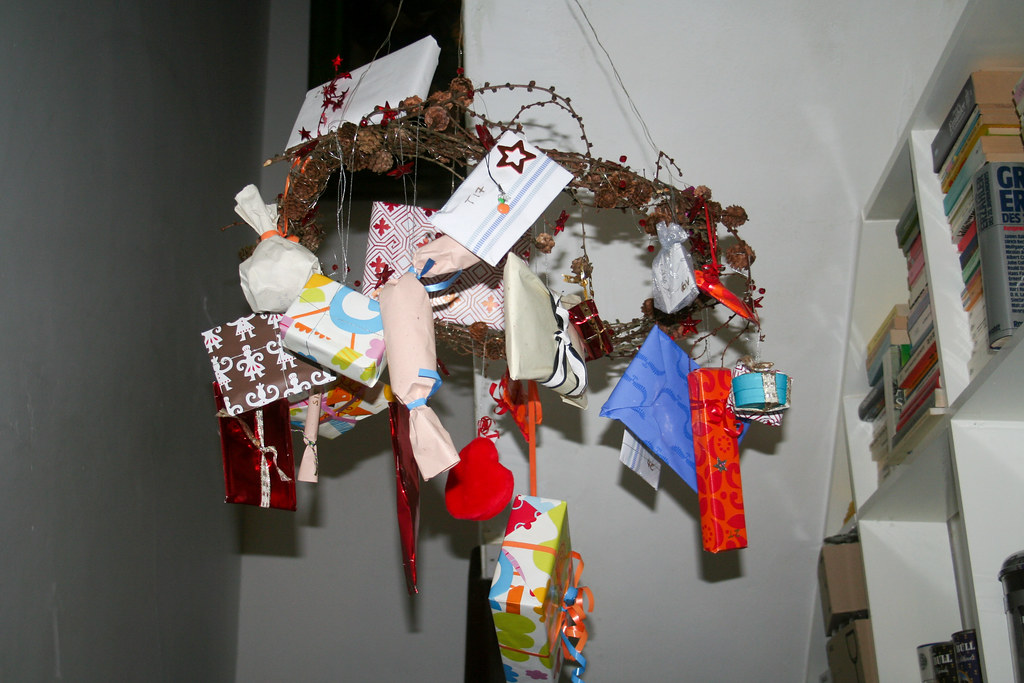
I have the best friends in the world! Knowing that I love Christmas and all the customs that go with it, my friend Dani surprised me with an advent calendar. When she visited in November, she left a box with 24 individually wrapped and labelled Advent treats for me and my family. What a great way of making a present last longer than the initial surprise!!!

Yesterday I decided to display her advent pressies. Among my Christmas deco stuff I had a large-ish wreath which I had made from larch twigs, with the larch cones still attached. I simply took a few bundles of twigs and fastened them together with silver wire and then bent it into a circle. With some silver thread I hung the presents from the wreath. It now hangs in our staircase, accessible for all of us.  


Can't wait to open my first treat!!! Thank you, Dani!

Sunday, November 29, 2009

Pssssssssst - Adventcalendar

Shsh, I have to whisper. My kids are following on this blog, too, and want to see all recent updates, so I can't speak right now. But we can't start December in a couple of days without talking about Adventcalendars. If you haven't started making one already, then it is high time you do. As I am not only the Queen of Crafts, but also the Queen of Last Minute Impro, I have a couple of tipps up my sleeve.

Well, maybe you are not as ridiculously ambitious as me, though. I grew up as a spoilt only child and my mother used to design a new advent calendar for me every year. Somehow all that care and attention has always stuck with me. And being a mother now myself, I can finally appreciate the time and effort that went into making all those beautiful Christmas memories. - So I resolved very early on that I would do the same for my children. A new advent calendar every year. *sigh* Or rather two, as there are two children...

As I said at the beginning - I can't give away this year's creations. But I can show you what I did last year. Despite having thought about the project from very early on, it was another last minute product.


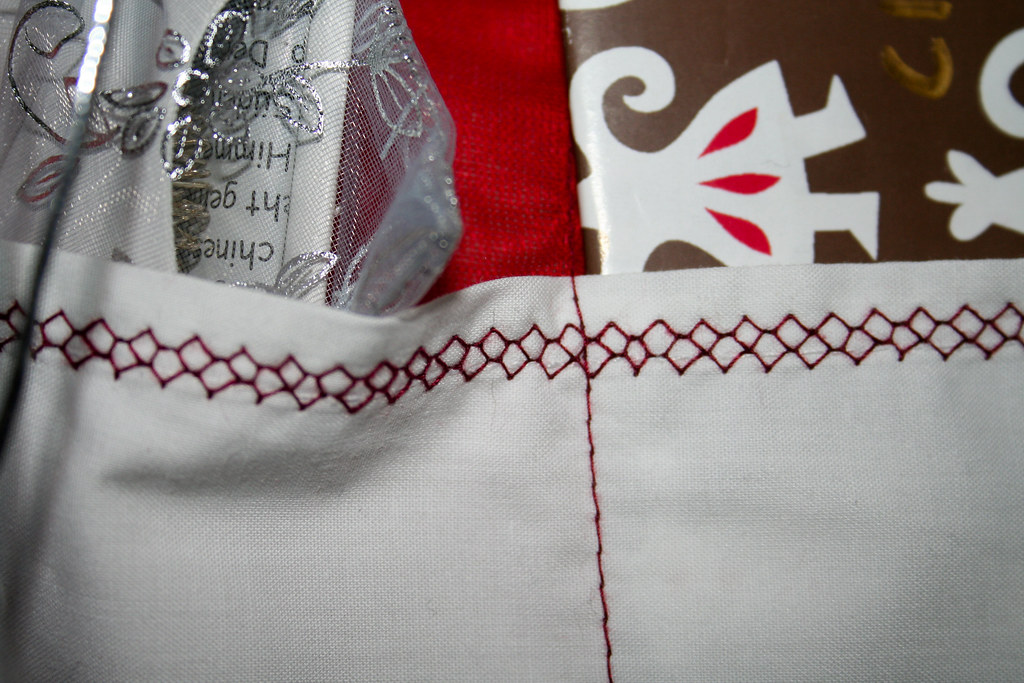
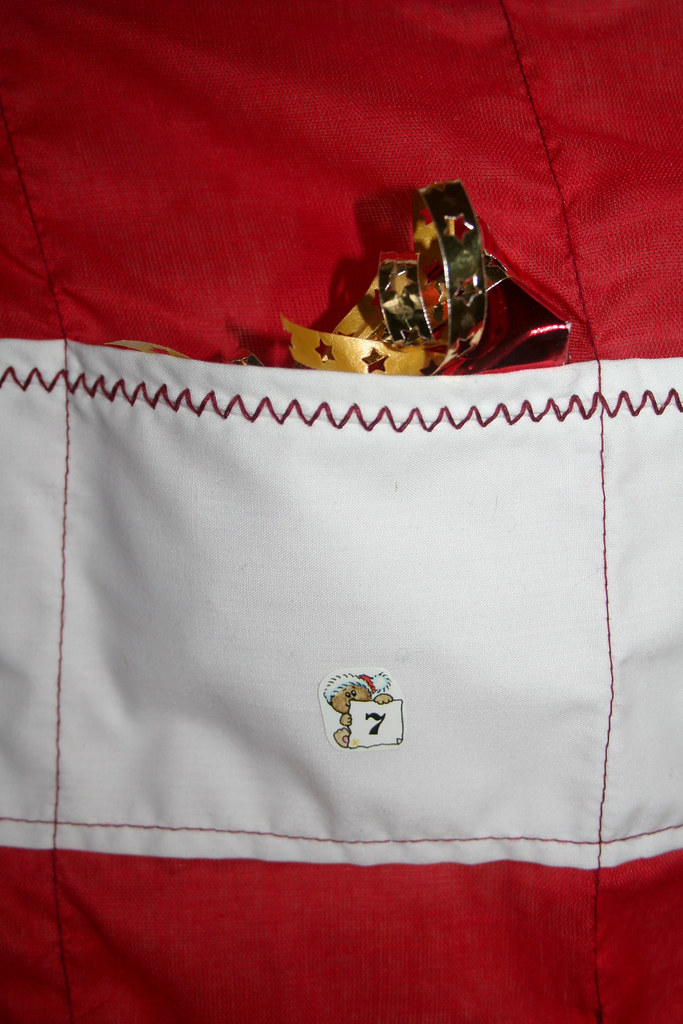
Looking back I always wonder how I manage to get it looking alright despite the time constraints etc. But it really was pretty easy. This advent calendar was made from a ready-made Ikea curtain. Wilma already came with tabs to hang it up from. I cut the curtain to the needed size of the advent calendar, hemming in the side and bottom, but leaving the tabs at the top. In order to make pockets, I took some white fabric, cut it into strips and hemmed the strips of fabric. I used a decorative stitch on my sewing machine and contrasty red thread.


Then I simply sewed the bottoms of the strips onto the curtain. After that I sewed straight lines down from top to bottom of the curtain to create individual pockets. And then I filled the pockets with treats and stuck little number-stickers onto the pockets.


This advent calendar can be used again and again. You can hang it from a couple of nails against the wall or thread a branch of wood through the tabs. That would make it stretch nicely and avoid sagging.