Guess what - no more wreath re-dos!!! I am done with that *grins*. Instead I have been inspired by the calendar recycling that has been going on Claire's fantastic website blah to TADA! The past week she has come up with the most ingenious ways of recycling last year's calendars. She made an everlasting birthday calendar , monthly journals , and a nifty little recipe stand. Please check out her blog - it is full of brilliant ideas!
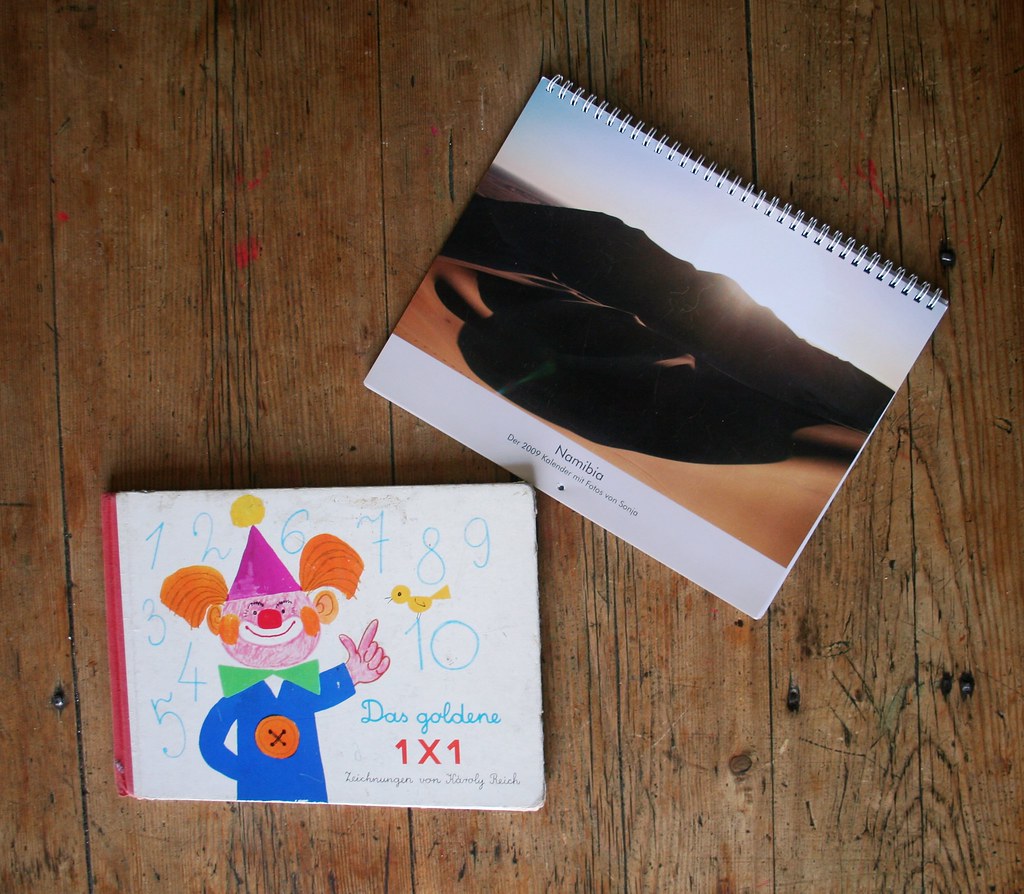
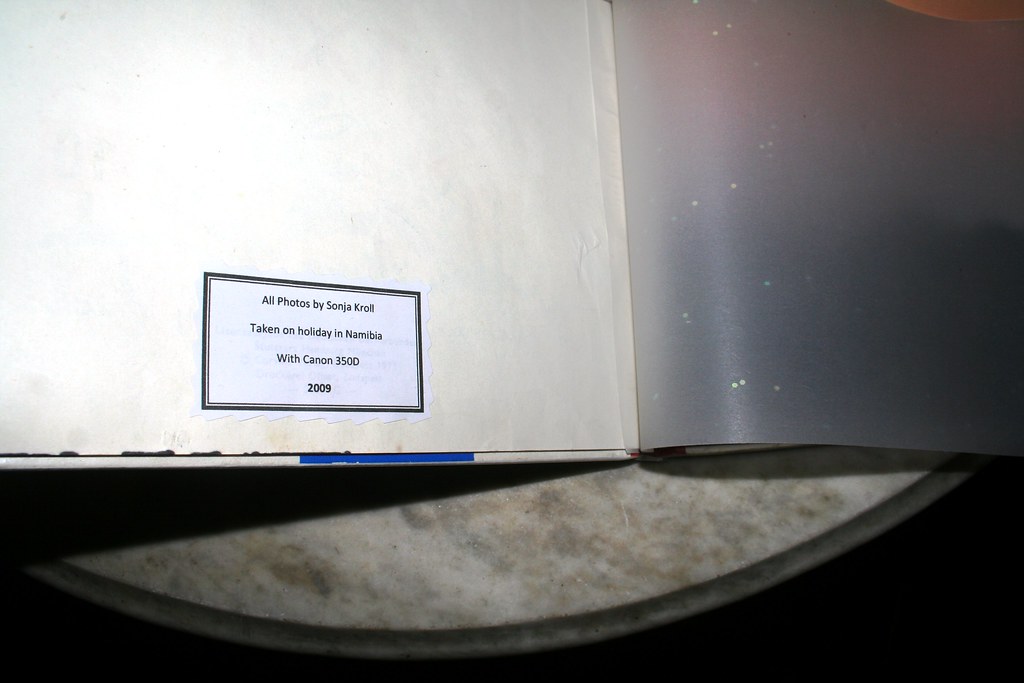
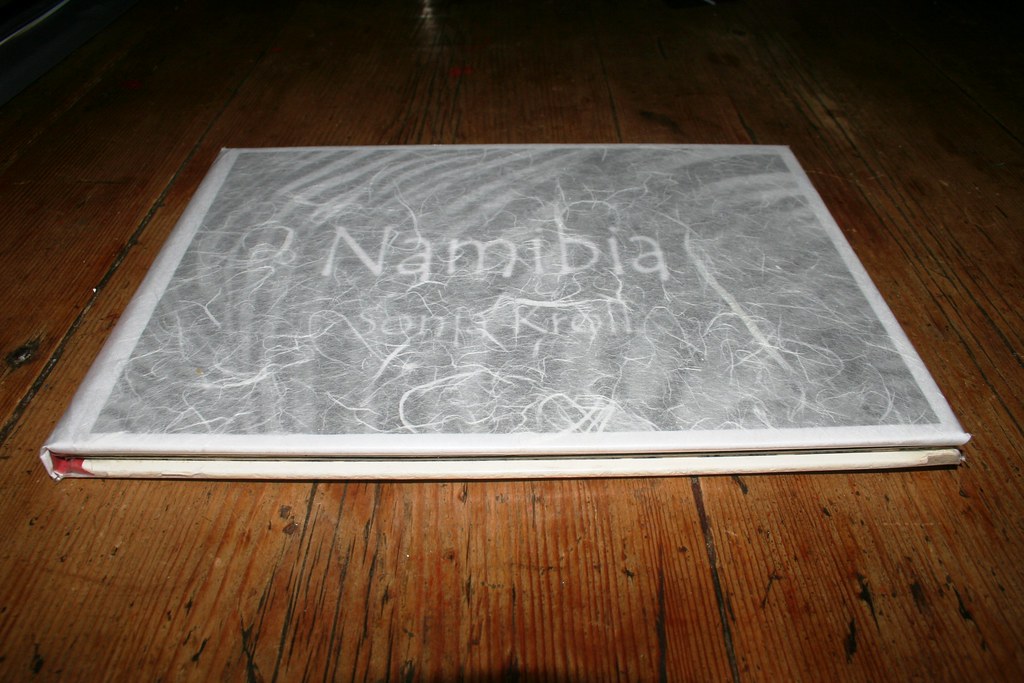
The phrase "blah to tada" has crept into my vocabulary, too, and yesterday I had my own inspired idea, how I could recycle my own 2009 calendar. I hadn't thrown it out yet, but it was tucked away with my photo books because the calendar showcases my favourite photos from my holiday in Namibia in 2008. (If you want to see more photos of Namibia, you can also check out my flickr set "Namibia".) I decided to make my own photobook by recycling both the calendar and an old children's picture book.
So how did I make this? Easy: I went through my daughter's bookcase and found an old, raggedy picture book that she wasn't looking at anymore. Then I essentially stuck my photos from the calendar onto the pages and gave it a new cover. But let me show you step by step.
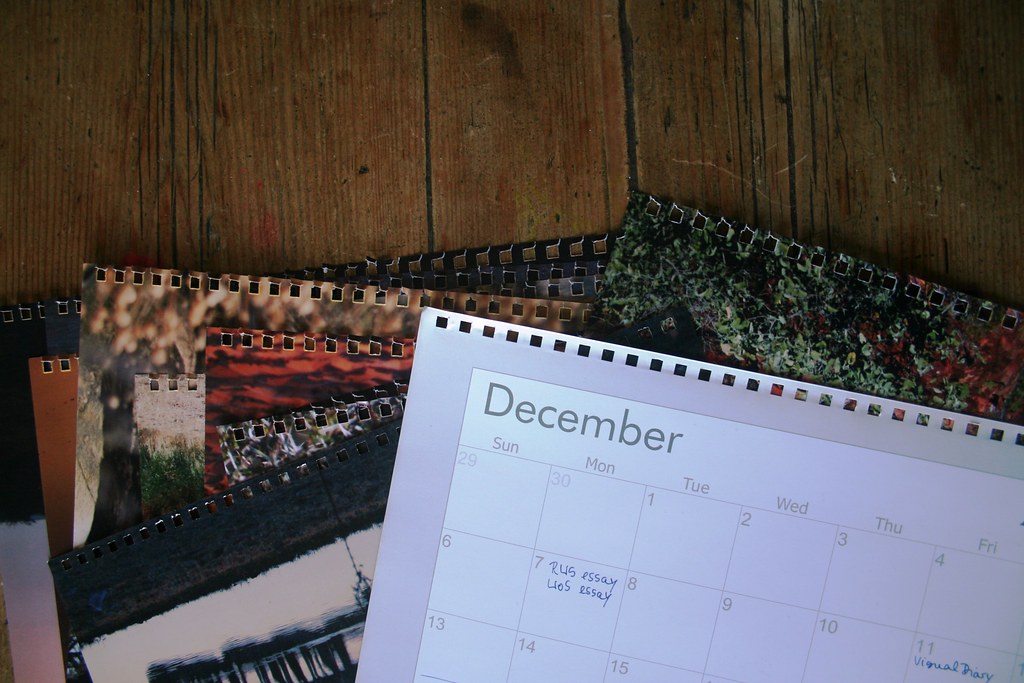
Having 12 calendar pages meant that I had to rip out some pages from the picture book. Since you will be sticking the images back to back, you need 6 "sheets" of paper in your book. Carefully rip the superfluous pages out in twos, the way they are sewed into the book.
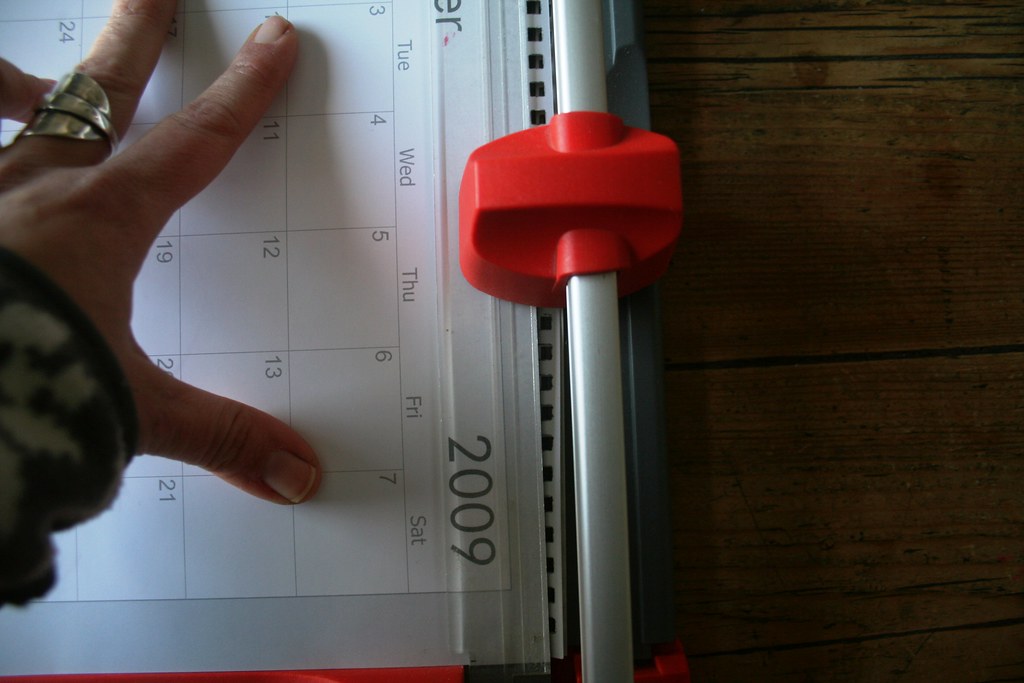
 Next prepare your calendar images. First you need to carefully rip them off the spiral binding.
 Then trim the rugged edge with a paper trimmer. Try to trim as close to the edges as possible - you can always trim off more if you have too large a sheet.
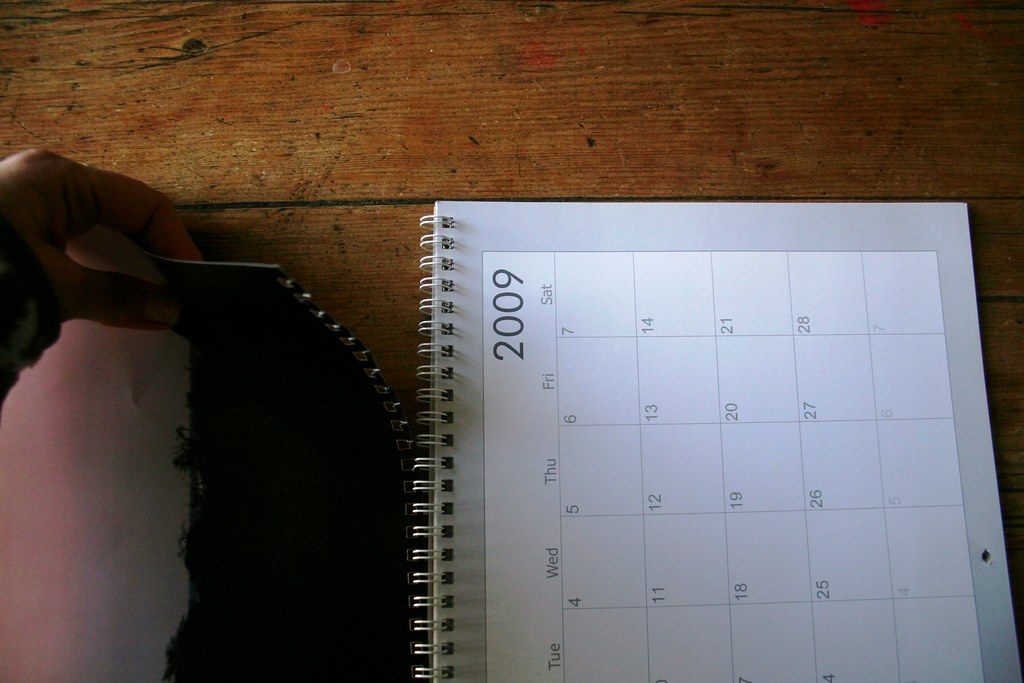
Now establish the size of your pages. Put all your calendar pages in a stack. Lay one of the discarded, ripped out pages onto the stacked images and mark the cut off point with a pen at the side of the pages. Do it all in one go, to make sure you have marked them all the same size.
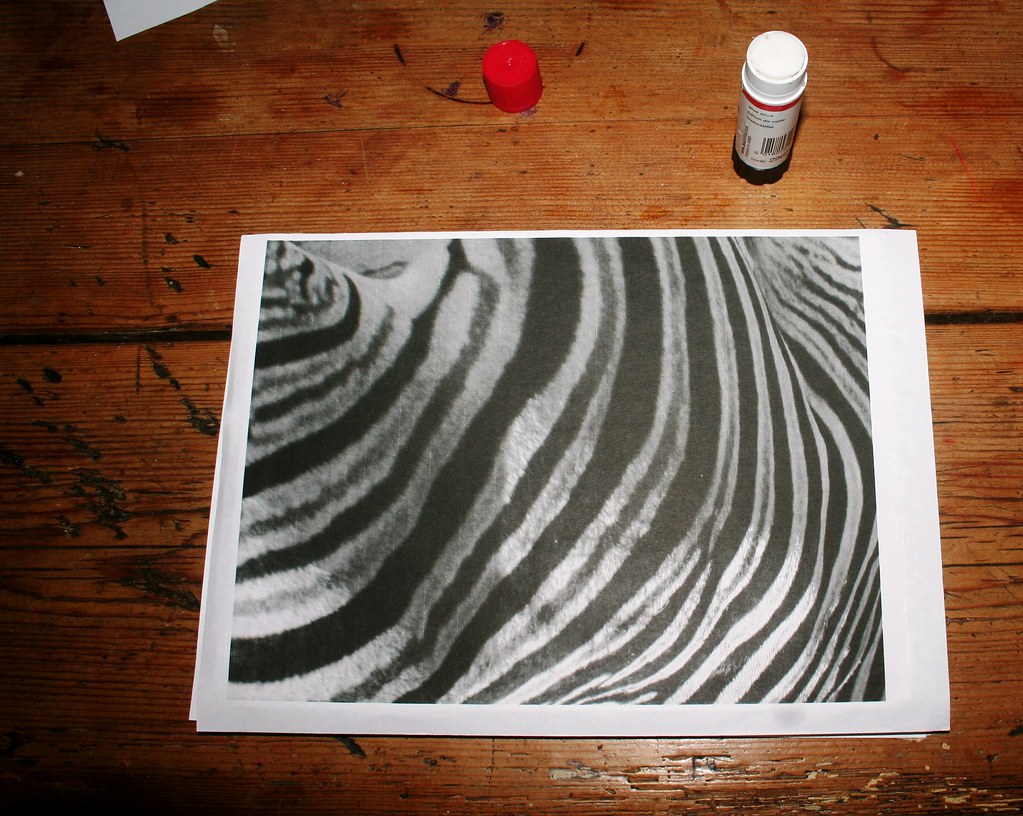
Trim again so you get the right size of pages. Then start sticking them onto the pages in your book. (I didn't take pictures here - well, it's self-explanatory.) I used spray-mount to stick them in and I found the best way of doing it, was spraying the back of the calendar images, letting the spray get tacky and then sticking it onto the book pages. Try to get the calendar image as close to the binding/middle of the book as possible, and align it with the edges of the pages. Flip over your first page and stick the second image onto the back of the first page. Continue until you have stuck all images into your book.
Then trim the rugged edge with a paper trimmer. Try to trim as close to the edges as possible - you can always trim off more if you have too large a sheet.
Now establish the size of your pages. Put all your calendar pages in a stack. Lay one of the discarded, ripped out pages onto the stacked images and mark the cut off point with a pen at the side of the pages. Do it all in one go, to make sure you have marked them all the same size.
Trim again so you get the right size of pages. Then start sticking them onto the pages in your book. (I didn't take pictures here - well, it's self-explanatory.) I used spray-mount to stick them in and I found the best way of doing it, was spraying the back of the calendar images, letting the spray get tacky and then sticking it onto the book pages. Try to get the calendar image as close to the binding/middle of the book as possible, and align it with the edges of the pages. Flip over your first page and stick the second image onto the back of the first page. Continue until you have stuck all images into your book.

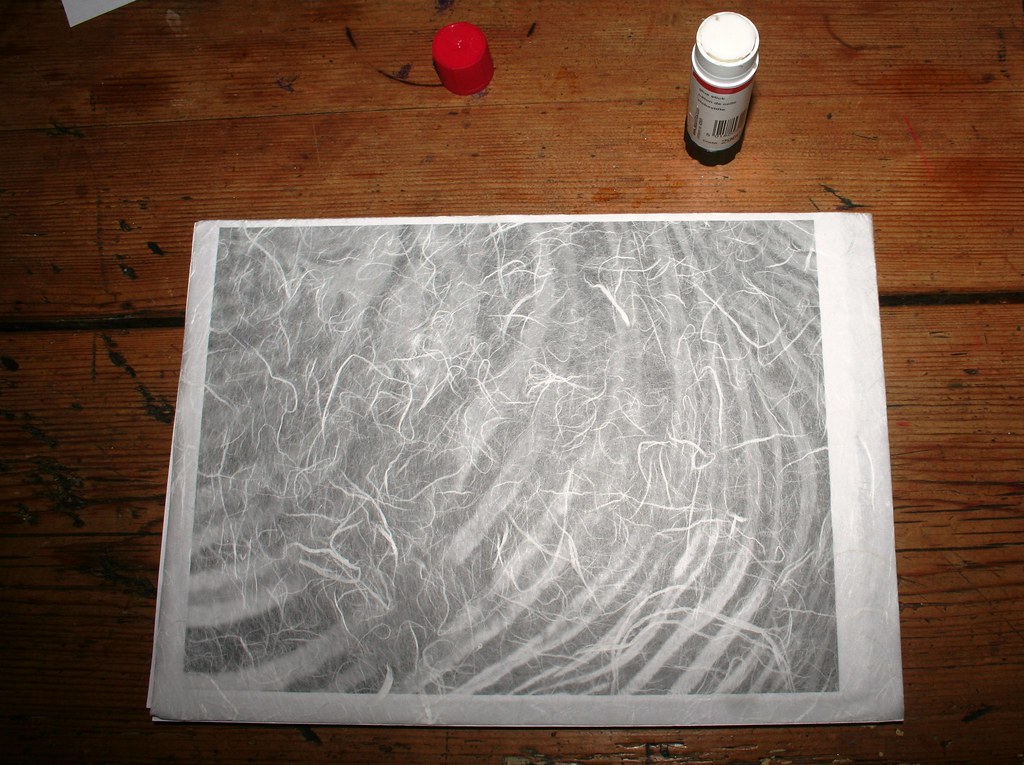
The last step was covering the book with clear self-adhesive wrap. Use a soft cloth to carefully smooth it onto the cover, pushing out any trapped air bubbles. Cover only one side first, turn the book over and then fold the clear wrap over the edges to secure them. And there you have it:
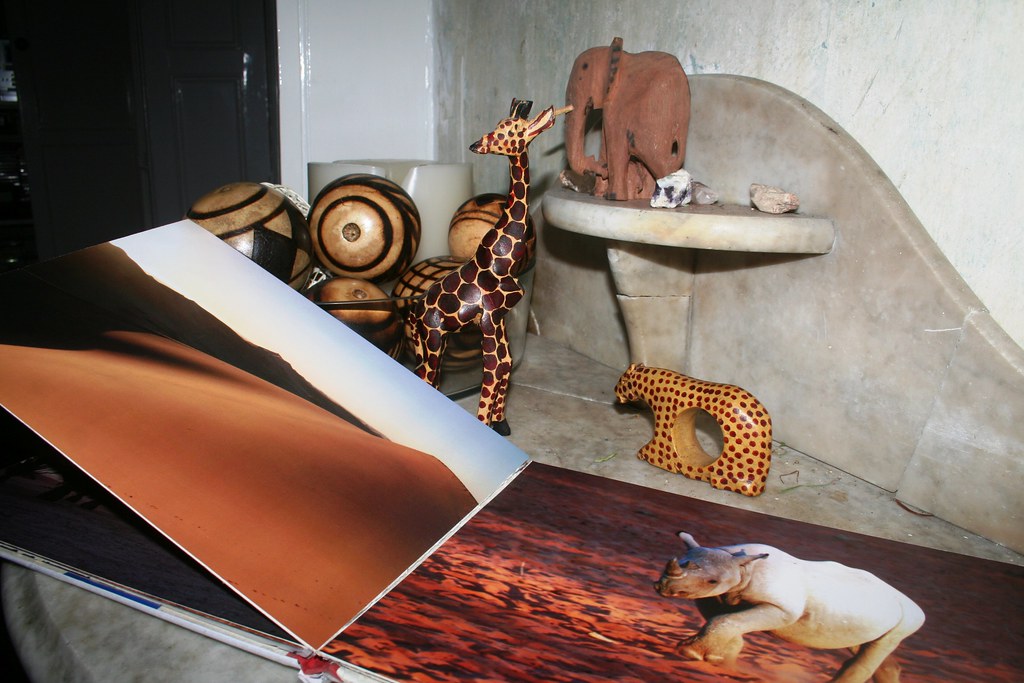
I am really pleased with my own, customized coffeetable book. A great way of recycling a beautiful calendar - and an old book that was otherwise going to be thrown out.
Jan 12, 2010: Linking this to 

 Next prepare your calendar images. First you need to carefully rip them off the spiral binding.
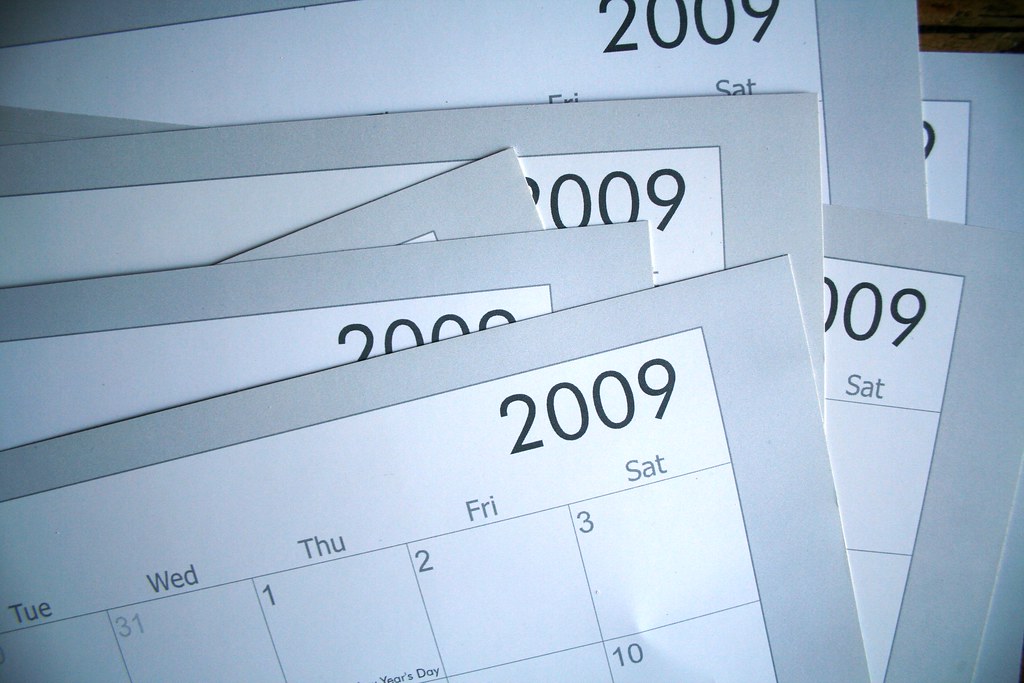
 Then trim the rugged edge with a paper trimmer. Try to trim as close to the edges as possible - you can always trim off more if you have too large a sheet.

4 comments:
This is absolutely one of the cleverest ideas I have seen. You are very ingeneous, indeed.
Wordy
Word Designer
Hello Wordy - thank you for your nice comment. Makes writing a blog all worth-while ;-)
this is such a great idea!! your book turned out beautifully! i bookmarked this so i can do this next time i find a pretty calendar that would otherwise be recycled : )
Do you need Personal Loan?
Business Cash Loan?
Unsecured Loan
Fast and Simple Loan?
Quick Application Process?
Approvals within 24-72 Hours?
No Hidden Fees Loan?
Funding in less than 1 Week?
Get unsecured working capital?
Contact Us At :mrhamdnloanoffer@gmail.com
LOAN SERVICES AVAILABLE INCLUDE:
================================
*Commercial Loans.
*Personal Loans.
*Business Loans.
*Investments Loans.
*Development Loans.
*Acquisition Loans .
*Construction loans.
*Business Loans And many More:
Contact Us At :mrhamdnloanoffer@gmail.com
Post a Comment