FYI


Showing posts with label origami. Show all posts

Saturday, February 27, 2010

Chain of Hearts

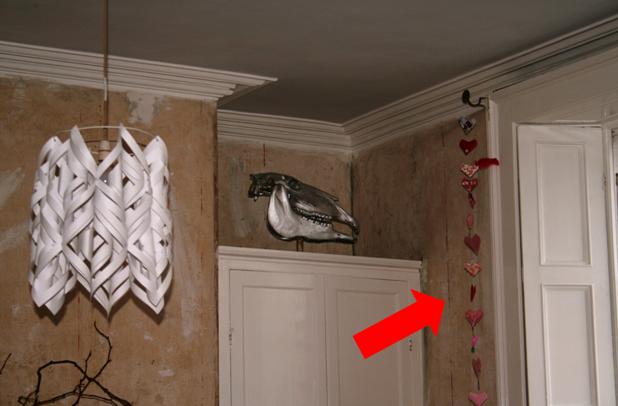
After several weeks of displaying my lovey-dovey origami hearts on my mantlepiece in the sitting room, I have finally decided to take them down and make space for the Easter decoration that will soon go up. I really love those hearts, though I did not want to display them so prominently anymore. So I found a new place for them. Did you spot them in yesterday's pictures and post about the sculptural horse skull?


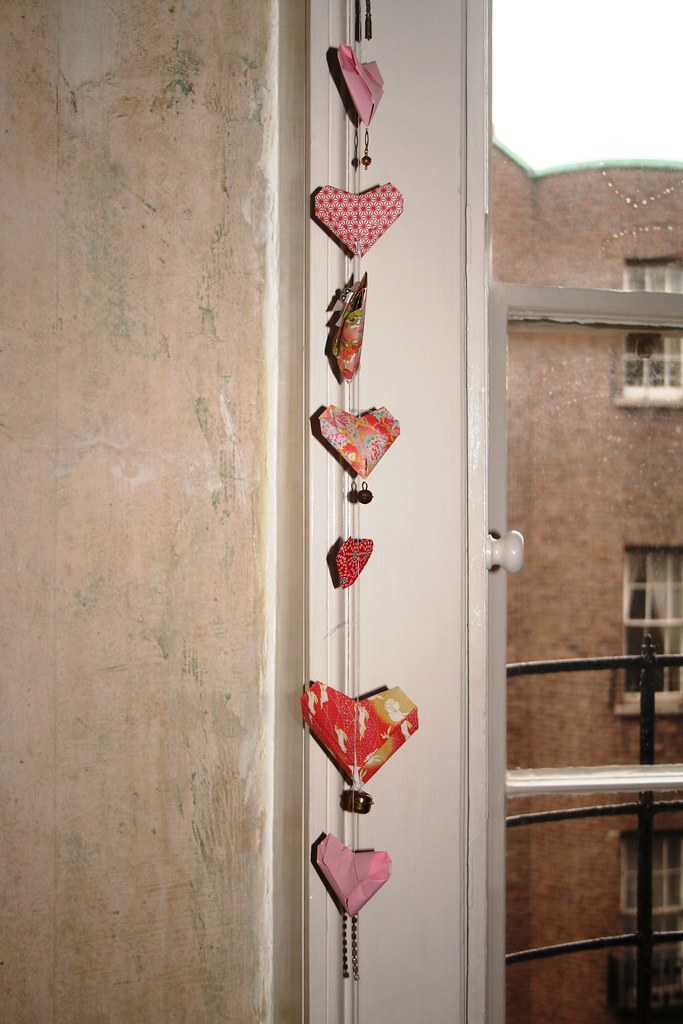
Rather than pack them away and forget about them, I decided to make a long chain of hearts out of them. Nothing simpler than that: I just hung them from each other in a long line. 
They hang nicely beside our very tall sash windows, swaying softly in the draft - yes, the nasty draft that you have to live with in an old house... The chain is so long that I actually could not get a decent shot of the whole line without moving furniture. Instead we will have to make do with an artsy-fartsy shot from below:


On a different note I am happy to announce that I have packed and sent off the giveaway to the lucky winner, Amy. I hope it will arrive quickly - and undamaged - after its long journey across the Atlantic from Ireland to Kansas. The prove is in the pudding parcel:


Best,

Friday, January 29, 2010

Displaying your Treasures

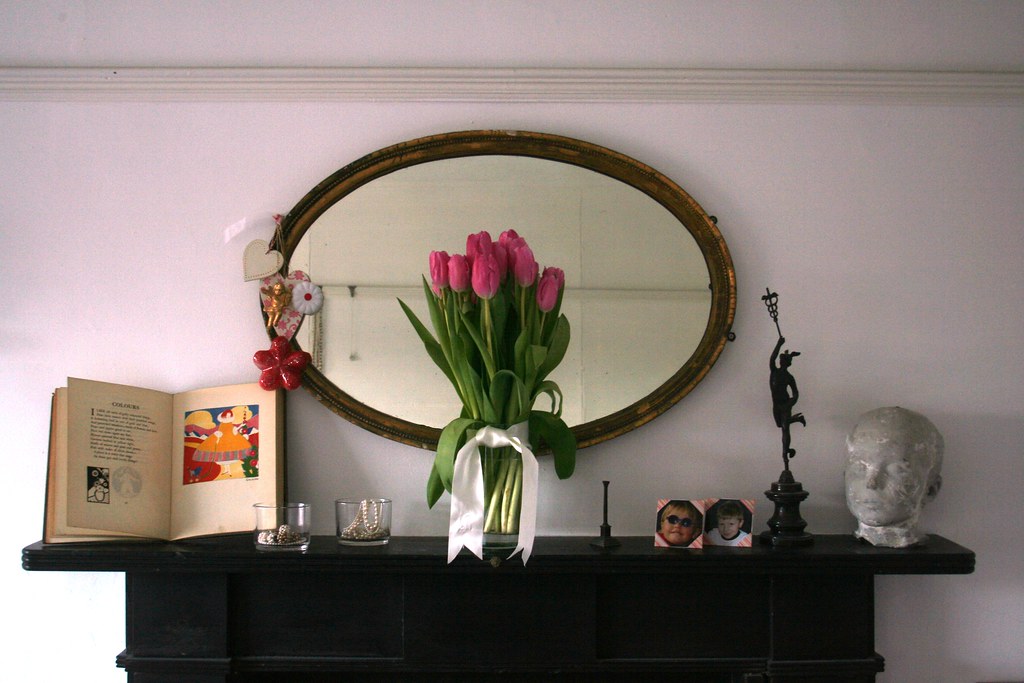
Seems that I am on a treasure finding trip at the mo. Looking through my daughter's bookcase, I found a lovely old book of poems for children, illustrated with cute but simple graphics. Unfortunately there was no date of publication in the book. Just from the style of illustrations I would guess it is from the 1920s. In any case, the pictures are lovely, and I decided to display the book so that it gets the attention it is due.


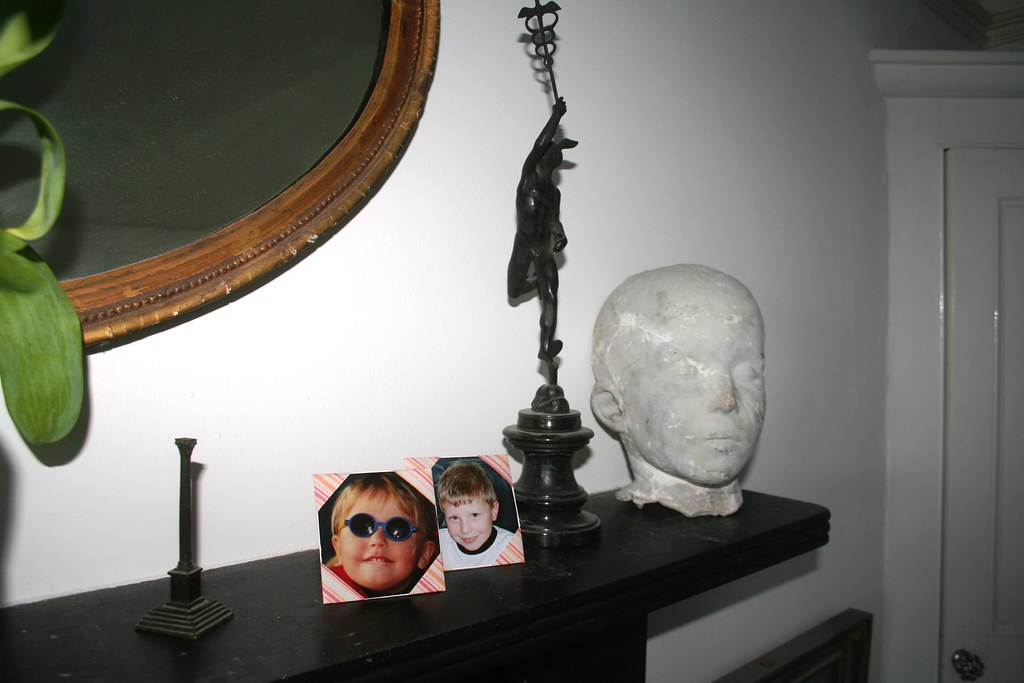
The mantle in the bedroom was lacking a bit of care. So there was the perfect display space for the book. As usual my mantle is rather sparsely decorated - partly because I am not the only one looking at the decorations and my better half does not go for frilly, elaborate displays. So here is the compromise.


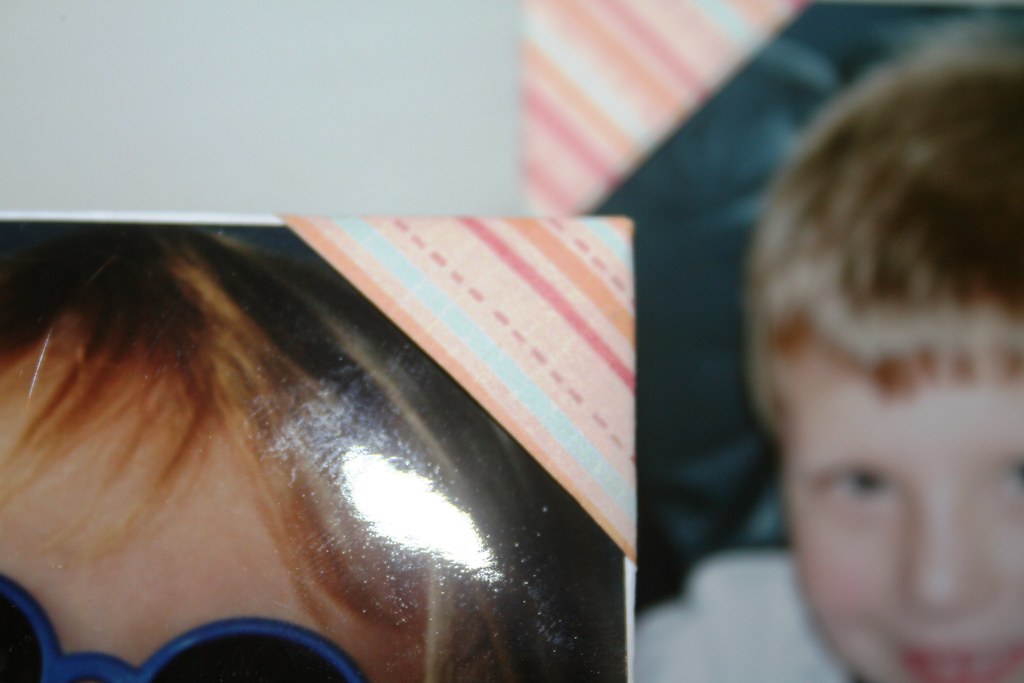
Do you see the two photos on the mantle? They were a two-minute addition when I felt that the mantle was too bare. I didn't have any frames handy, so I did some little magic with origami again. Here's what I did:


I printed some origami designs on scrap A4 size paper. I cut it into half and then trimmed the resulting A5 size pages into two squares. Then I folded the paper to produce this photo display, where you tuck your photo under the corners. It even comes with its own "stand".

I made a little video tutorial for you - as you know I hate picture tutorials for origami, so this will show you how it is done.


Easy or what? With a bit of measuring and thinking you can make these to suit all photo sizes. Makes giving a photo as a gift a bit more substantial, I think, and you can choose your paper according to your decor.

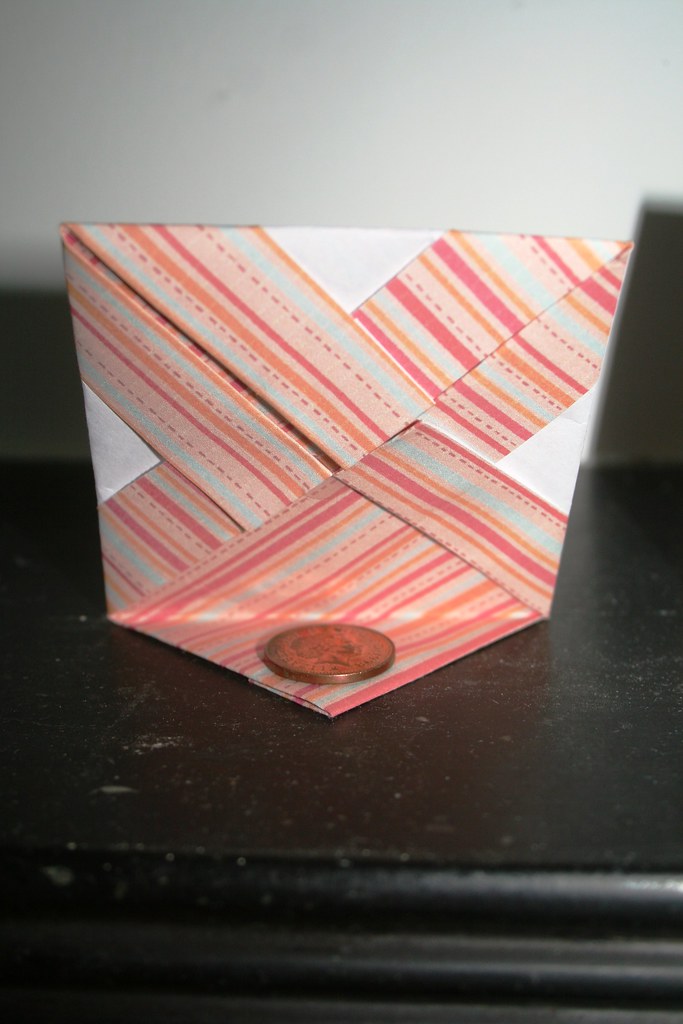
Here is the backside of it. As you can see I simply glued a penny onto the bottom "quarter" of the frame. The remaining three quarters I fixed in the middle with a glue dot. It stands perfectly on its own and does a great job.

Best,


Just in time to link to


Sunday, January 24, 2010

Paper Boxes - Cheap and Cheerful Packaging

Hello! I am still here - but was busy with my *real* life for the last few days. Not too busy to craft, though, and there are three (3!!!) things I will show in Craft-Werk over the next days. Not all of it is quite finished yet, but there is one thing that I would like to show off already.

If you are following the blog regularly, then you will know that I was quite excited to submit a donation to the Craft Hope for Haiti-initiative. And you may remember that I was thrilled my donated flower corsage got sold very quickly. I have now received the details of the buyer and the corsage is ready to be shipped on Monday.  Lying in bed this morning, I was wondering how I could ship it without it getting squashed and damaged. And then I had the Eureka moment - why not fold the Origami box that my mum always makes as her little party piece?


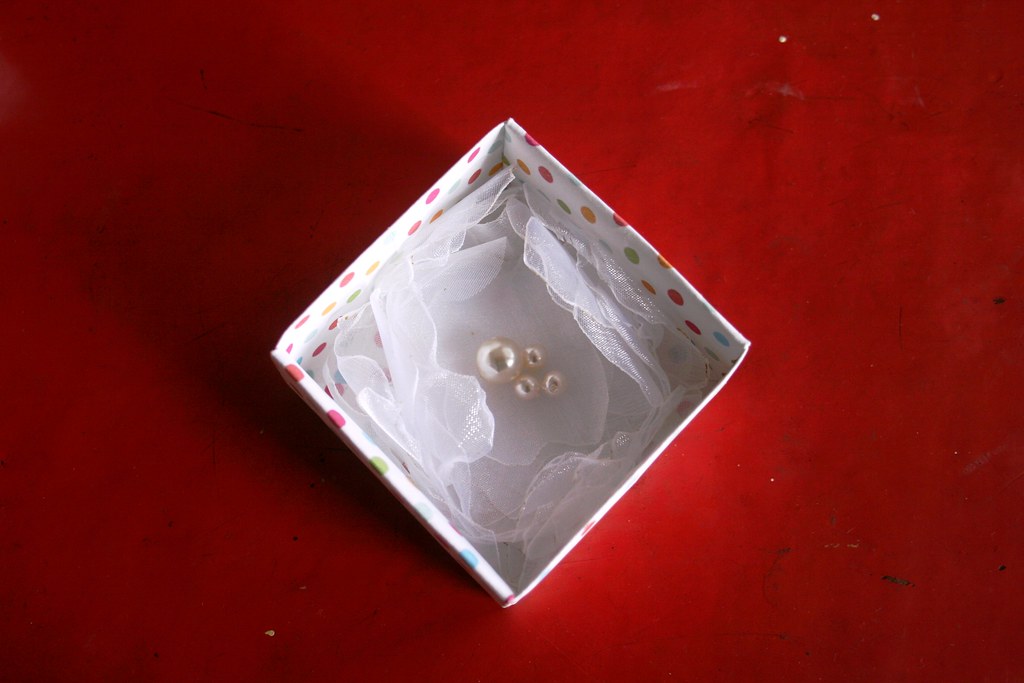
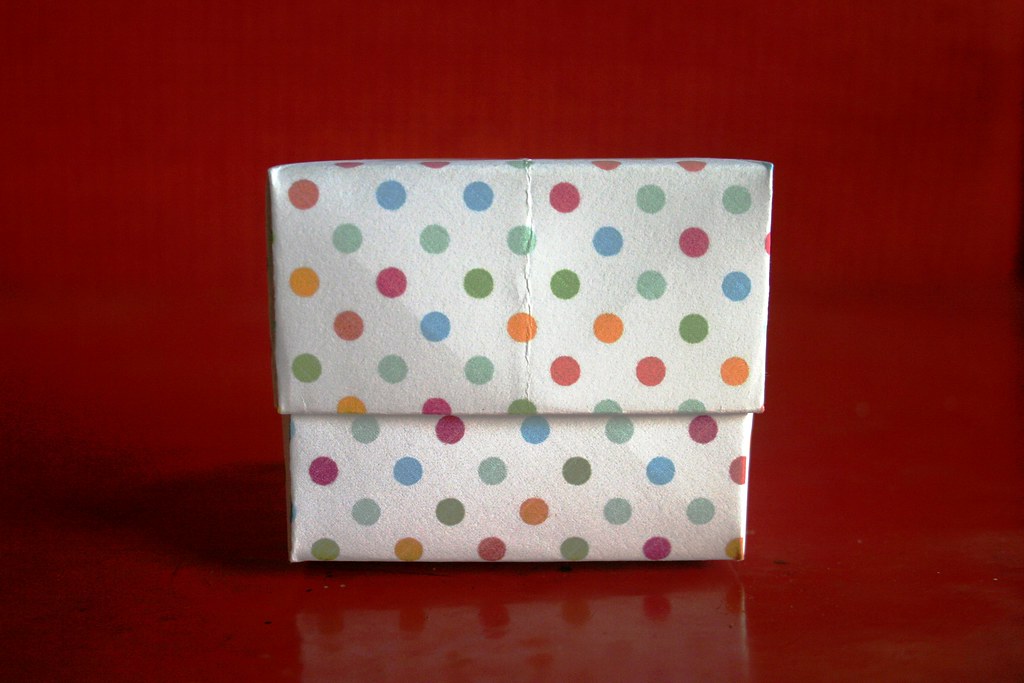
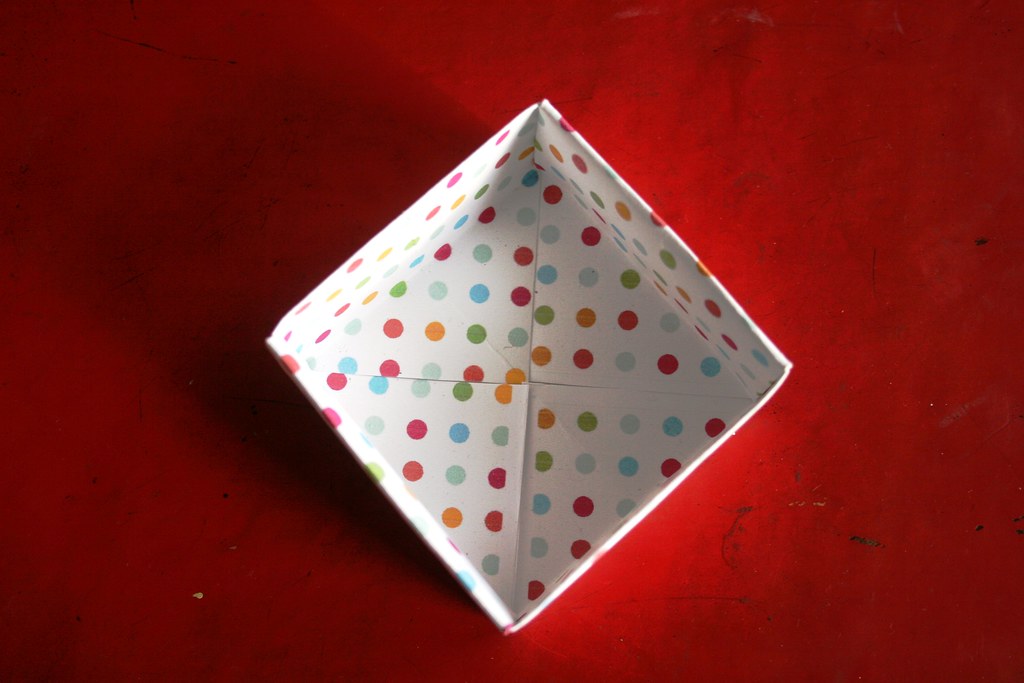
This is another really simple Origami piece - one that even I can do... In order to get a slightly sturdier box, I printed some white cardstock with a cheerful, dotted design that I had downloaded from Canon Creative Park. (Seriously - I can't mention this enough: The Canon site is just fantastic!!! No need to buy pricy Origami paper anymore! There are tons of nice designs under the "Scrapbook" tab which you print on paper - and there you have it!!!)


For this little box you need square paper - so just cut your A4 size, printed paper, determine a square shape and cut off the excess paper. Then you can quickly fold your box in a matter of minutes. You need to place the "nice" side down on your table when you are folding, so that the design will be visible on the box. Neatly, it will be visible both on the outside and on the inside. The more exact you are when folding, the neater it will come out, of course. As with most (all?) Origami you do not need to glue anything down - it is all held in place by the folds! Cool!

Update: I have been persuaded to upload a video tutorial for this origami box, as well. So here comes the fuzzy clip - apologies for quality. But you will get the general drift of the project.


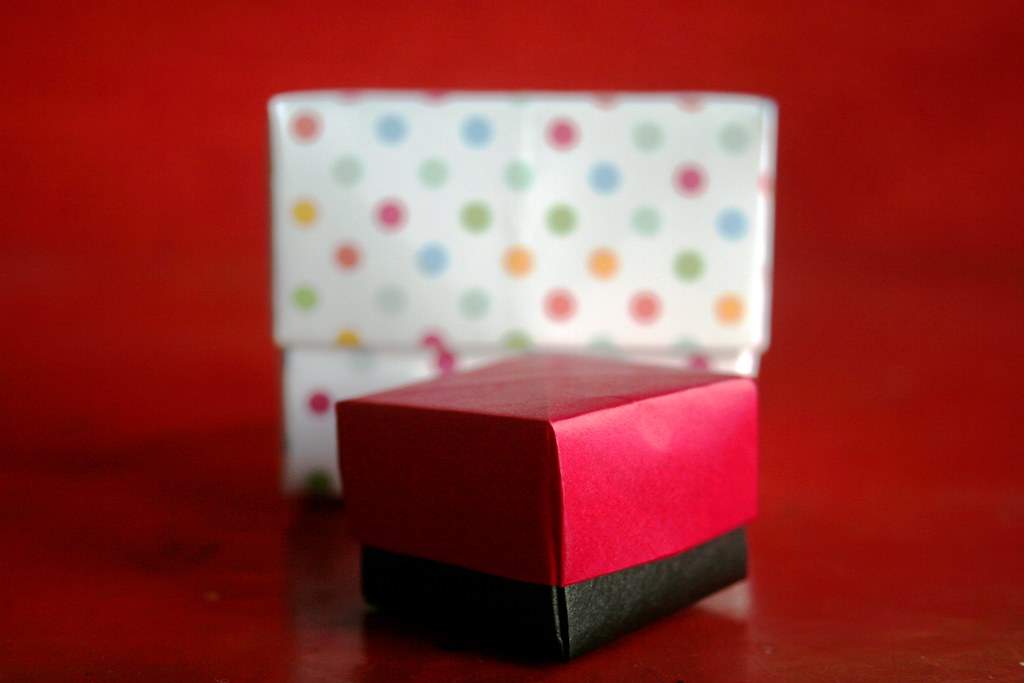
My box was made from a square piece of paper that was 21x21cm (roughly 8.5x8.5 inches). The resulting box is 7x7cm in size (2.75x2.75 inches). If you want a matching lid for your box, just make your square paper a little bit smaller - maybe cut off half a centimetre on the two sides. Then the two boxes will neatly slide into each other. So here it is - isn't the corsage nicely packaged?


This is a cheap and cheerful way of packaging little gifts. Fill it with M&Ms for Valentine's Day. Or if you are an Etsy seller, here is a cute box for protecting your precious handmade items when you are shipping to someone. It doesn't cost anything or  take long, but cute packaging makes such a difference for your buyer. Just imagine how pleased they will be when they open their delivery and find this...


Make them in all sizes - I made another small one just for fun and to show here - this would be great for a ring or any kind of small jewellery gift.


Best,

Tuesday, January 19, 2010

I Heart Origami Hearts

I don't know about you, but I am totally crap at origami. It is with horror that I remember a one-day Japanese language course where the kind tutor also showed us the traditional origami crane that all school children in Japan can make with their eyes closed. Well, I couldn't even do it with my eyes open!!!


While out on Sunday, a friend of a friend entertained the kids at the restaurant by folding the crane from a piece of scrap paper that was left on our table. I was mightily impressed - and wished that I had a little party piece like that to awe my little audience with. Also, my ambition was piqued, and I looked up origami crane instructions on the net. "If she can do it, so can I!" the Queen of Crafts thought, "thou shallt not be craftier than us!" Well, my attempts at recreating the crane were pathetic - and landed in the waste paper basket!!! But not being one to give up easily, I found another origami piece which I was able to do - yoohoo. Origami hearts!


Do you want to make one, too? I have developed an origami heart fetish and made about 20 yesterday. It's dead easy. Usually origami pieces are made from square paper. This project is so neat because you use a rectangular piece of paper - A4 size is just right. (Or A5, A6, whatever size you want your heart to be!) So no cutting or trimming needed! The other cool thing is that you only need paper that is decorated on one side. The pattern works in such a way that only the decorated side will be visible on the finished heart. That means you can even use scrap paper - recycle it here!


I usually take photos for my tutorials, but with origami I find pictorial instructions useless. I never understand the little arrows and instructions. So I stole borrowed my son's little digital camera to record my first ever clip tutorial. Tadaaaaaaaaaa! Craft-Werk goes 21st century! I proudly present my first attempt at a video tutorial. (Disclaimer: Sorry about the picture quality  - must be the poor pixel settings of the camera - and the typing sounds in the background. I hope it is not too distracting!)


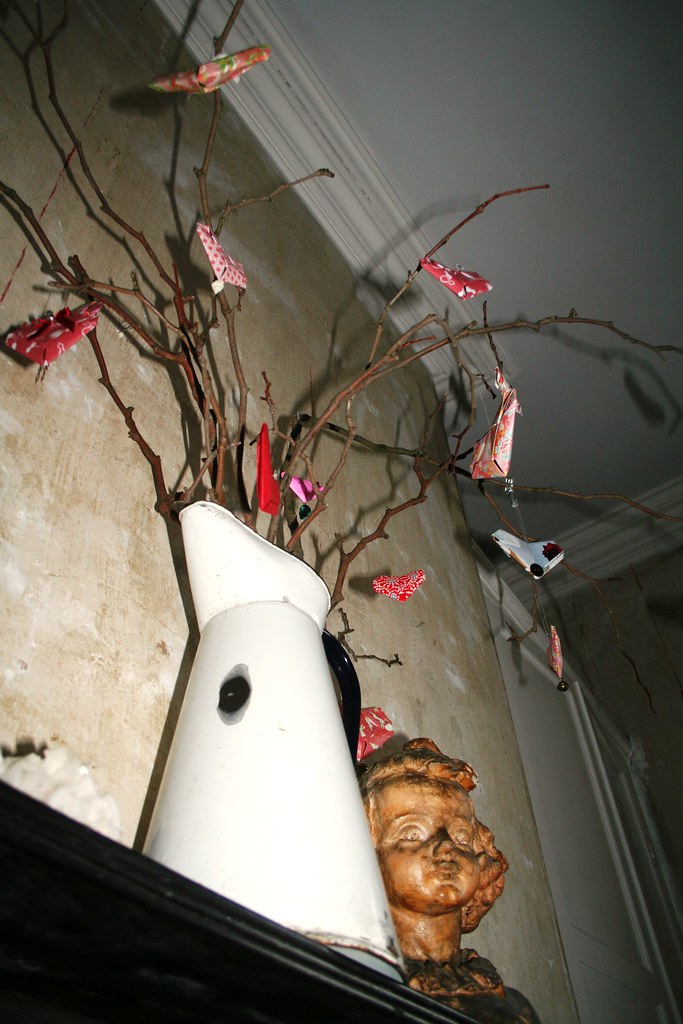
Ugh, was that me? Do you also hate hearing your voice? Anyway, I hope you could see how easy and quick it is to make this little paper heart. I decided to make them into ornaments to hang from a few branches. You are asking me why go through all the fuss of folding when you could simply cut out a heart shape and hang it up like that. Point taken - but these origami hearts are nicely three-dimensional. And it's good to learn something new, isn't it?

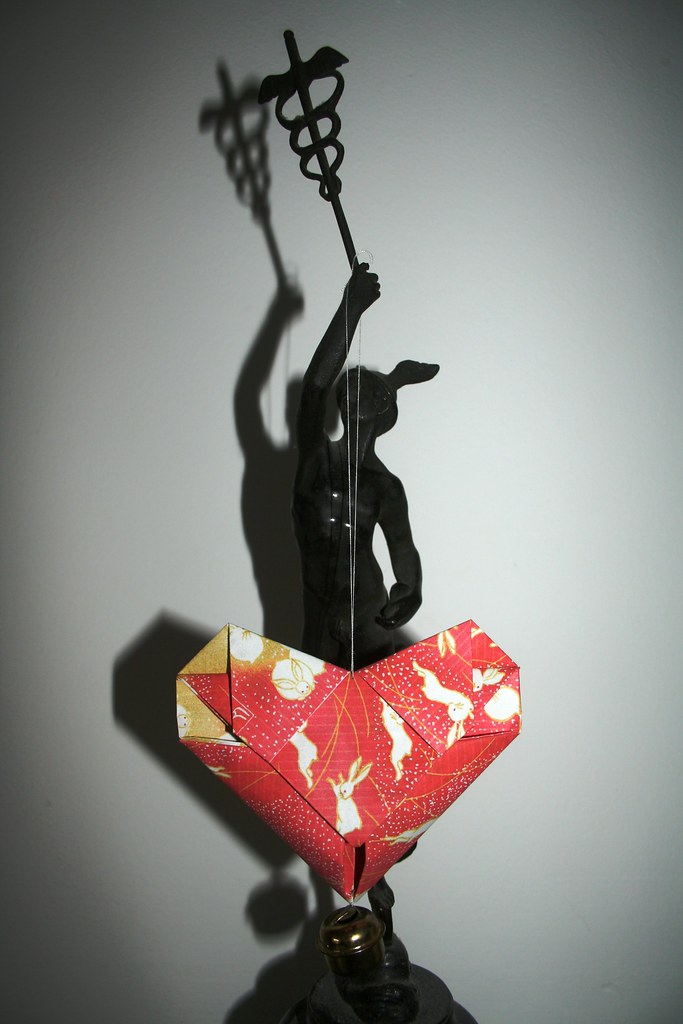
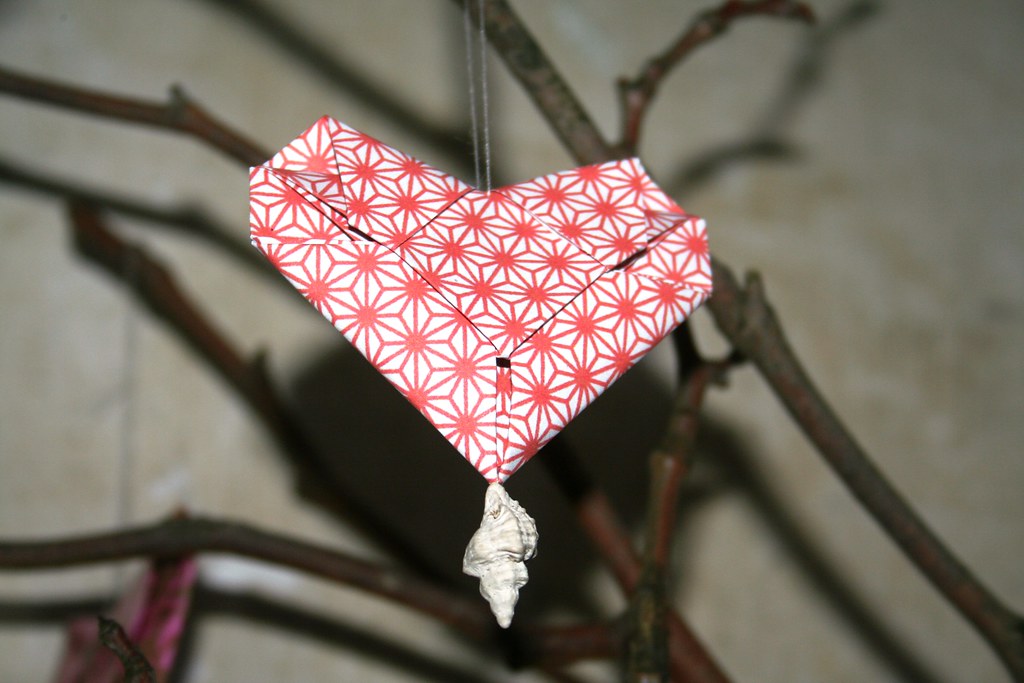
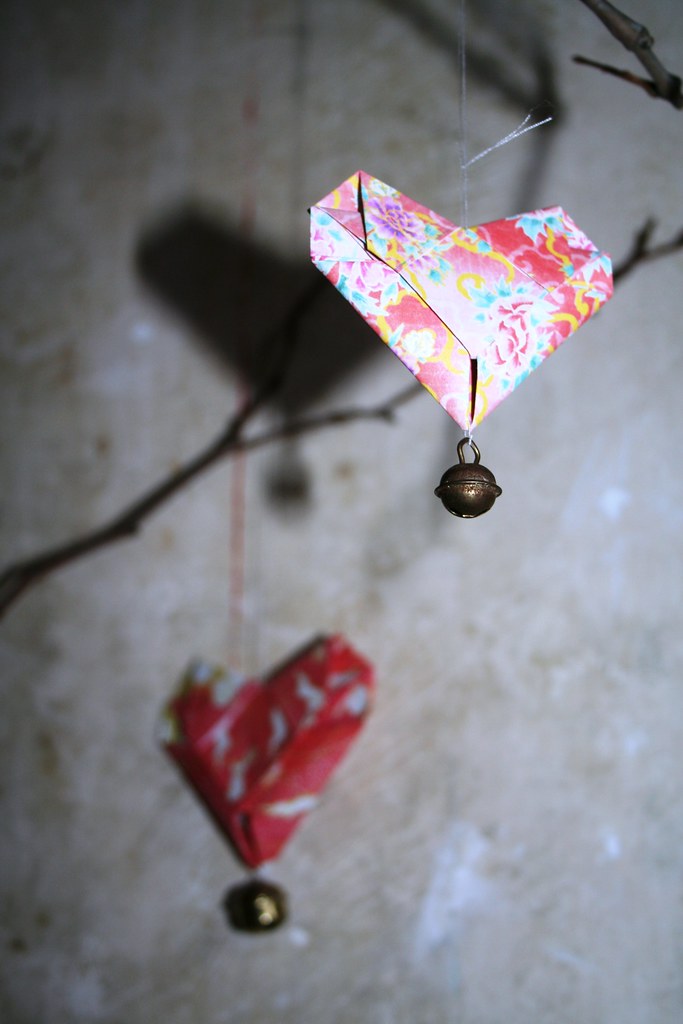
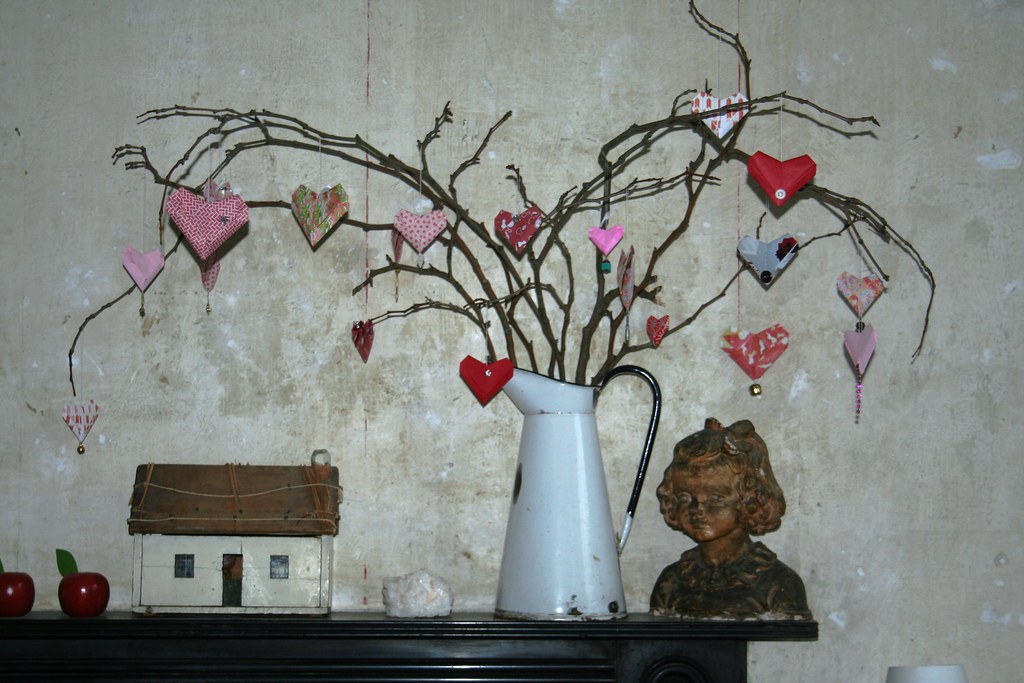
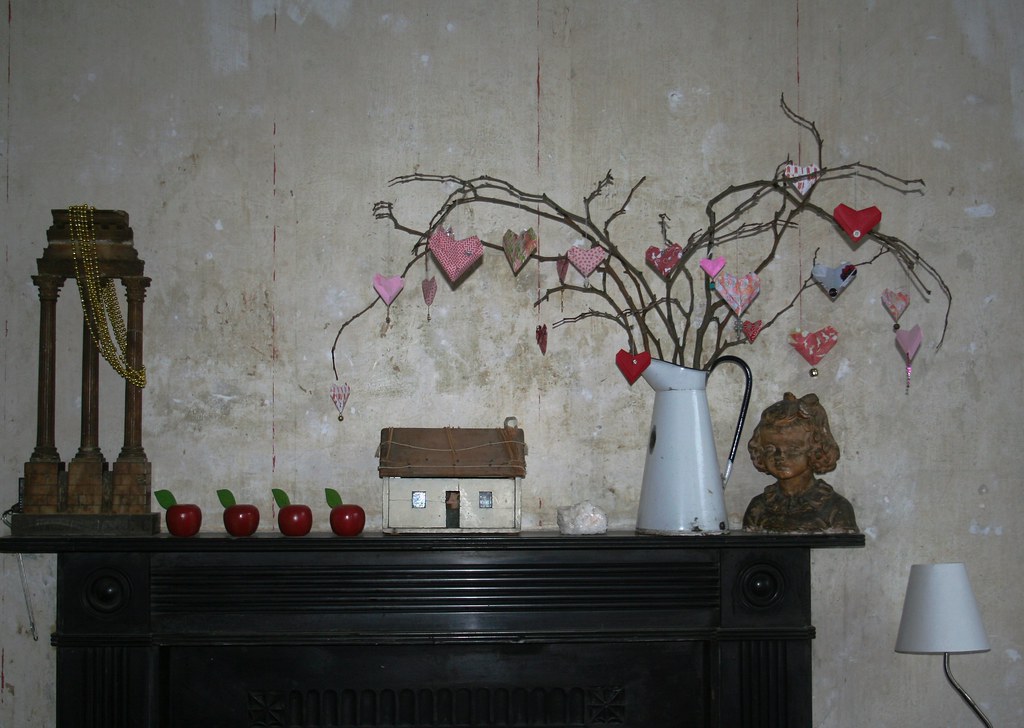
My mantlepiece in the drawing room was in need of some colour and happiness. I had some coloured paper in my stash which I used. I also experimented with colourful pages ripped from a magazine (didn't like those so much, though). But the best results were with scrap paper that I had printed chiyogami patterns on. I have recommended the site before - Canon has a whole webpage dedicated to crafting. You can download beautiful paper designs there - for free - and print them on your normal paper. Check it out - Canon Creative Park


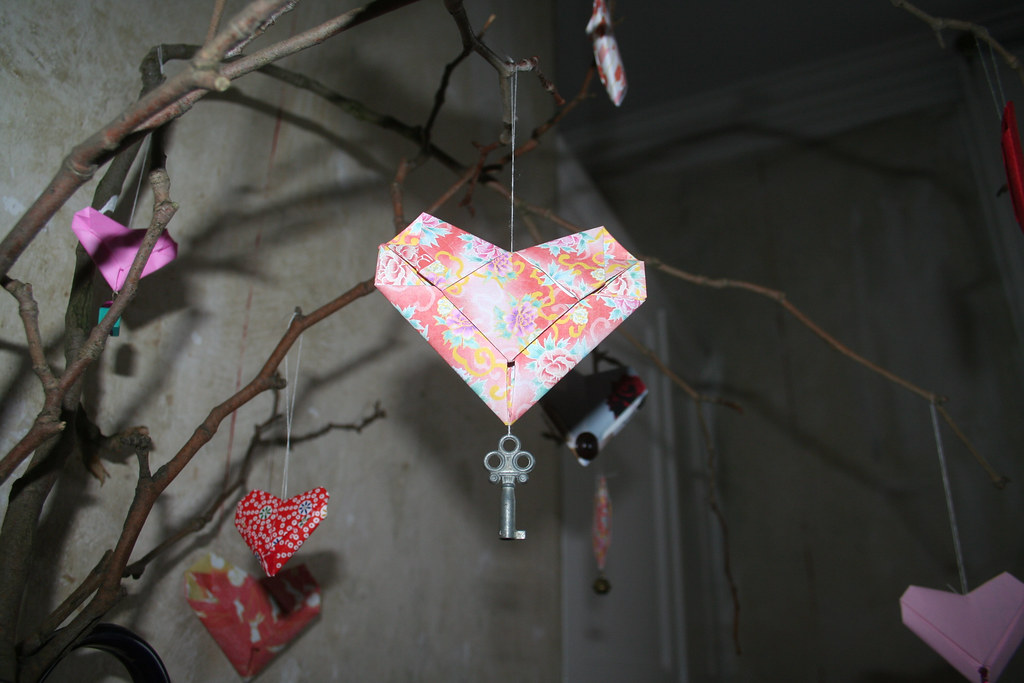
No two of my origami hearts are the same. They would look nice just on their own, but I decided to embellish them with bits and pieces that I had lying around - bells, buttons, ribbon, beads, even a little shell. My favourite, though, is what I have dubbed the "You hold the key to my heart"-heart.


I am not a fan of the whole Valentine's Day season, but these ornaments would make a lovely display. You could string them up on a bit of ribbon and hang them on the mantle. They also make an original Valentine's message - remember: only one side of the paper is visible on the finished heart, so you can write a message to your Valentine on the inside and then fold it up. Nifty!!!


Best,


PS: Am linking this to


and


DIY Day @ ASPTL
 

21 January: Have just linked this to


Get your craft on Thurs.


22 January: Also linked to

and monogram