FYI


Tuesday, February 14, 2012

Keep Calm and Craft On

*Arrrgh*, I think it's got me. I feel lethargic (not enough sunlight?), hungry (possibly caused by dieting) and at loose ends. Right, it's February, the customary late-winter depression has finally caught up with me. There are several antidotes to this: book a holiday in the sun, eat yourself happy and watch TV for hours on end. Costly and ugly solution. I'd rather just craft a bit and make myself feel better that way. So I cheered myself up with a little flower project.


Yeah, still a bit dullish-February, but that's what happens when this is all that you have at hand:

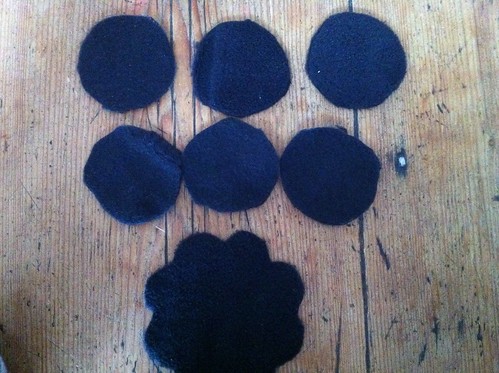
An off-cut from some black fleece and a cookie cutter. I started off by tracing the flower shape of the cookie cutter onto the fabric.

From the remaining fabric I cut six circles. (I used a shot glass to trace the circles.)

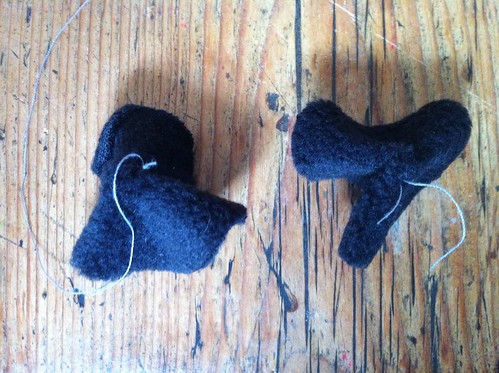
I made the circles into "hats" by gathering the middle of the circle and then sewing through it and tying a tight knot.

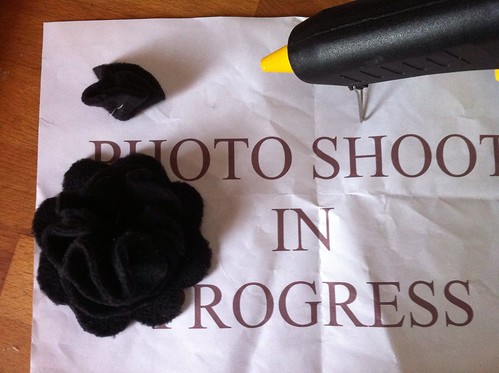
I did a little test run and arranged the "hats" on the large flower shape to fit them into place. The easiest is to arrange four of them in a square and after that fitting the two into the remaining gap. You can sew them into place - which is very fiddly - or you can go the easy way and use hot glue instead. There is your flower done.

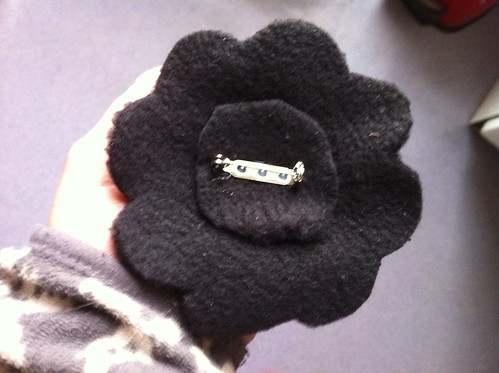
Finally, I used the hot glue to fasten a brooch needle on the back of the flower. If you think your flower needs a bit more stability, then glue the needle onto a circle of fabric first and then glue the fabric to the back of the flower.

You can see the flower is big enough to fit in my hand.


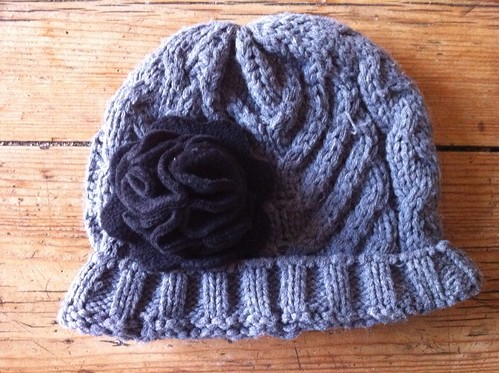
Et voilá - here is my flower brooch on my warm, woolly, winter hat:


I spare you the sight of me modelling the hat. It would plunge you into deep depression, too. Anyway, easypeasy flower brooch - after the success of number 1 I feel like trying it with some other fabric and colours, too.


Best,


PS: Posting this to...
UndertheTableandDreaming

Wednesday, January 18, 2012

Birds of Bling

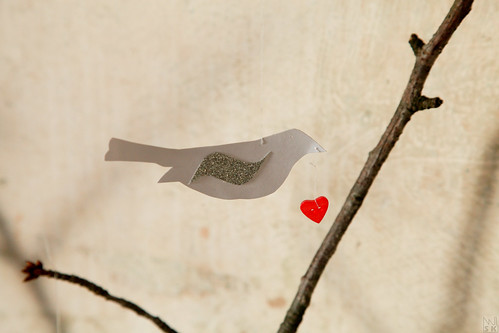
Christmas is sooo last season. I have set my sights on spring now. I am determined to make it as difficult as possible for the dark, grey thoughts that usually take hold of me in February. And with a stash of blingy bits and a massive creative flash taking hold of me now that my college exam is over, I set to work. Gimme some birds of spring bling.


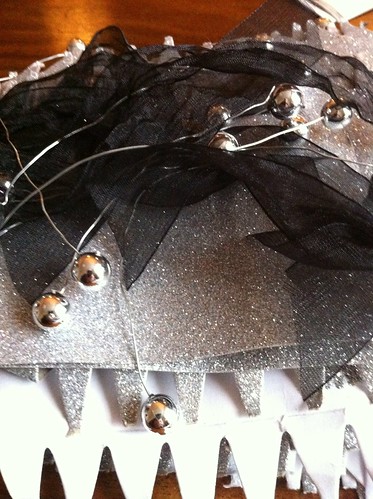
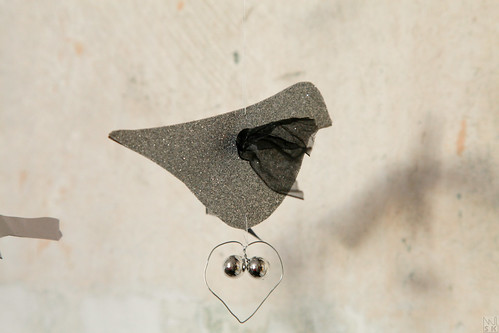
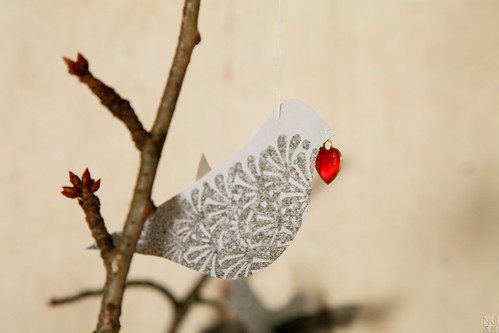
Right, these birds started life as... wait for it... Christmas crackers. Yep. Miss Cheapskate here collected the torn up bits of Christmas crackers. Actually, it was even more embarrassing than that. The crackers had been used for decoration at a party hosted by friends and so I actually took the rubbish home from their party... Reason being that I was attracted by the sparkly card board, the black ribbon and the metal tie clips. 


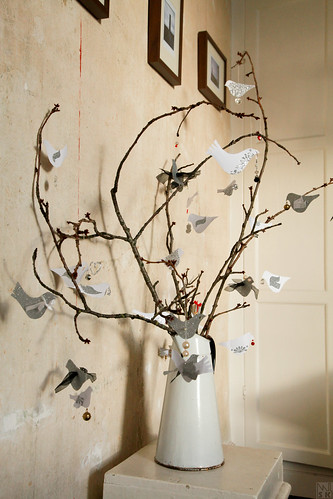
Anyway, at first I thought I might reuse this for Christmas tags, but then I realised that my drawing room was so bare after taking down the Christmas deco and I didn't want to throw out the vase of twigs. Hence the idea was born to craft some decorations for that. And instead of Christmassy shapes I eventually settled on birds - they remind me of spring time...

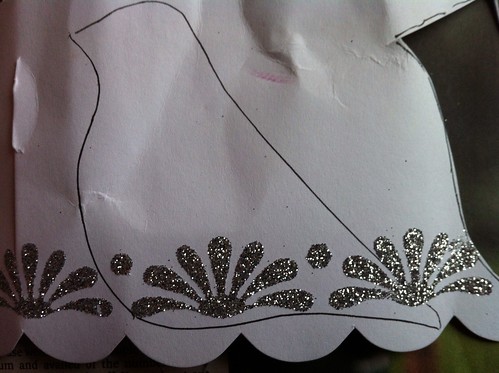
I downloaded a few bird templates from the internet - a simple Google Image search throws up plenty of designs - and printed them on some card and cut them out. Then I used those three templates for drawing the bird shape onto the cracker card.


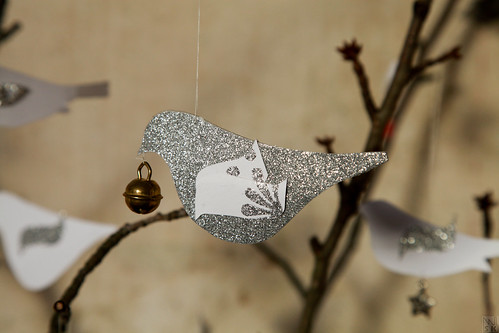
The result was not quite blingy enough. But I am one of those loonies who picks up any solitary earring lost in the street and who holds on to broken bits of jewellery and "whimsies". And from that stash I spruced up the birdies...

... with heart-shaped buttons...


... with the wire ties twisted into a heart-shape... 


... with a little bell...


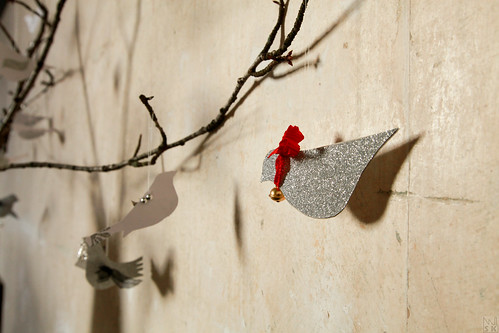
... with a little red ribbon from my Lindt chocolate bear...


... with a heart pendant...


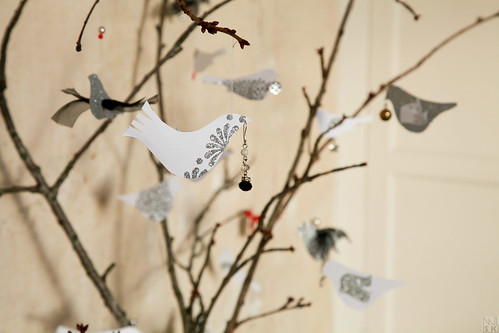
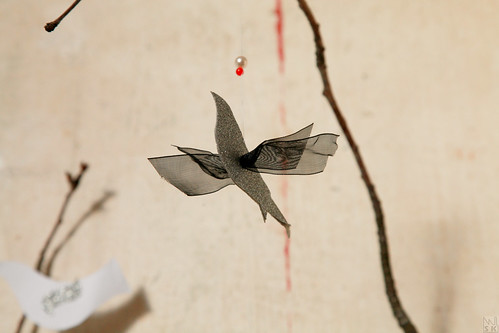
Some of the birds I gave wings by punching a hole into them and then just feeding the black ribbon through. He really looks as if he is soaring, doesn't he?


In any case, I am delighted with my blingy birds. They are happily hanging on the branches. Best thing: They are so light that every time someone passes by, they flutter in the air. Heck, they flutter at all times - this old house has a fine draft that comes in very handy for that.


A bit whimsical, I guess - and whim is not really something I usually like - but hey, I am waiting for spring time and they will remind me it is on its way.


Best,


Sunday, January 8, 2012

I Want Snow!

It's that time of year again. No, I am not talking of winter. I am talking of the run-up to an exam. You can always tell it is that time, because there is a flurry of activity on my blogs. Suddenly the crafting tools come out again and I cannot stop myself from making things. Some people call it creativity. I call it replacement activity - I'll do anything but study *ggg*. I am that kind of bird.

So with that in mind it was essential, no, imperative, that the Queen of Crafts got her latest post-Christmas sale bargain into crafty shape. I had picked up this garland of snowy plastic fir while over in Germany. Can you see the white specks of snow crystals on the fir? Well, I think there was much more snow on the needles when I bought this in the shop, alas, travelling in my suitcase did not do this piece of deco that good - when I took the garland out of its protective bag upon arrival at home, a handful of crystals trickled onto the kitchen table. Ah well.

Anyway, undeterred, I ploughed through the fake snow and dug out my old homemade wreath base. This thing has seen better days - and is still not a perfect circle. Ah well. It'll do.

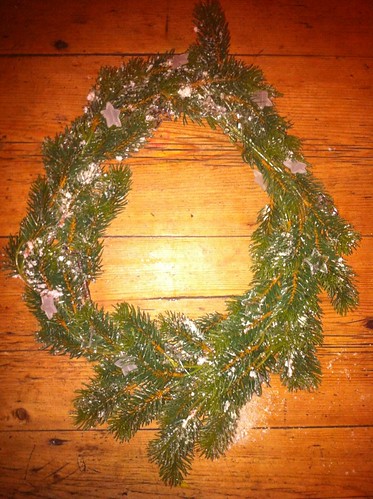
I placed the garland on the ring and then secured it in place with some decorative wire which I had also picked up in Germany. Basically it is just some silver wire with some translucent and transparent plastic stars attached. Not too showy, not too tacky. The result you can see below:


I don't mind the easter egg shape of this, but the wreath looked a bit too irregular, so I decided to decorate it with what I had at hand.

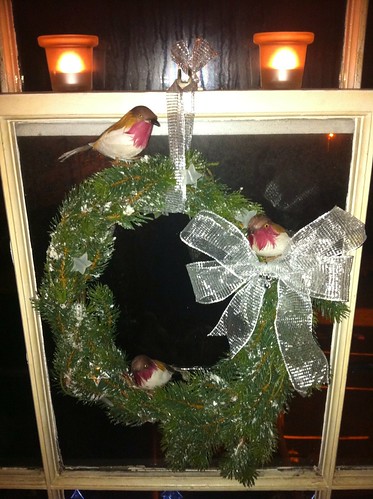
And I always have some decorative crap stuff at hand. This, I decided, was finally the time to put some blingy silver ribbon to work which I must have picked up yeeeears ago.

And then there were also some styrofoam birdies that I saw in a Euro-shop (the European equivalent of a Dollar Store - ooops, or is that obvious??) before Christmas. I completely forgot about them then, because I had originally intended to decorate the advent candle wreath with them. They matched the colours of the candles perfectly. But hey, now they came out.

So here is the winter wonder snow wreath:


It's currently gracing my kitchen window - our front door would beautifully suit as a canvas, but unfortunately we live literally 5 steps up from a main thoroughfare in Central Dublin and the wreath would be snatched as soon as night falls... (I am speaking from experience - I have lost a couple of wreaths to the great God of travelling pickpockets *grumbles*)

I still want snow. Really.


Best,

Saturday, December 31, 2011

A Nice End to an Old Year

Dear readers - I haven't been a good blogger this year. At least not on Craft-Werk. I have been very active in my photoblog 2picsaweek and have also started a German language blog on my life in love-exile. There was little time for crafting in my busy life between college, computer and home.


So a happy new year from moi to you ;-).

The mug you see above was a project I did a while back. You can read about it here. I am selfishly regurgitating it because it has just been featured in Jamie's fabulous blog "Sew Rockin'". Don't be fooled by the name of the blog - there is more going on there than just sewing. Her "Sew Rock Fridays" are a great showcase of projects that other crafters have done, so swing over there and have a peek ;-).

That concludes 2011 - let's see what 2012 brings. Lots of crafty love!


Best,

Tuesday, December 20, 2011

Dear/Deer Candlestick

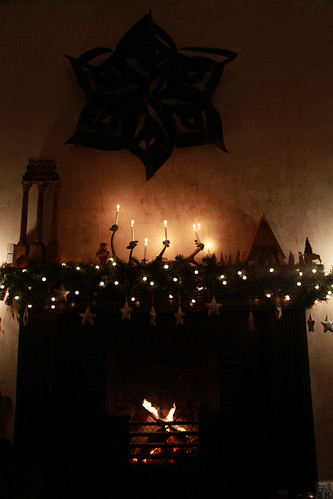
Here comes post number three of the drawing room mantle series. Yep, sorry, but you must get through this before I go on to bigger... better... different things. The remaining crafty bit is - have you guessed - the candlestick-y arrangement on the mantlepiece. Which, upon closer inspection, turns out to be... *tada*... deer antlers...


The easiest project if there ever was one. And yet I had this coming for aaaaages. The idea was born a couple of years ago. You see, my dear better half used to have an extensive skull and bone collection as a boy young man. *um* No, nothing sinister about that, just a genuine interest in all living things. Except that they were dead. *eh*.

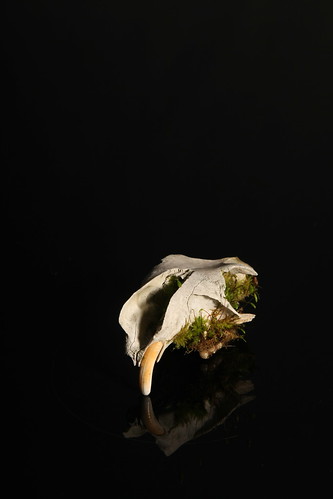
Anyhow, his collection resided in his parents' house, but when they moved out, the time had come to transfer the precious collection to our own quarters. Was I horrified? No. Am I morbid? Emphatically no!! I love the sculptural quality of skulls and have occasionally photographed them for projects like the one on the right. (That's a marmot skull by the way...).

I have also previously turned a large skull into a sculpture for the drawing room - if Damien Hirst can do it, then so can I (with the help of a little silver spray paint...). Check the old post here.

Right, but to get back to the point...


Deer antlers with their pointy points are just natural candle holders. There was only the problem of attaching the candles to the antlers. I thought about drilling holes and pushing those candle holders for wreaths into it. Then I though about simply putting nails into them to stick the candle on. And finally I realised that something from my Christmas stash would do the trick nicely - those old-fashioned clip-on candle holders for the Christmas tree:


Luckily the holders come with a little swivel headed candle tray, so you can twist them in such a way that the candle will be (roughly) upright and therefore not splash wax all over the place when lit. I am delighted with it - I like the rustic feel it gives.


Dead animal parts in the house are bad for Feng Shui???


Sheeeeeeeeeeeeeeeeesh!


Let's cosy up at the fire, pretend we are in an Alpine hut, fresh in from a whizz on the slopes...


Best,


PS: Promise - tomorrow you won't get a view of my mantlepiece again!!!

Back with a Splash

Ah, it is wonderful to be welcomed back to the blogging community. I almost feel ashamed that I have been so quiet in the last while... Two of my favourite craft-bloggers have just posted my XXL star on their wonderfully resourceful sites. Thank you, Rayan from Design Confidential and Michelle from Somedaycrafts - I am more than chuffed that you found my project worth passing on...

If you don't know these sites already, then it is high time that you check them out, fellow crafters!

Design Confidential is a a great resource for anything a crafter needs. See those neat little boxes above the post? They will lead you to all kinds of projects, tutorials, links, before and afters, you name it. She covers a lot more than exclusively crafts - this is a one-stop-shop for all things design, DIY, craft etc. Go on, and spread the love ;-)


Someday Crafts on the other hand focusses on crafts. And especially on those that catch our eye. We bookmark them and decide to do them. Someday. :-) I love the do-ability and accessibility of the crafts Michelle features on her site. And you will, too. So have a little snoop-around and don't be surprised if you find yourself bookmarking half her site...


What a good start - I think I'll write another blogpost right now...


Best,


Don't forget to check this ouuuuuuuuuuut:


Monday, December 19, 2011

Best Buy

Never in a million years would I have thought that this was going to be one of my favouritest most favourite deco buys of all time - a fake Christmas garland. I bought this, I remember it well, on the 23rd of December 2006 for about 20.00 Euro. And boy did I have a guilty conscience about this.


And why would anyone in their right mind get their moral knickers in a twist over a Christmas garland? Because it is artificial. *hisssss* Oh, that does not sit well with me. I love my real fir in the house for Christmas. But I have to say that the artificial garland is absolutely fabulous.

Sure, the closer you get, the more artificial it looks. But it comes out of the bag every year, virtually undamaged despite having been squished into the attic and having endured two months in close proximity to the fire.

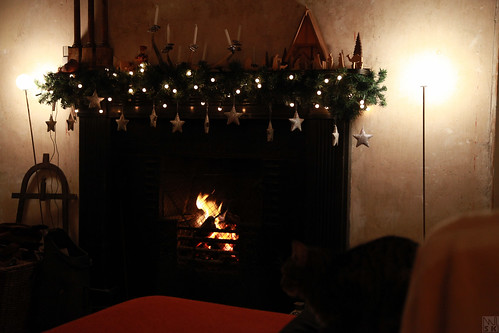
As you can see above, I have wound some ordinary and cheap Christmas lights around the garland. I don't even bother taking them off when I put the garland  back in storage in January. The little bulbs are resilient and look really cute when switched on. Heck, they even look nice when switched off (see right).

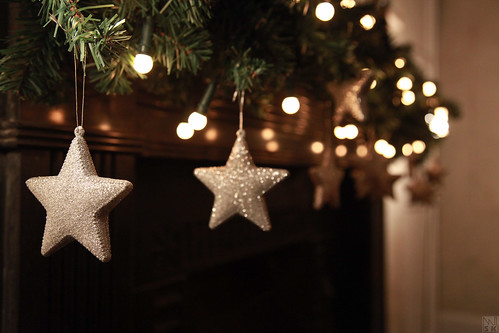
While the garland goes up in the same spot every year - namely the drawing room mantlepiece - I tend to decorate differently every year. Last year, as you can see in the image above, there were just the Christmas lights on it. This year, I decided to go a bit more blingy and added some big sparkly stars.


Best thing about the artificial garland: I can go on Christmas holiday on Wednesday and return the following week, not worrying about a heap of needles on the floor that needs brushing up upon return.
Hooray for plastic trees!


Best,

Sunday, December 18, 2011

Christmas Star XXL

If the title makes you expect to read about some X-Factor loony - either from this side of the Atlantic or the other - who is going to torture our ears endlessly with some tackily re-recorded and Cowell-ised, jingly-belled and synthesized crap, you can stop right here. This is about what you see in the picture below:


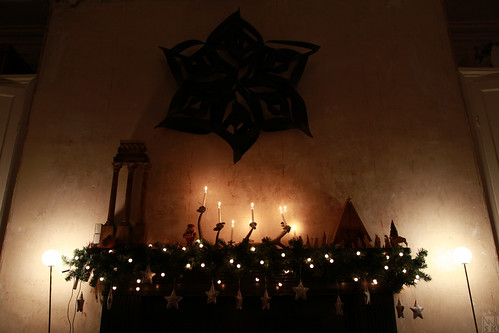
Christmas is now less than a week away. I bet everyone is done decorating. But in case you aren't, I intend to show you a few easy, quick and cost-efficient decorating ideas in the last few remaining days until the big one. The picture is my starting point for a few posts over the next week. Yes, I intend to post every day, now that I have been released from the prison called college. And contrary to what you might have assumed, I actually have had my sitting room decorated for weeks (I just have not had the time to show any of it). The picture above shows a few things I wanted to share via my blog. And let me start with my pride and joy, the wall deco.

Wall decorations have been very much in fashion for the last couple of years. And I am not talking paint effects or fancy, shiny wall papers here. Three-dimensional wall decorations are pretty in - from starburst mirrors to quilled flowers to Christmas baubles blue-tacked to the wall. With that in mind I resurrected my favourite Christmas project - and went XXL.

Previously the starting point of the Christmas star was a sheet of A4 paper from which I cut paper squares 21x21 cm size. This time I went double that - 40x40. And used slightly thicker matt black crafting paper that you can buy in A1 size sheets in craft shops. This makes you an XXL star about 120cm long when assembled. So you need a pretty large wall for that. If you want to know how to make a Christmas star, hop over to the original blog post which I wrote a hundred two and a half years ago.

The best thing about this wall deco: It is suitably Christmassy, yet I think it will still look well on the wall when I don't take it down in January. I intend to let this sit for a while. And I don't see why not... ;-)


Best,
Saturday, December 17, 2011

Kriskindle Has Been

The penultimate semester of college has been put to bed. And finally, after producing a 6.image-photo project, accompanying documentation, proposal and evaluation, plus getting ready for an official exhibition of the work, I am ready to enjoy Christmas 2011.
I have been longing to write some posts here, show what I have been up to in terms of Christmas decorating and crafting. There was just no time for that - between college, journalistic work and occasionally pretending to be on top of the housework, never mind spending time and looking after my children, all else fell by the wayside. Not anymore. Today I am back and I hope to get a couple of posts out before I set off to Djermaniiiiiiiiie for Christmas.

What better way to start off into Chrimbo mood than with a Kriskindle parcel that has been sitting on my kitchen dresser for a good few days now, waiting to be unwrapped. Do you know the Kriskindle idea? Essentially, in a group of people/family/club/school class you write all names on a piece of paper, put them in a hat and then everyone pulls a name out. This is the person you'll be giving a pressie to.

I had participated in one such scheme through my favourite internet forum, a women's forum called "Weibernest". Most of the members are based in Germany, but a few of us live all over Europe, and so I received a parcel from Slovakia. Inside were some yummy Christmas cookies (a typical German thing, culinary Christmas with a least five different types of homebaked cookies a must!!!), a hiking guide to the Tatra mountains (undoubtedly to lure me over there ;-)) and two sheets of original and therefore wonderfully retro stickers of old East German production. (I could tell because the price printed on the back was still for "0.30 Mark" - that is two currencies away from the Euro and was the currency preceding German unification in 1990!!)


Great. Now we can get down to proper Christmas. I shall show some stuff that I have done this year and hope anyone will see it.


Best,