If you are following the blog regularly, then you will know that I was quite excited to submit a donation to the Craft Hope for Haiti-initiative. And you may remember that I was thrilled my donated flower corsage got sold very quickly. I have now received the details of the buyer and the corsage is ready to be shipped on Monday. Lying in bed this morning, I was wondering how I could ship it without it getting squashed and damaged. And then I had the Eureka moment - why not fold the Origami box that my mum always makes as her little party piece?

Update: I have been persuaded to upload a video tutorial for this origami box, as well. So here comes the fuzzy clip - apologies for quality. But you will get the general drift of the project.
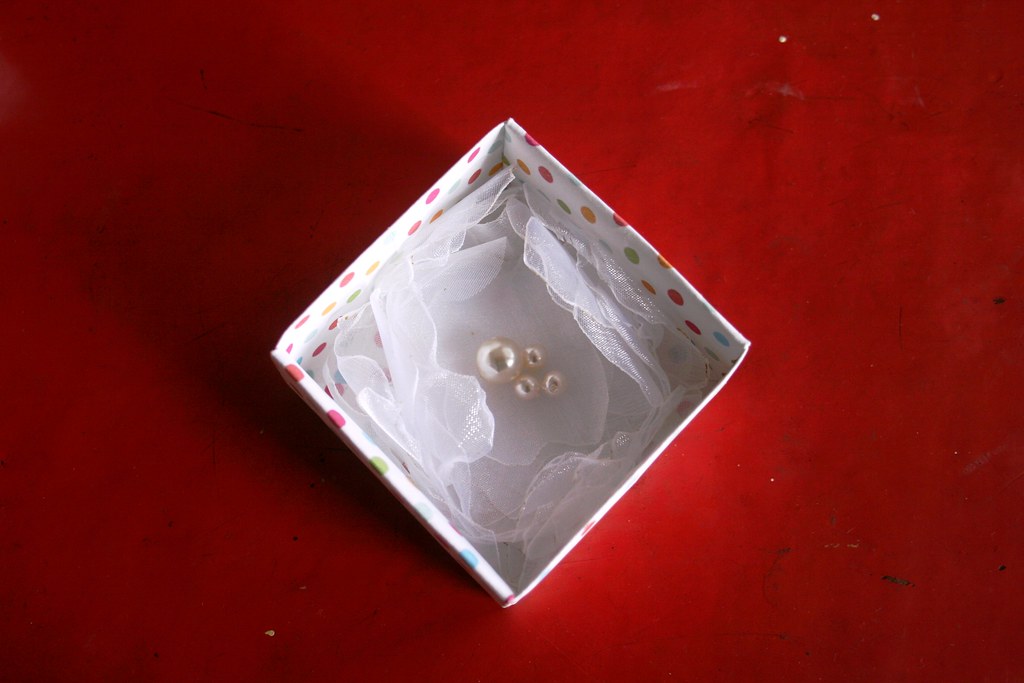
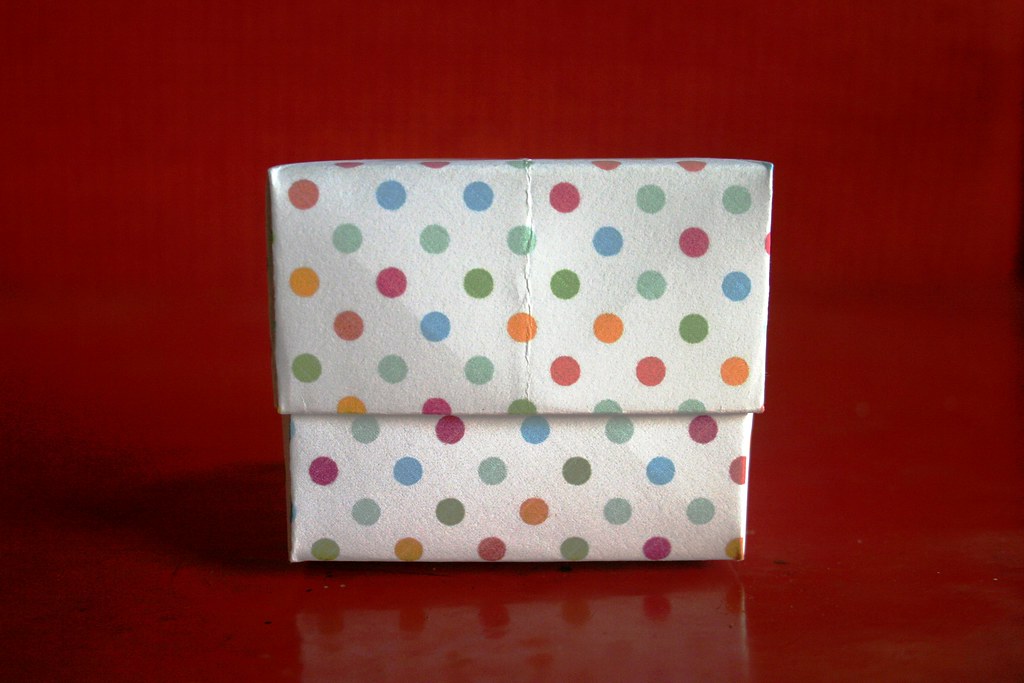
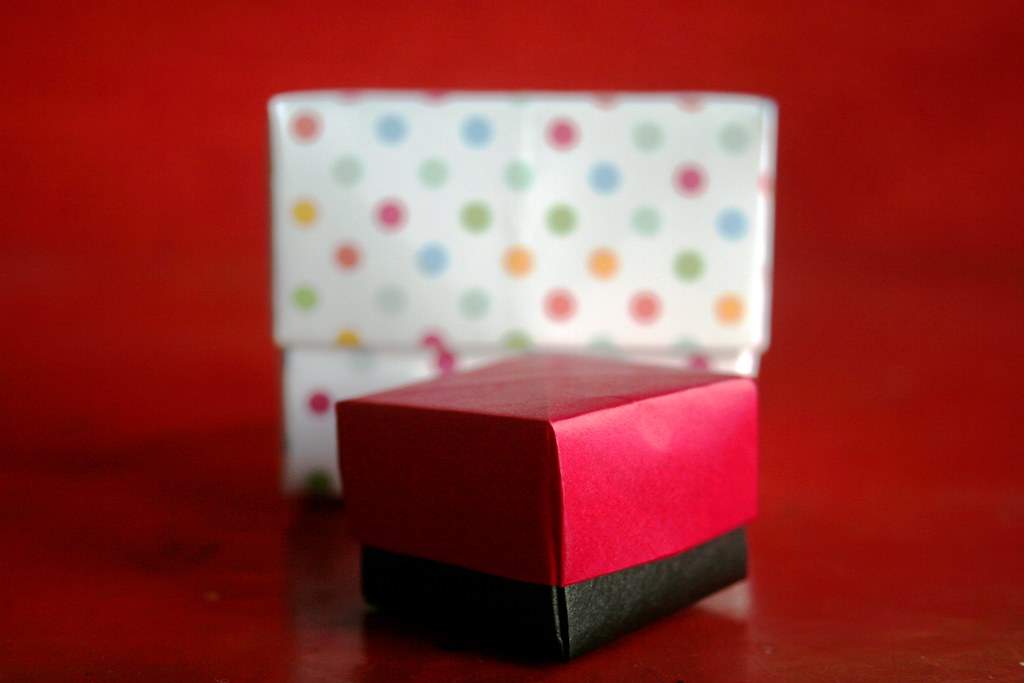
My box was made from a square piece of paper that was 21x21cm (roughly 8.5x8.5 inches). The resulting box is 7x7cm in size (2.75x2.75 inches). If you want a matching lid for your box, just make your square paper a little bit smaller - maybe cut off half a centimetre on the two sides. Then the two boxes will neatly slide into each other. So here it is - isn't the corsage nicely packaged?

This is a cheap and cheerful way of packaging little gifts. Fill it with M&Ms for Valentine's Day. Or if you are an Etsy seller, here is a cute box for protecting your precious handmade items when you are shipping to someone. It doesn't cost anything or take long, but cute packaging makes such a difference for your buyer. Just imagine how pleased they will be when they open their delivery and find this...
Best,

No comments:
Post a Comment