FYI


Tuesday, December 1, 2009

Advent Wreath

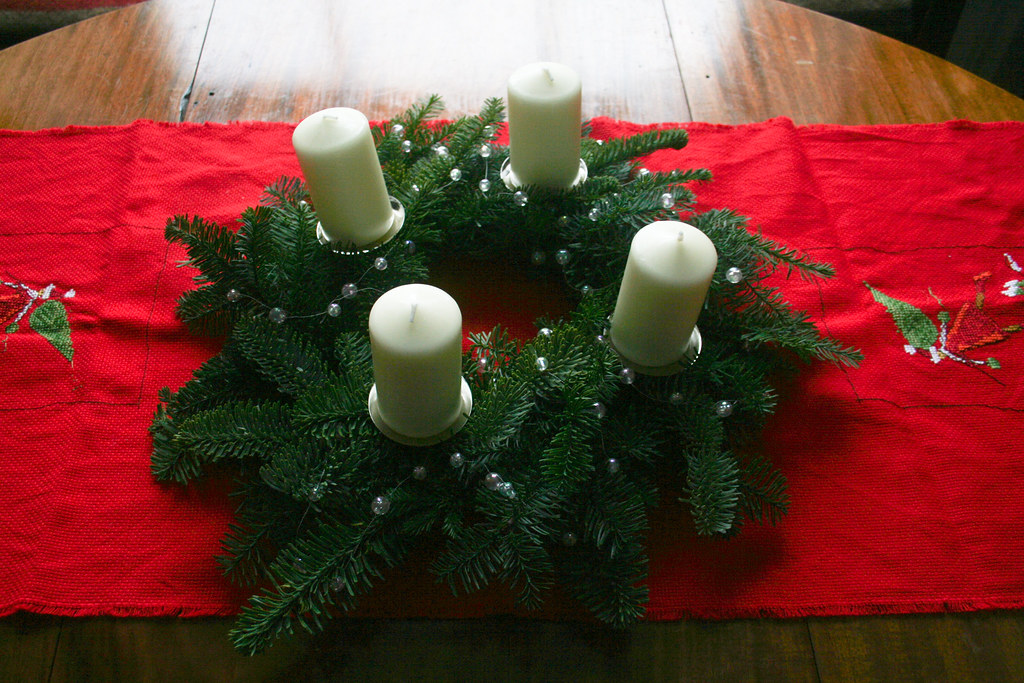
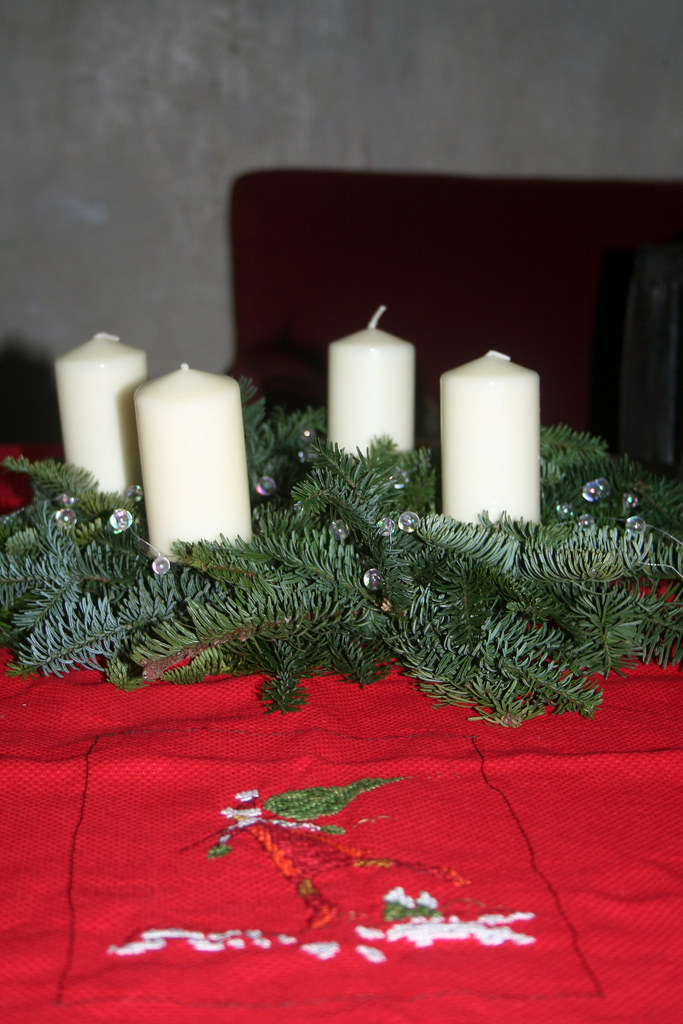
A bit late for the first of Advent, I admit. But let me still show you what this year's advent wreath looks like in the Royal Household:


It's all very simple, not much decor. Because I believe that the warm candle glow and the beautiful fir are pretty just by themselves. Add too much to that and you risk the Tack Factor...

So my wreath - homemade, by the way, on a wire circle, with little bundles of fir and fastened on with green gardening string - is decorated with a few white beads on a silver wire. The four candles - one for each of the four Sundays before Christmas - sit on silver candle plates which have a spike underneath for poking into the wreath. That's all there is - and it is quite enough, I think.


I would love to see my subjects' readers' creations... Drop me a comment with a link to your pics!

Monday, November 30, 2009

Another Quick and Easy Adventcalendar

It's still time to make an advent calendar! Here is a quick and easy idea. 


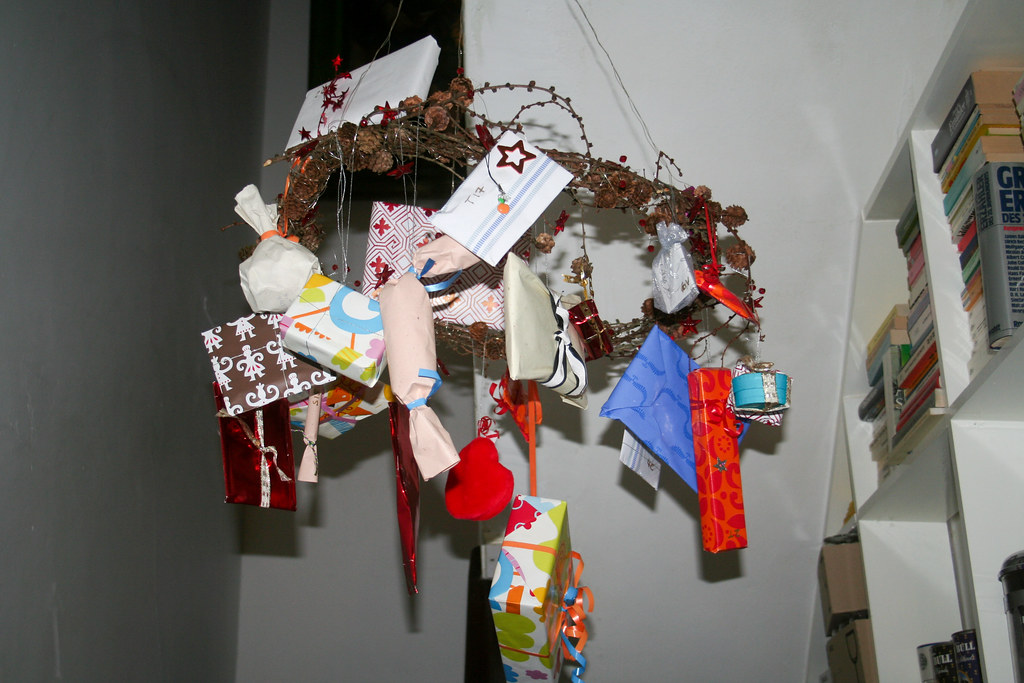
I have the best friends in the world! Knowing that I love Christmas and all the customs that go with it, my friend Dani surprised me with an advent calendar. When she visited in November, she left a box with 24 individually wrapped and labelled Advent treats for me and my family. What a great way of making a present last longer than the initial surprise!!!

Yesterday I decided to display her advent pressies. Among my Christmas deco stuff I had a large-ish wreath which I had made from larch twigs, with the larch cones still attached. I simply took a few bundles of twigs and fastened them together with silver wire and then bent it into a circle. With some silver thread I hung the presents from the wreath. It now hangs in our staircase, accessible for all of us.  


Can't wait to open my first treat!!! Thank you, Dani!

Sunday, November 29, 2009

Pssssssssst - Adventcalendar

Shsh, I have to whisper. My kids are following on this blog, too, and want to see all recent updates, so I can't speak right now. But we can't start December in a couple of days without talking about Adventcalendars. If you haven't started making one already, then it is high time you do. As I am not only the Queen of Crafts, but also the Queen of Last Minute Impro, I have a couple of tipps up my sleeve.

Well, maybe you are not as ridiculously ambitious as me, though. I grew up as a spoilt only child and my mother used to design a new advent calendar for me every year. Somehow all that care and attention has always stuck with me. And being a mother now myself, I can finally appreciate the time and effort that went into making all those beautiful Christmas memories. - So I resolved very early on that I would do the same for my children. A new advent calendar every year. *sigh* Or rather two, as there are two children...

As I said at the beginning - I can't give away this year's creations. But I can show you what I did last year. Despite having thought about the project from very early on, it was another last minute product.


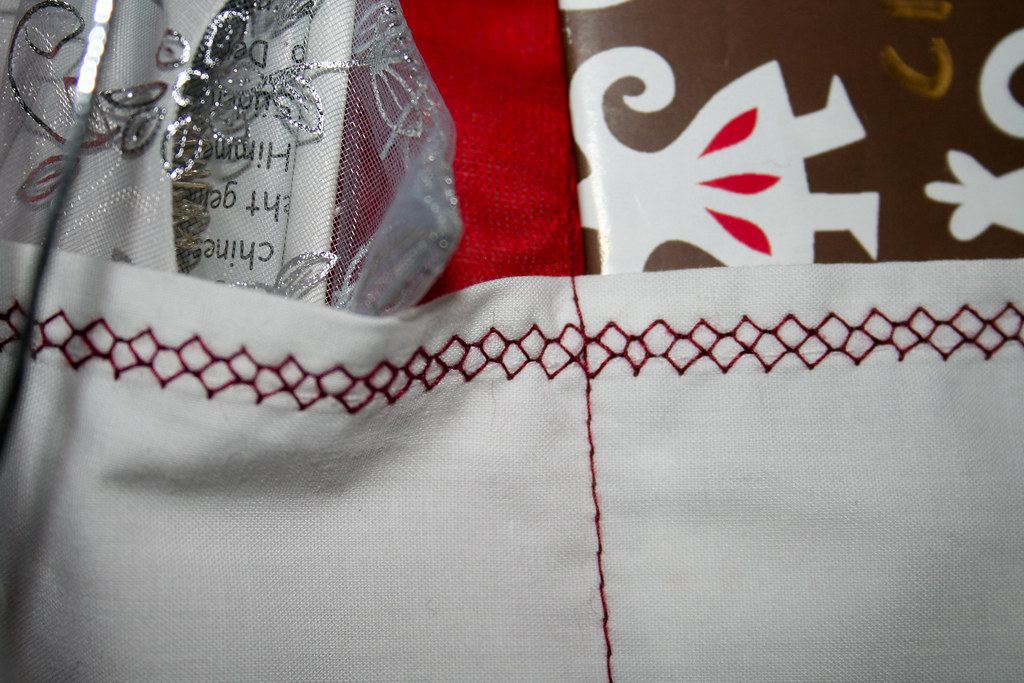
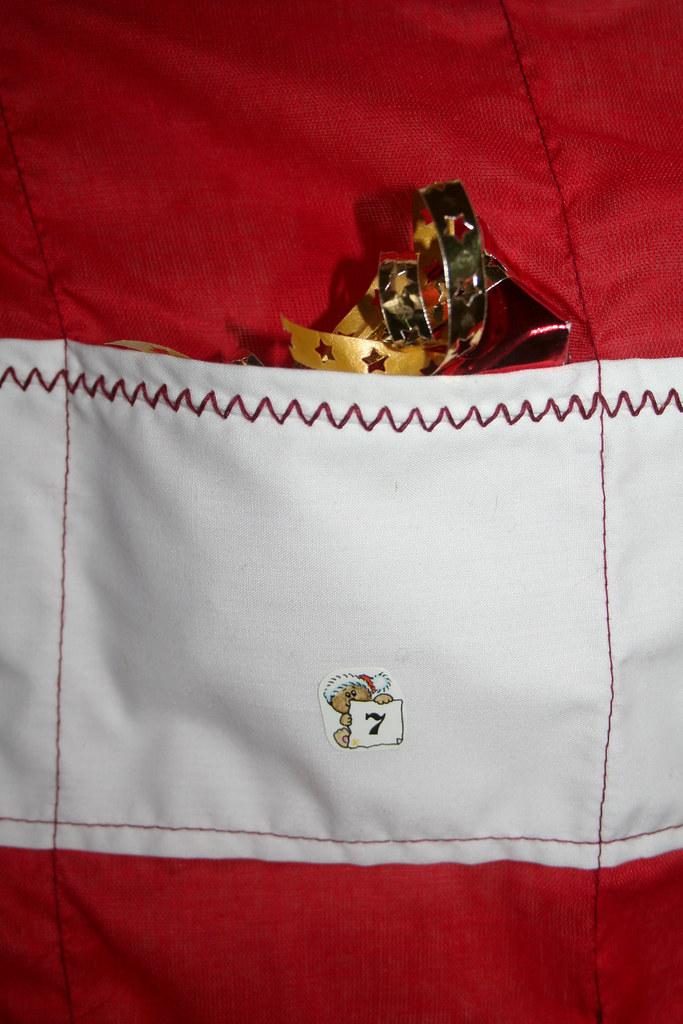
Looking back I always wonder how I manage to get it looking alright despite the time constraints etc. But it really was pretty easy. This advent calendar was made from a ready-made Ikea curtain. Wilma already came with tabs to hang it up from. I cut the curtain to the needed size of the advent calendar, hemming in the side and bottom, but leaving the tabs at the top. In order to make pockets, I took some white fabric, cut it into strips and hemmed the strips of fabric. I used a decorative stitch on my sewing machine and contrasty red thread.


Then I simply sewed the bottoms of the strips onto the curtain. After that I sewed straight lines down from top to bottom of the curtain to create individual pockets. And then I filled the pockets with treats and stuck little number-stickers onto the pockets.


This advent calendar can be used again and again. You can hang it from a couple of nails against the wall or thread a branch of wood through the tabs. That would make it stretch nicely and avoid sagging.

My Market Day

Sooo. The market in Avoca was on yesterday and I was there. A great experience - alas not much custom. These recessionary times... *sighs*

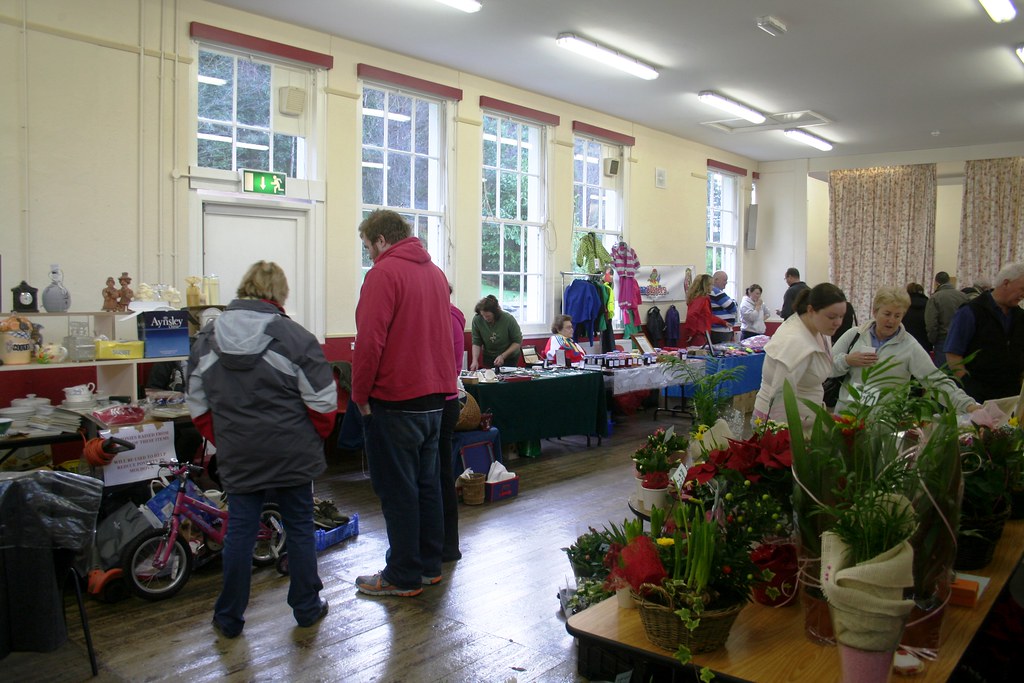
No, seriously. I had a great time today. The market was on between 12 and 4 pm and I managed to arrive and set up all exactly in time. Here is a view of the little community hall where the market took place.


Unfortunately that is as busy as it got! There were only 8 stalls (including me), selling jams and juices, baked goods, children's raingear, bric-a-brac, jewellery, toys and plants. A café at one end of the hall offered tea and coffee plus homebaked cakes, and there was a puppet show and face painting for the kids. Oh, and Christy Moore on an endless loop on the stereo *eeek*.


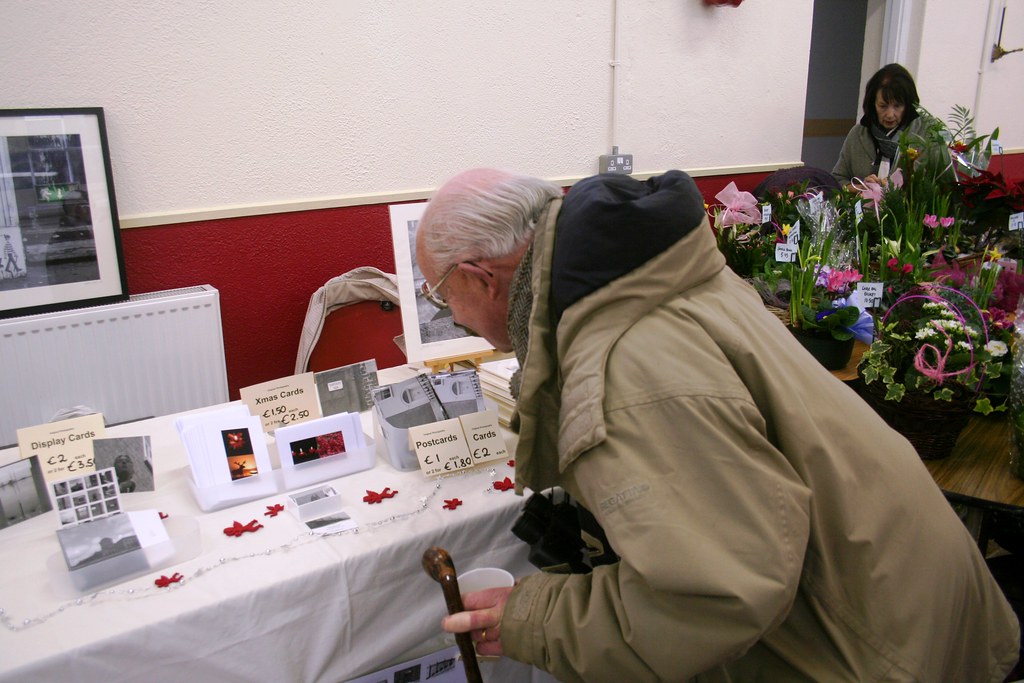
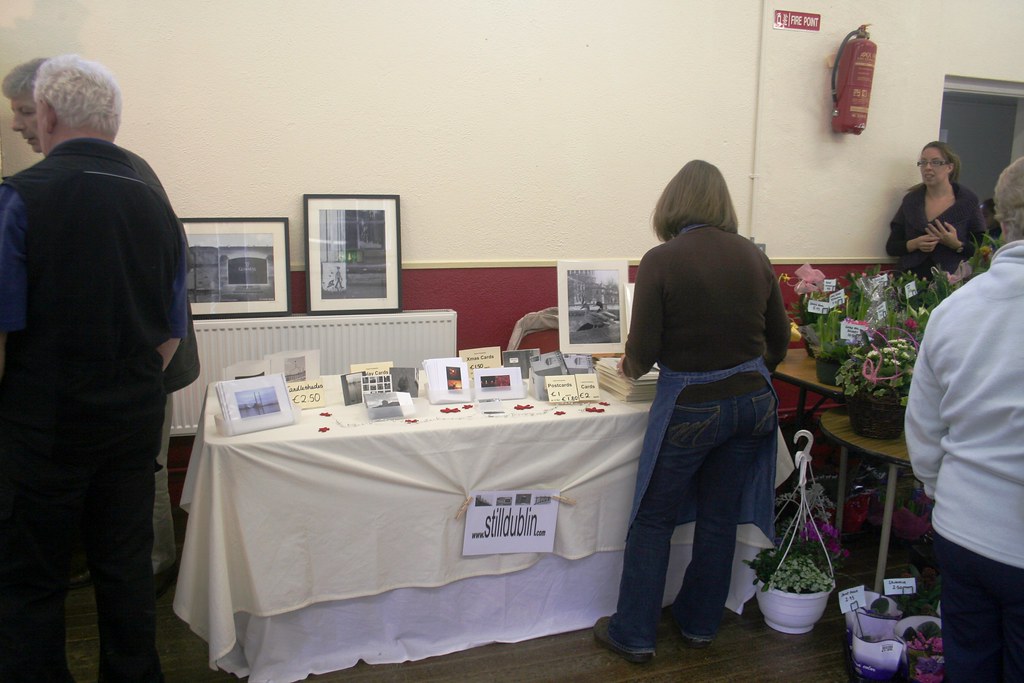
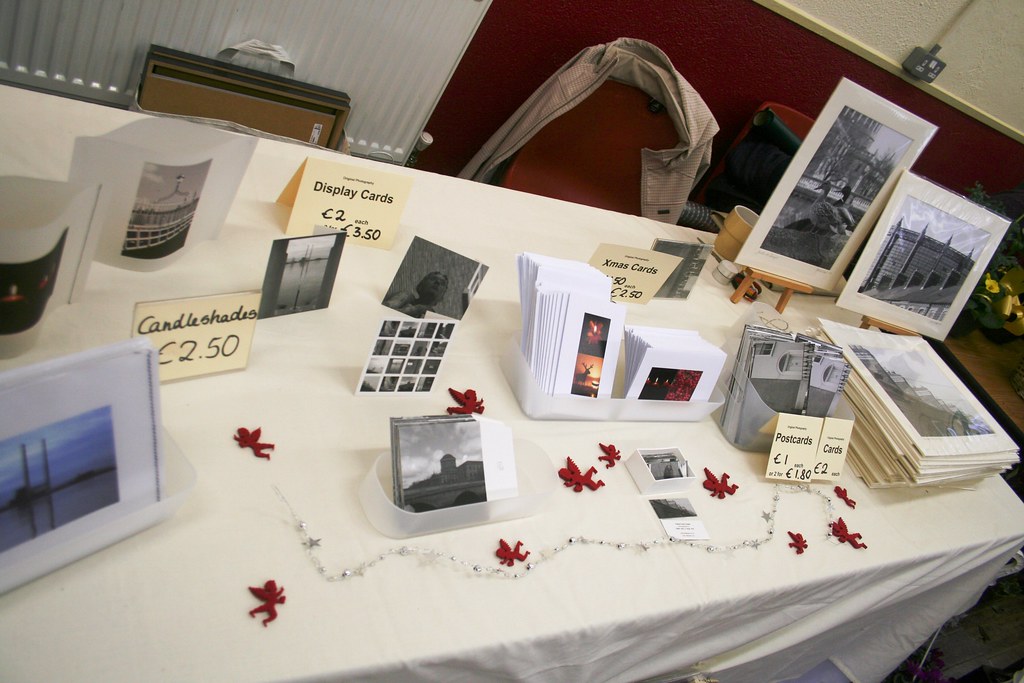
Here is my stall - I had brought along a selection of my photo products and some mounted prints for sale. My Christmas cards and the candleshades were most popular. But nonetheless sales were slow - for all sellers. Well, at least I made 
back what I had to pay as a stall fee. Plus I had some really nice conversations with visitors. So it was a lovely afternoon and I will go back when they start up again at the end of February. 


Saturday, November 28, 2009

Decorating a Chandelier in Christmas Style

When we moved into our present house, I finally had a kitchen that I could decorate the way I wanted. And what I wanted was a chandelier with candles over our kitchen table. What I eventually bought has turned out as one of the luckiest finds - and bargains - ever! On one of my trips back to Germany I found a chandelier in Ikea which was just being discontinued and therefore was reduced in price. It was pre-Euro times, so I paid 20 Deutschmarks, which roughly translates into € 10,00. A total scoop!

Unfortunately I do not know the Ikea-name of the chandelier. It is made from galvanized steel and is a three-tiered chandelier with 6 candles on the bottom tier and 3 on the middle. It is a beautiful focal point in my kitchen and gets decorated according to the season.


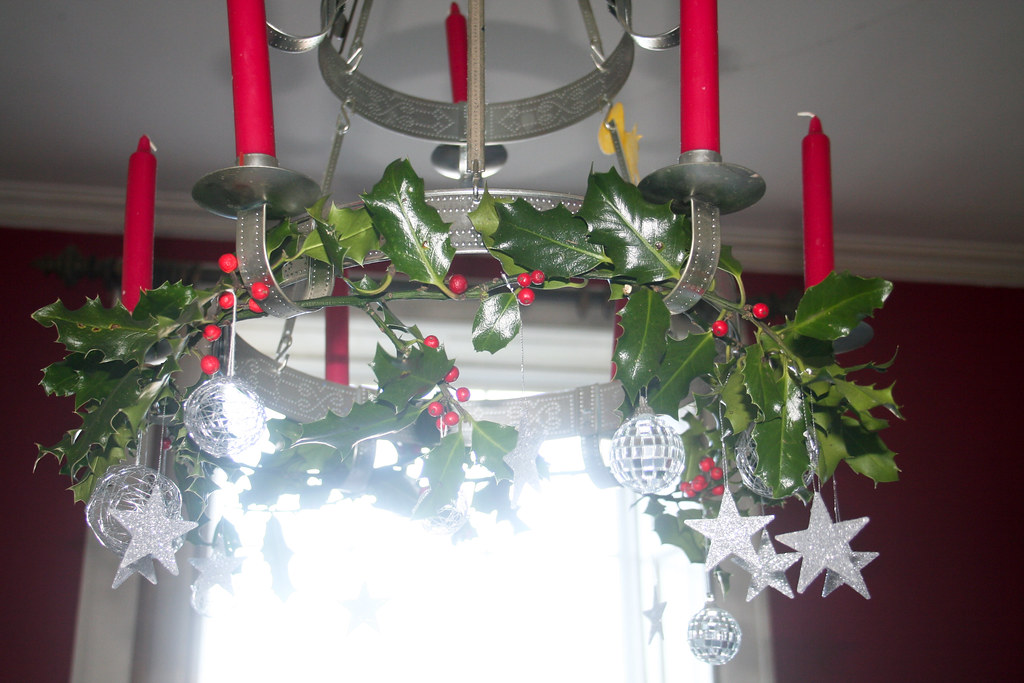
 Please excuse the overexposed window - I was experimenting with fill flash for this pic. But you can see the two lower tiers in the image.

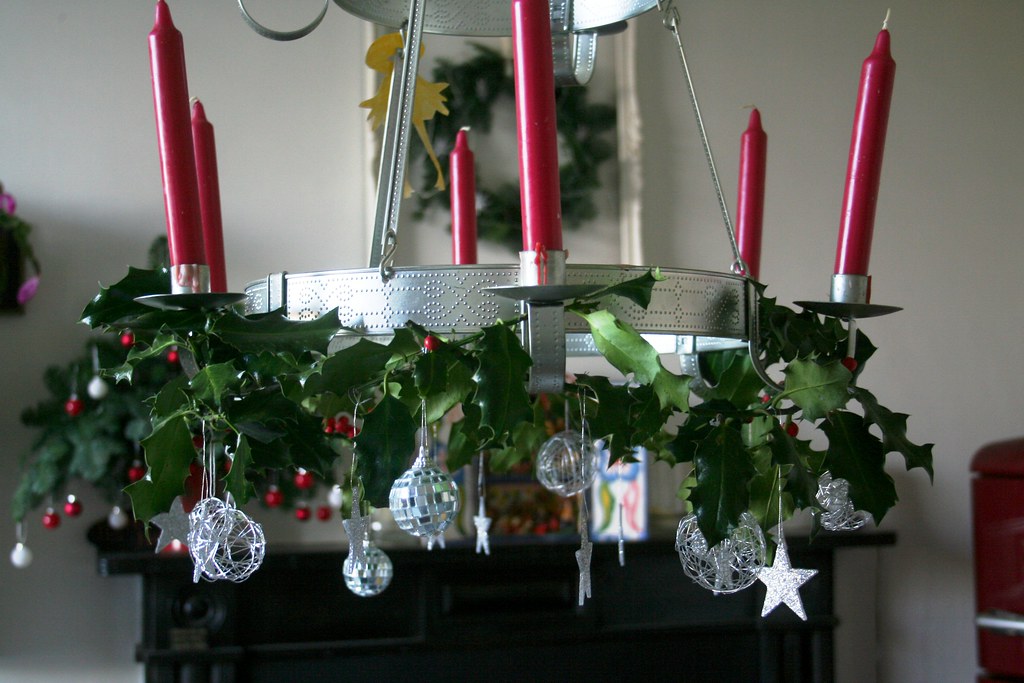
This year I went out into the park and got some holly - with red berries still attached. I wrought the holly around the bottom tier, simply resting it on the candle holders. And then I hung Christmas decorations from the leaves. I tend to decorate differently every year, so this year it is all silver with disco ball-baubles, sparkly stars and wire baubles.


 Decorating is so easy - it doesn't have to involve lots of crafts and nimble fingers. Just sticking a few twigs of holly and fir here and there is enough, the Christmas-tree decorations will do the rest. Here is an image of my kitchen - and the chandelier - in full swing, eh, full shining, Christmassy glory from last Christmas: 


Friday, November 27, 2009

Excited - I am selling at Avoca Market tomorrow!!!

Just a quick post to apologize for not having blogged in a couple of days. The reason being that I am going to sell at Avoca Market tomorrow. No link, unfortunately, but Avoca Market is a lovely little country market just outside Dublin in the Wicklow Mountains. It takes place on the last Saturday every month and has been going only since the beginning of this summer.

Myself and my friend M___ are going to (try and) sell some of our photography products there. We have plenty of original b/w photographs on offer (check a selection on our website Still Dublin ), cards, postcards, notecards and - as the season demands - some Christmas cards.

I have also sat down and made lots of my candleshades which I showed you here. Hopefully these beauties will come as a nice Christmas pressie for someone...


The boxes are packed and we are ready to go. I will take some pictures tomorrow and show you how we got on.

Tuesday, November 24, 2009

Easy Decoration with an Empty Frame


By now you have seen two posts in which I used an empty frame to display my crafty projects in my kitchen. Autumn Decoration 2009 and Bring it on! Christmas Decorating has started. So here is a little eulogy on frames. I simply love them. And they are great for decorating, empty or filled with artwork, craftwork or beautiful items that need displaying.


My frilly frame came from a lot that a friend had bought at auction. This one was in particularly bad shape, some of the frilly bits broken off, the golden paint chipped off in parts. He was going to throw it out. I intervened and he gave it to me. I painted it white and the broken off bits are not noticable at all.


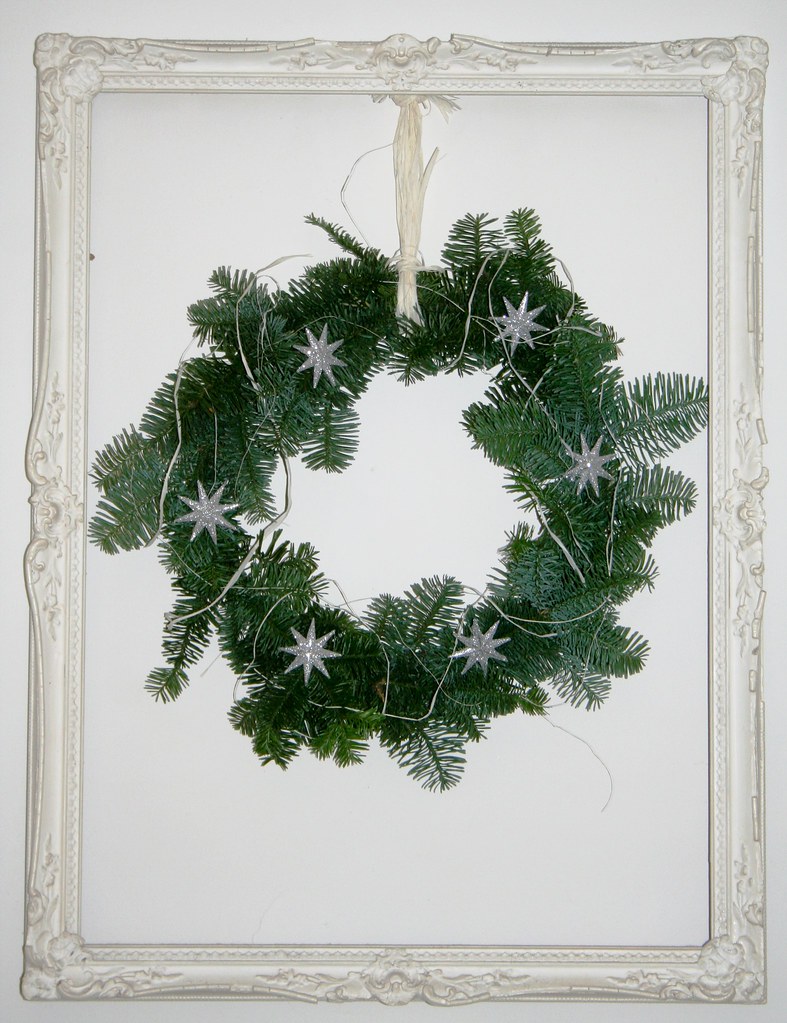
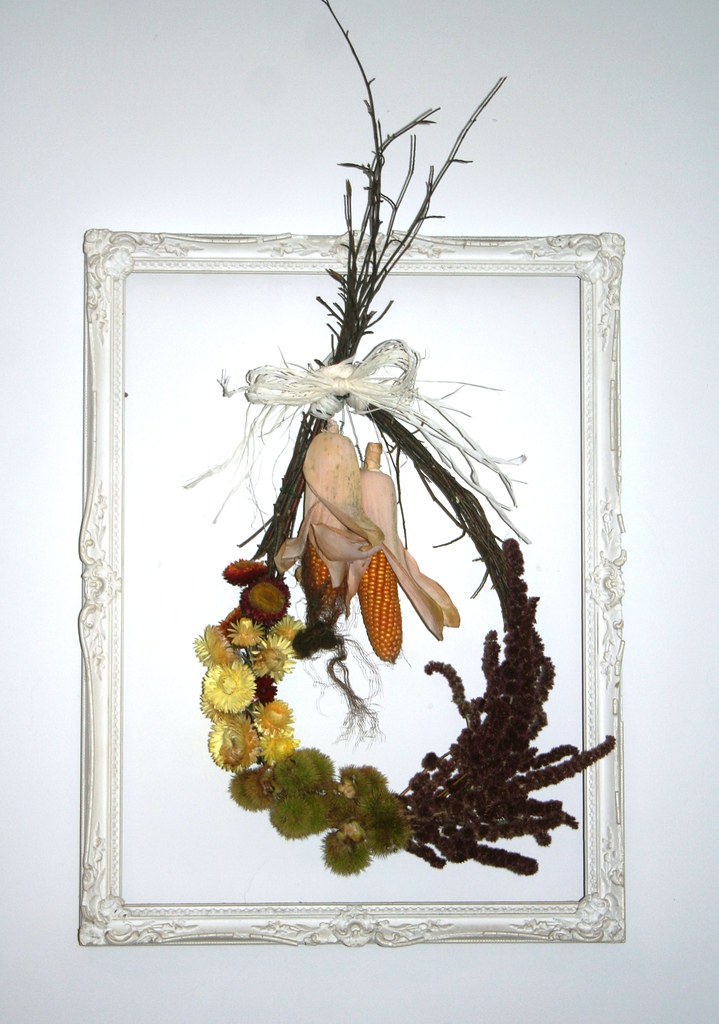
As there is was nail above the kitchen fireplace, I initially stuck it there without knowing what I really wanted to do with it. And then it became (almost) the most versatile display area in the house. Occasionally my kids' artwork gets displayed in there (just fixed against the wall with blutack), this autumn I hung an arrangement of dried flowers in it. And now it houses the Christmas wreath I made yesterday.


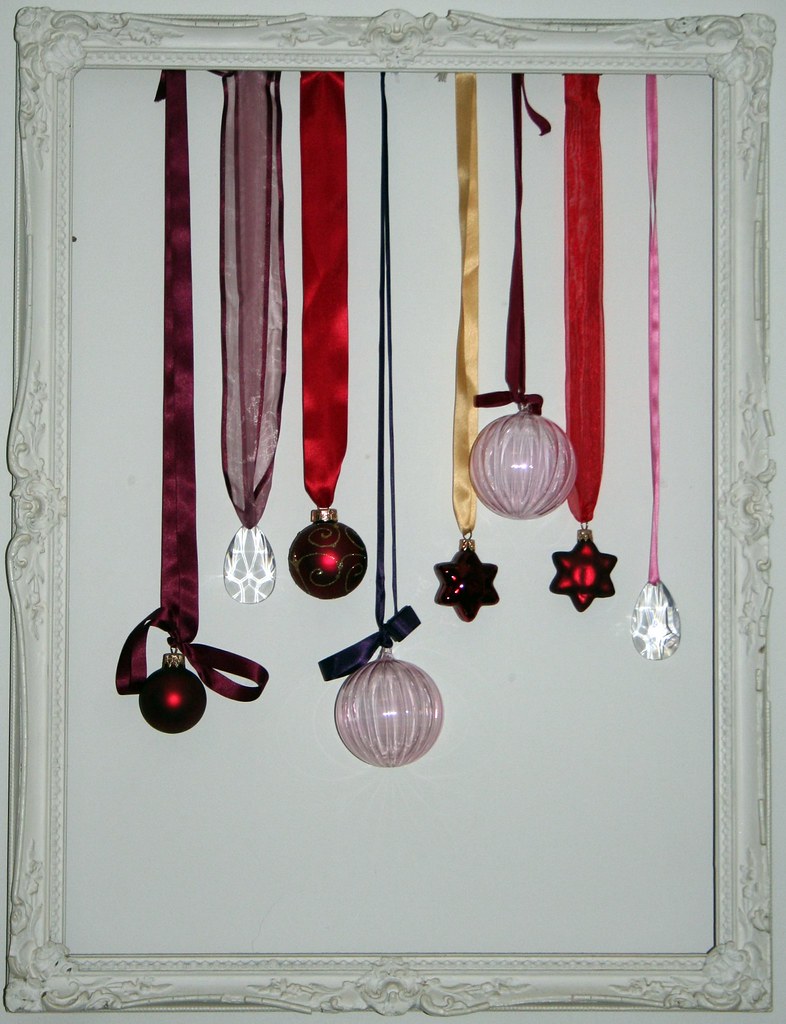
For an even easier and pretty instant deco idea, why don't you try something that I have had in the kitchen the last few Christmasses:


I simply threaded some nice baubles and decorations onto different colour ribbon. Laying the frame on the table, I adjusted the lengths of the ribbons and then stuck them into the frame with thumbtacks. No fuss, no cost - always attracts comments!

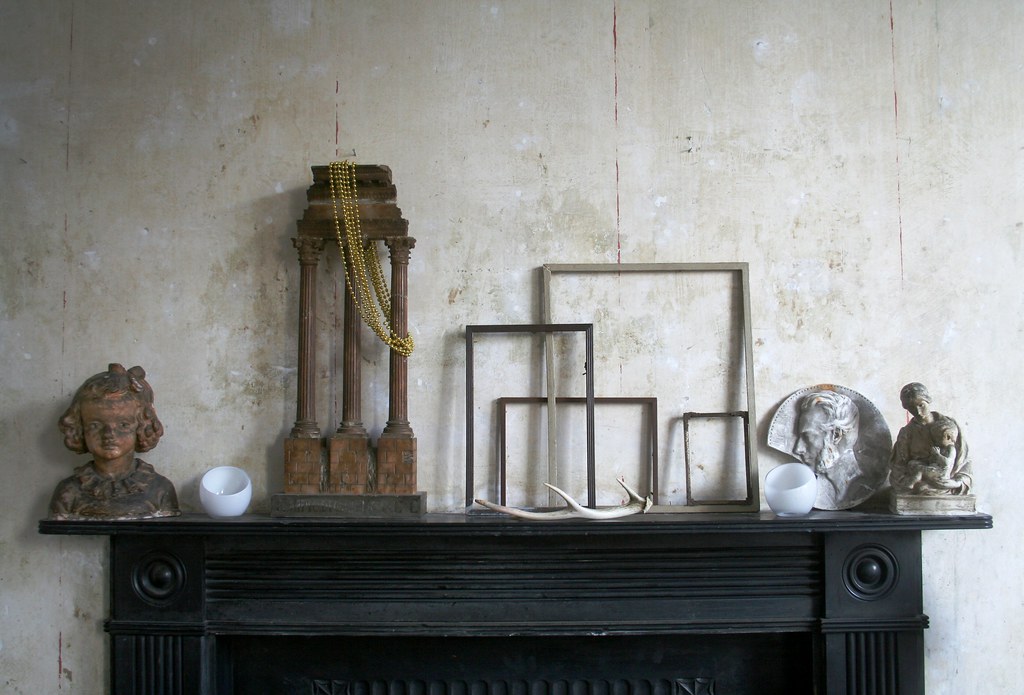
The drawing room mantle is not yet decorated for Christmas, but there is also a collection of empty frames on it. What do you think of this:


Monday, November 23, 2009

Bring it on! Christmas decorating has started!

A big yuletide yay from the Queen of Crafts - finally my favourite decorating season of the year has started. In fact - as you faithful readers know - I couldn't wait for it to get started. Traditionally, however, in Germany one doesn't start decorating for Christmas until after "Totensonntag". That is the last Sunday before Advent and is a general Protestant day for remembering the dead. So, today was the start of my Christmas deco dream.


I was very lucky that my friend Judith of Judith's Wild Flowers gave me a few branches of the most beautiful fir. I was able to fill a very large vase in my drawing room and a smaller one in the kitchen with it. And then there were still smaller branches left. So I decided to use those up, as well, and make a wreath. It is not as full as a shop-bought wreath, but even though that was for want of more branches, it turned out advantageous - if your wreath is intended for hanging on a wall, then you don't need a particularly bushy circle of fir. It will sit nicely against the wall instead. However, for a advent wreath that is decorated with candles and sits on the table you will need a nice,thick and bushy wreath.


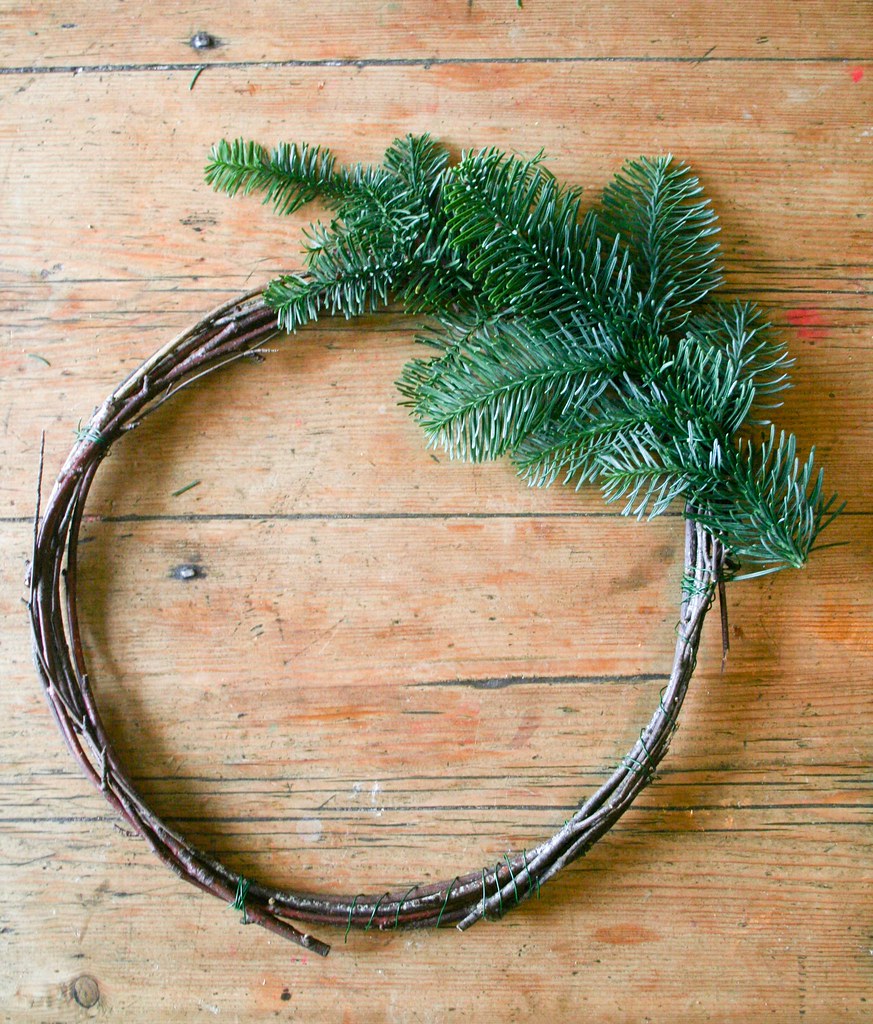
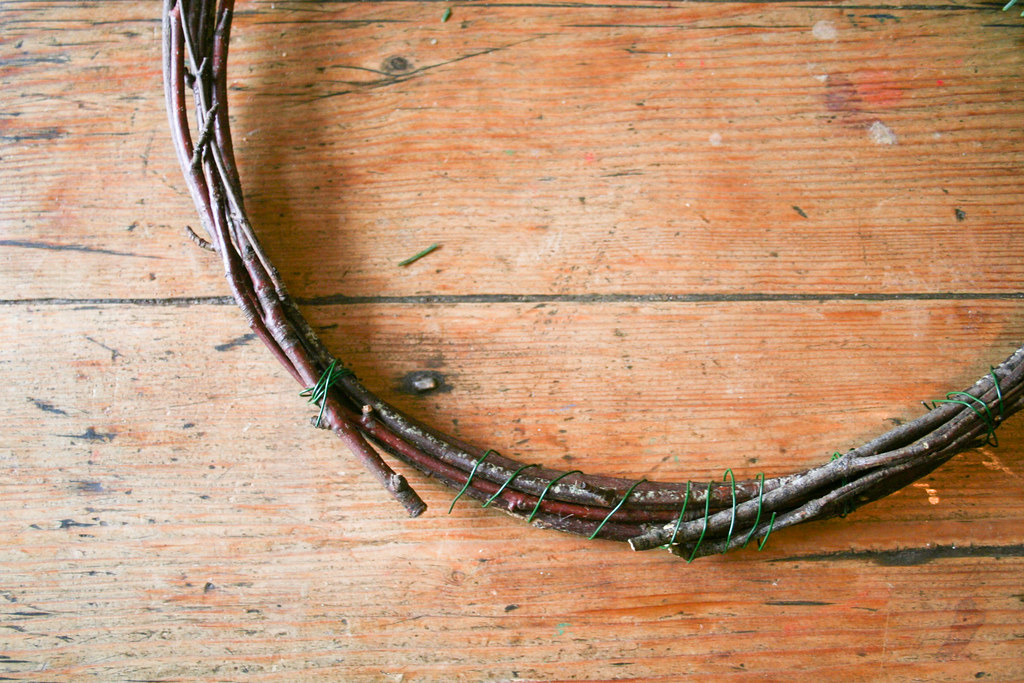
The whole project actually turned out to be a recycling exercise. I had recently taken down my autumn arrangement (here is the blog post about that) and ripped it apart. I kept the tear-shaped twig base because I wanted to experiment with it. A Christmas wreath seemed to be a good idea. So I basically forced the twigs into a round shape and secured it with gardening twine.


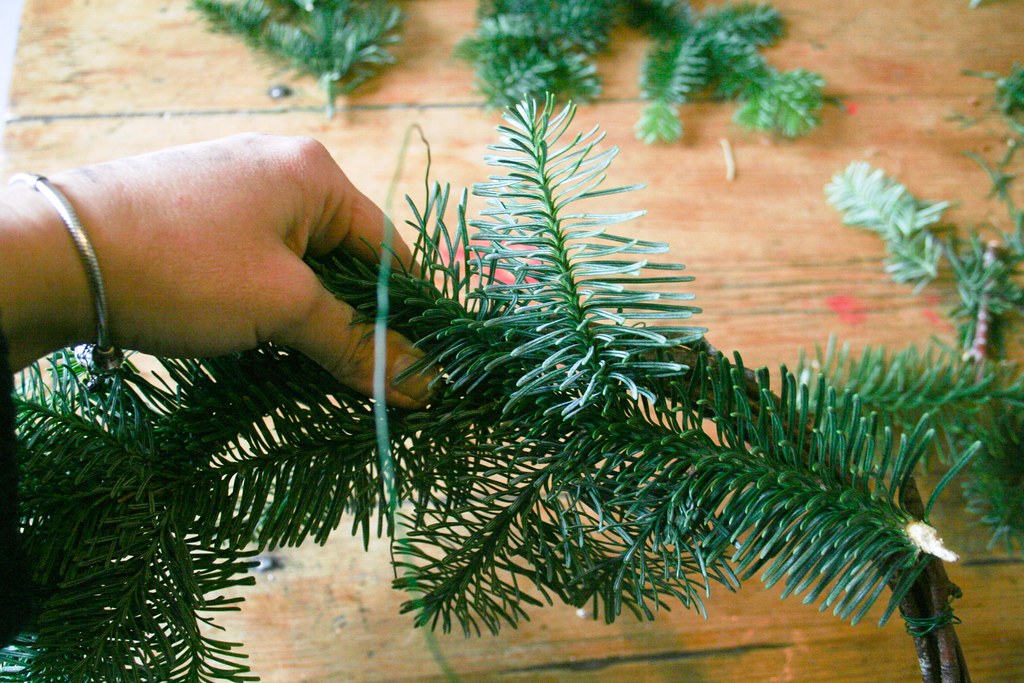
Then I took my branches and layed them out to check if I had enough to cover the base. Yes. Next I simply held a branch on the twig base and secured it with twine - but only at the end; leave the nice top bits sticking out freely You'll see later why.

I took the next handful of small branches, and carefully overlapping them with the bit where I fastened the first bit of fir, secured the next one on. Keep working round the base in that fashion until you come to the end where you need to push the last bit of fir underneath the first branch. That way you conceal all the twine with which you have fastened the fir on the base.


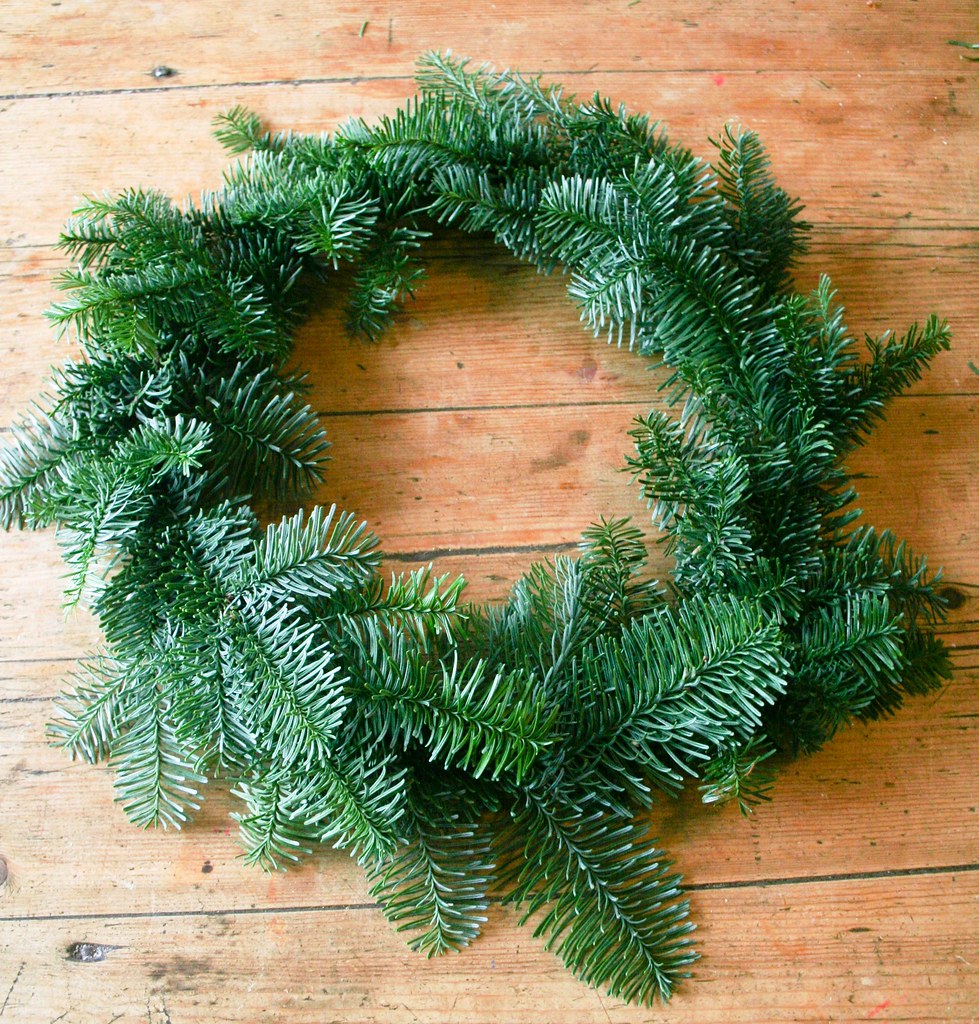
Here is the "raw" wreath - quite flat, but as I said: Up on the wall noone will notice. The back of it is not much to look at - but it shows you how I fastened all the bits to it.


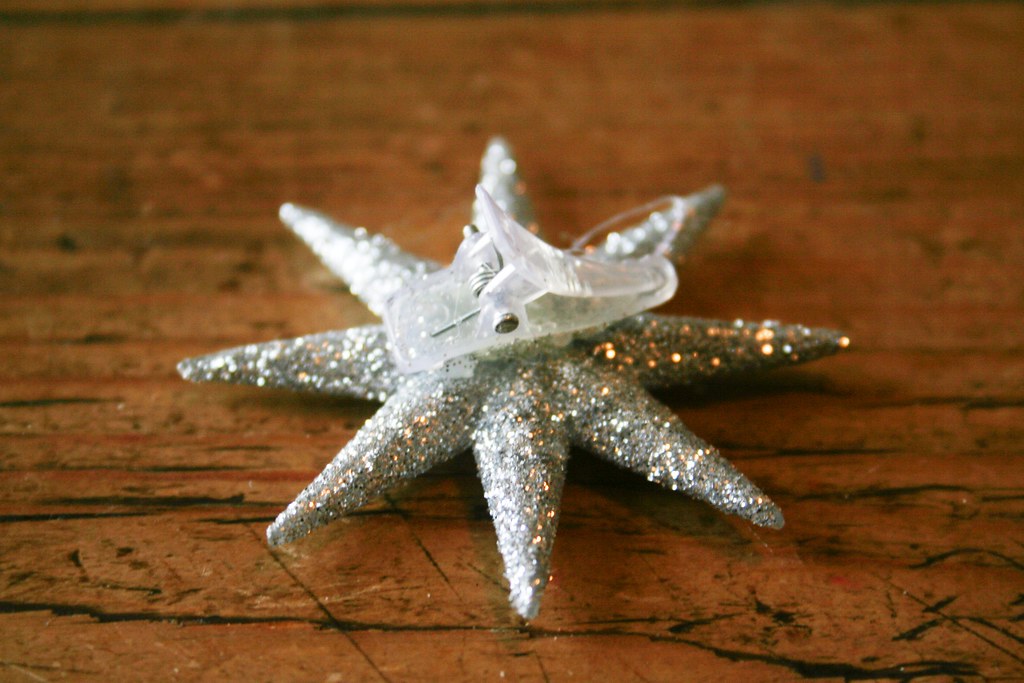
Now for the fun part - the decorating. There is already a lot of red in my kitchen, so I decided to go for little colour and just use silver decoration. Improvisation usually produces the best results for me, and when I could not fit a short silver garland of beads and stars around the wreath, I remembered the sparkly stars which I had bought last January in the after-Christmas sales. Easy-peasy decorating! The stars actually are clip-ons, so I just bunged them on the fir and - bang - that was it.


I recycled the white raffia with which I had hung the autumn decoration and simply knotted it onto the wreath. As an afterthought I took some of the thinner raffia strands and wove them around the wreath, too.


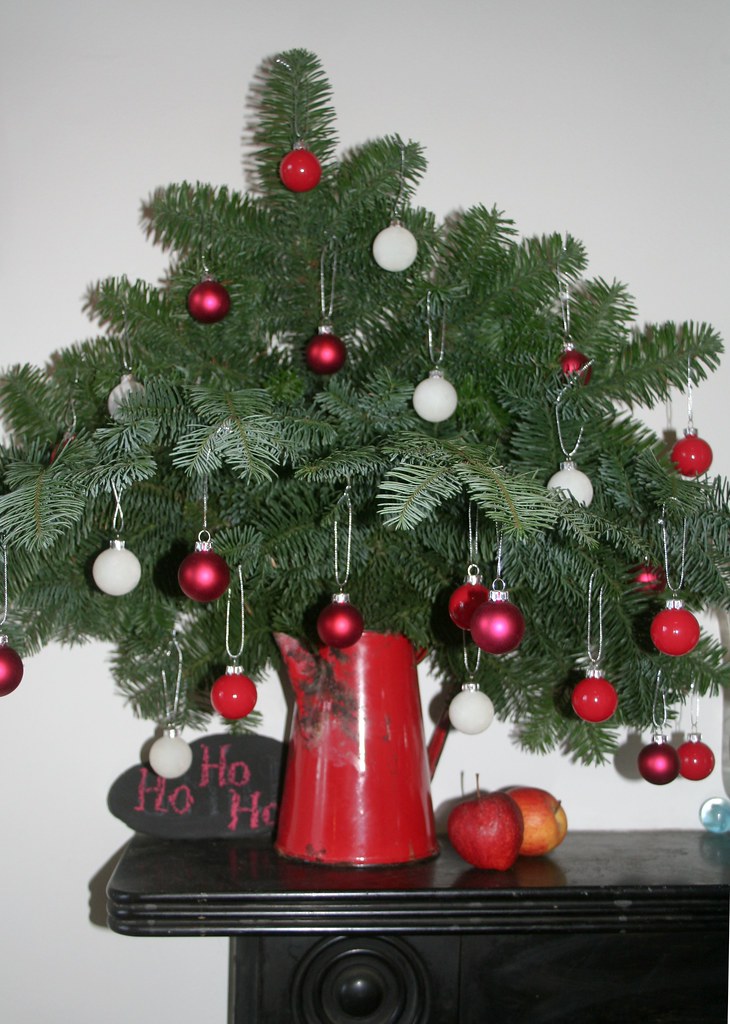
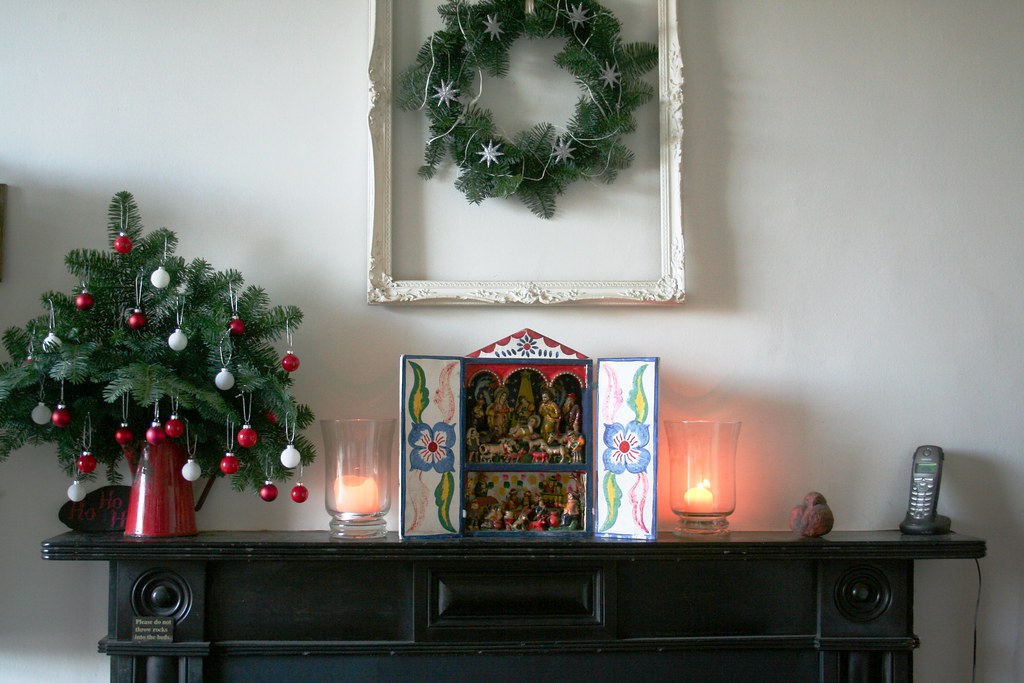
So here is my kitchen mantlepiece and wreath. Ho Ho Ho!


Friday, November 20, 2009

How about a little Advent Craft Session?

Hey girls (and boys ;-) ) - weekend after this one is the beginning of advent, the official start of the Christmas season. You are possibly already in the middle of making decorations and presents for Christmas. How about calling your friends together for a Christmassy crafting session?

That is what I am doing. I have invited my crafty friends over for a mulled-wine-and-crafting-afternoon on the second of Advent. Crafters are invited to bring their projects and materials, non-crafters are welcome to provide entertainment. We will sit at my large kitchen table, munching traditional German Christmas biscuits, drinking mulled wine and crafting away. Well, the latter depending on the amount of alcohol being consumed *hehe*.

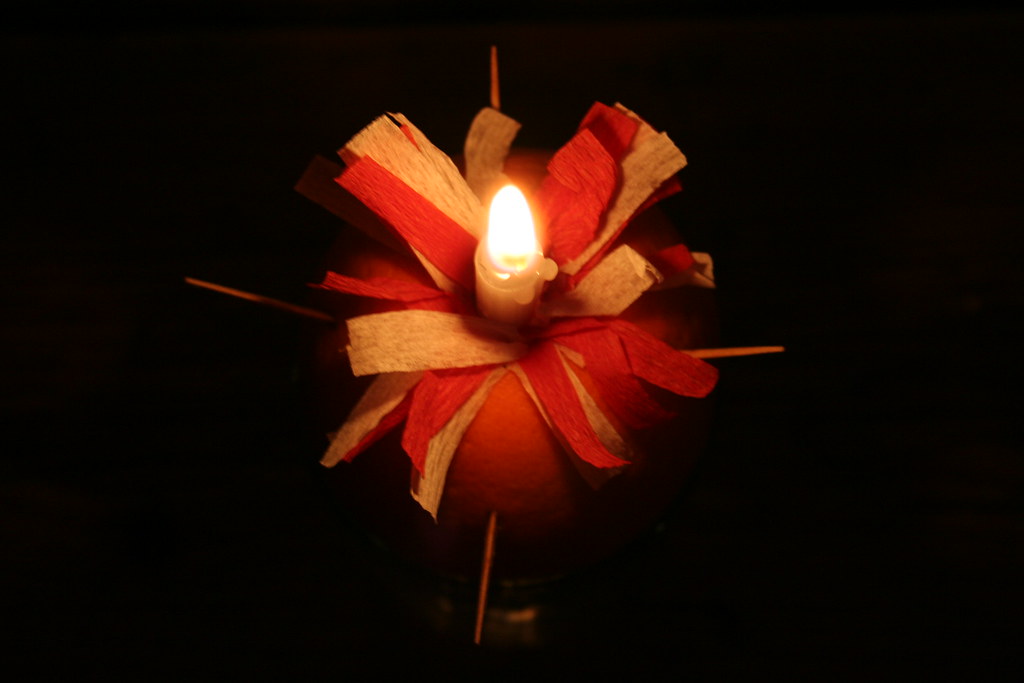
For those who are trying to opt out of the crafting - why don't you give them a little project with bits and pieces that are available in most (crafty) households around Christmas time, anyway? It is actually a very easy project that even children can do: The Zinzendorf candle.


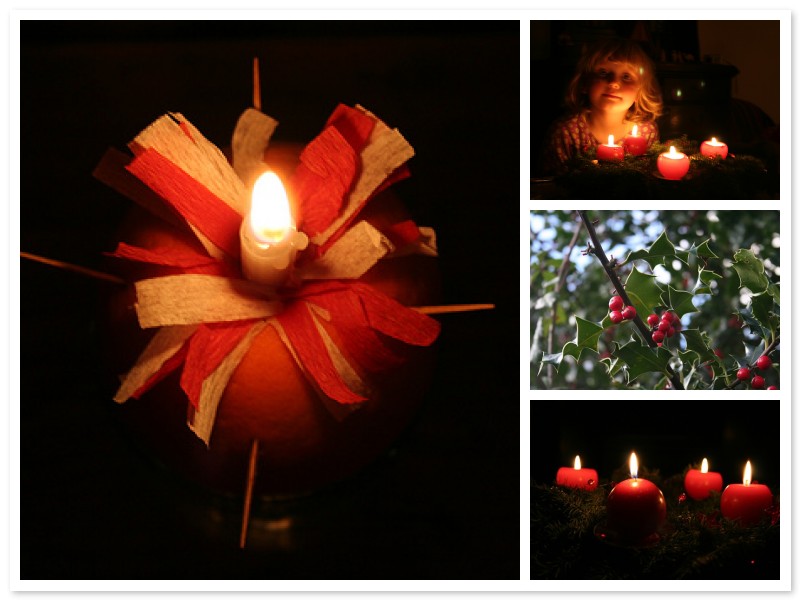
You need oranges, wooden toothpicks, raisins, white and red tissue paper and a candle. First take off the green bit at the top of the orange and make a hole that you can later fit the candle in. Stick a raisin each on four toothpicks. Then stick the toothpicks into the orange so one toothpick points east, one west, south and north. Cut the tissue paper in thin strips, about 1 cm wide and 3 cm long. Push them into the hole and then put the candle on top of that.

At Christmas time some Germans decorate their house with this candle that I call the Zinzendorf Candle. There is a lovely story which goes with this candle.

In the first half of the 18th century some Protestant Moravians were forced to leave their homes because of their religious beliefs. Some of them made their way to the Oberlausitz, an area which is now in the East of Germany, bordering onto today's Poland. They were welcomed by Count Nicolaus von Zinzendorf, who shared their religious beliefs and put them up on his property, giving them food and shelter. - It was coming up to Christmas time and among the refugees were many children who were looking forward to a very bleak Christmas. Graf von Zinzendorf, however, surprised them on Christmas Eve with an orange - quite a generous present in a time when there were only coaches travelling between Eastern Europe and the sunny Mediterrenean where the oranges grew. The orange was to symbolize the earth. Then he stuck a candle and 4 toothpicks into the orange. The candle was given red and white paper decoration and each of the toothpicks had a raisin stuck on it. The candle is meant to represent Christ - the light that shines on earth. The 4 toothpicks represent the 4 corners of the world. The paper decorations is the blood and body of Christ and the raisins are all living things.


Even if you are not a believer, the candle is a nice decoration at this time of year. And the story is heartwarming, too...

Wednesday, November 18, 2009

Little Christmas Tags - or Christmas Cards

Ok, I can't hold off any longer. Christmas is upon us, soon. Well, it has already been around since September - at least in the form of gingerbread and Christmas chocolate in the supermarkets. But as the first of Advent is in November this year, I feel totally vindicated to start Christmas preparations in mid-November. In fact, I have decided I will start decorating the house the week after next. There is plenty of traditional Christmas deco up in the attic and after a long year without them I cannot wait to bring them out and display them again.

Christmas is just such a magical time - I am a self-confessed Christmas lover. So when I was asked by my family to organise this year's Christkindl (or in Pidgin German "Kriskindle"), I took the opportunity to make little cards in which each participant was given the name of their Christkindl partner.


Hang on, you don't know what "Christkindl" is? Ok - an easy concept that is actually quite well suited for anyone who has a large circle of (grown-up) relatives to give presents to. Essentially what you do is, you draw names from a hat so that each participant in the big "Christmas Present Exchange" has to buy/make/find a present for only one person. The value of the presents can be pre-set - in our family we limit ourselves to a maximum of € 20-worth and also allow home-made gifts. (Incidentally, the latter are more valuable, anyway...)

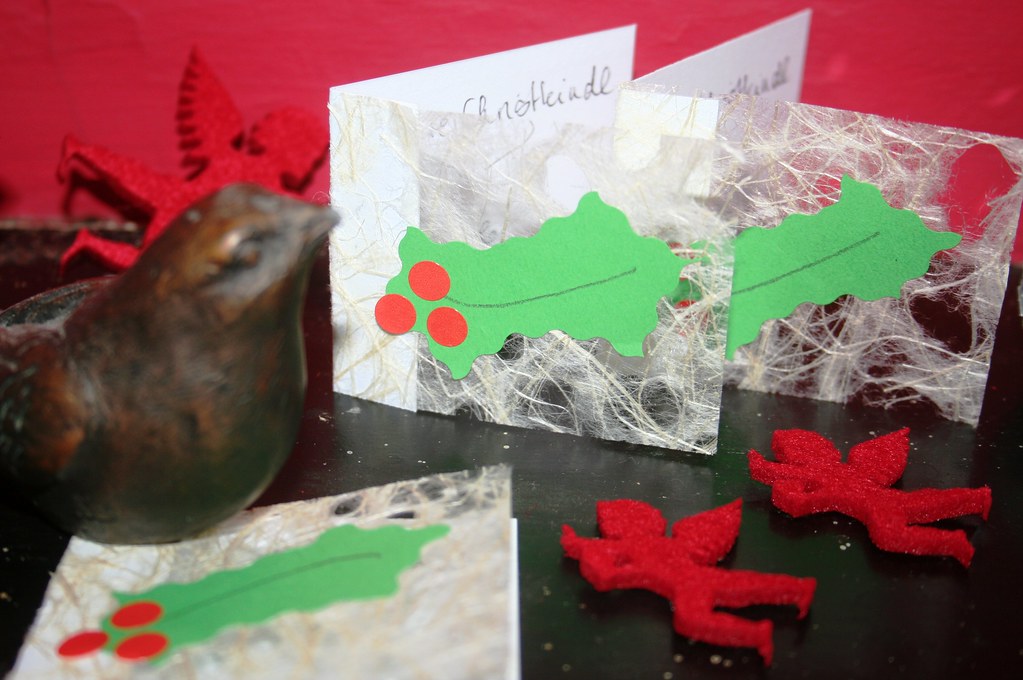
With paper from my Daintree stash I created a little card. Then I cut out some holly leaves from green carton and glued them to the card. For holly berries I used some red dot stickers which I already had.. You could also use the punch holes from your paper punch. Aren't these cute:


Something like this will work nicely as a gift tag, a thank you note or even a simply but lovely Christmas card for your kids' teachers and friends.

HoHoHo...