 Anyway - the project involves making little, colourful pin tops. It is quite fiddly, yet easy. Not f
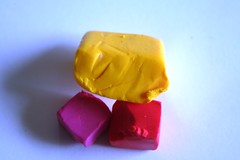 or little fingers, though, so my daughter made a beautiful "pin holder", as she called it. (See it at the end of the post...) The whole project took about an hour and a half to make - that's also counting the "baking" in the oven for 30 minutes.
 What you need is a small amount of modelling clay. I used Fimo, a material that I remember working with as a girl. Back then it involved making little brooches shaped like ice cones. Choose some nice bright colours - after all you want the pins tops to serve one purpose: to stand out!
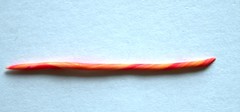
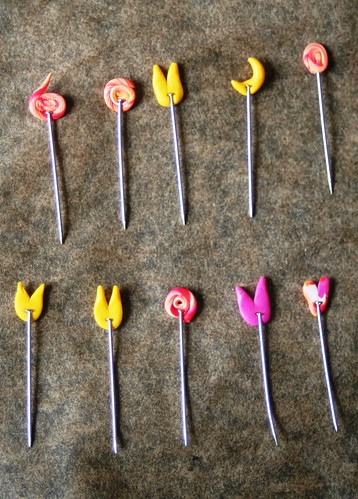
Next I made tiny little shapes from the clay. This mostly involved rolling small amounts of clay into a sausage and then turning them into various shapes. Easy shapes are hearts, tulips, moons, candy coils. See here (excuse fuzzy quality of the photos):


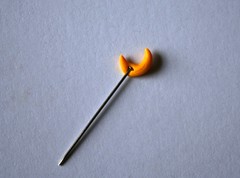
Attaching this to the pin was easy: Just push the pin top into the clay - not too strongly, otherwise it comes out the other side.
Put all your pins onto some greaseproof paper and pop them into the oven at 130°C for about 30 minutes. Do check regularly, though, because if the oven is too hot, the clay burns and turns brown.
After taking them out of the oven, let them cool a little bit. Then give them a quick coat of clear varnish. Not only to let the colours sparkle a bit more, but also to give the pin top a bit more support on the pin. - I had run out of clear varnish, but in a moment of lucidity realized, that clear nail varnish would do just as nicely.
So, here are my luxury pins - possibly to wobbly for sewing, but might look nice on my nice noticeboard. And also particularly in the custom made pin holder (c) Tess...

No comments:
Post a Comment