
 The inspiration for this project came from a whole wall of silhouettes. These are two silhouettes of ancestors. I think they are late 18th and early 19th century respectively. Before the invention of photography in 1836, the cheapest way for the burgeoning bourgeoisie to have a portrait done, was having a silhouette cut. If you look closely at the lady on the left, you will notice the fine detail and care that went into these "likenesses". This silhouette was not cut, though, but painted. The outline of the head was painted black and then the details such as the hair and the ear were added. They even included the eyelashes. Isn't this lady beautiful? (I am thinking Elizabeth Bennett, here...)
 Here is another silhouette, which I believe is pre-19th century, just based on her hairstyle. Again, this is a painted silhouette. The fine details of hair and bows would have been impossible to cut. Both miniatures are about 3-4 cm in size (approx. 1 - 1.5 inches). - Isn't it wonderful to think that these likenesses are still around, long after the two ladies are gone? They certainly we held very preciously and are mounted in sweet little wooden frames with gilt edges...
 I decided on a slightly more modern version of the silhouette by inverting the colours - light silhouette against a dark background. The paper I chose for the silhouette came from my stash of security envelopes. I haven't been able to stop collecting those ever since my ill-fated "Material of the Week"-adventures last year... (See some other projects with security envelope paper here: paper beads, a little garland, card decorations and mini-envelopes.)
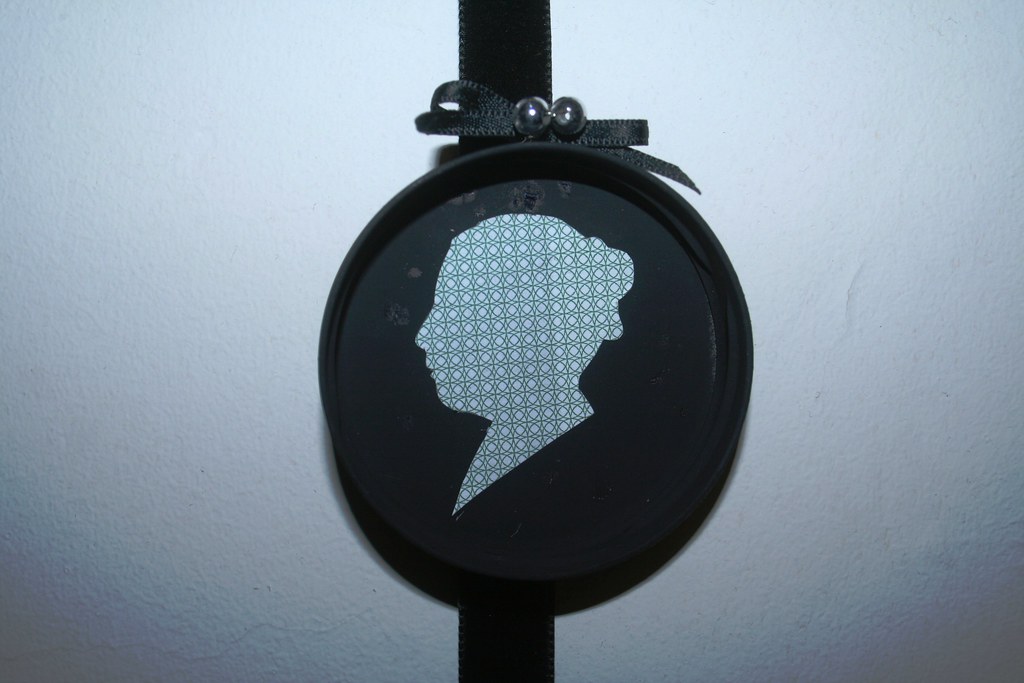 Sorry, no photos of the individual steps, but it is pretty self-explanatory: I printed a photo of my own, regal head in profile onto the back of the security envelope paper. Then I cut it out with small scissors. (Brrrr, hate using flash - leaves very ugly shadows on the pics. Obviously, the frame is perfectly round, not oval...)
 The idea for the frames came to me the other day when I was doing the recycling. While taking the lids off all the empty jars that were going into the glass recycling, it occurred to me that they make perfect little frames. So out came the blackboard spray (proper black spray paint would do much better, but I haven't got any), and I gave the two chosen lids a good spray. Make sure you choose lids that are not of the "twist off"-variety. Those have irregular rims and do look too much like lids...
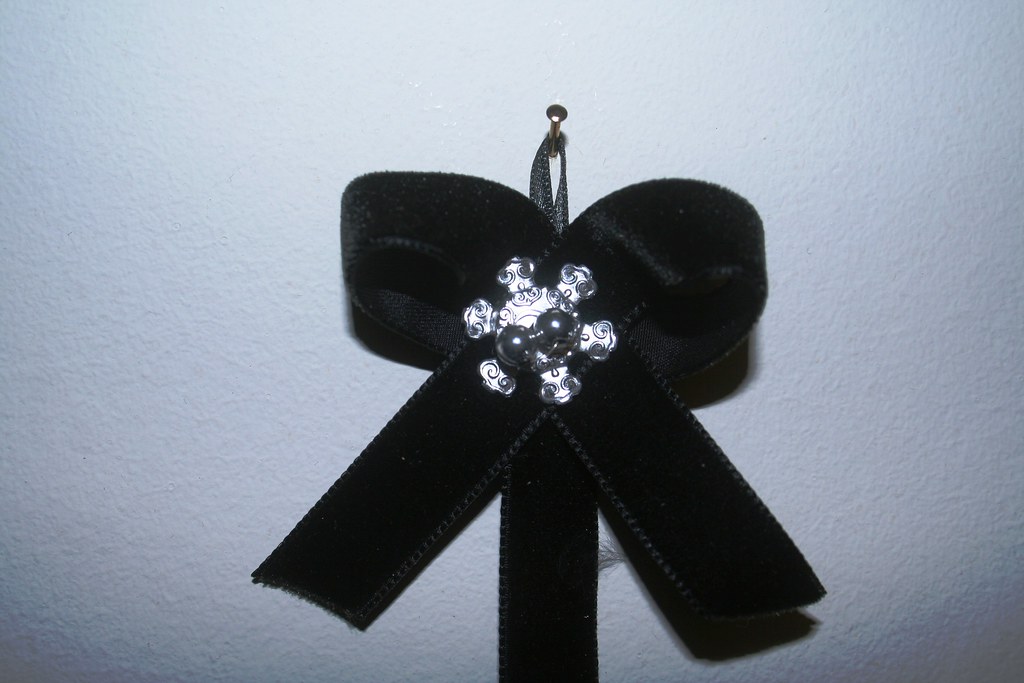
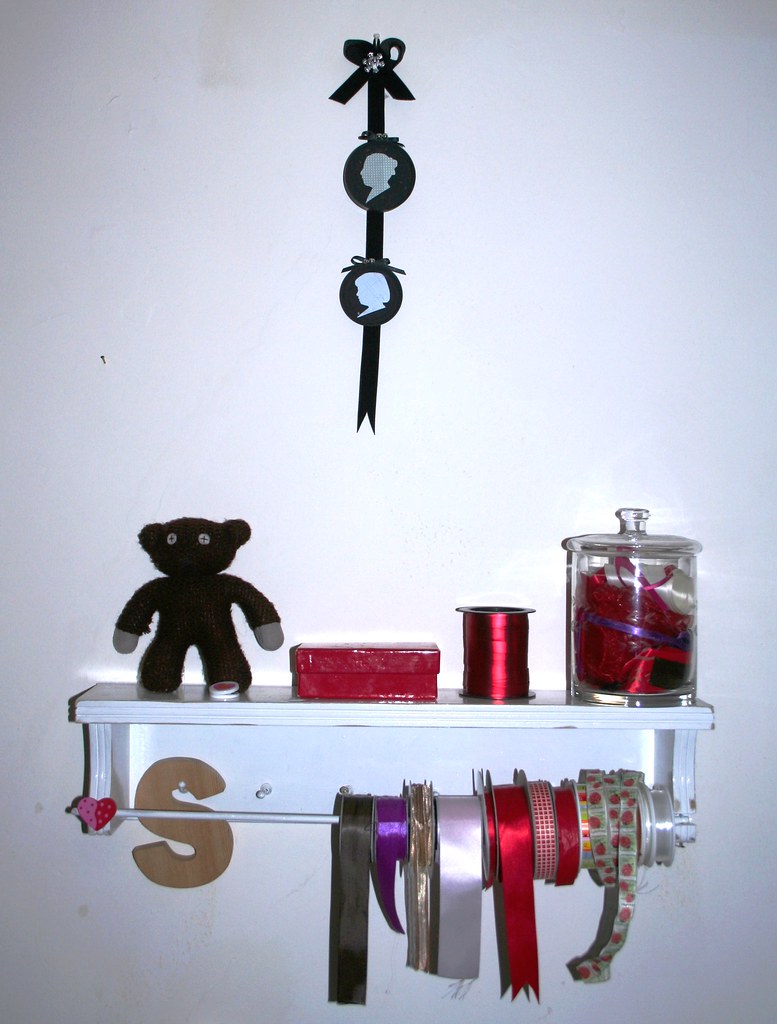
Lastly, I glued the lids onto the ribbon. Continuing with the tradition of keeping the ladies' likenesses, I also made a silhouette of my daughter. And here it is, my silhouette display - preliminarily hung above the shelf beside my desk.
So, there is a classy little project for you - that will cost you nothing, but is priceless!
Best,

Linking to:


http://itssoverycheri.com/2010/02/14/its-so-very-creative-party/?


16 comments:
Those turned out so lovely, Sonja. I agree with you about black. It can make a dramatic impact. Thanks for sharing your tutorial. I'll let you know when I try to make one. Happy Valentine's Day
Your silhouettes turned out beautifully and I love how the black backdrop really sets them off. Your hand painted silhouettes are also really lovely, I've never seen painted ones before. I have silhouettes of both of our children, but they are the usual black head mounted on white paper, yours are much prettier!
Thank you for stopping by my blog!
Kat :)
Thanks for you nice comments, Jan and Kat...
These are lovely! I didn't know the history behind the silhouettes - thanx for sharing it! Yours came out great : )
Love the patterned paper on the black background. They turned out very pretty. I've been wanting to make some, and if I ever get around to doing it, I'll definitely use your colors instead of the traditional ones.
Love that these are in a jar lid!! :)
Lovely! You did a great job. I love silhouettes!
XOO
Jen
Thanks, Ladies, for your comments. I find they are the best way of finding new blogs - I always try and return the visit. This time I have found 2 blogs that I had to immediately sign up for and a project that I bookmarked for a later project. Cooooooooool!
I love these! I like how they are different from the regular, plain plack silhouettes because you used colored paper. The way you used the ribbon to hang them is so pretty too.
I saw these the other day when I was cruising your site! Super cute and I love the black! Looks great! Thanks for linking up to Whatever Goes Wednesday. I hope to you back next week!
Those are very nice. Check out my family silhouettes at Something Wonderful.
http://rockiescrafts.blogspot.com/2010/02/family-silhouettes.html
An interesting post and a lovely craft!
Kathy
This was such a nice idea - and for free! The printed paper really gives them a modern twist.
Too cute! Great idea!
I love this idea! The silouettes are darling. Great project.
I wear black all the time, too, btw.
They turned out great!
Thank you so much for linking up with the Talented Tuesday link party at My Frugal Family, which is hosted every Tuesday. Please feel free to stop back in every week and post your newest projects!
Post a Comment