FYI


Showing posts with label mantlepiece. Show all posts

Saturday, March 30, 2013

A Pastelly Easter

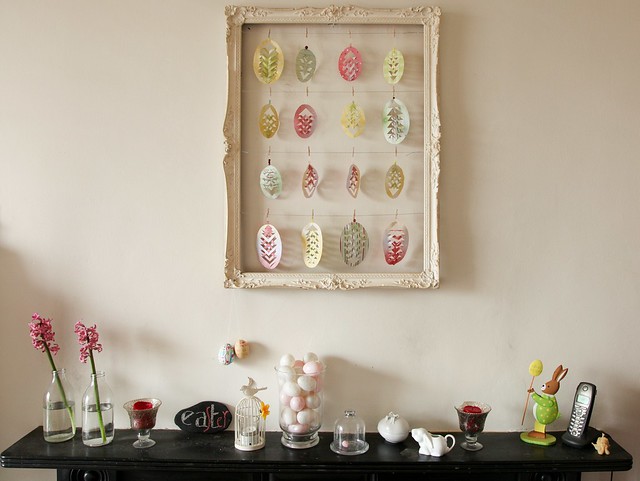
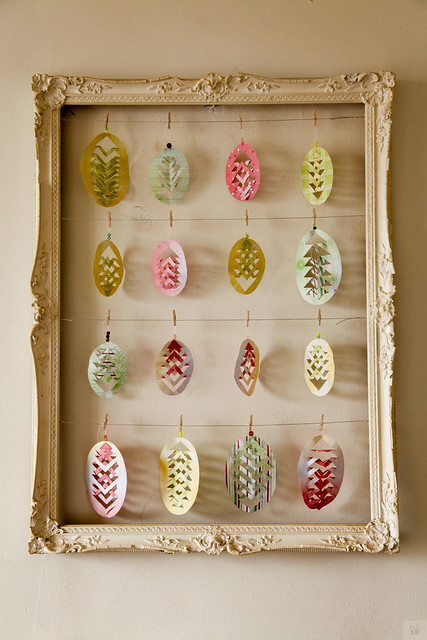
All set for Easter? The eggorations have been up for a couple of weeks now and I have not really added anything new this year. In fact I re-used stuff again, in a slightly different way. The old frame keeps getting used - it really has been the best decorating device ever.


I had actually planned to take the little strings out of the frame once I took my Valentine-y love heart display out of it. But then I found my paper eggs from three years ago in the box of Easter stuff. Three years ago - my oh my, I had all but forgotten that I had made them, but as it turns out, they were one of the really popular posts here on my blog.  Back then I wrote a whole tutorial about making them. Check it out here - there is also a template you can download. It is very easy and the sort of stuff you can do with your kids. In fact, the initial egg came from my daughter, then 8 years old.


With the eggs all slightly pastelly, I had to forego my usual red deco on the kitchen mantle. Good thing I still had all those white and pink Easter eggs from the Euro shop from last year. They were popped into a vase, and together with a few white bits and pieces, the kitchen this year has a slightly paler theme.

All that remains now is to look forward to my first piece of chocolate in 6 weeks tomorrow. Honestly, I can't wait! 

Happy Easter, all!

Friday, February 1, 2013

Spring Time

Today is the beginning of spring. Sounds mad - but in Ireland it traditionally is the first day of spring on St Brigid's Day - the first of February. High time for me to get rid of my New Year's message that had been gracing the "Frame of Frills" in my kitchen.

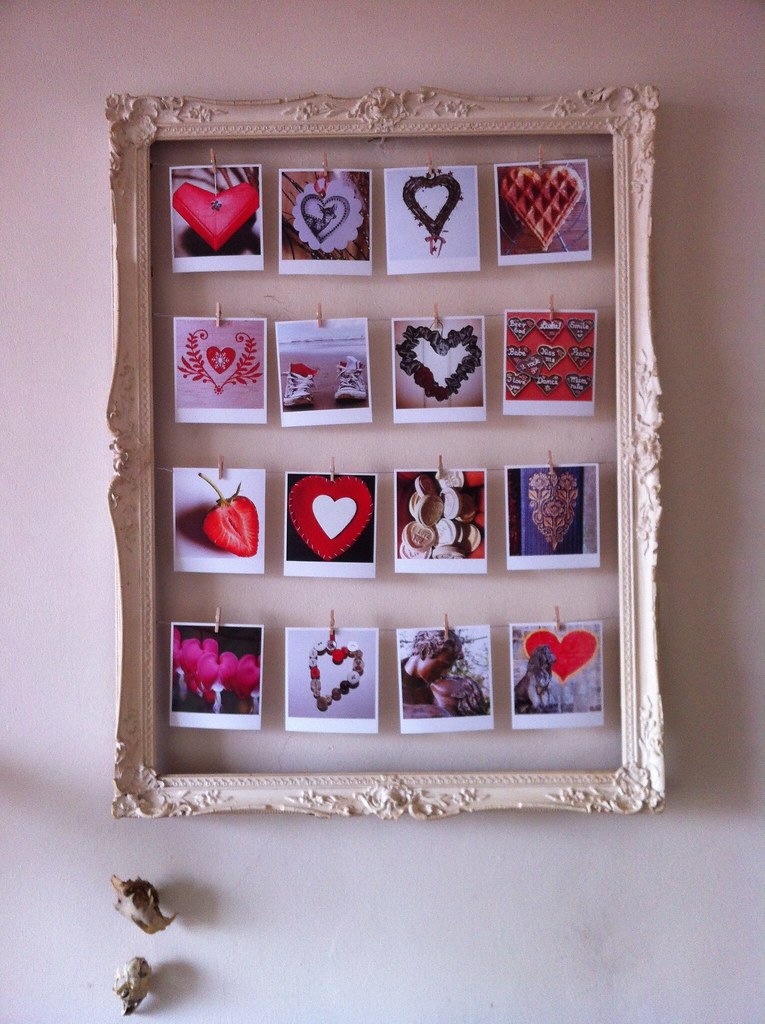
I wanted a quick and nice update to my show off area empty frame. That was easily done by actually chucking the previous display into the bin: the letters spelling H A P P Y   N E W   Y E A R were all warped and I felt not the slightest pang of regret when I put them in the bin. Instead I put up this:


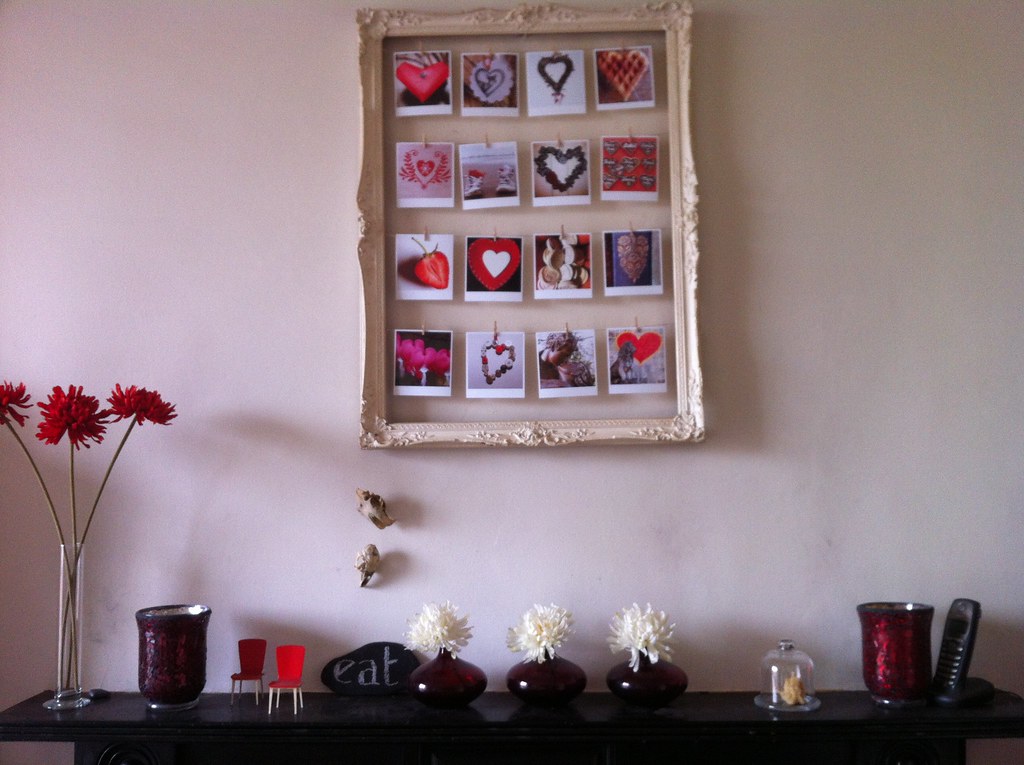
Just a selection of photos, strung up with tiny little wooden clothes pegs. I went for a bit of a friendly theme with the hearts. No connection with Valentine - but it would probably fit the occasion as well.

This is just one of the easiest deco things you can do. Go through your photoalbums and dig out all the nice memories you want to surround yourself with. Or follow a theme - mine was "hearts" and "red/pink". You can easily create polaroid-y prints by cropping your images into squares and then printing them on paper/card/photo paper. Just cut them in such a way that you leave a wider edge of white at the bottom.  Or, for those who want it even easier, I recommend online photo converters such as polaroin, instantizer or (my personal favourite site) bighugelabs. - After that it is just arranging and hanging.


Kitchen mantle February style. Bring on the winter depression, I am ready...

Best,

PS: Linking to Categorically Crafting @ Someday Crafts

, That DIY Party @ DIY-Show-off

Tuesday, December 20, 2011

Dear/Deer Candlestick

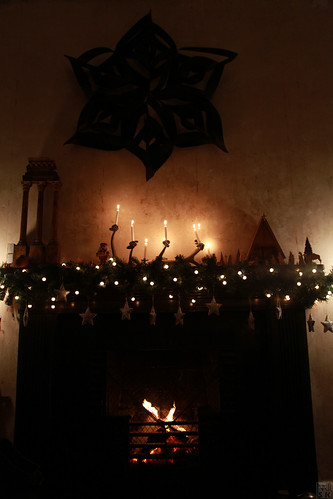
Here comes post number three of the drawing room mantle series. Yep, sorry, but you must get through this before I go on to bigger... better... different things. The remaining crafty bit is - have you guessed - the candlestick-y arrangement on the mantlepiece. Which, upon closer inspection, turns out to be... *tada*... deer antlers...


The easiest project if there ever was one. And yet I had this coming for aaaaages. The idea was born a couple of years ago. You see, my dear better half used to have an extensive skull and bone collection as a boy young man. *um* No, nothing sinister about that, just a genuine interest in all living things. Except that they were dead. *eh*.

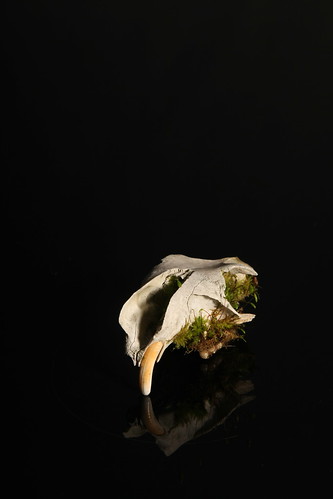
Anyhow, his collection resided in his parents' house, but when they moved out, the time had come to transfer the precious collection to our own quarters. Was I horrified? No. Am I morbid? Emphatically no!! I love the sculptural quality of skulls and have occasionally photographed them for projects like the one on the right. (That's a marmot skull by the way...).

I have also previously turned a large skull into a sculpture for the drawing room - if Damien Hirst can do it, then so can I (with the help of a little silver spray paint...). Check the old post here.

Right, but to get back to the point...


Deer antlers with their pointy points are just natural candle holders. There was only the problem of attaching the candles to the antlers. I thought about drilling holes and pushing those candle holders for wreaths into it. Then I though about simply putting nails into them to stick the candle on. And finally I realised that something from my Christmas stash would do the trick nicely - those old-fashioned clip-on candle holders for the Christmas tree:


Luckily the holders come with a little swivel headed candle tray, so you can twist them in such a way that the candle will be (roughly) upright and therefore not splash wax all over the place when lit. I am delighted with it - I like the rustic feel it gives.


Dead animal parts in the house are bad for Feng Shui???


Sheeeeeeeeeeeeeeeeesh!


Let's cosy up at the fire, pretend we are in an Alpine hut, fresh in from a whizz on the slopes...


Best,



PS: Promise - tomorrow you won't get a view of my mantlepiece again!!!
Monday, December 19, 2011

Best Buy

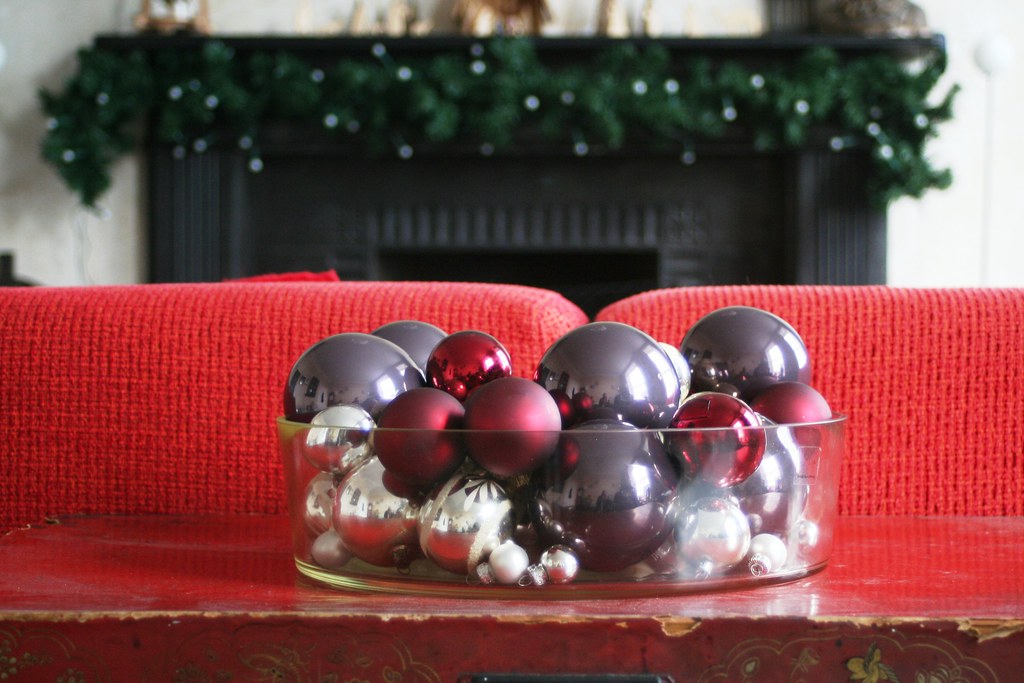
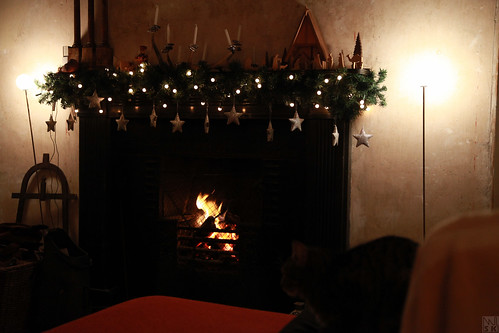
Never in a million years would I have thought that this was going to be one of my favouritest most favourite deco buys of all time - a fake Christmas garland. I bought this, I remember it well, on the 23rd of December 2006 for about 20.00 Euro. And boy did I have a guilty conscience about this.


And why would anyone in their right mind get their moral knickers in a twist over a Christmas garland? Because it is artificial. *hisssss* Oh, that does not sit well with me. I love my real fir in the house for Christmas. But I have to say that the artificial garland is absolutely fabulous.

Sure, the closer you get, the more artificial it looks. But it comes out of the bag every year, virtually undamaged despite having been squished into the attic and having endured two months in close proximity to the fire.

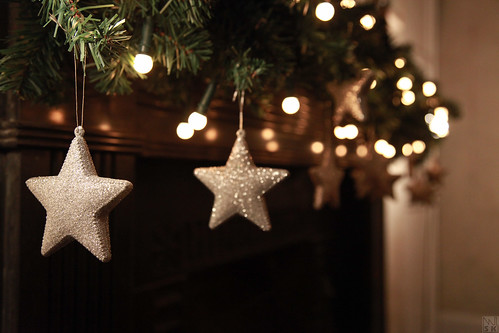
As you can see above, I have wound some ordinary and cheap Christmas lights around the garland. I don't even bother taking them off when I put the garland  back in storage in January. The little bulbs are resilient and look really cute when switched on. Heck, they even look nice when switched off (see right).

While the garland goes up in the same spot every year - namely the drawing room mantlepiece - I tend to decorate differently every year. Last year, as you can see in the image above, there were just the Christmas lights on it. This year, I decided to go a bit more blingy and added some big sparkly stars.


Best thing about the artificial garland: I can go on Christmas holiday on Wednesday and return the following week, not worrying about a heap of needles on the floor that needs brushing up upon return.
Hooray for plastic trees!


Best,

Thursday, December 2, 2010

A little update on my kitchen mantle

You may have noticed my kitchen mantle in my previous post. It was rather blurry in the background. So today I proudly present a clear look at what is happening on my mantlepiece. Well, it is quite similar to last year's arrangement - I love symmetry on display because it gives the illusion of order and space, something that I am usually not associated with *haha*.


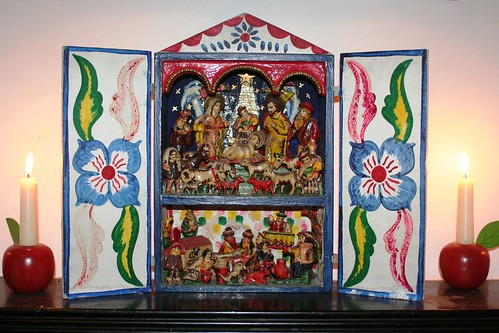
Center stage takes our beautiful Peruvian nativity. We have a family connection with Peru and this is the reminder of that, coming out of storage for a a few weeks every year. This piece of folk art is at this stage 40 years old - and is still as shiny and colourful as it was when bought all those years ago. Well, apart from the design on the doors of the nativity. They have faded away over the years - this used to be on display all year 'round in front of my mother-in-law's fireplace. I love the way the nativity scene has been transferred to Peruvian country life...

Now, how do you like them apples? *hehe* They are not necessarily Christmas decorations, but their colour fits my scheme (and my politics *haha*). Never mind they were bought really cheaply from the discount tray in a small interior design shop in the North of Germany...

The hurricane lamps are a relatively recent addition. I had cracked one of my previous two hurricanes by lazily sticking it into the dishwasher - the hot water killed it instantly *RIP*. I found these as replacements - and I love the way they only let the candlelight shine through the small cracks. I've had lots of fun "drawing with light" i.e. photographing that the other day...

So, with the nights starting early (and the days getting darker, too - it is half three in the afternoon and I have to put on the lights in my study because the heavy snowfall outside darkens the sky so much...), I look forward to lighting my candles every night now during dinner...


Best,

Sunday, October 24, 2010

Halloween Mantle

Hello guys - I was out of the country for a few days and then busy settling back in, so didn't get anything crafty done. But this evening I finally managed to do what I had been meaning to do for quite a while. I was sick and tired of my jugs - and have at the same time updated my kitchen mantlepiece according to season.


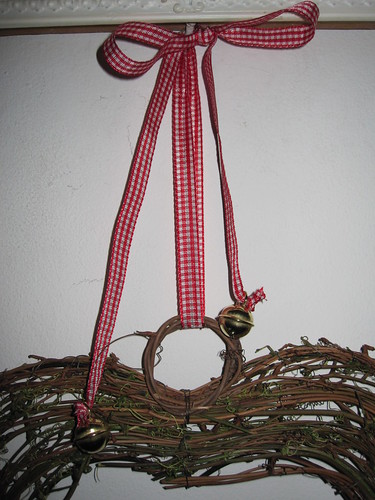
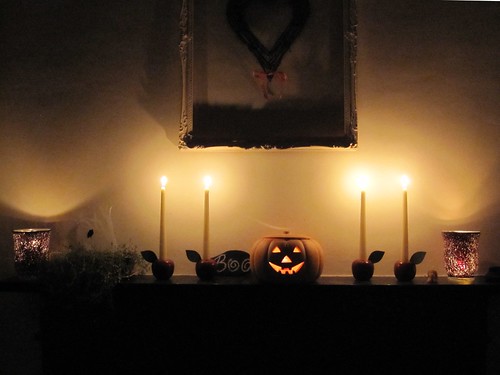
Right, Halloween time it is! I dug out my nice ceramic pumpkin and set it up on my kitchen mantlepiece, flanked by those autumnal red apples. And I took down the darling jugs of January (check them in all their glory here ) and replaced them with a wreath heart.

All I did was really put a nice ribbon onto the heart, tie it and add some bells.

My blackboard-painted pebble is making an appearance again, too, this time with a Halloween "boo!"


Now that the days are getting dark again, I have put lots of candles on all mantles, whether it is in the kitchen or the drawing room. I love the warm light they give. And yet, the candle light draws some fittingly eery shadows from the frame. Almost gothic...


Happy pumpkin-carving, everyone!

Best,

Sunday, September 12, 2010

Getting into Autumnal Mood

I really don't want to let go of summer. But slowly autumn is creeping in... The days are so much shorter already. When I get up at 6 am, it is dark outside. And by 8 pm it is night again. Although we have had some sunshine recently, temperatures have dropped to 15 to 18°C. And the virginia creeper on the terrace of houses next to us has already turned dark red. So it is time to face the facts - autumn is upon us.


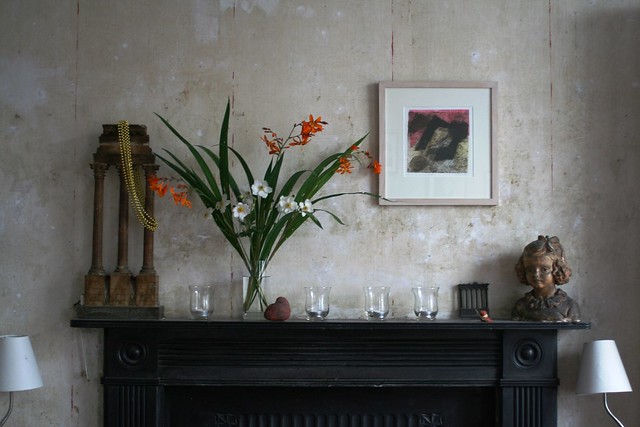
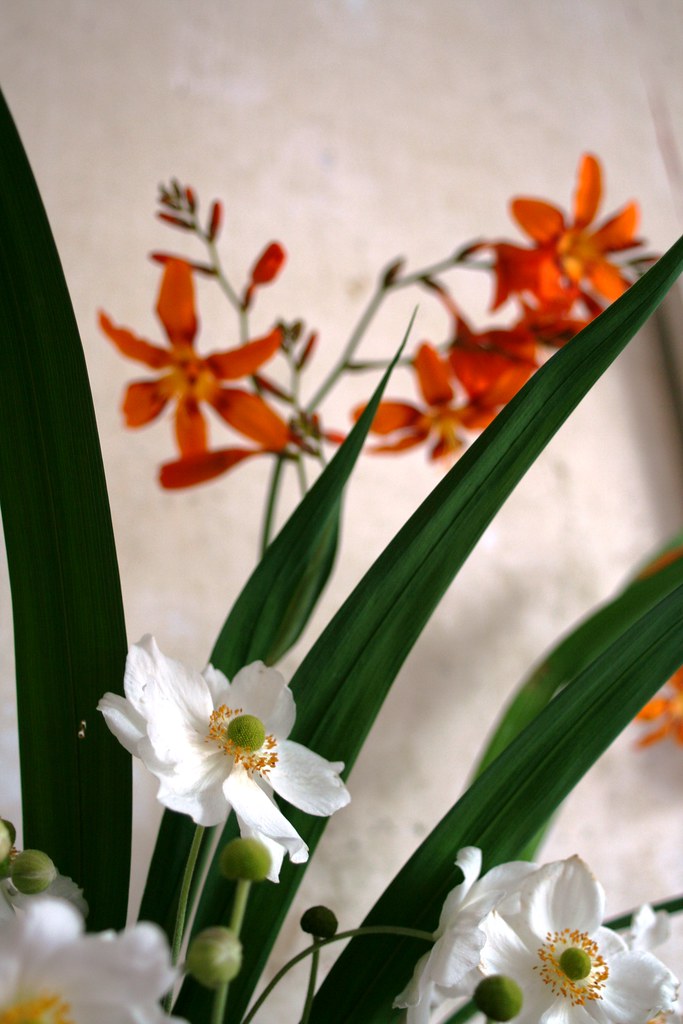
Today I picked the last flowers from the garden. And they seemed to have put their last bit of energy into their blooms. The mombretias were bigger than ever.


I cut a few of them and teamed them with those lovely Japanese daisies.


(A little exercise with shallow dof - can't resist photo experiments, sorry...).

So the drawing room is getting autumnified.


Have a nice Sunday!

Best,

Friday, February 19, 2010

My Chinese New Year-Mantle

I know I am late for it, but the Chinese New Year started on February 14th. Ever since I have been to China for a short visit in 2007, I take a bit of an interest in that fascinating country. (Take a look at my flickr set here, if you want to see some images.) Of course brought back lots of souvenirs from China, and I love using them in my house for decorating. The added bonus of all "Chinese" decorating is, that the colour red pops up frequently - apparently it is a symbol of good luck. So with red being my favourite colour, a Chinese mantle theme was unavoidable. Do come in and have a seat...

 
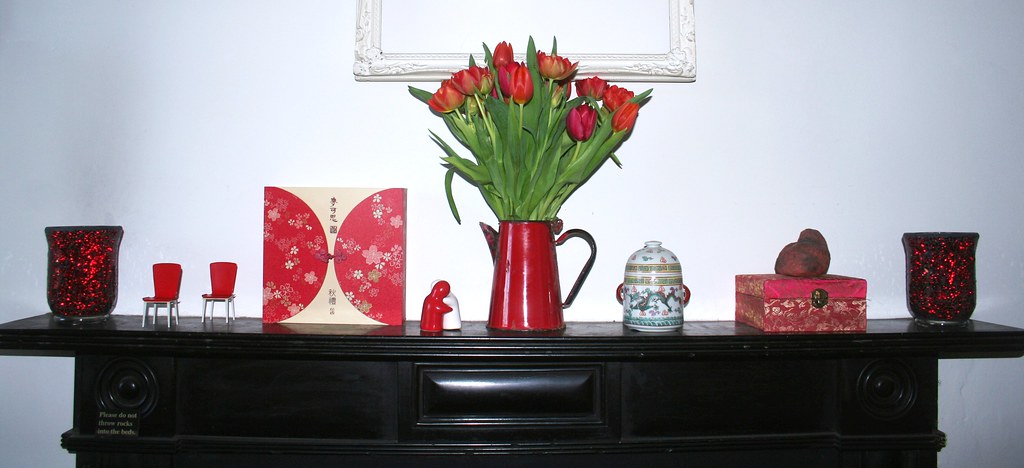
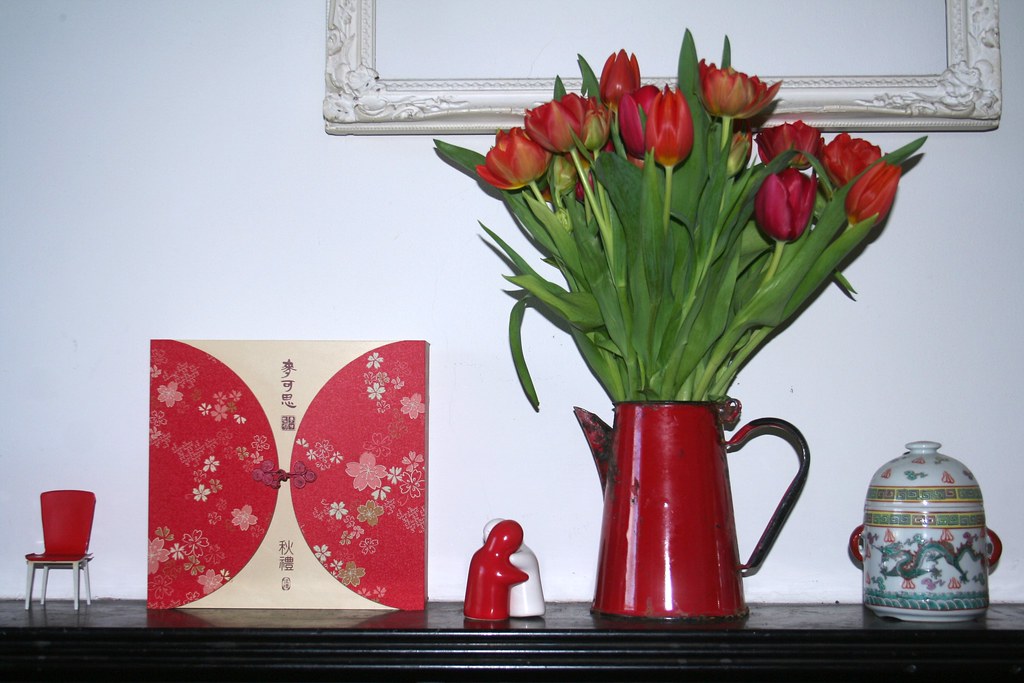
Right, ready for my little mantle tour? Beth from The Stories of A to Z had started me on the whole thing a few weeks ago. She used to host a weekly mantel party, but is currently in the process of revising the schedule of it. (Here is a link to her latest Mantel Party).  I gathered all sorts of Chinese bits and pieces together and arranged them on my mantle. I am baaadly longing for spring, and so a bunch of red tulips became the centrepiece of the mantle. The old enamel coffee pot came out again, too. Here we go:


There always tends to be an element of symmetry in my arrangements. I have found that a symmetrical, not-too-cluttered mantle arrangement deludes my visitors to feel that the whole kitchen is tidy and calm. Ha! If only. So for that reason there is a central flower arrangement and then two identical objects at the side. This time it is my Christmas Sales finds, the red hurricanes. The red and white box on the left is my Shanghai memory box (I wrote a post about that project here.) It originally contained traditionally Chinese spring cakes. I usurped the box from my brother- and sister-in-law who brought it back for all the family a couple of years ago. The other red box on the right contains a tiny Chinese tea set which was given to me by a very kind and generous friend who used to live in Shanghai. The jar beside the tulips came from my grandmother - it has a dragon design on it. No idea how she acquired it, but I like it, anyway...


Sooooo - with all the bright reds on my mantle, I cheer myself up every time I step into the kitchen. Come on, year of the tiger...

Best,

Friday, January 29, 2010

Displaying your Treasures

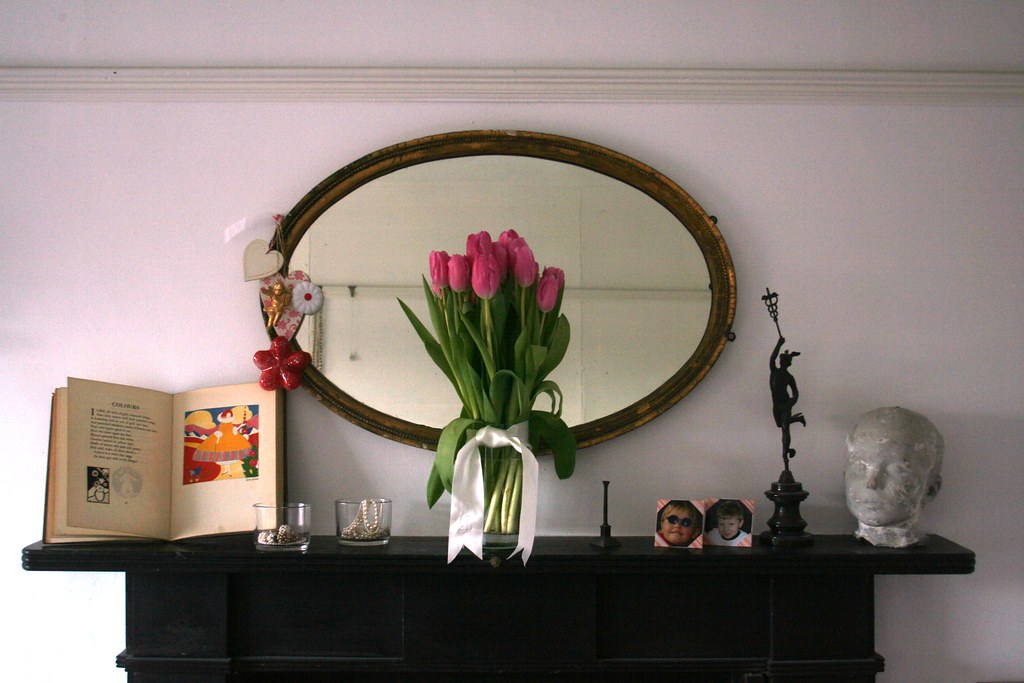
Seems that I am on a treasure finding trip at the mo. Looking through my daughter's bookcase, I found a lovely old book of poems for children, illustrated with cute but simple graphics. Unfortunately there was no date of publication in the book. Just from the style of illustrations I would guess it is from the 1920s. In any case, the pictures are lovely, and I decided to display the book so that it gets the attention it is due.


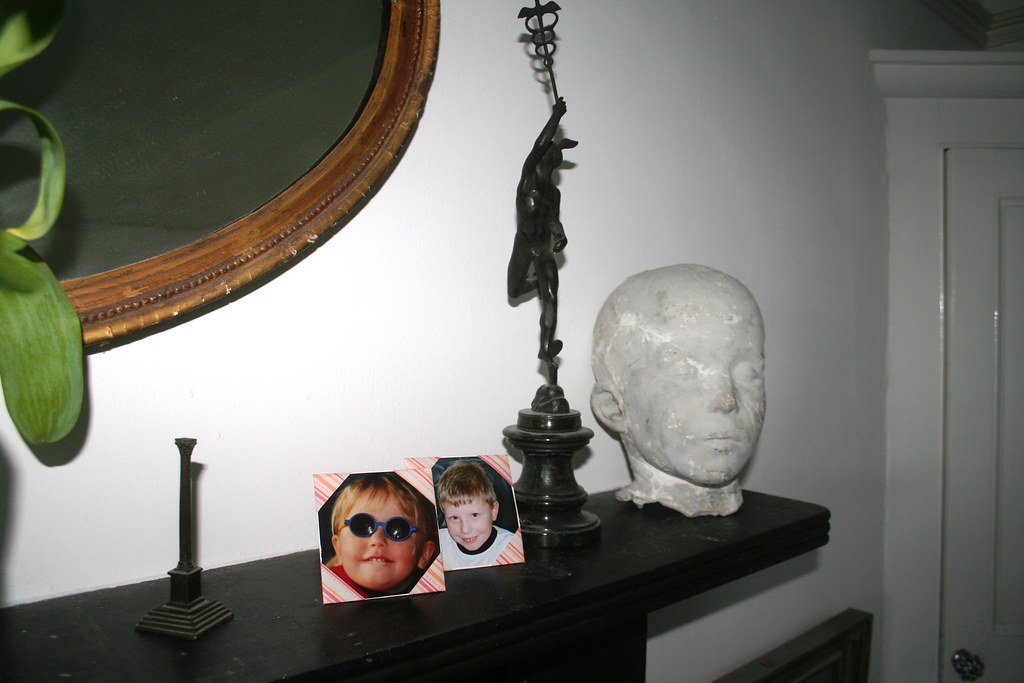
The mantle in the bedroom was lacking a bit of care. So there was the perfect display space for the book. As usual my mantle is rather sparsely decorated - partly because I am not the only one looking at the decorations and my better half does not go for frilly, elaborate displays. So here is the compromise.


Do you see the two photos on the mantle? They were a two-minute addition when I felt that the mantle was too bare. I didn't have any frames handy, so I did some little magic with origami again. Here's what I did:


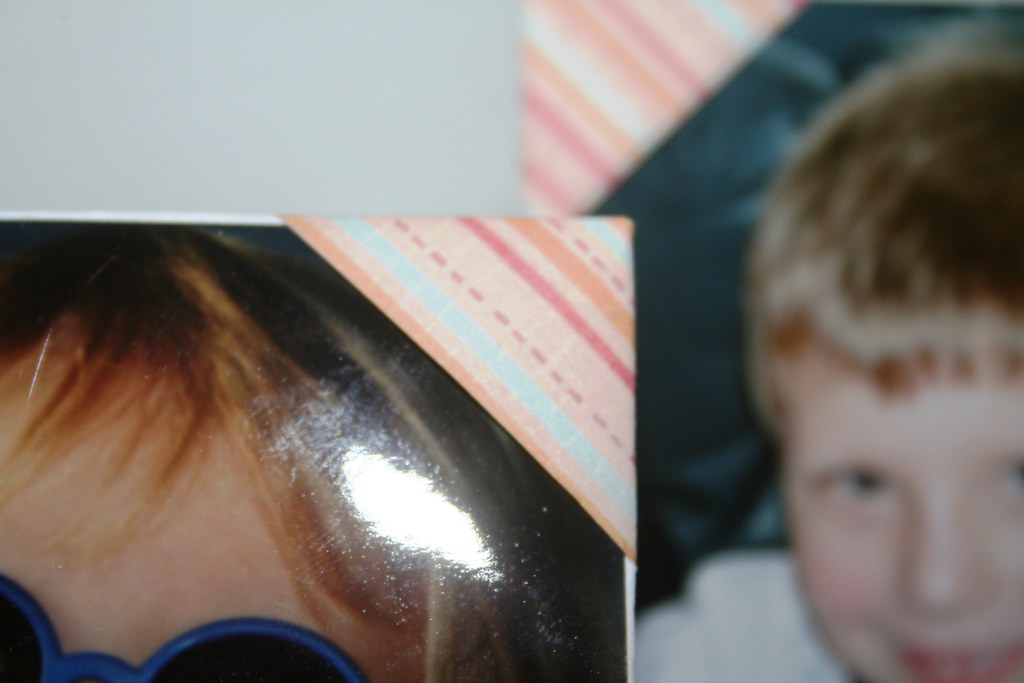
I printed some origami designs on scrap A4 size paper. I cut it into half and then trimmed the resulting A5 size pages into two squares. Then I folded the paper to produce this photo display, where you tuck your photo under the corners. It even comes with its own "stand".

I made a little video tutorial for you - as you know I hate picture tutorials for origami, so this will show you how it is done.


Easy or what? With a bit of measuring and thinking you can make these to suit all photo sizes. Makes giving a photo as a gift a bit more substantial, I think, and you can choose your paper according to your decor.

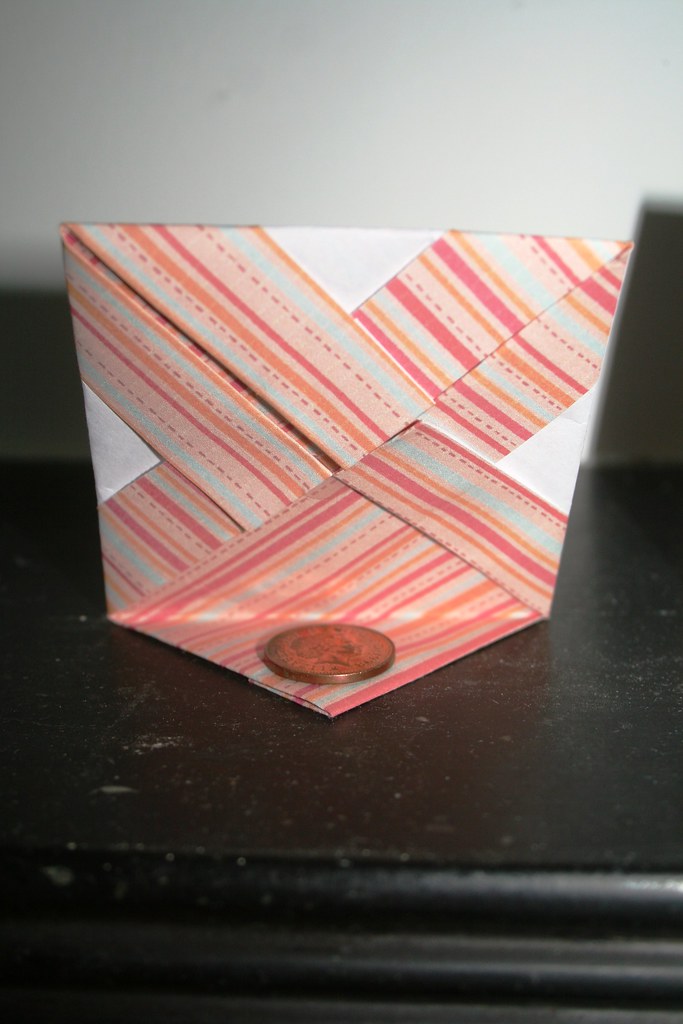
Here is the backside of it. As you can see I simply glued a penny onto the bottom "quarter" of the frame. The remaining three quarters I fixed in the middle with a glue dot. It stands perfectly on its own and does a great job.

Best,


Just in time to link to


Monday, January 18, 2010

The Darling Jugs of January

What's wrong with that headline? Haha, no, it's very fitting in today's context. Remember my twice recycled wreath? It looks as if wreath-mania is finally over! With a lot of ignorance goodwill I did get ten days out of those eucalyptus branches. But today it was finally time to say good-bye to them. I dismantled the wreath, threw the branches in the compost - and was left with an empty frame.

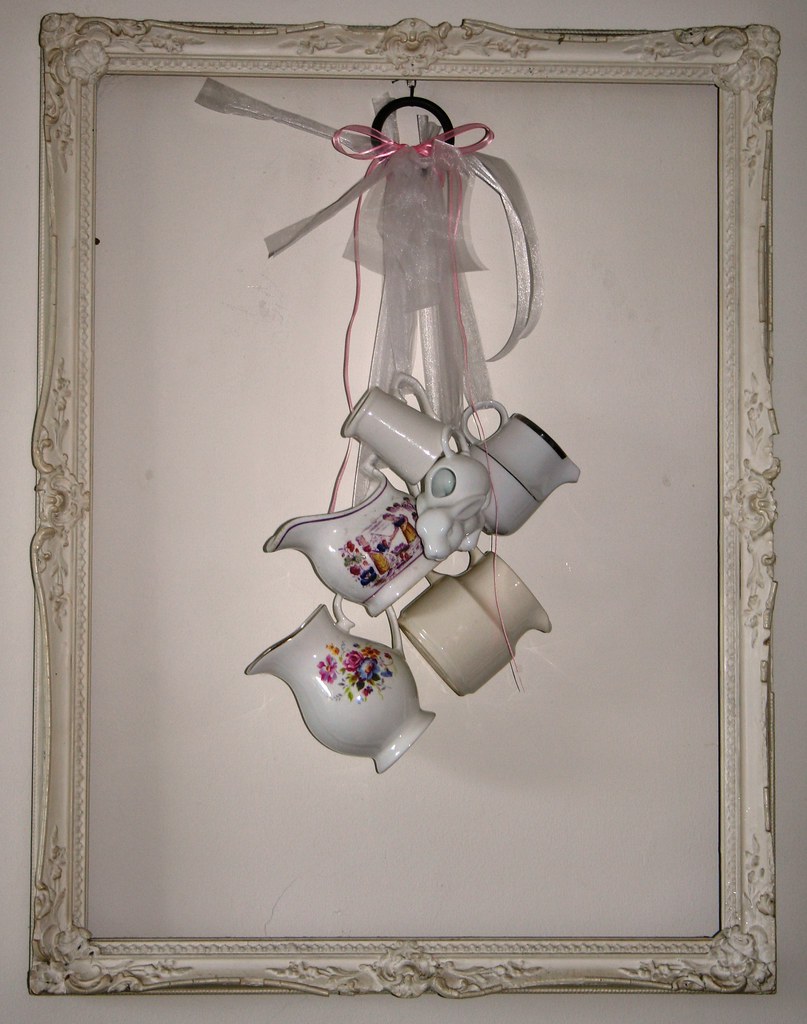
Luckily I had come across a quick and easy deco idea. TCB had directed me to a post by Queenplinker where she had created a lovely display from milk jugs. Check it out here. With about 500 jugs and assorted bits of junk flying around in my house, putting together my version of the milk jug display was a laugh.


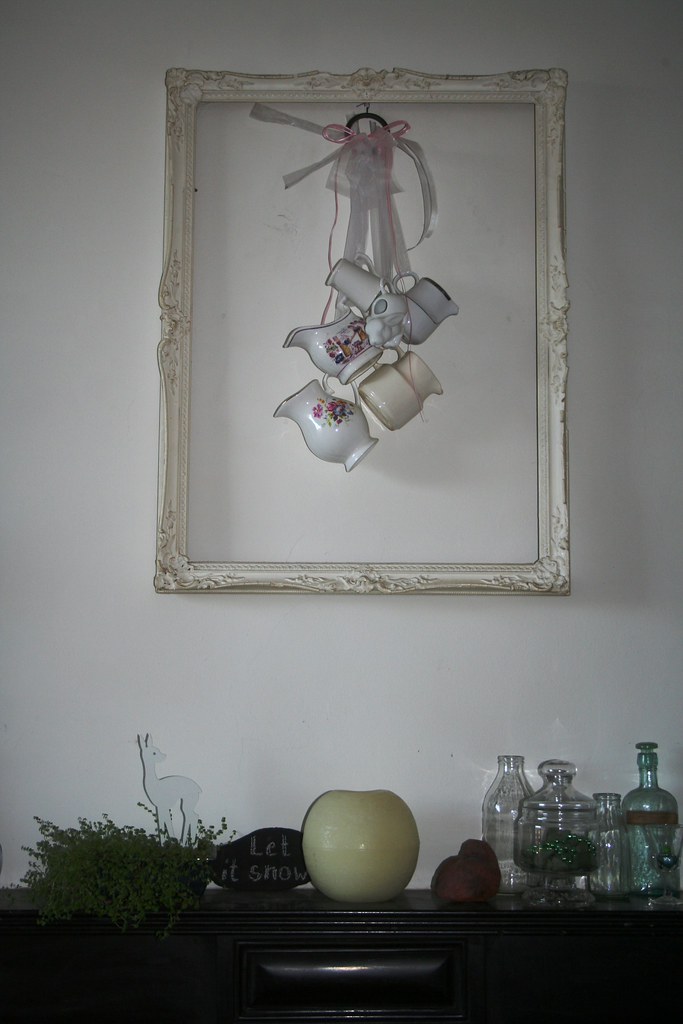
I had bought a few rolls of organza ribbon in a 1-Euro-Shop in Munich and here they came in handy. Not quite sure about the brass circle I hung them from, but it'll do for the moment. And I love my display frame with them in it... They go nicely with the spring-mantle, I think. 


Decorating can be soooo easy...

Oh, and yes, there are some darling buds of January to show, too. Look at what is making a first appearance in the park. Just a week ago everything was covered in snow, and now here are the first snowdrops! Spring is on its way - my mantle is appropriate. (Just have to change the slogan on my reminder pebble...)


Thursday, January 14, 2010

And Another Apothecary Jar...

After the recent flurry of activity here on the blog (a post a day for a week...), I had to temporarily step back to attend to my exams. One out of the way, one more to come, but after two days of silence, I really felt I had to write something today.


Not only do I want to show off something I did, but I also wanted to point you into the direction of Remodelaholic again. You know - one of my favourite crafts blogs. Today Cassity posted two really long and comprehensive posts about her bedroom remodel. But yesterday *tada*, she actually highlighted my designer lampshade. Check her post here - and my original post here.

Right, I had a little bit of time to spend in town today, and I used it to check out a cheap homewares shop in the city centre. While in Germany before Christmas, I had seen some fabulous, large apothecary jars which were really, really cheap. However, I could not buy them because I knew I was not allowed to bring glass in my handluggage on the plane - and they would not have survived the journey in the hold. With many apothecary jar tutorials on the web (e.g. Shanty2Chic's) I knew I could make one myself. So I set out today to hunt for a candle holder and a glass jar with lid. I was in luck - I found both in the shop and paid € 2 for the candle holder and € 4.50 for the jar. The jar is not too bad on its own, but the candleholder... *yuk*:


In a matter of seconds (!), yes, literally seconds, I hotglued the bottom of the jar to the upside down candleholder. Now, I have been to impatient to wait for proper light in the morning, therefore my picture is not great. The ambient light was too dark for the photo - but anyway, here is the finished product. (I'll post a better pic in the morning!)


For a first try it's not too bad, I think. I would prefer a less frilly base for the jar, and I will continue to look out for suitable candleholders and lidded jars that can be appropriated for this. Ultimately I would love to have two large apothecary jars to grace my mantlepiece. Yesssss, I am a sucker for spartan symmetry... Boring to some, full of grace and calm for me!

Here is the mantlepiece photographed with flash:


The mantlepiece is in my kitchen - which is actually predominantly white and red. However, after Christmas I am hungry for fresh green - spring is what I want - and therefore the mantle is now white and green. I wonder whether my family will spot the difference when they come down for breakfast tomorrow morning...

Cheerio,

15 January 2010: Just in time to link to Beth's