It is probably strategically wrong to start off a post with the admission that the project in question did not turn out quite to my satisfaction. Well, maybe my standards are too high, but I must say that I encountered a couple of problems along the way which I had to solve with improvisation. In general, however, I really like the idea, so that is why I am showing you this project.

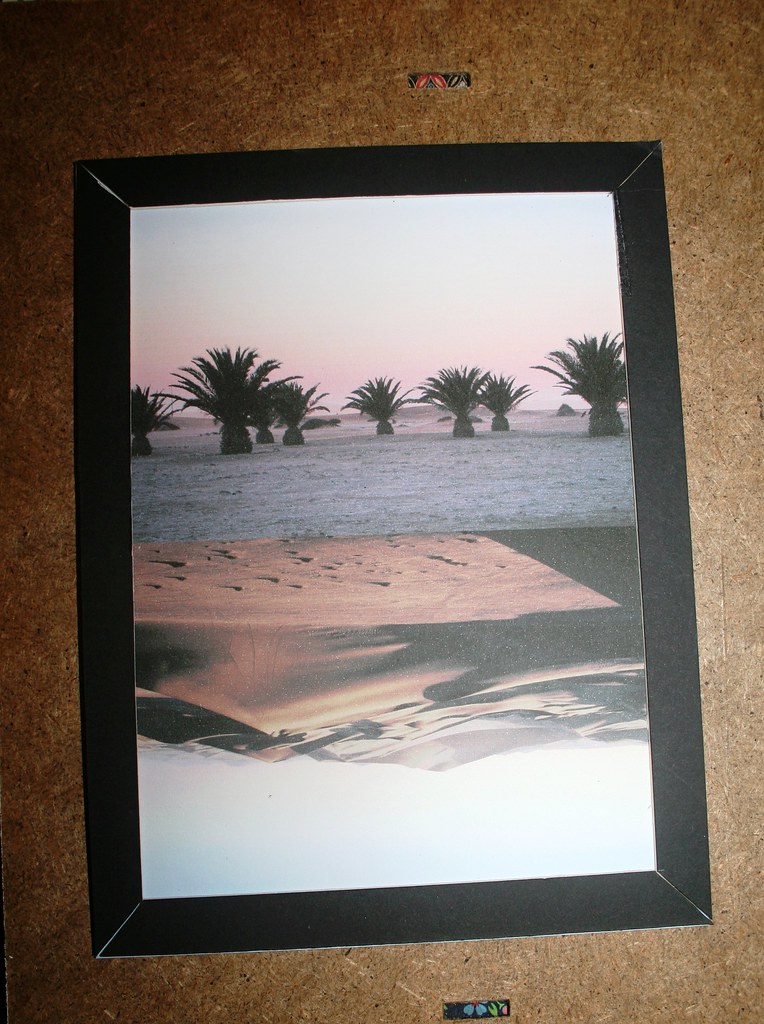
 What you need is a picture frame (with glass), photos, mountboard or cardboard, (hot) glue, scalpel and sand. You will print out two pictures, glue mountboard onto it, cover it with glass and put it into the frame. But I already made my first mistake right at the beginning: Choose two pictures and print them in such a way that they both look towards the shorter edges of your rectangular frame. (See correct example to the left!!!) I stupidly printed them both facing inwards *doh*... Anyway, I didn't realize my mistake until well into the project, so I ploughed on, determining the image size, using the glass of the frame as my guideline. Trim your picture with a trimmer.
In order to have space for the sand to trickle under the glass, you need too create a frame that you will stick onto the picture. I used mount board which is about 1mm thick. That is enough space - well, depending on the size of your sand particles. Namib desert sand is beautifully red and very fine (sorry, can't resist showing you a picture here:)
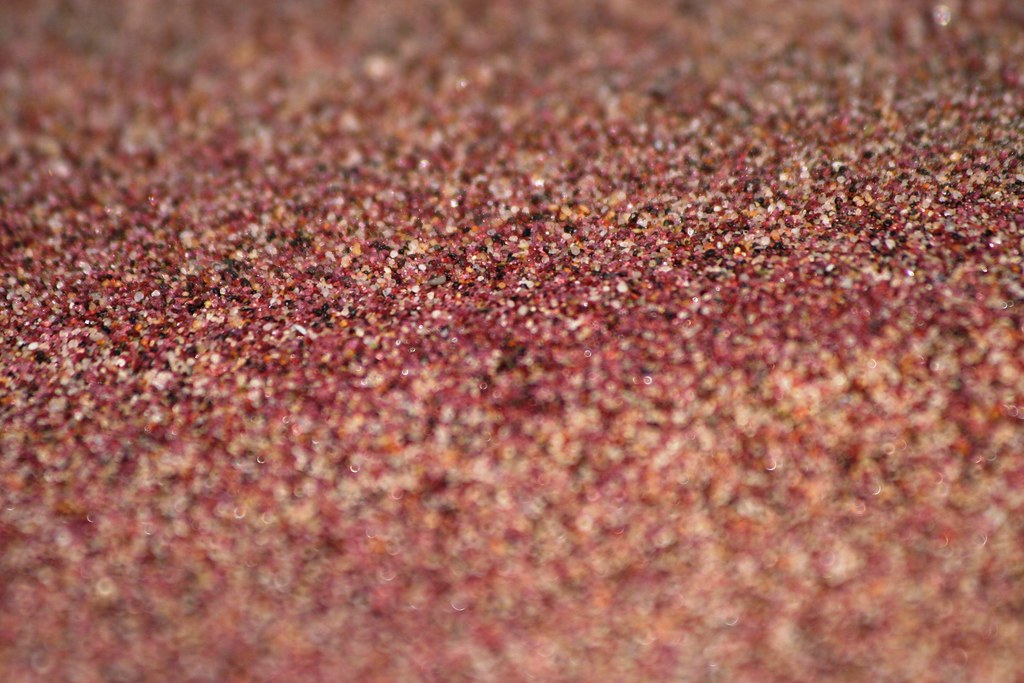
The black particles visible here are metal - as impressively proven by our guide who hid a magnet in a plastic bag, brushed over the sand with bag and then held the bag up to show all the tiny bits of black "sand" stuck to the bag.

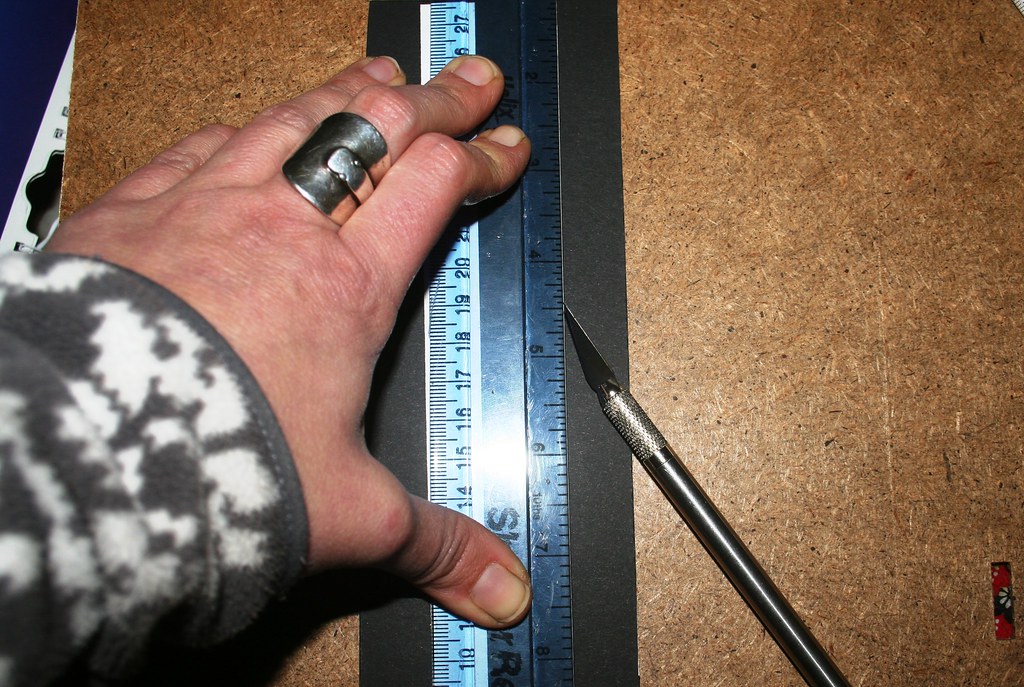 Back to project: So create a passepartout/mount for your picture, about 1cm wide. If you are lucky you may find a mount in a shop that is just the right size, but I had to make my own. Using a scalpel and a ruler, I marked the lines and cut out the mount. I actually went for four mitred pieces of cardboard rather than a simple mount with a rectangular piece cut out in the middle. That's what I would recommend you to do!!! Mitred edges are annoying!!! Trust me!
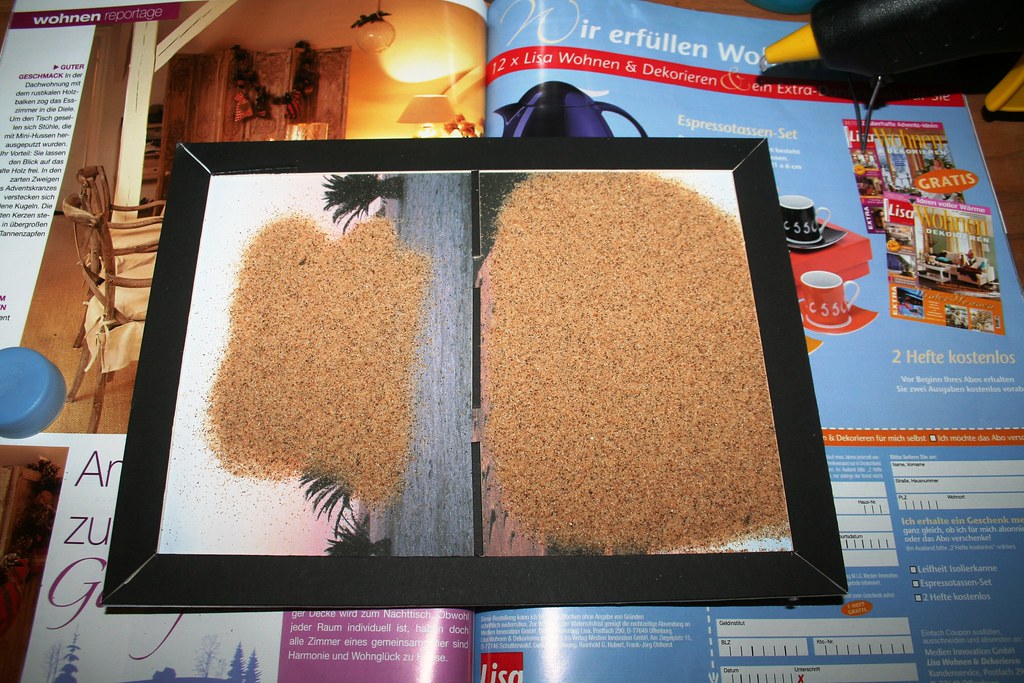
 Glue your picture to the backboard of your frame. And then stick your mount onto your picture. Cut a thin strip of mount which will create a border in the middle of your picture and has two openings through which the sand can trickle. The size of the openings depends on the size of the sand grains - don't make them too big or the sand doesn't trickle but "rush"... Glue the thin strips onto the picture as a divider between the two images.
Now you fill the sand into your picture. Lay it flat and cover the image with sand. You probably need the sand to roughly cover one of the halves. It's difficult to tell but if you check by putting your sheet of glass on top you should be able to figure out how much sand you need.

 Now comes the tricky part. I used hot glue to stick the sheet of glass onto the picture/mount. You have to work quickly and tidyly here - which I didn't manage! Glue around the edges of the mount and on the dividing strips in the middle. Take care to get lots of glue on there so that the glass sits tightly on the mount. No gaps!!! I managed to both spill glue into the pic and leave gaps on the edges. Don't worry about the appearance - you'll cover the edges with another mount before you stick the picture back into the frame. However, if necessary, make the frame sand-tight by glueing up the sides of the glass/mount/picture "sandwich". Check that no sand trickles out!
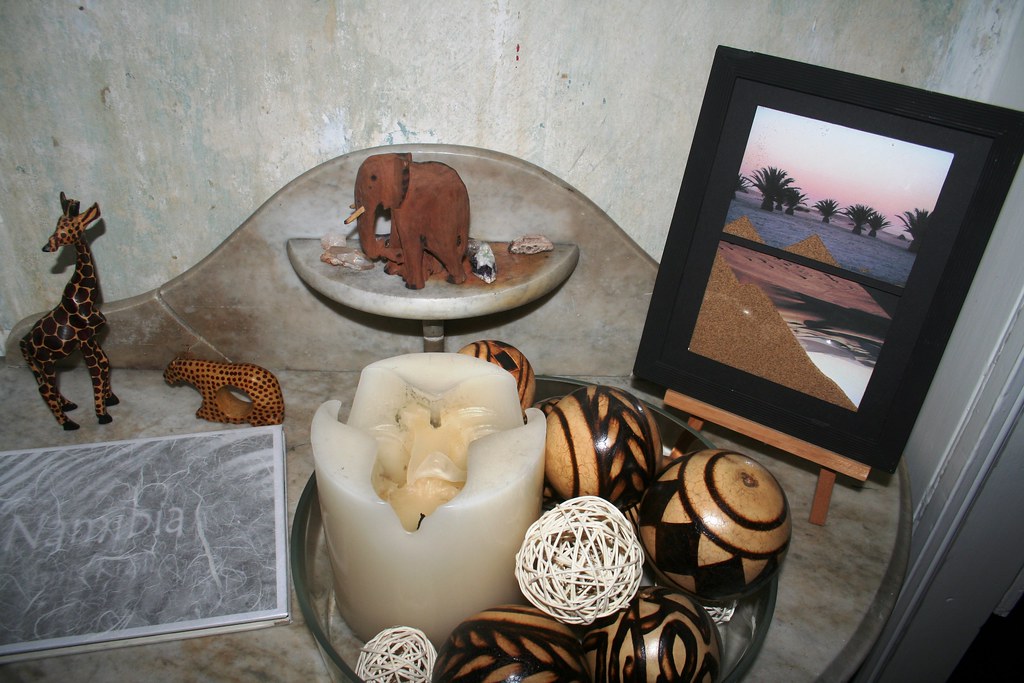
So here is the finished trickle-picture, putting my desert souvenir into use:

That's the project finished - thank you for reading, if you are still here!!! Apart from displaying holiday shots this way, this would make a lovely present for a child if you substituted the sand with salt and made it a winter scene. Your kids could even draw their own winter pictures over which you could place the trickle frame!

 PS: I can't resist showing you where exactly I picked up my sand: in the Namib desert on the Namibian coast. The Namib desert meets the Atlantic here - and the cold Benguela current makes this a truly unique place. Despite being in the desert, we sported long trousers and fleece coats as the wind was very chilly. We were taken there on a private tour by landrover. Our guide drove us two hours into the desert. Then we left the car in the sand and ventured on by foot. What a wonderful memory!
5 comments:
What a neat project to preserve such wonderful memories!
By the way...I love the title of your blog. I feel connected as a scissor sister and a crafty cousin!
~Amanda
Hey Amanda - thanks for the comment!! Hehe, yes, we are all scissors sisters and crafty cousins, aren't we?? Have to say it is absolutely great to see how many people there are out there who share my interest in crafting and making things...
What a neat idea, I love it. Those photos are amazing too, what a trip to remember.
You are one talented lady! I love it!!! I actually stopped by because after you stopped by my blog, I recalled that you had done an interesting chandelier. I'll keep looking till I find it!
Nice work on an interesting project. I found your blog while looking for plans to make one of these but with liquid in it, like the "Rainbow Vision Sand Picture" that you can buy (but is ridiculously expensive!).
While working on this project, did you come across anyone else's plans for such an item as I describe?
Thanks...
Post a Comment