Today's project is already a good few years old. As old as my daughter, actually. And therefore please excuse the bad quality of some of the pictures. They were made in pre-digital times. Aeons ago, so to speak. But baby projects have come back to the top of my list. Noooo - don't congratulate me yet *haha*. Not me, but some of my dearest friends are in the middle of procreating. So Sonja is busy thinking up little pressies...
Back when my daughter was a tiny tot, she would lie on the bench in the kitchen and keep us company while we were having meals. But she sometimes got bored, because lying on her back there was not much to see. I eventually decided to make her a simple paper mobile which would softly move and keep her entertained. It occurred to me, though, that most mobiles are actually not very cleverly designed - they are meant to hang above baby cots or changing mats. Yet when you look up, the paper shapes hang vertically and therefore you only see a small strip of paper but not the shapes. Sonja revolutionised baby mobiles forever with her simple design.
I cut out a daisy shape from a piece of strong, white cardboard and stuck a round bit of yellow paper in the middle.  Then I made lots of butterflies from safety needles and colourful card. Thread some small beads onto the safety needles. These needles will be the butterfly bodies. And they provide a bit of weight so the butterflies can flutter prettily.
For the butterfly wings simply fold over a piece of card and cut out the shape. Important: You have to make sure that the safety needle will fit around the middle of the paper butterfly, or to be exact: around the fold line. Just put the safety needles around the butterfly shape and fold the card butterflies open. Then attach a piece of thread to the side of the needle where there are no beads. Attach the other end to the petals of the daisy. And voila - there is a 3D mobile for baby which is actually visible from below!

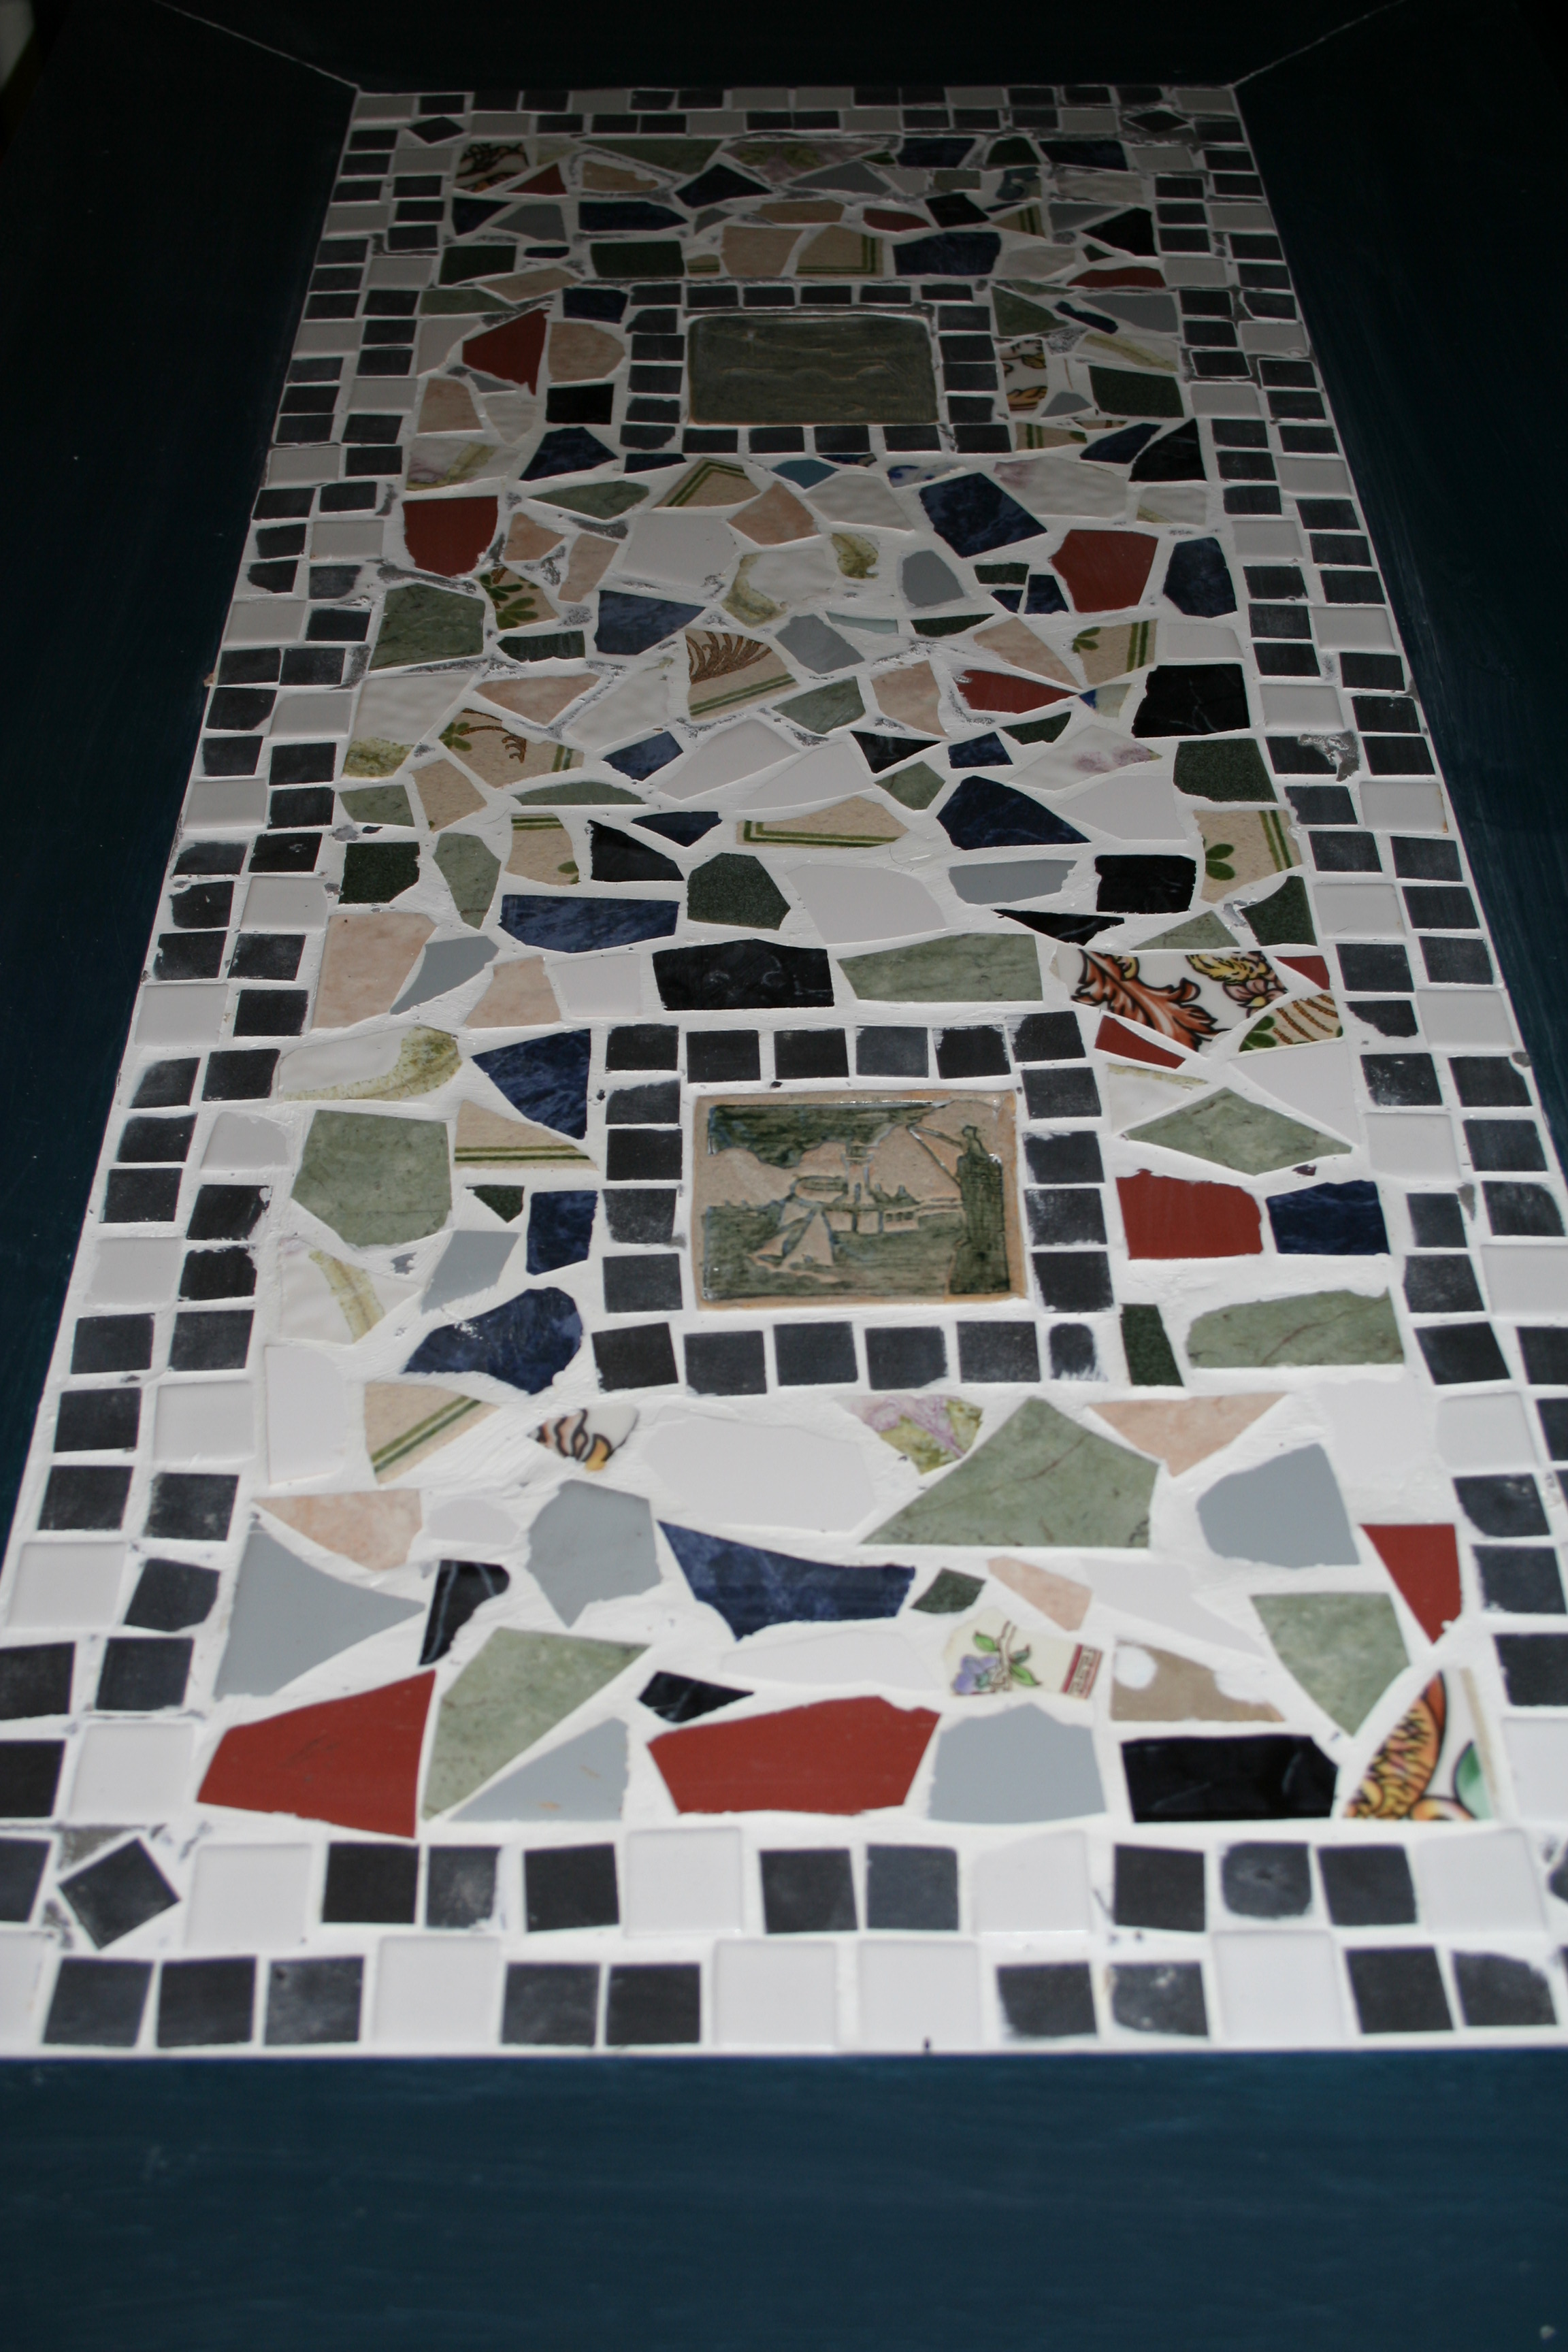
 For years and years I collected broken and left-over tiles because I wanted to make a mosaic tabletop sometime. I eventually forgot about my collection of mosaic pieces after I had shoved them into a cupboard and firmly shut the door on them. When redecorating our house I had to delegate my former desk into the garden. And it was then that I remembered my former mosaic plans. With the able help of my partner - who is always great when I need to do the "rougher" part of crafting - I made a lovely new tabletop which now has pride of place in the garden.
My partner built me a simple "frame" into which I was to lay the mosaic. Meanwhile I broke up the tiles into small pieces. (Take an old pillowcase or fabric tote-bag and bash it with a hammer. Or take it outside and hit the walls with the bag. Honestly - not only works but can also have a therapeutic effect on you!) Before setting the mosaic in cement, do lay the pieces on a template! I know - time-consuming and annoying. But it will give you an idea whether you have enough pieces, you can try various designs and you can move them around and experiment with the best fit.
Then set up your mosaic top. I would suggest that you lay the mosaic in stages. I had especially fast-drying cement and had to work really quickly so that the cement didn't set before I had transferred all my mosaic pieces. So cover only a bit of the table at a time with cement - thick enough to stick the pieces in. Don't push them in all the way, let them stick out a bit and create gaps between the individual pieces. That's where you will later spread the grout. Some of your tiles may have been thicker than other, so also make sure that the pieces are all flush, otherwise your tabletop will be uneven!
Once you have arranged all your pieces in the cement, you will have to wait for it to dry. Allow for as long as your cement instructions advise you. Only then mix the grout and fill the gaps with it. Again, let it dry as instructed and then clean off the surplus with a soft, wet sponge.

My tabletop incorporates not only bathroom tiles from my parents' house, but also broken china pieces and some handmade pottery tiles from my partner's aunt which were finally given their proper place.
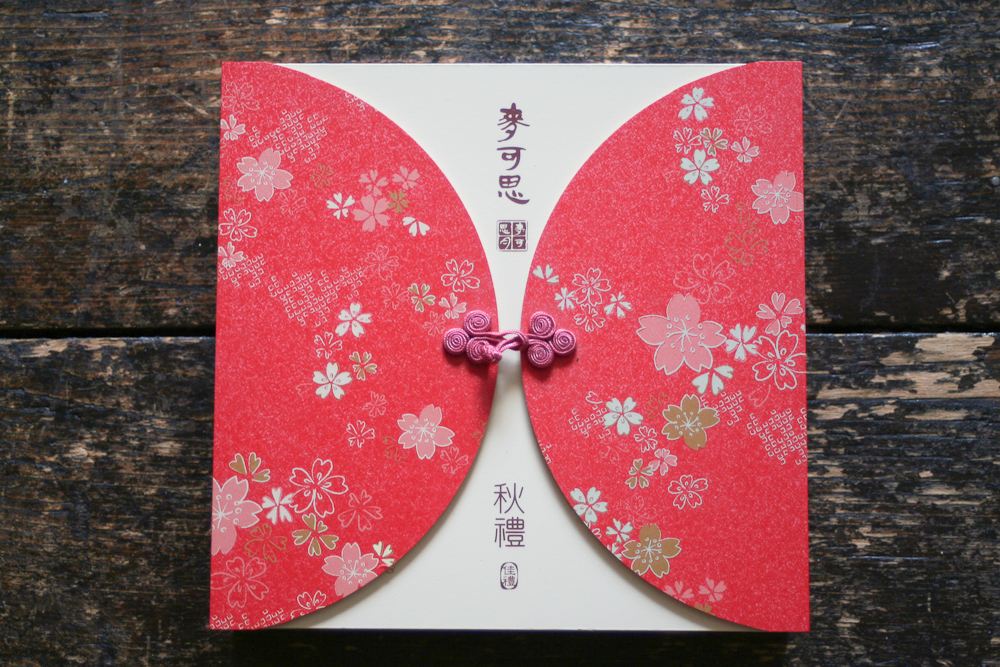
 In yesterday's blog entry about my holiday memory box I mentioned the Chinese-style paper I decorated my box with. I was not quite accurate. The paper is actually not Chinese but Japanese in style. But all scrapbook enthusiasts will be pleased to learn where you can get such lovely designs.
My paper came from a fantastic website which I found the other day. I am a true Canon-girl, i.e. I photograph with my Canon eos 350D. And while browsing on the Canon website, I saw that they have downloadable paper designs which would also be great for scrapbooking. Japanese Chiyogami papers which you use for origami and paper projects, are very dear. However, the Canon papers can be downloaded for free! Then you simply print them out on your printer.
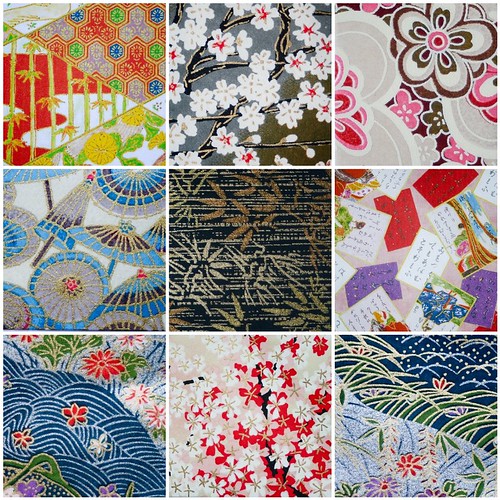
Of course the printing will loose the delicate gold lines which these Japanese papers often have. You can see it on this collection of tiny scraps of Japanese paper that I have:  However, depending on the quality of your printer, the downloadable ones still look lovely when printed. Normal writing paper will do, but you can probably also use thinner paper and then get the true Japanese feel to it.
Check this out on Canon's Creative Park. There are many, many different designs to choose from. Thank you, Canon!
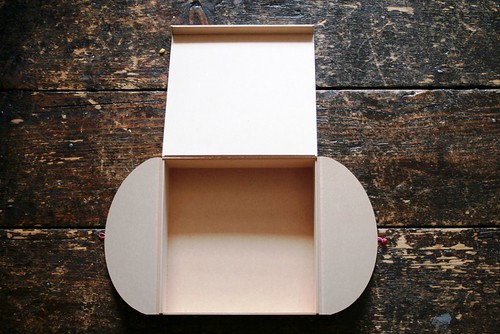
 Isn't this a beautiful box? It came from my sister- and brother-in-law. When they visited us recently, they brought it back for all the family. There were little cakes in it which are traditionally given as presents in the Chinese spring festival. Very nice. Alas, against usual evidence I was not really interested in the cakes. I really only wanted the box, because I can't resist beautiful things. And lucky I was - the family was happy with the cakes, and I got my box!
The Chinese definitely have a knack for presenting things in lovely cardboard or wooden boxes, as I found out when I travelled to Shanghai two years ago.  Whether you buy a lucky charm, a decorative teapot or a kite - they always came in beautiful handmade boxes with colour paper or fabric cover.
 I should really take a picture of all the Chinese boxes that have been amassed in our house, also thanks to a generous friend who lived in China and often brought back pressies for us.
Anyway - the box was far too nice to be hidden away in a drawer for a yet-unknown later use. So I have turned it into a display box for my Shanghai mementos. If you want to do this, just find a nice box. It doesn't have to have a lid or "doors" like mine - it will look great just as a 3D-display on your wall or on a shelf.
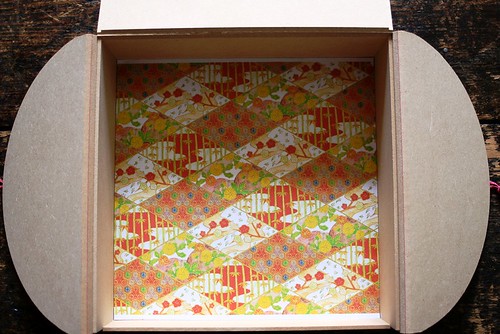
 I started by pasting a Chinese-style paper onto the back of the box to make the inside more colourful. (Tommorow's blog entry will be about the source of my paper.) Then I simply glued paper mementos onto the "back wall" of my box.
 The bigger and heavier souvenirs like the Mao badge I stuck on with blu-tack. That way I can remove them should I need them. The hand-painted lucky charm is fastened with a thumb tack.
I finished the project just in time - I am going on holidays in a couple of days' time, and will probably come back with another handful of sugar sachets, ticket stubs, coins and stamps. So get collecting all the bits and pieces that you find on holidays, and make your own memory box. I already have my sights on a couple of other nice boxes in my son's room - and neither last year's trip to Namibia nor the family holiday in Silesia have been preserved for posterity yet. Watch this space!
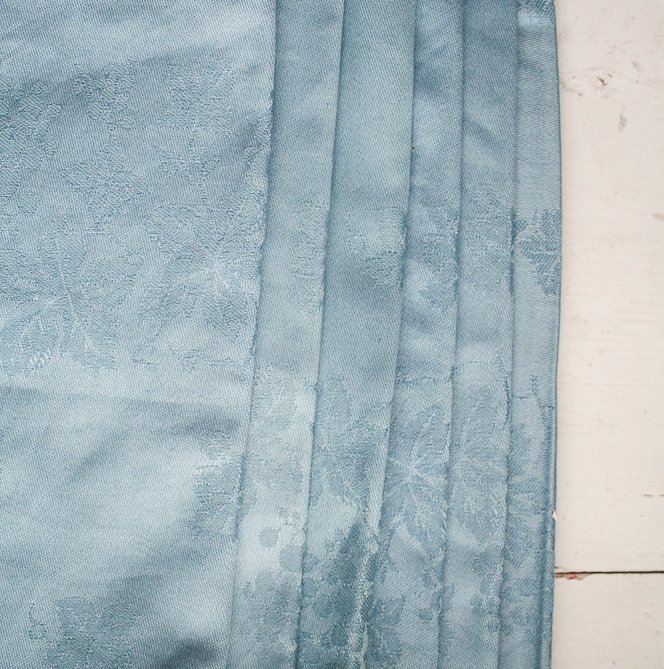
 I was given a set of blue damask napkins by a visitor years ago. I do like fabric napkins, but I confess I don't get them out very often. Noone at my table seems to use napkins very much, so it seems superfluous putting them out. Maybe I should turn them into little placemats? Or make them into mini-table cloths? They are rather big, almost 60 x 60 cm. Who has a gob that big???
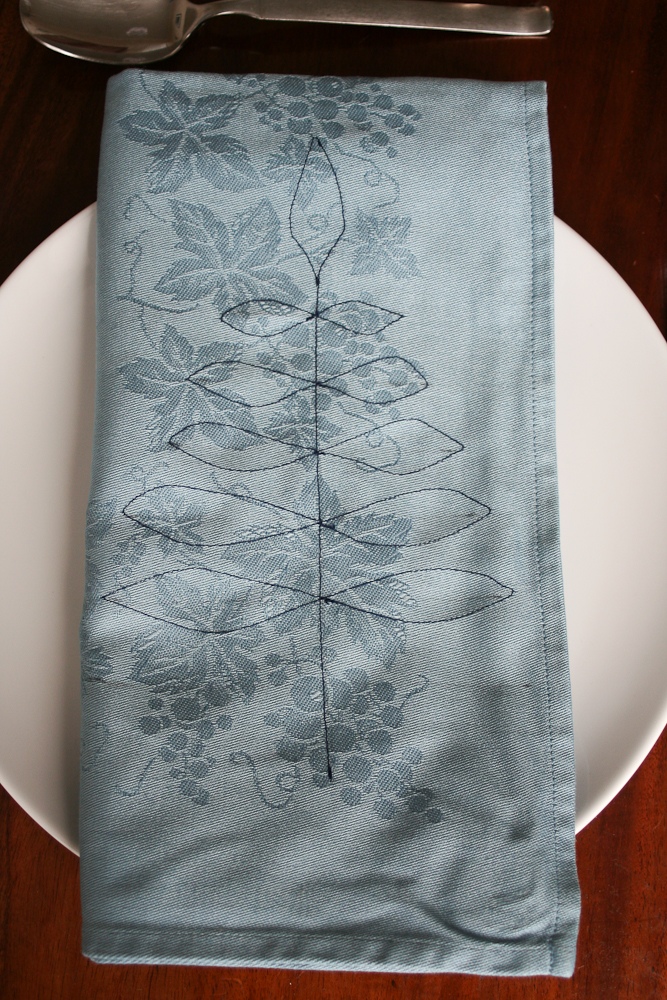
 Whatever - since they are not an essential item at my table I felt I could experiment with them. I had seen an easy design somewhere that I have tried to recreate. The outcome is a little Christmassy, as you can see on the left. It is, in fact, not a Christmas tree but a simple leaf design, very slightly inspired by Orla Kiely's stem designs. Here is what I did:
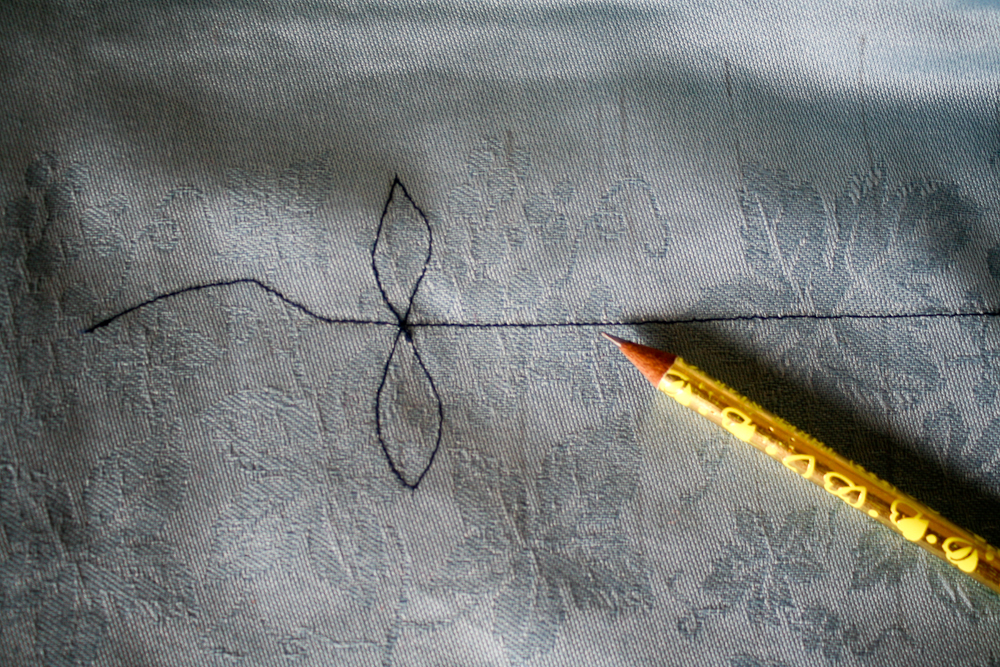
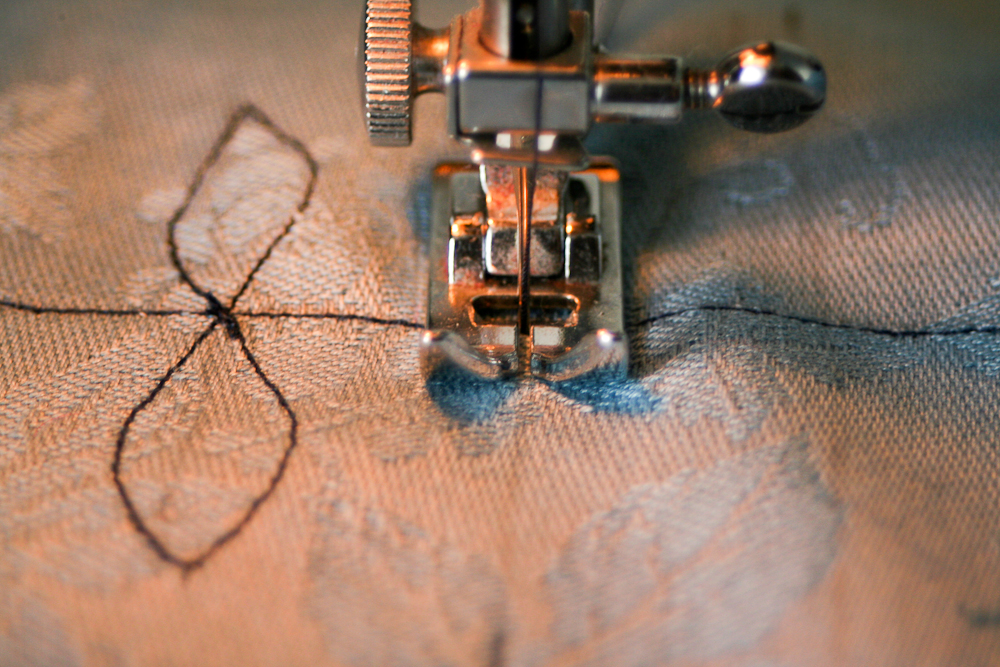
 First I marked a rough guideline along which I could sew my design. I simply drew with a pencil on the fabric (I assume that will come out in the wash...). Then I started out by sewing half of the top leaf and continuing all the way down with the stem.
For the pairs of leaves I found it worked best if you start in the middle,  i.e. on the stem, then sew one leaf, crossing over in one continuous line to the other leaf. Continue to do that with as many leaf pairs as you need for the length of your fabric. The design will be a little bit irregular, unless you draw the complete design onto the fabric. However, the irregularity will add to the charm of your design (says Sonja, pretending she didn't want her leaves more uniform...) It might be an idea to practice this once with an off-cut!
 I am quite happy with my result. Best is, that the design looks as neat on the back as on the front of the fabric. No tatty backside that needs to be hidden... One napkin will take between 30 mins and an hour to be made - depending on your sewing skills, I guess. My dining table will be spruced up with a spruce, so.PS: Fabric without an in-woven design is probably better for this project. In my napkins it kind of interferes with the sprucy leaves...

For those of you who are still lucky enough to have a job (...), here is something to make your lunch a bit prettier! - It always annoyed me that I only had a few dirty, smelly plastic bags in which I brought my crispbread and lettuce up to the canteen. Very un-stylish! When I had to tidy up a few loose ends one evening, I decided to sew myself a pretty lunchbag. Whenever I make a trip to Ikea (which is not that often, as Ikea is only opening in Dublin this July. Yessssssss - the suspense! the excitement! the expectation!!! I can tell you that a lot of Dublin ladies will be made very, very happy on July 27th *haha*), I stock up on the cheapest bargain fabric they are selling off. You often get colourful, nice fabrics for as little as 1 €/m. See a glimpse of my Ikea fabrics to the left.For those of you who are dedicated seamstresses, my bag is probably a botch job. I am too impatient to work with templates, rulers and measures. Well, I'd like to say that I am pretty good at improvising... But here is a rough template I worked with. (Click on picture to enlarge!)
 Basically cut out two separate rectangular side bits and one long rectangular bit which will form the bottom and the two smaller sides of the bag. Remember to calculate in 3 cm extra for sewing. I suggest you sew the bottom in first, with both larger side bits, and then do the side panels. Once everything was sewed together, I hemmed the top of the bag in one go.For the handles, just cut two pieces of fabric to the length you want them and then fold them over twice and sew along the long side. Then sew them onto the top of your bag. Finished.Here is my little maritime lunchbag (spot the Ikea fabric?)... Goes nicely with yoghurt, salmon and ciabatta bread...

Today I am showing you a necklace which I made a while back. Not that I didn't have a more recent crafts project. I actually spent all afternoon yesterday working on my latest project. I have finished it. And yet I haven't. There are some essential bits missing and I don't want to show it here until I am happy with the outcome. Currently that involves surfing eBay and other sites, hunting for some cut-class beads. You shall see as soon as I have what I need. But for now you have to do with my cutesy, not so little necklace. A project for when you have half an hour to spare. Or you need to keep the kids occupied. In fact, when I first wore my necklace, a colleague commented whether that was one of my little crafts projects for my daughter *grumble*. No - I entirely managed to do this on my own. Ha! And am proud of it, nonetheless.So, get yourself a length of black leather string (2m) and some colourful beads. The beads should be 1 cm in diameter. I bought my wooden beads in a wonderful shop in Dublin called Crown Alley (unfortunate
 ly they don't have a website - visit the shop anyway, if you are in Dublin. It is a treasure trove of beautiful, sparkly little bits and bobs... My picture here doesn't do it justice at all!)Anyway, start by making a simple knot at the end of your string, leaving about one hand's width to the end of the string. Now string your bead onto the string. Make another simple knot right behind the bead. That way it is kept in place and will not move. Using your hand as a measure, make another knot another hand's width from the first bead. Put on bead. Make knot. And so on and so on. When you have the required length, just knot the string together.Even if it is a simple necklace, I think it is quite beautiful and I often wear it with my favourite red dress. It even looks good on more sophisticated ladies:

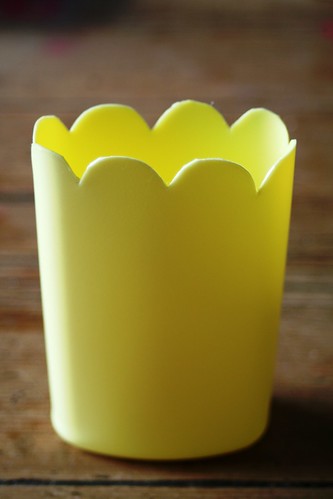
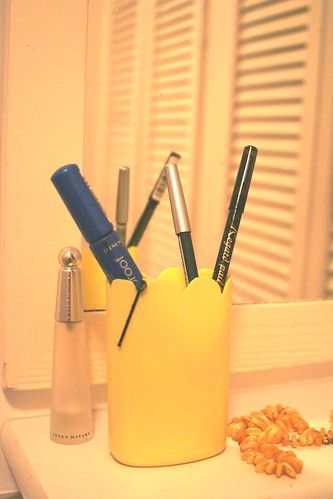
A quick blog entry before I am heading out tonight to a birthday party. Can't go before I have shown my latest creative project, though, which I did yesterday on the spur of the moment. The idea comes from a German craft blog, which I absolutely adore. Hanna Charlotte Müller is an industrial designer with focus on textile design who regularly blogs on her crafts, paper and textile projects. She does this for the well-known German women's magazine Brigitte under the heading of "Selbermachen!" (do it yourself). Her projects are really unusual but always original, crafty, mostly easy and certainly not the usual pastelly-twee stuff that you find on so many blogs and crafts sites. Please check it out yourself - even if you can't speak German. Her entries have detailed descriptions, illustrated with many photos. Click here. So after being inspired by Hanna and still being in recycling mode, I made a little multi-purpose container, fashioned from an empty shampoo bottle. All you need for this project is an empty plastic bottle (shampoo bottles, lotion containers, shower gel bottles of all shapes, colours and sizes will do) and (nail)scissors, a sharp, sturdy knife and a pencil, possibly a punch or a ticket punch or a scalpel.Start by cleaning the bottle and drying it. Th
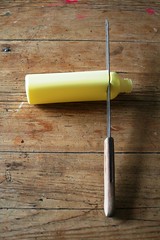
 en cut off the top. I used a sharp bread knife to give me a headstart because my little nail scissors could not cut through the thick plastic screw top of the bottle.Then mark the design of your bottle on the plastic with a pencil.
 For my starter project I decided not to be too ambitous and chose an easy scallop edge design which I marked out by laying the nail scissors onto the bottle and then draw around the edges with the pencil - see the photo.
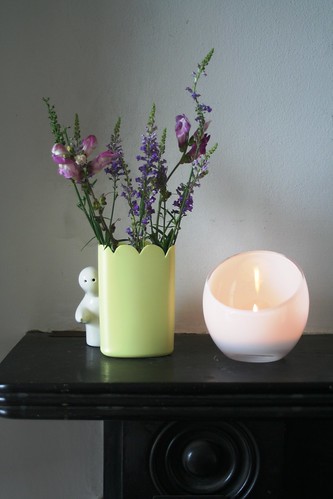
 Next I cut the scallop edge with the nail scissors. It was a bit fiddly but it is not that difficult. My bottle was too small to then punch holes into the edge and I did not have my scalpel at hand, but theoretically you could make lace-y designs by using a ticket-punch or cutting out shapes with the scalpel.The container took half an hour to make and cost nothing! This is more a decorative object than one with a clear practical use, but I can think of various uses for my new plastic container - as vase, make-up container or pencil tidy on my desk. Here are my suggestions:


 Today's project is already a good few years old. As old as my daughter, actually. And therefore please excuse the bad quality of some of the pictures. They were made in pre-digital times. Aeons ago, so to speak. But baby projects have come back to the top of my list. Noooo - don't congratulate me yet *haha*. Not me, but some of my dearest friends are in the middle of procreating. So Sonja is busy thinking up little pressies...
 Then I made lots of butterflies from safety needles and colourful card. Thread some small beads onto the safety needles. These needles will be the butterfly bodies. And they provide a bit of weight so the butterflies can flutter prettily.