FYI


Saturday, February 20, 2010

Kitchen Chairs Enlivened

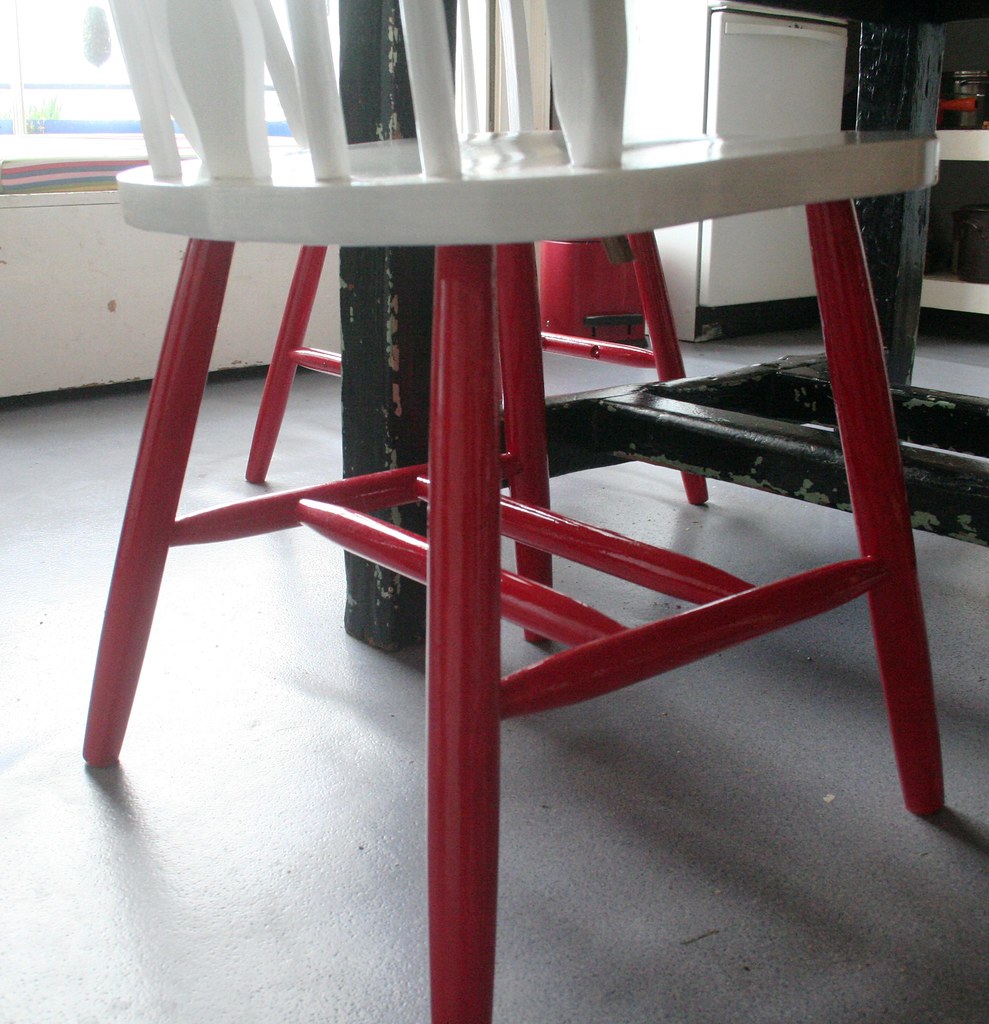
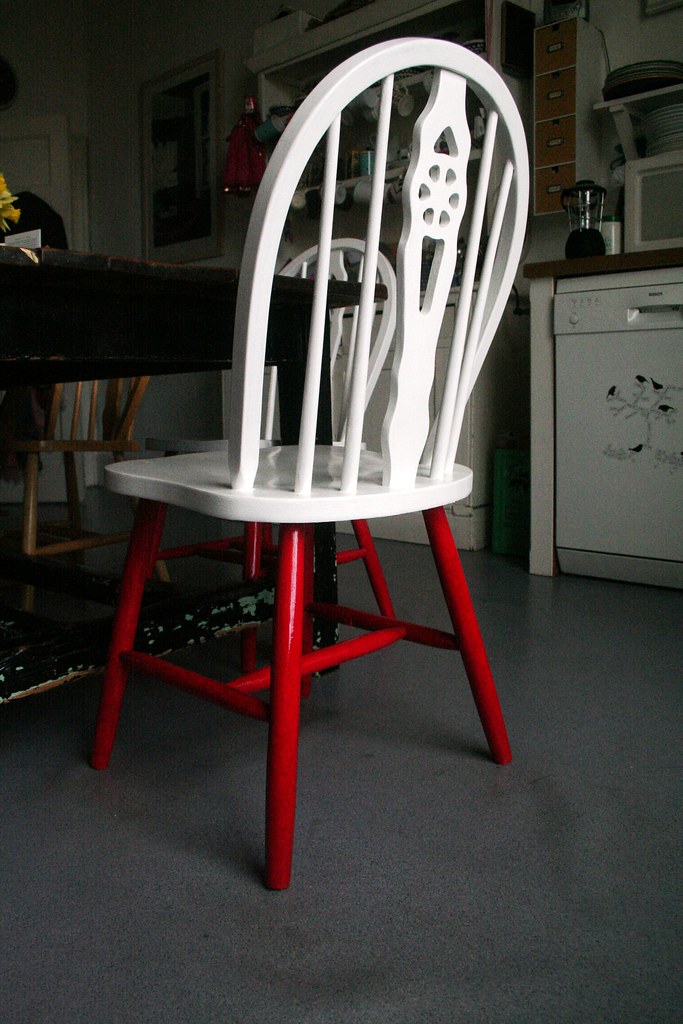
When we remodeled our kitchen four years ago, we were given a set of six wooden chairs by my brother- and sister-in-law who had just moved into a new house. Now, I am not a great fan of "rustic" furniture, but who looks a gift horse in the mouth? Besides, the chairs are a classic design and were neutral, as in "wooden". Ultimately I would love to have some design classic like the Arne Jacobsen Series 7 chair. But I guess I will have to save a bit for that... In the meantime we have updated and enlivened our kitchen chairs with a bit of paint.

 
Oooops, I should've hoovered the floor before I took that pic *blushes*. 
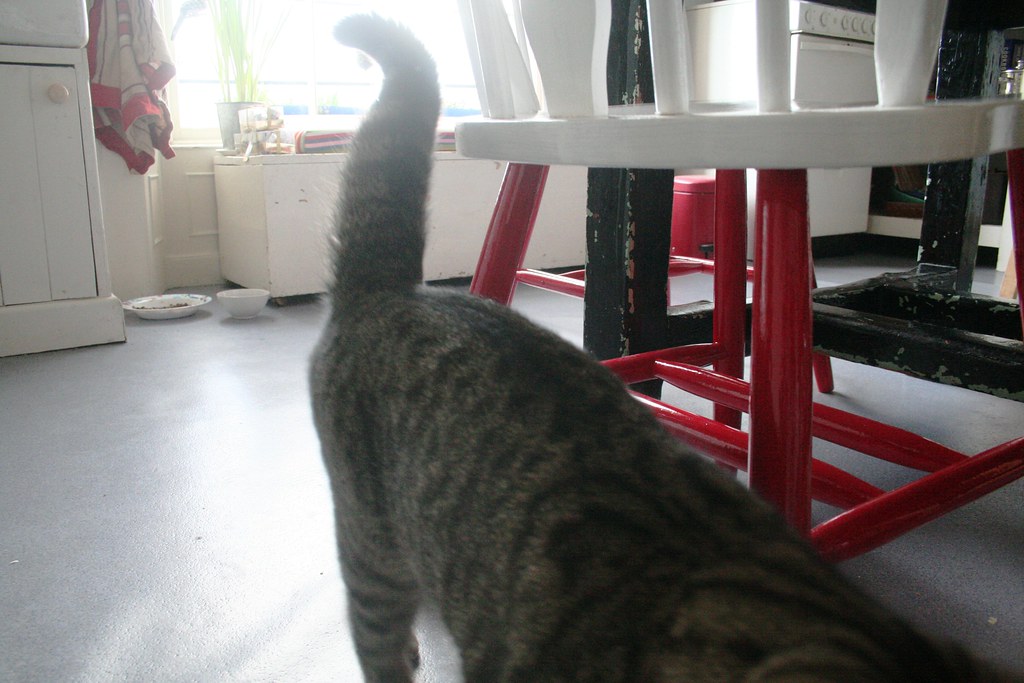
Guess who walked right into the photo shoot? Yep, always there, just in case we put out some food... (In fact Skittles had just pushed a pan with left-over mashed potatoe from the kitchen counter onto the floor and was happily nibbling away at it...) Apologies for the picture quality in this post - it is difficult to really show the chairs in context. 
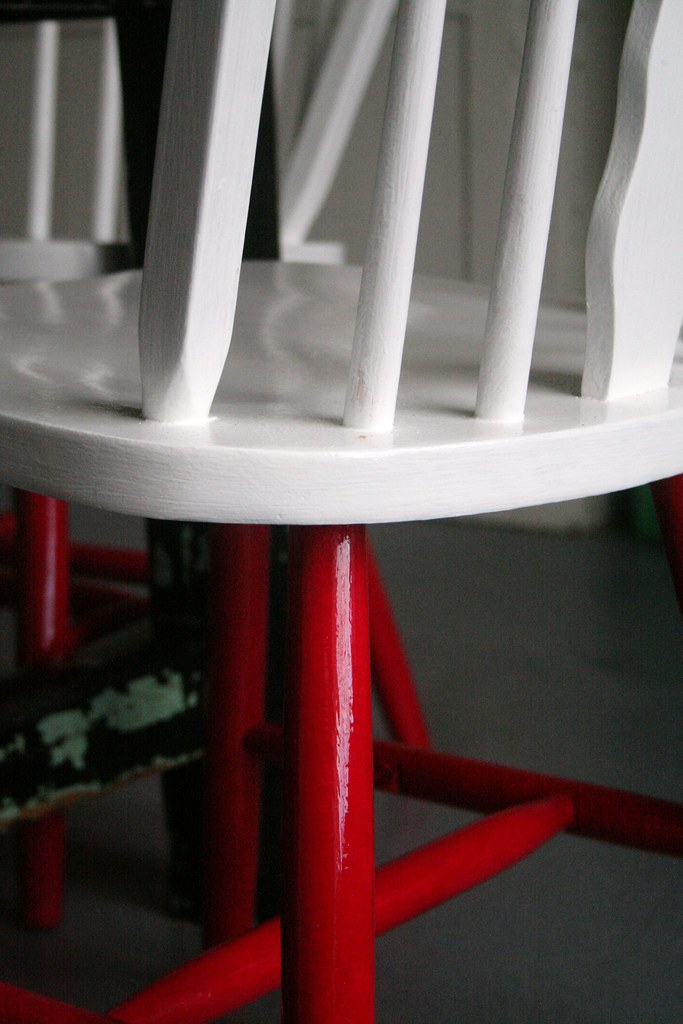
Essentially we painted the legs a bright red and the seat and back brilliant white. I know it is a bit playful and not very elegant. Maybe "quirky" - but I like quirky. At least it means that not everyone has it. And red just lifts my spirits...
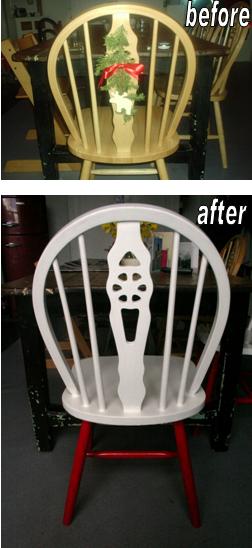
Here we go with a little before and after - sorry, the "before" image was taken around Christmas, hence the decoration with reindeer and fir...
 

On a different note I would like to say a big thank you to you, dear readers, for taking part in my little giveaway! I love getting your comments and I usually reply to them via the comment box, myself. This time I am avoiding that because I don't want to upset the numbers for the draw. Anyway, thanks for taking part and for visiting the blog. It's not only motivating, but also uplifting to know that you are out there!!! - If you haven't yet entered the giveaway, please do so here by simply leaving a comment. I will draw the winner on Monday evening, 11.30 pm.

 Best,


Friday, February 19, 2010

My Chinese New Year-Mantle

I know I am late for it, but the Chinese New Year started on February 14th. Ever since I have been to China for a short visit in 2007, I take a bit of an interest in that fascinating country. (Take a look at my flickr set here, if you want to see some images.) Of course brought back lots of souvenirs from China, and I love using them in my house for decorating. The added bonus of all "Chinese" decorating is, that the colour red pops up frequently - apparently it is a symbol of good luck. So with red being my favourite colour, a Chinese mantle theme was unavoidable. Do come in and have a seat...

 
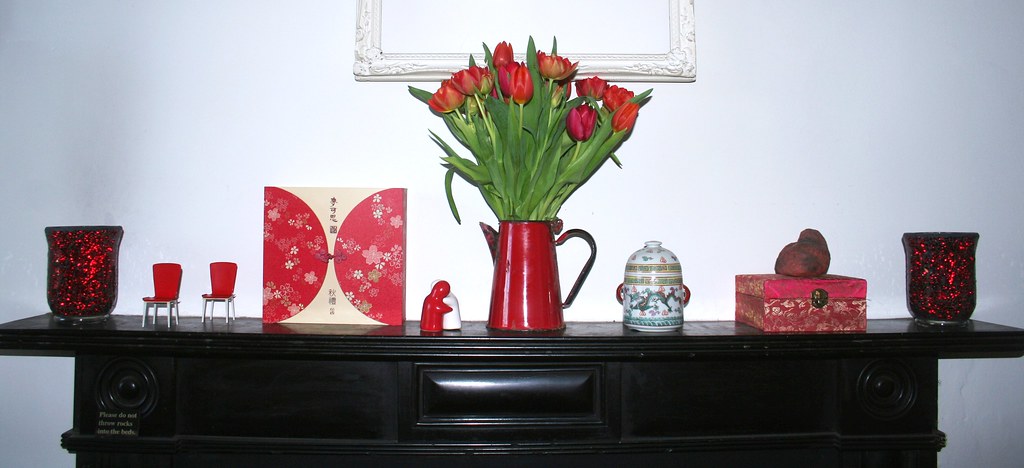
Right, ready for my little mantle tour? Beth from The Stories of A to Z had started me on the whole thing a few weeks ago. She used to host a weekly mantel party, but is currently in the process of revising the schedule of it. (Here is a link to her latest Mantel Party).  I gathered all sorts of Chinese bits and pieces together and arranged them on my mantle. I am baaadly longing for spring, and so a bunch of red tulips became the centrepiece of the mantle. The old enamel coffee pot came out again, too. Here we go:


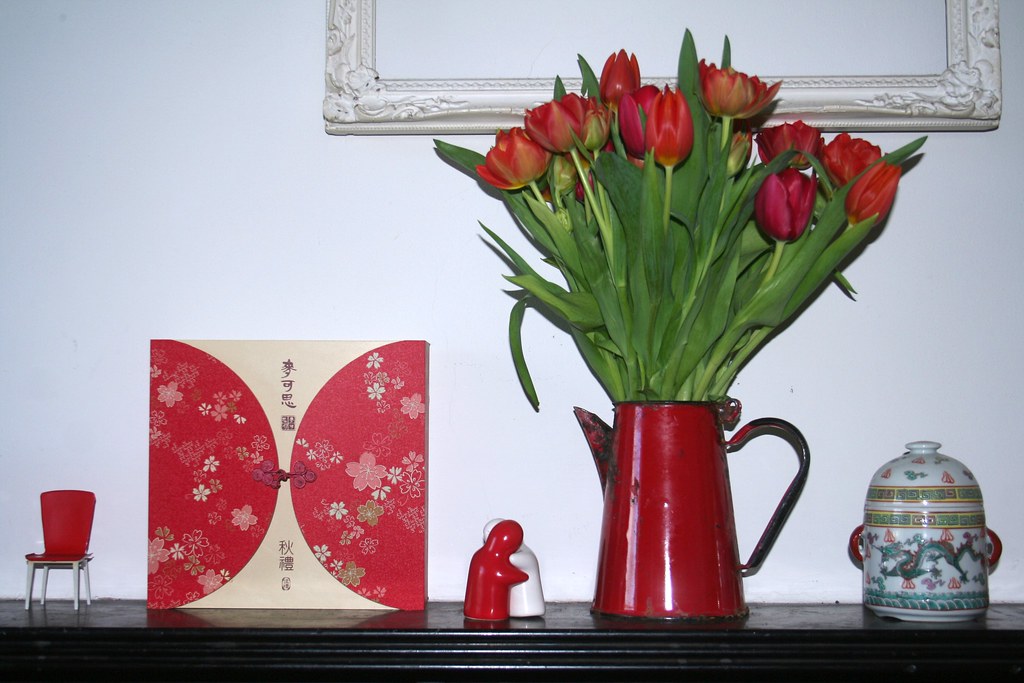
There always tends to be an element of symmetry in my arrangements. I have found that a symmetrical, not-too-cluttered mantle arrangement deludes my visitors to feel that the whole kitchen is tidy and calm. Ha! If only. So for that reason there is a central flower arrangement and then two identical objects at the side. This time it is my Christmas Sales finds, the red hurricanes. The red and white box on the left is my Shanghai memory box (I wrote a post about that project here.) It originally contained traditionally Chinese spring cakes. I usurped the box from my brother- and sister-in-law who brought it back for all the family a couple of years ago. The other red box on the right contains a tiny Chinese tea set which was given to me by a very kind and generous friend who used to live in Shanghai. The jar beside the tulips came from my grandmother - it has a dragon design on it. No idea how she acquired it, but I like it, anyway...


Sooooo - with all the bright reds on my mantle, I cheer myself up every time I step into the kitchen. Come on, year of the tiger...

Best,

Thursday, February 18, 2010

My 100th Post - and a Giveaway to Celebrate

Giveaway Giveaway Giveaway!

Now, have I got your attention?

This is my 100th post on Craft-Werk. Sorry for the recent lag in posting, but it occurred to me on Sunday, when I posted last, that the next time I'd write would be my 100th post. And that surely calls for a giveaway! So the last few days I have been busy thinking up, crafting and putting together what I would like to giveaway to one lucky reader in order to celebrate the blog.

Something old, something new, something crafty, something blue handmade. This is what I am offering:


Ok, something old: From a big stash of vintage sheet music I am giving the lucky winner a 15-page music score - originally aged looking with stains and frayed edges... (Can you believe that this sheet music was meant to be thrown out in the paper recycling? No way, still many uses for that!!!)

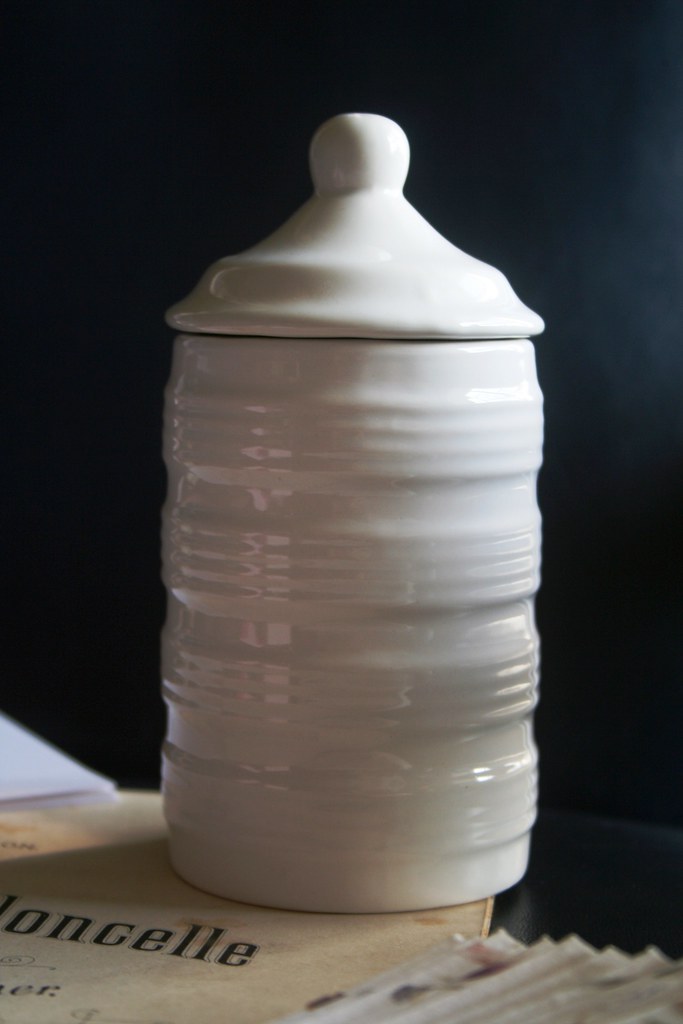
The "something new" is this cute lidded jar. It is about 7.5 cm (3'') in diameter and 15cm (6'') high. In handy white, it will suit most interiors. I had bought it for my mantle arrangements, but am willing to part with it... (I might get myself another one, though, too cute...)

For all you crafters out there, I am including a bit of craft material in this giveaway. 
There are ten A5 size envelopes, made from beautiful paper that has pink petals in it. A precious envelope to store tickets, photos or other memories in? Or rip up and use the paper for scrapbooking... 

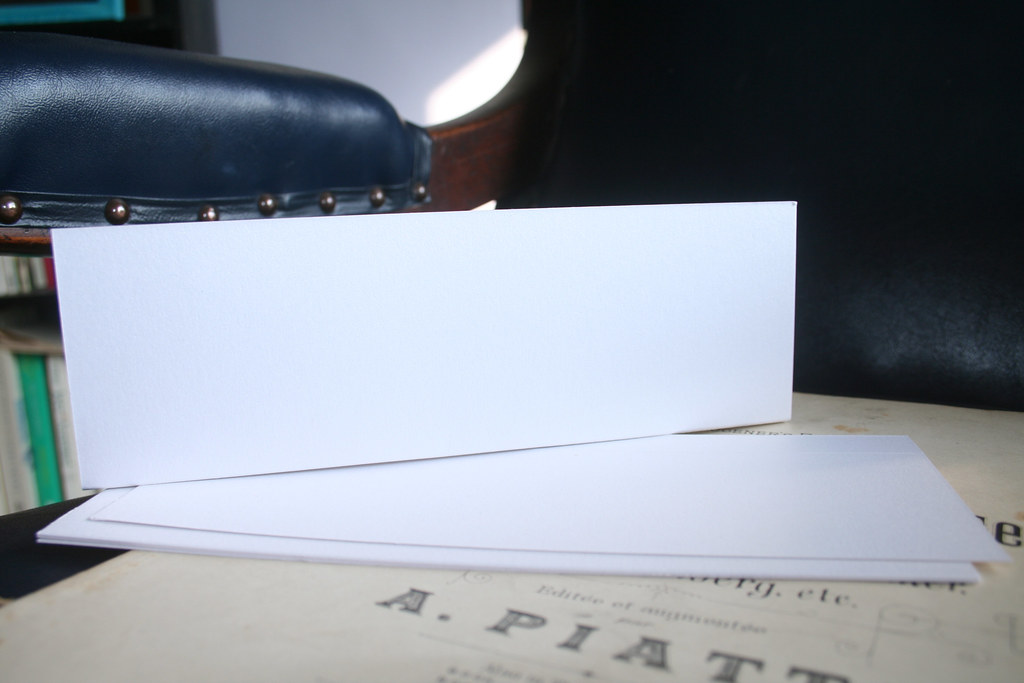
I am also throwing in 10 strips of pearl-shine card stock that is pre-scored. It is ideal for making placecards (check my previous efforts here).


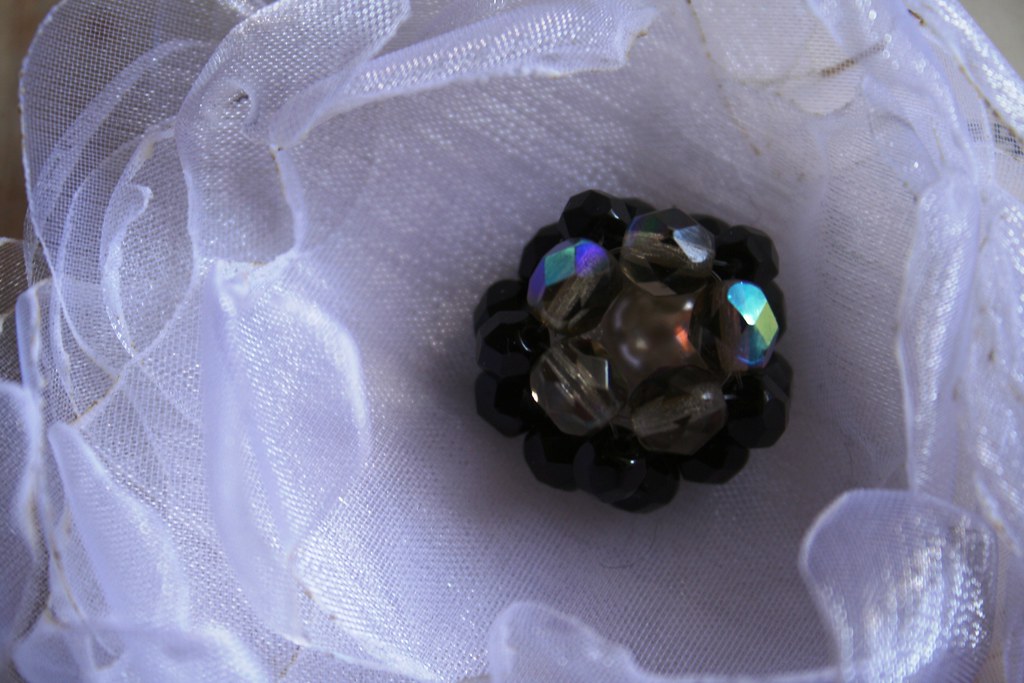
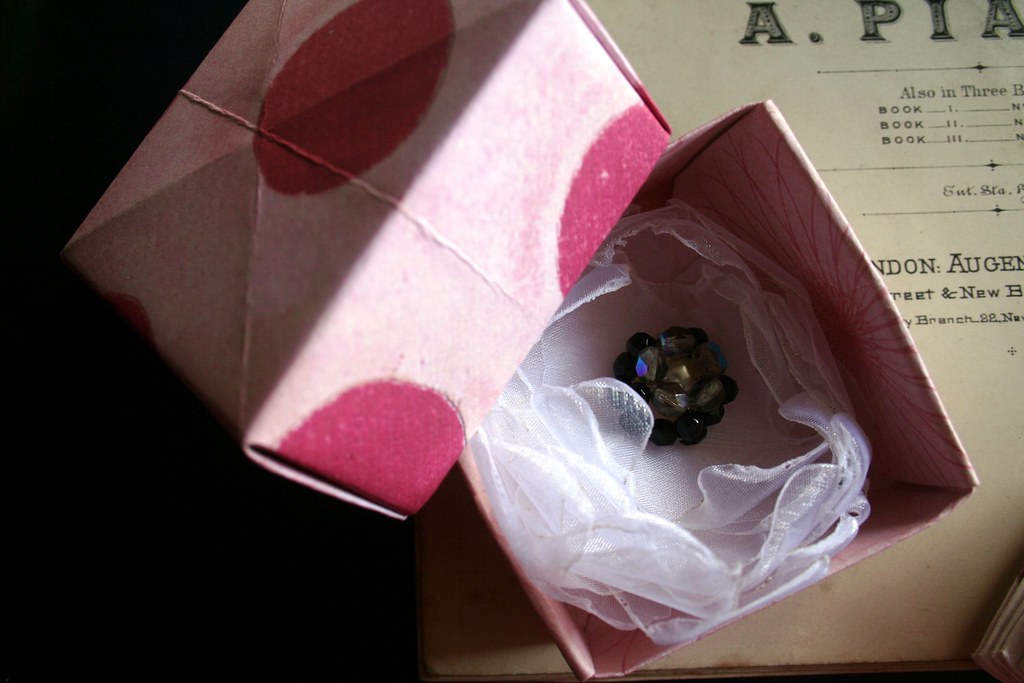
Last but not least I have created another one of those classy and chic corsages. White will match most outfits, I figured. And I especially made a halfdome bead to go in the centre. If you look closely you will even spot the bead I have place behind the half dome. It wriggles, if you shake the corsage... 
 
It comes well-protected in its own little origami box.


Wherever you are in the world - if you are the lucky winner, I will ship it to you. And I will probably throw in a few Irish goodies to boot... To enter the giveaway please just leave me a comment, preferably all full of compliments about my taste, my ideas, my house, my crafts, my blog, my personality... Just kidding! But do leave your contact details, unless you are a follower of my blog. Entry is open until 11.30pm (GMT), Monday, 22nd of February.


Wow - writing and planning this was fun. I am so excited to see what happens next. Please get in touch - you might just strike lucky! I haven't ever won a giveaway yet, but I suspect it's almost more fun hosting one than winning it...


Best,

Linking to: 


giveawaysGet your craft on Thurs.


Sunday, February 14, 2010

Classy Silhouettes

Black is such a classy colour. I mostly wear black (apart from my trademark red), but I do not really use it much in my interior dreamings. But I have noticed that an awful lot of re-dos that I see in blogs is done with black paint. Well, here is a little idea that might appeal to all you lovers of the colour black out there. 'Cause today I made a couple of classy silhouettes.


The inspiration for this project came from a whole wall of silhouettes. These are two silhouettes of ancestors. I think they are late 18th and early 19th century respectively. Before the invention of photography in 1836, the cheapest way for the burgeoning bourgeoisie to have a portrait done, was having a silhouette cut. If you look closely at the lady on the left, you will notice the fine detail and care that went into these "likenesses". This silhouette was not cut, though, but painted. The outline of the head was painted black and then the details such as the hair and the ear were added. They even included the eyelashes. Isn't this lady beautiful? (I am thinking Elizabeth Bennett, here...)
Here is another silhouette, which I believe is pre-19th century, just based on her hairstyle. Again, this is a painted silhouette. The fine details of hair and bows would have been impossible to cut. Both miniatures are about 3-4 cm in size (approx. 1 - 1.5 inches). - Isn't it wonderful to think that these likenesses are still around, long after the two ladies are gone? They certainly we held very preciously and are mounted in sweet little wooden frames with gilt edges...
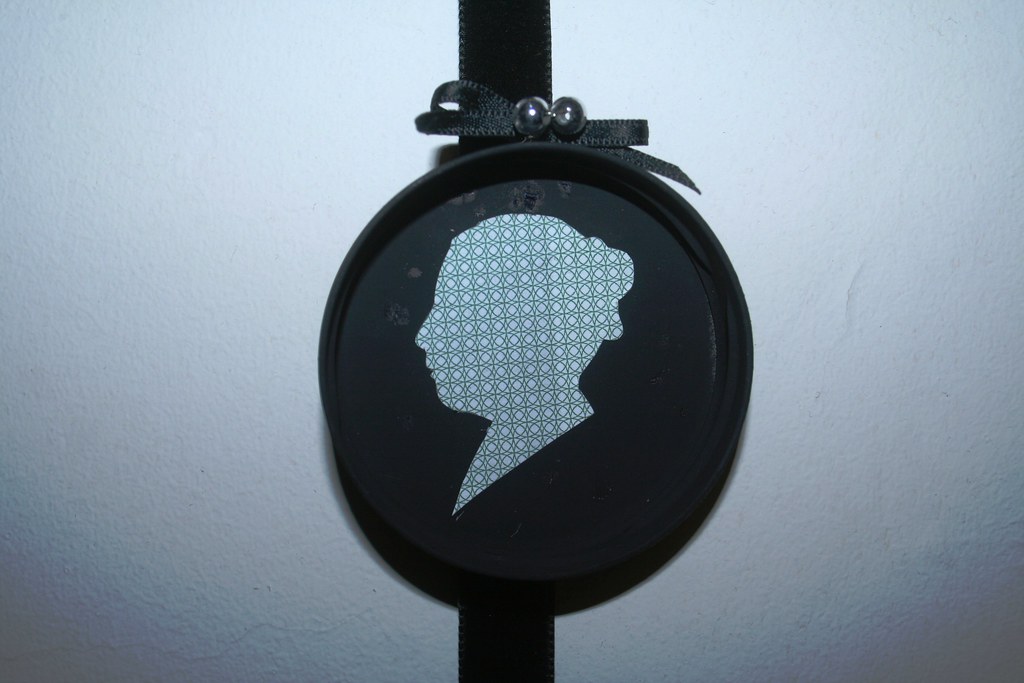
I decided on a slightly more modern version of the silhouette by inverting the colours - light silhouette against a dark background. The paper I chose for the silhouette came from my stash of security envelopes. I haven't been able to stop collecting those ever since my ill-fated "Material of the Week"-adventures last year... (See some other projects with security envelope paper here: paper beads, a little garland, card decorations and mini-envelopes.)

Sorry, no photos of the individual steps, but it is pretty self-explanatory: I printed a photo of my own, regal head in profile onto the back of the security envelope paper. Then I cut it out with small scissors. (Brrrr, hate using flash - leaves very ugly shadows on the pics. Obviously, the frame is perfectly round, not oval...)

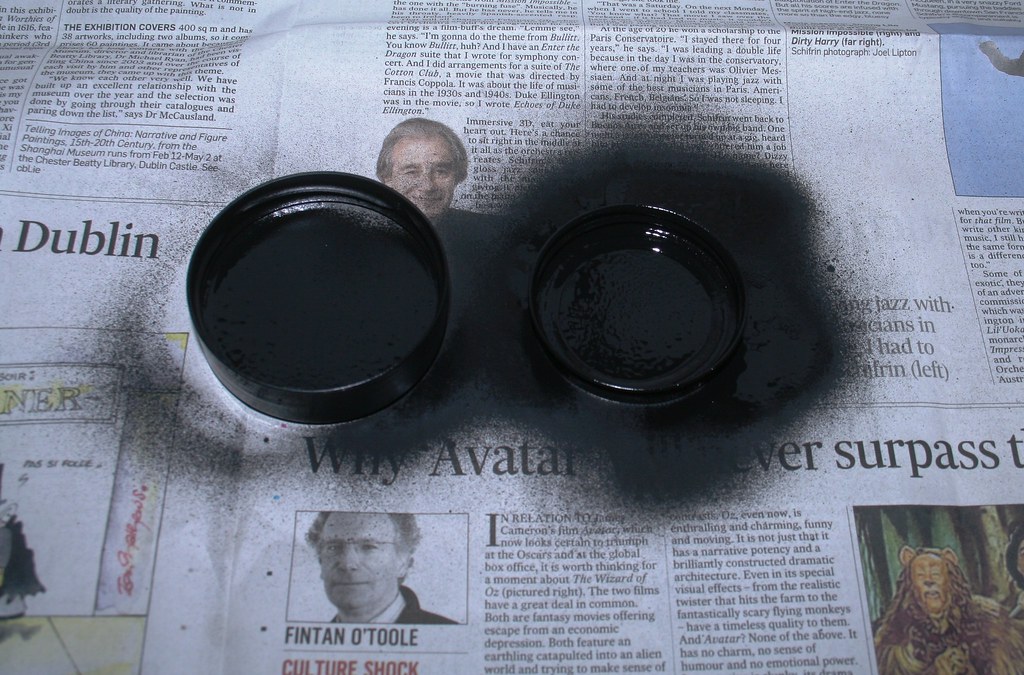
The idea for the frames came to me the other day when I was doing the recycling. While taking the lids off all the empty jars that were going into the glass recycling, it occurred to me that they make perfect little frames. So out came the blackboard spray (proper black spray paint would do much better, but I haven't got any), and I gave the two chosen lids a good spray. Make sure you choose lids that are not of the "twist off"-variety. Those have irregular rims and do look too much like lids...

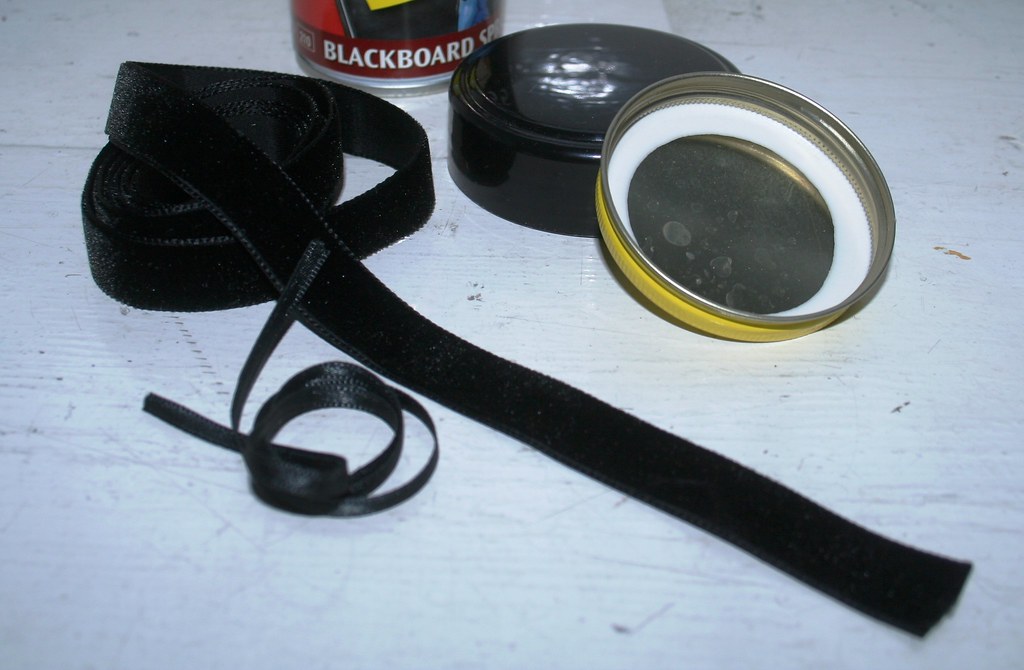
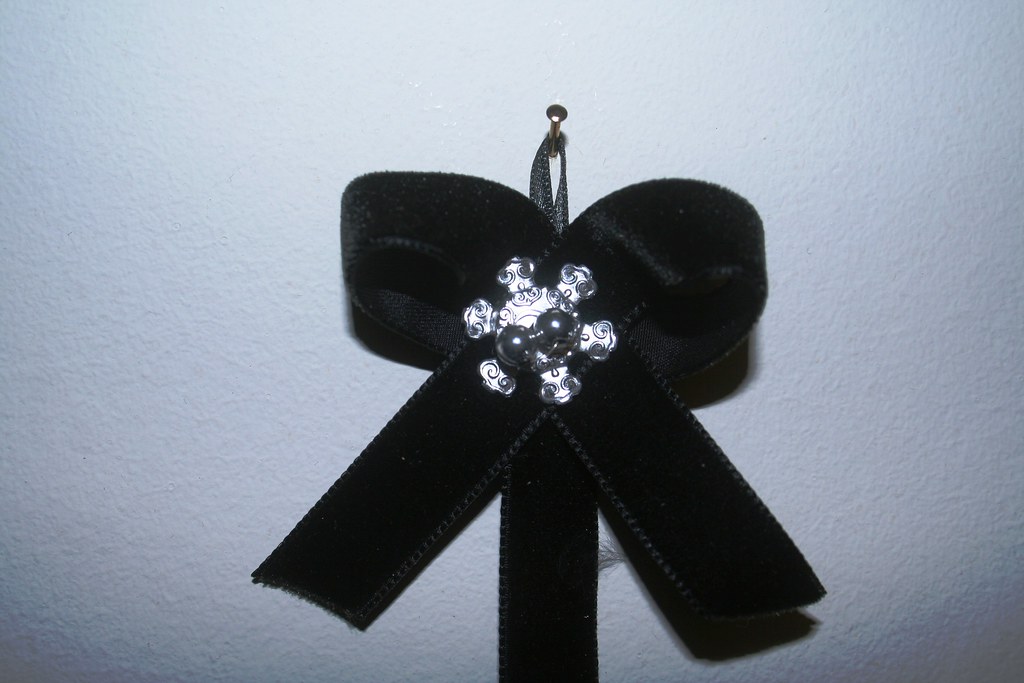
Be patient until your spray paint has dried and then stick your silhouette into the lid. (As usual I was impatient, scratched the not-yet-dried surfaces and had to touch up with a marker *tstststs*.) Since my ribbon collection is newly organised *yoohay*, I quickly found a length of black velvet ribbon onto which I stuck the lids miniatures. It looked a bit too bare like that, so I embellished a bit with bits of pieces in my "miscellaneous" box. To hang the length of ribbon, I made a bow. Cheapskate that I am, I had some little silver beads on thin wire (dismantled from a Christmas cracker... I know, I am a total crackpot, saving fiddly bits like that...). And guess what the silver star/snowflake ornament on the bow is? .... It's the hanger from a Christmas bauble!!! When taking down the Christmas decorations, one bauble smashed and I kept the hanger (yeah, definite crackpot, Sonja!). I simply flattened it. Then I put the wires from the beads through the star and pushed it through the velvet bow and the ribbon. I also attached a small satin ribbon to hang it up. 

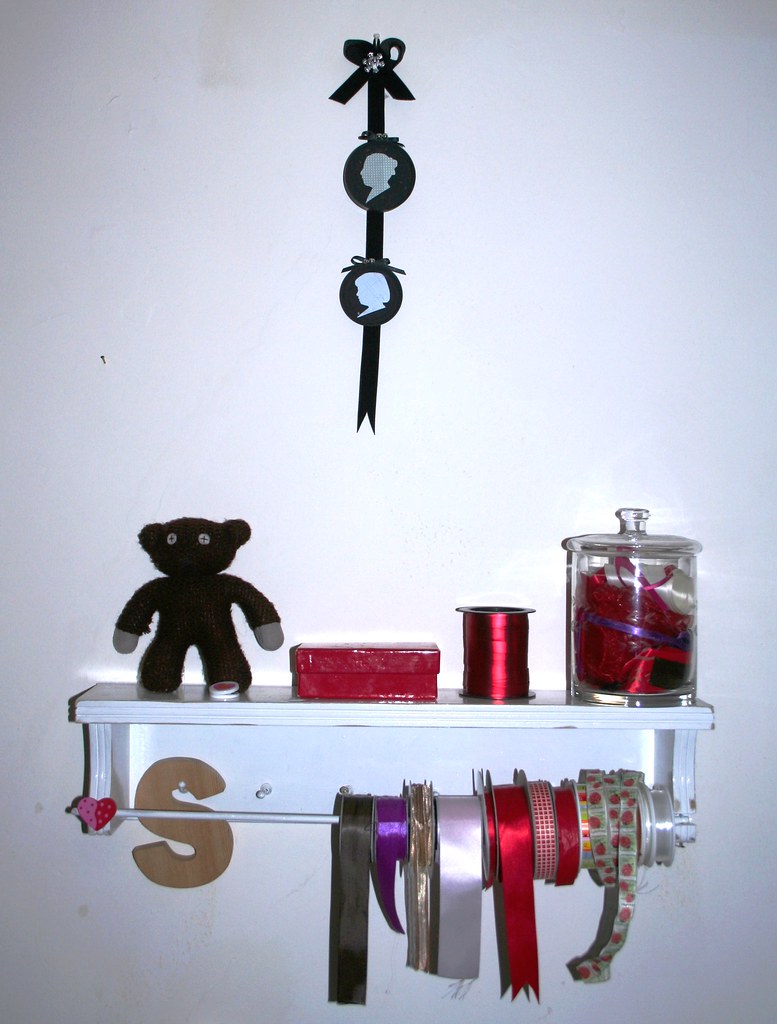
Lastly, I glued the lids onto the ribbon. Continuing with the tradition of keeping the ladies' likenesses, I also made a silhouette of my daughter. And here it is, my silhouette display - preliminarily hung above the shelf beside my desk.

  
So, there is a classy little project for you - that will cost you nothing, but is priceless! 

Best,


Linking to:


Photobucket


DIY Day @ ASPTL


http://itssoverycheri.com/2010/02/14/its-so-very-creative-party/?


The Girl Creative


Wake up Sonja!

OMG - I have just realized that it totally and completely passed me by that my living room re-do was featured on The Best of your Before and Afters. Jeeeeeeez, how could I have missed that? Lindsey's Blog is one of my daily stops! I think I was a bit preoccupied with my college exam at the time...

Anyway, you can see the post and Lindsey's kind comments on her blog here. There is tons of other very cool before and afters on her blog - so good and inspiring, in fact, that I regularly turn green with envy.

As regards the mysterious "sugar soap" that Lindsey refers to: It's a cleaning concoction that we used when preparing our otherwise untreated walls in the living room. According to Wikipedia it is most widely used in Commonwealth countries - hence you American readers may not have heard of it before. It gets its name from its similarity in looks to sugar. But it is actually sodium carbonate. Wikipedia informs me that it is comparable to TSP in the United States...

Off to change my notification settings now...

Best,

Friday, February 12, 2010
And It's a Wrap!

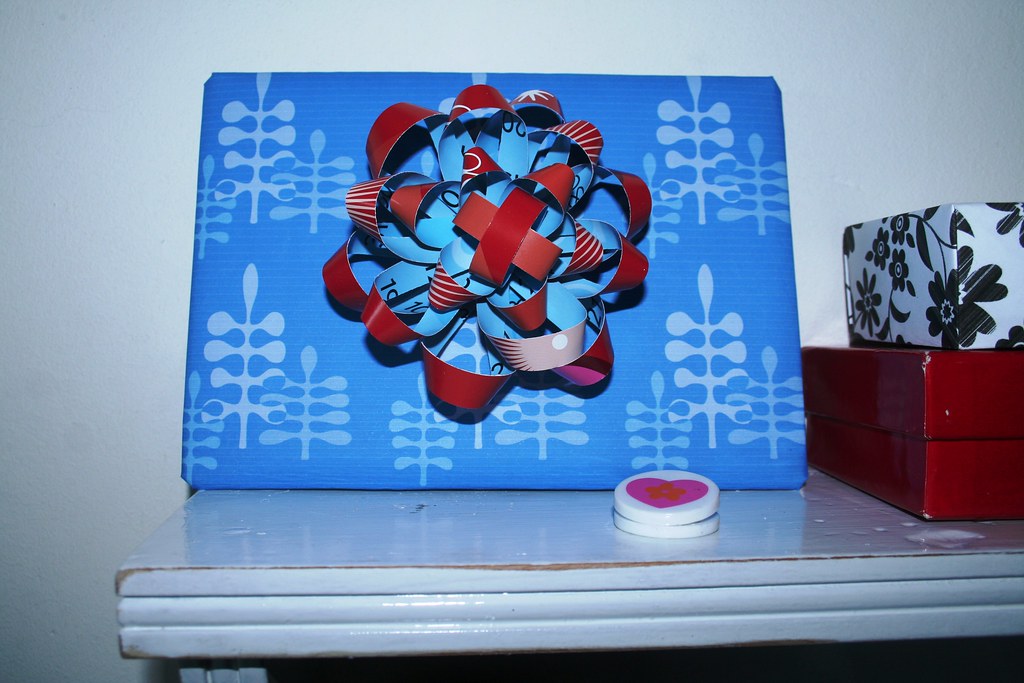
Before I am going out tonight to send off a former colleague of mine who is leaving Ireland and heading off to different shores, there is a quick post to show you something. I don't want to celebrate her leaving without giving her a little pressie to remind her of Dublin. A photograph was quickly picked from my archives and mounted. Then it came to wrapping it nicely. Would you like to be sent off with this:


Instead of using some red ribbon from my newly organised ribbon rail I felt like making something. Also, I haven't really got much "grown-up" wrapping paper (most of the gift-wrapping I do these days goes towards kids' birthday presents, and I have a roll of colourful kids' paper for that).  

Is it really bad form and cheap to re-use an old photocopy as wrapping paper? Well, I'll claim that I did it with recycling in mind. I turned a bit of blah scrap paper into a stylish gift wrap by simply printing an origami paper design onto the white back of the photocopied page.

Then I made a gift bow from strips of paper. I won't go through all the stages, because there is already a great tutorial out there. How about Orange posted this last year - and I bookmarked it for eventual use. Check the tutorial here. And while you are there, make sure you look through her other posts. She comes up with the greatest paper design finds EVER and is one of my regular craft reads! 
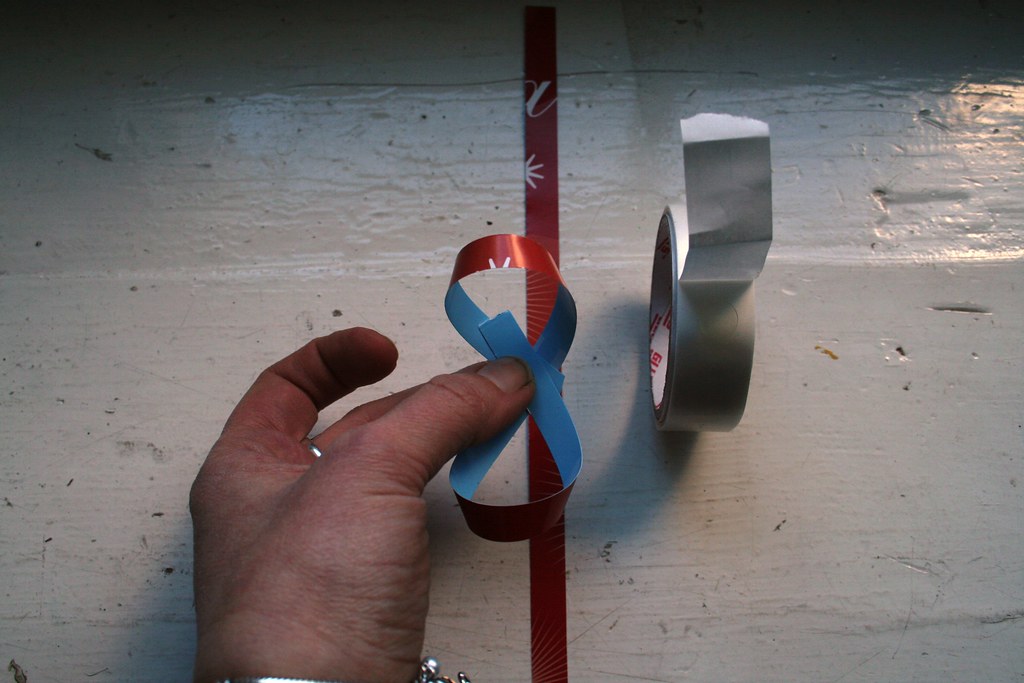
Basically, the gift bow is made from nine strips of paper which you arrange individually in an "8" shape. You then stick them on top of each other and finish up with a paper circle in the middle.  I slightly adapted my version. I used a bit of a red calendar page which was left-over after my filofax inserts. The light blue back of the page is also visible in the gift bow - I like the contrast of the colours. Here's the finished bow:


Whoops, a bit lopsided.


This is what I will be handing over tonight:


Well, even if it was a free gift and free gift-wrap - I took the time to make it. I hope that balances the cheapskate-ness out...


Ok, off to the pub now. 

Be good!