A big yuletide yay from the Queen of Crafts - finally my favourite decorating season of the year has started. In fact - as you faithful readers know - I couldn't wait for it to get started. Traditionally, however, in Germany one doesn't start decorating for Christmas until after "Totensonntag". That is the last Sunday before Advent and is a general Protestant day for remembering the dead. So, today was the start of my Christmas deco dream.

I was very lucky that my friend Judith of Judith's Wild Flowers gave me a few branches of the most beautiful fir. I was able to fill a very large vase in my drawing room and a smaller one in the kitchen with it. And then there were still smaller branches left. So I decided to use those up, as well, and make a wreath. It is not as full as a shop-bought wreath, but even though that was for want of more branches, it turned out advantageous - if your wreath is intended for hanging on a wall, then you don't need a particularly bushy circle of fir. It will sit nicely against the wall instead. However, for a advent wreath that is decorated with candles and sits on the table you will need a nice,thick and bushy wreath.
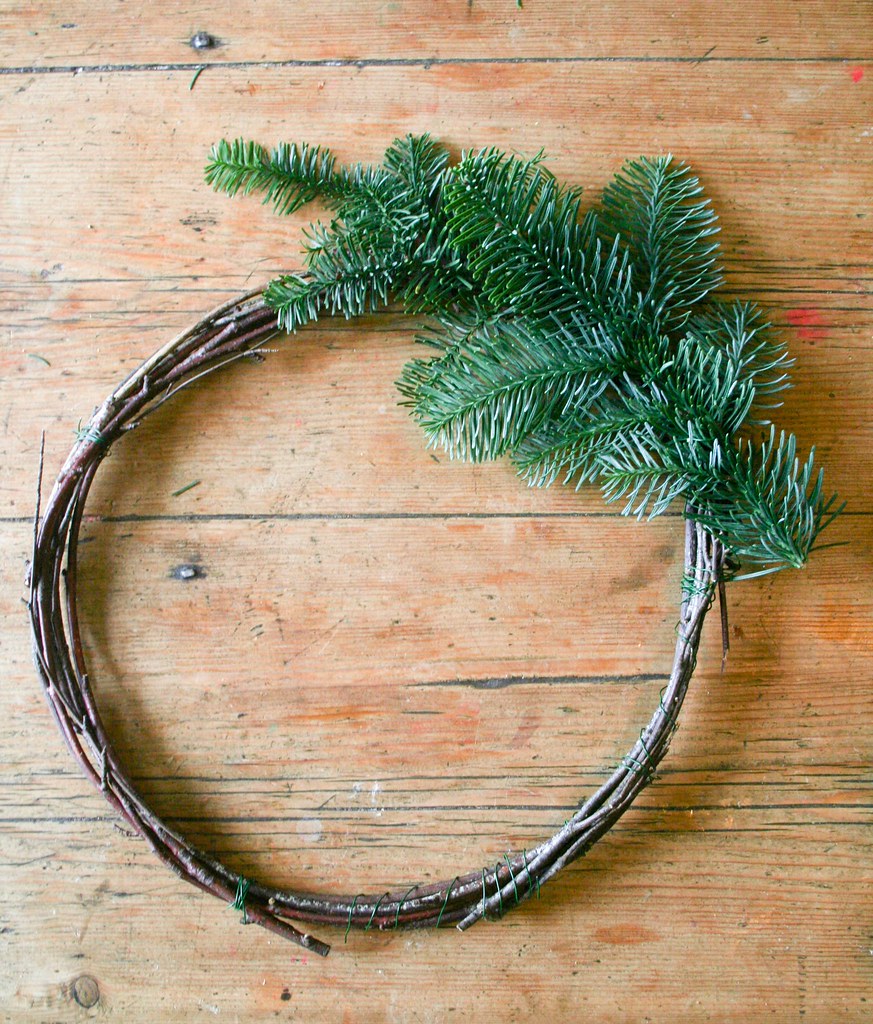
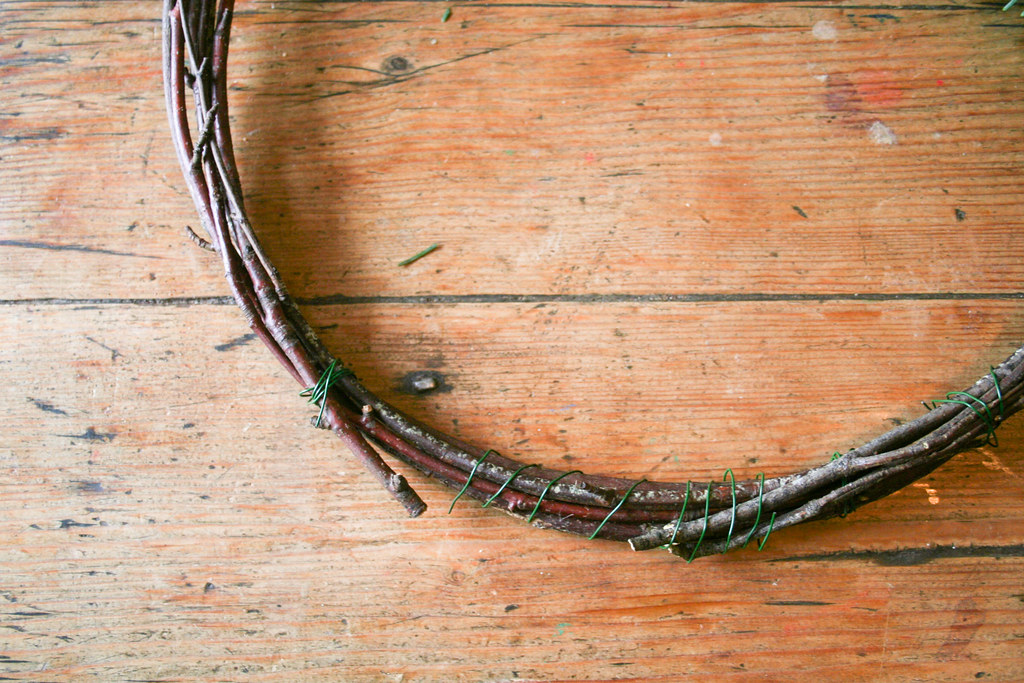 The whole project actually turned out to be a recycling exercise. I had recently taken down my autumn arrangement (here is the blog post about that) and ripped it apart. I kept the tear-shaped twig base because I wanted to experiment with it. A Christmas wreath seemed to be a good idea. So I basically forced the twigs into a round shape and secured it with gardening twine.
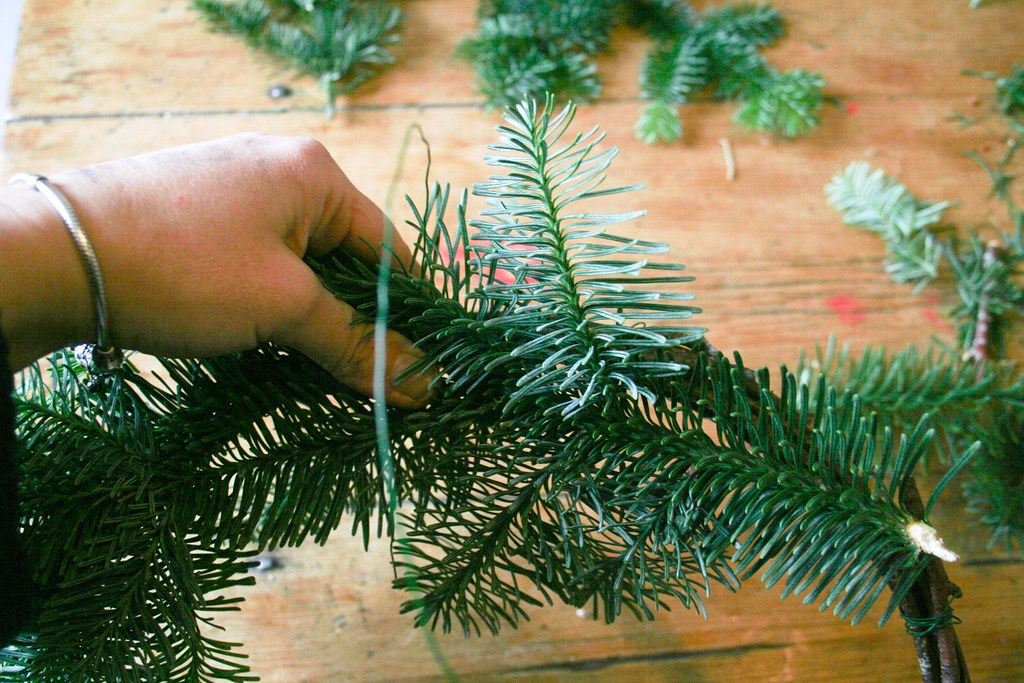
Then I took my branches and layed them out to check if I had enough to cover the base. Yes. Next I simply held a branch on the twig base and secured it with twine - but only at the end; leave the nice top bits sticking out freely You'll see later why.
I took the next handful of small branches, and carefully overlapping them with the bit where I fastened the first bit of fir, secured the next one on. Keep working round the base in that fashion until you come to the end where you need to push the last bit of fir underneath the first branch. That way you conceal all the twine with which you have fastened the fir on the base.


Here is the "raw" wreath - quite flat, but as I said: Up on the wall noone will notice. The back of it is not much to look at - but it shows you how I fastened all the bits to it.
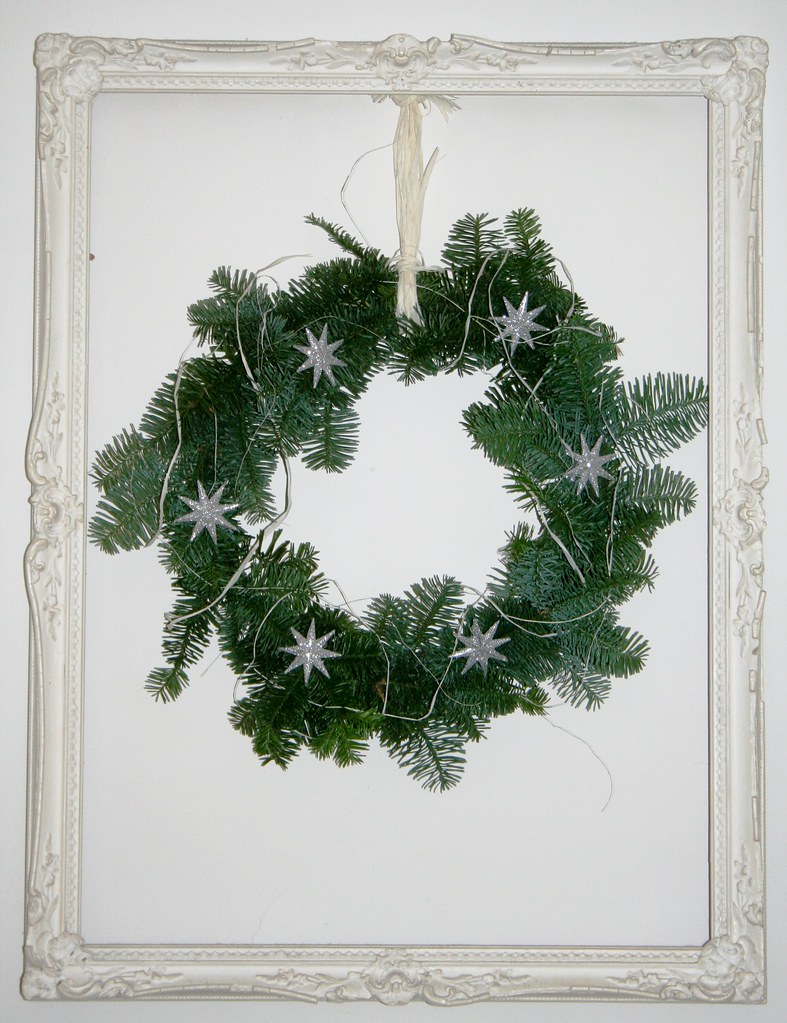
 Now for the fun part - the decorating. There is already a lot of red in my kitchen, so I decided to go for little colour and just use silver decoration. Improvisation usually produces the best results for me, and when I could not fit a short silver garland of beads and stars around the wreath, I remembered the sparkly stars which I had bought last January in the after-Christmas sales. Easy-peasy decorating! The stars actually are clip-ons, so I just bunged them on the fir and - bang - that was it.
I recycled the white raffia with which I had hung the autumn decoration and simply knotted it onto the wreath. As an afterthought I took some of the thinner raffia strands and wove them around the wreath, too.
So here is my kitchen mantlepiece and wreath. Ho Ho Ho!

4 comments:
Geile Krippe :)
Hehe, zielsicher mal wieder das kommentiert, was nicht selbst gemacht ist. Jedenfalls nicht von mir :-). Das ist eine peruanische Krippe und so alt wie mein Gatte...
Oh, die rote Kanne! Sitze hier grün vor Neid (Hauptsache: Farbe!)Ich habe so eine in weiss mit gemalten Blüten drauf, aber rot, du weisst wie sehr ich es liebe...
Ja, die rote Kanne ist klasse. Hab sie aus dem Keller gerettet, wo sie vor sich hinrostete... Passt genau in deine rote Phase, Yasemine!
Post a Comment