FYI


Thursday, September 3, 2009

Falling for Autumn

I hate to admit it, but I think summer is over. The days start really dark again and the weather has turned. Here in Ireland we are humble again, wishing for nothing else but that it stays dry.

As I will be away for the weekend, going to a fantastic open air festival with a lot of music, art, theatre, poetry, food etc. etc., I thought I should update craft-werk with something ready-made. Also, I like to be seasonal and topical. And with my intro above you can guess what it is: autumn decoration.

Now, let me say first of all, that I am not a "centrepiece girl". And I am also not exactly a gifted florist. I subscribe more to what might be called "The Gumby School of Flower Arranging" (please, please click this link if you like Monty Python - it explains my relationship with floristry pretty well...) As you probably have figured out if you are following my blog on a regular basis: The Queen of Crafts does not like lengthy projects and detailed instructions. Same applies to my attitude towards flower arranging. And therefore my centrepieces are the easiest projects ever.

Here is last year's autumn deco:
(Really sorry, by the way - for some reason blogger always shows this image sideways... Ah well, you get the drift!)

Assembling it was great fun, because it involved a nice walk in the little park opposite my house. Myself and the daughter went over and collected as much autumn material as possible. I had great aspirations for a sophisticated arrangement. Back home, however, when thrown into a wicker wreath, the coincidental arrangement looked pretty good without further tweaking. So I left it that way.

The year before I did something similar: Gather as much stuff as you can and then throw it all in a bowl of some shape or form. Mine was actually a wrought iron basket with four candles, which is really meant as a type of advent wreath (traditional German affair where each of the four Sundays before Christmas you light another candle). Nonetheless, it looked good in it.

I placed a saucer or desert plate in the basket so the smaller bits didn't fall out. Isn't autumn surprisingly colourful? Spot all the things I put in there - berries, ivy buds and leaves, chestnuts and leaves, acorns, a dried up artichoke flower.

So - get out there, go for a walk, pick up lots of colourful nature stuff and start arranging, ladies (and gents)!
Mr Gumby will be disgusted!!!!

Tuesday, September 1, 2009

Art Box

Apologies for a break in the MoW posts. I have had to put this week's second instalment onto the backburner as it isn't yet quite presentable. But since I don't want to leave you, my esteemed readers, waiting, I have decided to break the boredom with a quick post on another crafty project I did this week.

My favourite daughter got into a right panic on Sunday evening when she was getting ready for her first day back in school. She was looking for her old art box - which seemed to have vanished over the summer holidays. In order to dry her tears I suggested we make a new, absolutely unique one-in-a-million art box. One that none of her classmates would have.

I used to make these boxes all the time when I was in college. That was back in the early 90s when all those fabulous b/w photos were used for ads in the magazines for the likes of Calvin Klein and Davidoff and Guess. I made a huge one to keep my record collection in (yeeeeeees - it was back in the good old days. No child, mummy did not have an MP3 player then - we were living in analogue times. However could we exist without digital sound back then????), covered kids' shoe boxes to collect letters in (yeeeeeees, we were using "snail mail" - noooooo, there was no internet yet!), made trinket boxes and pencil holders (yeeeeeeeeees, we were still able to handwrite back then!). Whoa - what a trip back down memory lane. Seems like a century ago. Oh, hang on - it actually is...

Anyway - I found her a shoe box (of which I currently have a whole stack - they are waiting to be used for parcels to my friends back home) and suggested we cover it with some blue gingham sticky cover which I had picked up for a couple of Euro a while ago in discount supermarket Lidl. Luckily blue is her favourite colour and she agreed to it but wanted it more unique - so we made a nice collage of pictures for the box and only used the gingham for the lid.

At this point I am an expert in using sticky cover stuff - I think I covered 23 schoolbooks for my kids last week *sighs*. Over the years I have found a technique that works best for me when covering books etc. without getting air bubbles and creases into the plastic. What you really, really need is a soft cloth with which you continually smooth down the sticky cover. Don't worry if you notice a crease - you can pull the sticky cover off again as it only sets after a while.

While I covered the lid, I set daughter up with a stack of my interior design magazines (*sighs* - yes, one of my expensive weaknesses...) and glossies to cut out images she liked. I also ripped out some big blue ads for the background.

Once we had collected a number of images, I stuck the background pics onto the box, using a pritt stick. Then I cut out smaller pics and placed them on top of the blue background.

When everything was to her liking I covered the box with clear sticky cover to make it more durable. I loved that part best - because it meant I was finally able to use up all those cut-offs that were left over from the book-covering last week. (The sticky cover is so bloody expensive, I hate it when 10 x 40cm strips of it are left over...)

The daughter was happy with the outcome - and wonderful mother that I am, I am happy when daughter is happy... *winks*. I should really make a few more of these boxes - there is always stuff lying around that would benefit from a little organising.


I actually covered a few boxes when we were doing up our bedroom a couple of years ago and I wanted my work station to tie in with the decor of the bedroom. Back then I used Laura Ashley wallpaper frieze (or whatever you call that small strip you paste at dado height) which I had picked up in their bargain bin for € 2.50 apiece. It was just the right width to cover shoe boxes, magazine holders and folder backs.

Friday, August 28, 2009

Material of the Week - Tracing Paper

Apologies for delayed update. Last week of school holidays and I have been very busy with my children's social life. No time for my own projects, unfortunately, although I was dying to try my latest idea and post it here. This week's material of the week is tracing paper. It's a supereasy project and at the same time a very personal present for friends and family.

The summer is slowly coming to an end and days will be getting darker. I like all seasons, but the lack of light does get me down a bit, I have to admit. So no harm in thinking of some nice lighting ideas now. And I came up with an idea that combines my love of crafting with my passion for photography. I can now have my own images glowingly remind me of my favourite memories: Paper lanterns made from tracing paper, printed with photos.


I bought a pad of tracing paper in my stationer's. The tracing paper is size A4 and 112 gsm, basically the thickest tracing paper I could get. I simply printed some of my favourite photos onto the tracing paper which I had cut to size beforehand.

I then used my sewing machine to sew two sheets of tracing paper together. I experimented with various stitches and lengths to see what is the best design. I quite like the longish zig-zags.

In order to make your lantern glow, just pop a nightlight into a glass votive and then carefully slide the lantern over it. Make sure the nightlight sits in the glass and there is not an open flame touching the paper. - As I didn't have enough glass votives I also used jam jars and wineglasses. Experiment with the right size votive so that you avoid the shadow of the glass rim on your image. (See right)


You can experiment with images - make a photo of a candle glow with the nightlight. Or light up a sunflower from the inside. Lots of possibilities. - Almost makes me look forward to darker evenings now, curled up in front of the fire with a steaming cup of tea by my side, a good book on my lap and the photo lanterns on the mantlepiece. Awwwwwwwwwwwww...

Sunday, August 23, 2009

Material of the Week - Security Envelopes - Project 3

I had set myself the guideline of writing at least 3 posts with the current material of the week. But then I didn't get to update the blog as often as I thought this week. So here is a quick last suggestion what to do with the security envelopes.


I punched out loads of paper circles with my new toy, the 1-inch-punch. Then I made a simple garland of paper circles by sewing them together with the sewing machine. That was great fun, by the way. You just "feed" the circles under the needle and the machine does the rest. Quite a restful project - I could have gone on for hours - but ran out of circles.


I think I will hang the garland at our tall drawing room window. They will sway nicely in the draft from the windows. Or they could be a nice decoration for a birthday present.

Friday, August 21, 2009

Material of the Week - Security Envelopes

I had promised to come up with a few posts in which I was working with the same material. Unfortunately I was really busy this week, sometimes not getting to sit at the computer nor even do some crafting. However, I finally finished another project with the security envelopes.

Essentially I made security envelope envelopes *grins*. I cut out little rectangles, folded them over and cut a little triangular flap. Then I made a little cut into which the flap can be pushed to keep the envelope shut. The last bit was sewing the sides of the envelope together. You could also glue them, but I liked the effect of the stitch on the paper. Charming little envelopes for a cute message to the boyfriend...


Are you sometimes frustrated with your large wallet, stuffed full with credit cards, supermarket clubcards, insurance contact details etc.? I am and I don't always want to carry the whole, bloody thing with me. Instead it easier to keep cards in a little protective cover. Following the same principle as above I also incorporated the envelope windows so that I can see which card is inside the cover. I used a circle punch to make a little dent at the side for easier pulling out of the cards. You could also use these as business card holders.

I am the sort of person who is prepared for any eventuality. That is why I always carry a few stamps in my wallet. (You never know when the urgent need to send a postcard overcomes you...) To stop the stamps from getting folded and smudged, I made a couple of little stamp holders.

When I made the place cards the other day, I had some circles and paper left over which I used to make a card. Here it is in its custom made envelope:

You see, lots of fun with some every-day-paper. And that's not all. There is another post to come with security envelope projects. Soon!!!

Monday, August 17, 2009

Material of the Week

*Eeeeek*, Monday is nearly over - most probably will be by the time I have written this post - and I haven't yet updated the blog!!! Here we go.

This week I have decided on a new strategy. So far the blog has been quite a mixed bag of craft ideas. From notice board to Christmas star and on to bread rolls. All a bit unstructured. So I thought I should try and introduce the "material of the week". I intend to pick a particular craft material which I will then show a few different craft ideas with. This week I have settled on security envelopes.

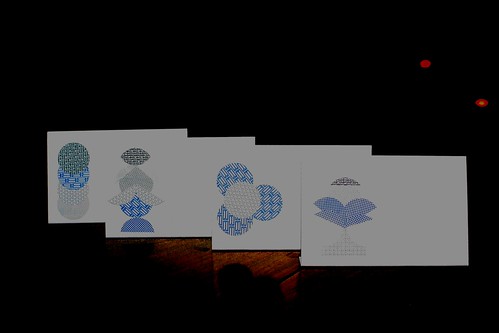
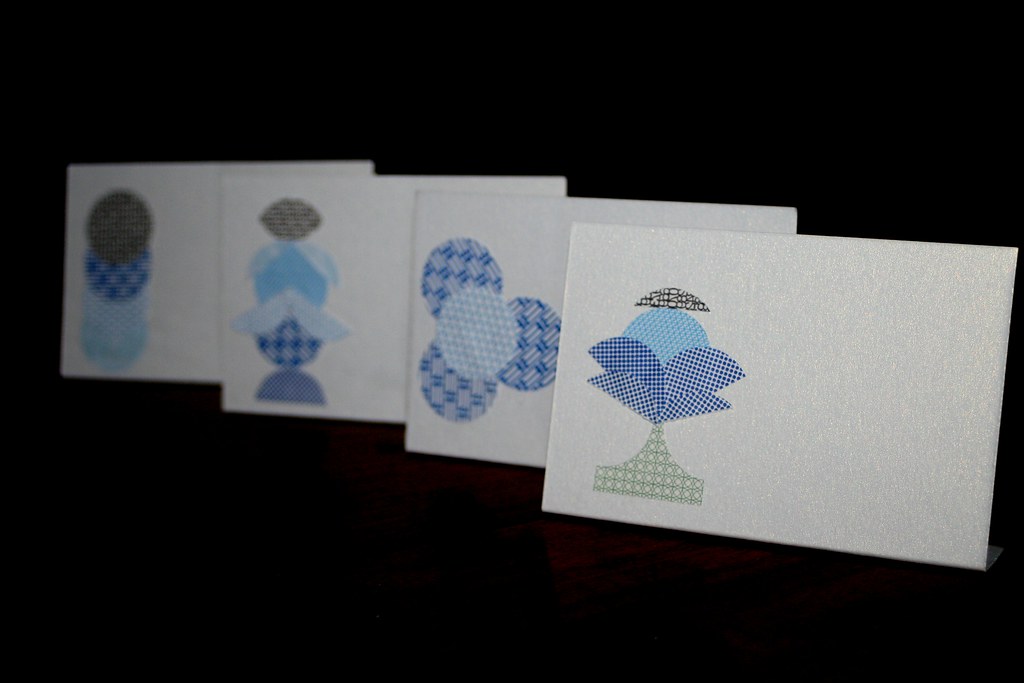
I admit - the big security envelope-craze is already over. No idea who had that brilliant idea, but it is stunningly simple: Have you ever noticed the insides of those private/personal/confidential letters? They are usually printed with a blue/black pattern to protect the contents of the letters from shining through the envelope. I collected all my official mail over the last two weeks and was quite surprised to see how many different designs I managed to find over that time. You can see a small selection above right.

So with nine different patterns I decided to do something with the paper. First of all you have to carefully open up the envelopes. I then decided to invest in a simple circle punch (€ 7.99 from the art & hobby shop) with which I punched out lots of circles. Then I remembered my wonderful bag of paper offcuts from Daintree Papers and settled on some card which lent itself for place card-making.


All I used were the punched out circles, a guillotine for cutting my card and some pritt stick. Arrange the shapes on the card before pasting on - that way it is easier to design nice shapes.

Easy peasy craft - and I actually quite like the result. Trouble is - I have no real event for which I personally would need place cards... But hey, maybe my mum's 60th birthday?


Anyway, watch out - there will be a couple more posts in which I will work with the security envelope material.

Saturday, August 15, 2009

Retro Bag

I love the whole retro trend. Even when I was a kid I remember being fascinated by the then retro designs - my granddad used to have this shirt with Egyptian hieroglyphs on it that I had my eyes on. No idea where that went, unfortunately. So you can guess my delight when I came across an old suitcase full of old fabrics that was left in the old house I live in.

Now, a lot of the stuff in the "museum" (as I like to call my present residence) is actually quite old and hails back from the turn of the century before last (i.e. the 19th century). It is fascinating stuff - but I am usually too full of awe to touch it and make something with it. However, the aforementioned suitcase contained some material that looks as if it came from the 1960s. There was one design that I particularly liked - but there was very little fabric. Only enough to make a shoulder bag with it.

Using basically the same general pattern as my
lunch bag l improvised and sewed this little shoulder bag. Not only sewing the edges right on right, I also created "stronger edges". (Forgive me if this doesn't sound very clear. There is probably a technical term for this that those of you who are accomplished seamstresses know. As an inspired improvisor I have no idea what that is called - I just do it.) And I added a little outside pocket for money or keys, giving it a little decorative trim by hemming along the upper edge with a decorative stitch from my sewing machine.


The bag took me an evening to make.

Tuesday, August 11, 2009

Another lampshade

Interesting, what you can be inspired by. I recently went to see a funny and really entertaining Noel Coward play in the theatre. Even before the play started, the curtain was up and I could admire the beautiful stage setting. As opposed to the usual sparse stage design, here was a rather detailed 1920s art deco-inspired drawing room with a grand piano, arm chairs, a bar, shelves with books, mirrors etc. Particularly a floor lamp caught my fancy - and reminded me of a beautiful old floor lamp which my partner inherited from his grandparents. Inspired by what I had seen I decided to make a lampshade to go onto the art deco lamp stand.

When we found the lamp it still had a shade. Over the years, however, the shade somehow lost its fabric and became a battered old skeleton of its former glories. It actually ended up in the garden (see above), to be used as a wire trellis or climbing aid. I rescued it, washed it and sanded it down.

The plan was to make one of those fantastic tulle-covered lampshades with crystals hanging inside. I had some ready-made net curtains which were exactly the right material. Except they were shiny silver coloured, not black. I tried to dye them, but the synthetic material didn't take the dye. So I had to work with silver tulle. I cut the material and then pleated it, not very neatly, as is my impatient habit.


Then came the difficult part: covering the lampshade skeleton with the fabric. I actually did that with the sewing machine, by fastening the fabric with clips and then sewing on the lower rim of the shade. The upper rim had to be hand-sewn. I used some silver thread for that and it was actually easier to sew regular stitches than I had thought.


The real stars of the shade, however, are the crystals that hang inside and sparkle in the light. I got hold of some large plastic crystals in a German crafts shop and also used lots of small transparent beads from my eclectic bead collection. Together with my daughter I strung the beads and crystals on nylon threads.

Ready! The shade definitely looks handmade - a bit irregular and improvised. But hey, it'll do for a while. Unfortunately the old lampstand is not rewired yet, so I just took a picture of the shade on another floorlamp to show the finished project:


Monday, August 10, 2009

Project Patience

Back from holidays myself and my daughter couldn't wait to get our teeth into the next project. Well, not our teeth, but our fingers, really. So we sat down and made a couple of bracelets. Nothing new, really. The idea is rather old - I had started making one of bracelets years ago and never finished it. But WARNING - it is a very fiddly business. In fact so fiddly, that in the middle of it I had this growing lump of frustrated energy inside me and I had to get up from the project, jump up and down and scream a bit, to calm down again. Me, strange? Nooooo!


We used some small, girly pink safety pins, little beads, slightly larger beads and some elastic band. The bracelets are designed for two little girls, so we used 20 pins and about 80 larger beads as well as four 10cm lengths of elastic band for their slender wrists. First we "threaded" the little beads onto the safety pins.


After that we threaded the pins and the beads in a regular pattern onto the elastic band. For maximum effect make sure you thread the pins in such a way that the "beaded" sides are all facing the same side of the bracelet! At the end we simply tied the elastic band with two double knots.


And voilá, two little girls very happy! And a mother who was quite impressed by the patience that the otherwise impatient little daugther displayed.

Saturday, August 8, 2009

Travelling is great, but returning is even better


I am cheating today - no real craft-blog, but a quick note to say that I am back from my two-week holiday. It was fantastic - visiting friends, travelling from hostel to hostel, seeing new places, enjoying the gorgeous sunshine, eating nice food, drinking refreshing beer. And being inspired by the things around me.

Back in town, my fingers are itching. I want to get back into craft mode, but have to organise a few things first. Plus I need to catch up with all the great crafts blogs which I follow myself.

Cheerio!